©2019 Atlas Sound LP. The Atlas “Circle A”, Soundolier, and Atlas Sound are trademarks of Atlas Sound L.P. IED is a Registered Trademark of Innovative Electronic Designs LLC. All rights reserved.
All other Trademarks are property of their respective owners. No endorsement is implied. Due to continual product development, specifications are subject to change without notice. ATS006034 RevA 9/19
AtlasIED.com
TELEPHONE: (800) 876-3333
SUPPORT@ATLASIED.COM
1601 JACK MCKAY BLVD.
ENNIS, TEXAS 75119 U.S.A.
How do I enable the line-in audio feature on the IP Endpoints?
• Login to the AtlasIED IPX endpoint’s WebUI by entering the unit’s IP address into any web browser. Next, enter the username and password
when prompted, which is “admin” for both unless it was changed by the network administrator. Click on the Hardware tab, then scroll down to
the Loopback settings area and enable line-in audio.
• Once it has been enabled, select the desired option for the line-in from the drop-down box.
How do I reset my IPX IP Endpoint (Speaker or Zone Controller) to factory default?
• Login to the AtlasIED IPX endpoint’s WebUI and go to the Administration page. Scroll down to the bottom of the page and click the
factory reset button. A popup will launch that states the endpoint was reset to factory defaults and to refresh the web browser. AtlasIED
recommends rebooting the endpoint after confirmation.
• The service button found on the back of the PCB board can also be pressed for 10 seconds, which will cause the endpoint to announce that it
is being restored to factory default if it is equipped with a speaker.
How do I update my IPX IP endpoint?
• Login to the AtlasIED IPX endpoint’s WebUI, click the administration tab, scroll down to Firmware Settings, click choose file select the correct
firmware version and click open.
• Do NOT reboot the speaker once the firmware has started loading
• While the update loads, a popup will instruct the user to refresh the browser when the process is complete.
• The IPX endpoint will do a reboot once the file is loaded. This process can take up to two minutes to finish the update.
• Once the endpoint reboots, log back into the WebUI and check the firmware version in the blue banner, it should show the updated version.
How do I get an AtlasIED IPX IP Endpoint (Speaker or Zone Controller) to register with SA-Announce®or Revolution®?
• AtlasIED IPX IP endpoints can register with SA-Announce®or Revolution®using one of the following two steps.
• Using DHCP Option 72
• Add the IP address of the SA-Announce®or Revolution®server to Option 72.
• If DHCP Option 72 is not available
• Login to the AtlasIED IPX endpoint’s WebUI, click on the Services tab, scroll down to the Syn-Apps®service area, type the IP address
of the SA-Announce server in the Notifier Address Field, click save and reboot.
• The endpoint should reboot and register with the Syn-apps server.
How do I trigger the relay with InformaCast®?
• In IPX IP endpoint’s WebUI click on the Services tab under InformaCast®services. There will be a checkbox labeled “Activate logic output 1”.
Check “yes” and under that field, set what priority will trigger the relay from InformaCast®, and click save. This will match the message priority
in the messages group.
How do I trigger the flasher with InformaCast®?
• Login to the AtlasIED IPX endpoint’s WebUI and click on the services tab. Under InformaCast®services, priority fields for red, green, and blue
flasher are visible and under that field the user can set what priority will trigger the flasher from InformaCast®and then click save. This will
match the message priority in the messages group. The priorities for the flasher can be mixed so they display colors other than red, green and
blue.
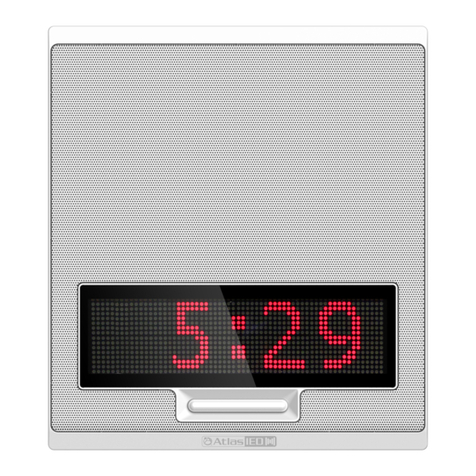
How do I change the color on the LCD screen when an active message is sent from InformaCast®?
• Login to the AtlasIED IPX endpoint’s WebUI and click on the services tab. Under InformaCast®services, is a section labeled “LCD Color by
Priority” that has additional fields under it that allow click + color priority selection. Select the desired color the LCD will change to, set the
priority for that field and then click save. This will match the message priority in the InformaCast®messages group.
How do I trigger the flasher with Syn-Apps®?
• Login to the AtlasIED IPX endpoint’s WebUI and click on the services tab. Under Syn-Apps services, click “priority strobing”. The red, green, and
blue flasher priority field will be visible and under that field the priority can be set to trigger the flasher from Syn-Apps. Once complete click
save. This will match the notification priority in the notification group. The priorities for the flasher can be mixed so they display colors other
than red, green and blue. NOTE: SA-Announce only has a priority of 1, which will need to be set as the priority value.

