ARES5A - User manual010
3) Bass control:
By adding bass, you can add warmth to your music.
Decreasing bass can improve the intelligibility of spoken
messages, certainly in reverberant rooms. These values
can be increased or decreased by 12 dB
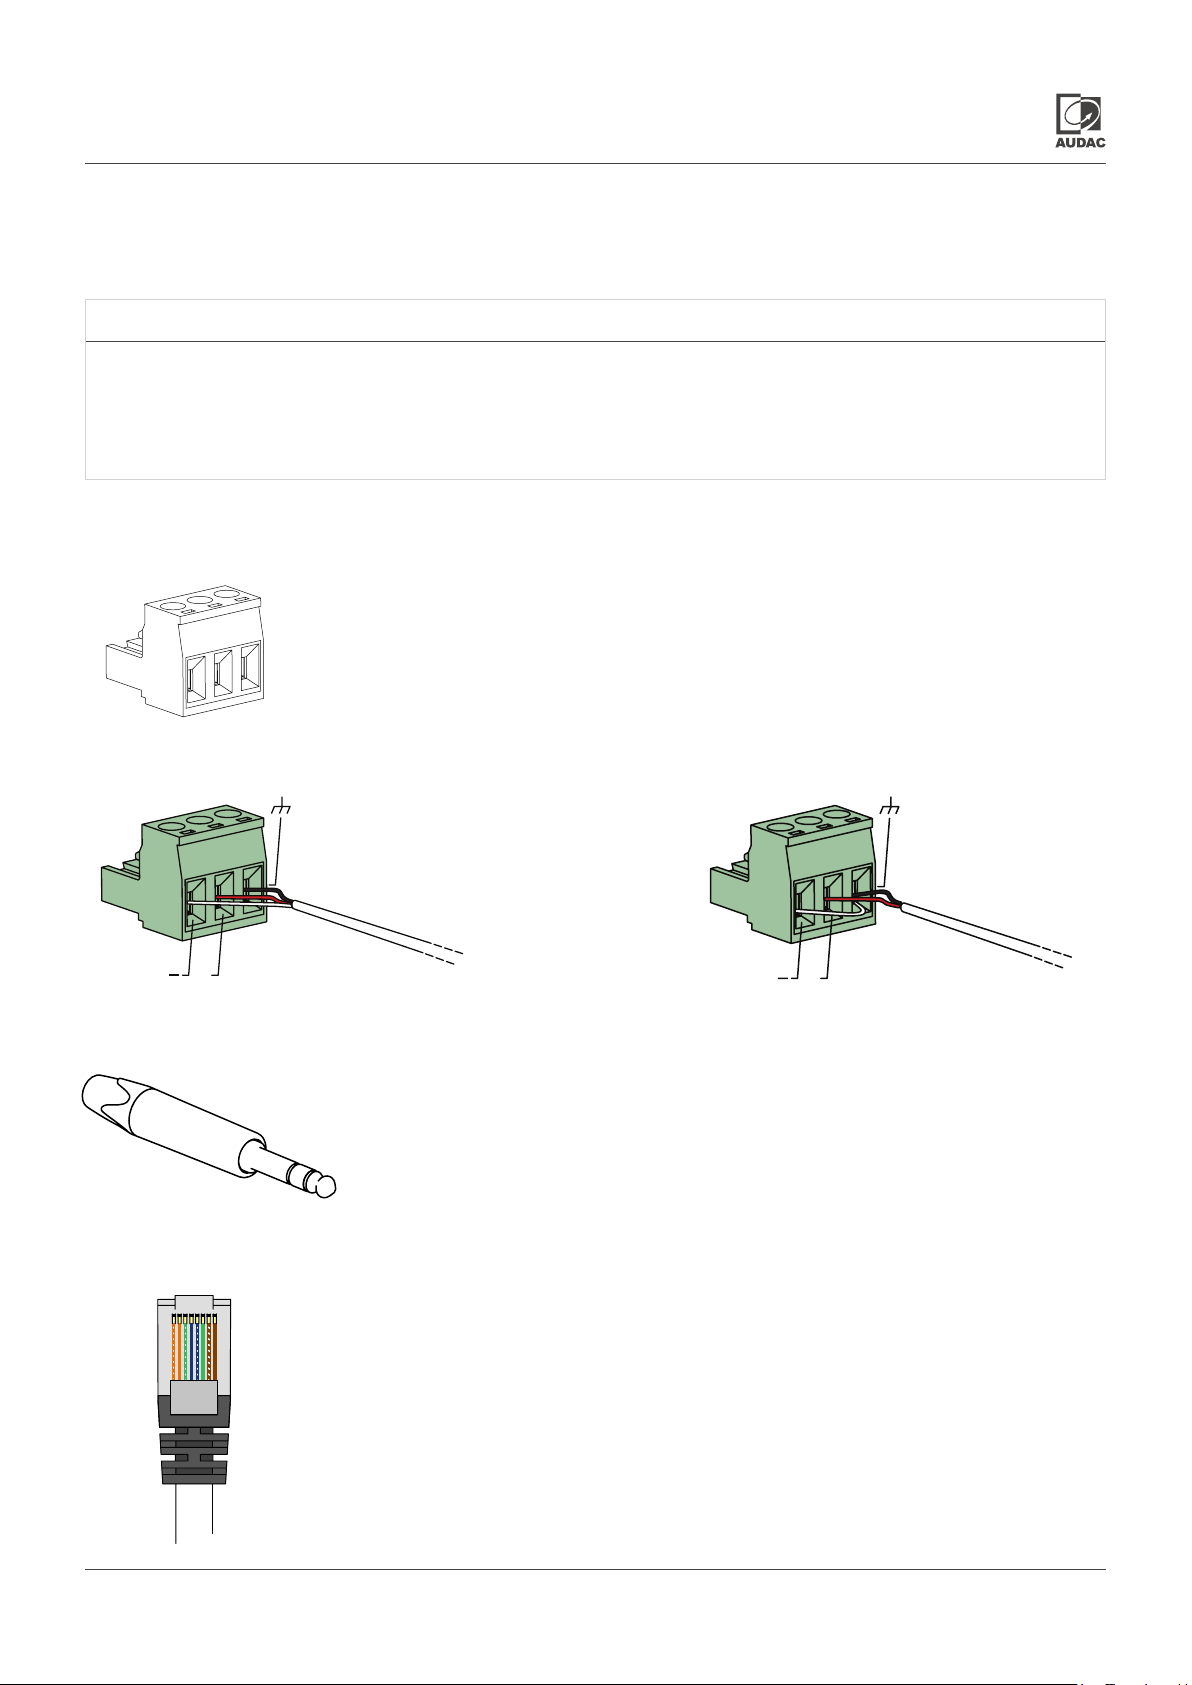
4) Unbalanced line input 3.5mm:
The audio source from a portable device like a laptop,
a phone, … can be connected to this unbalanced line
input. The applied signal should be a line-level signal.
6) Remote connector:
Remote input units can be connected to this RJ45 input
connector. For more information about compatible devices
and further information about pinouts, cable runs and
technical possibilities, check additional documentation on
our websites or from the optional accessories.
5) Balanced line input:
These inputs can be used when connecting source
devices with a balanced output signal. The balanced
input connections are performed using three-pin
Terminal block connectors. Balanced signals are less
sensitive for interference caused by external devices.
For this reason is balanced wiring recommended when
using long cable runs between the source device and
the speakers, or when installed in areas where a lot of
interference occurs.
7) Stereo/mono switch:
The operation mode can be switched between mono
and stereo mode with this switch. When the speaker is
used in mono mode, the input signal applied to the left
input signal will be fed to the amplier.
8) Standby switch:
In normal operation, the speaker switches to standby
mode after ~20 minutes of inactivity (no signal detection).
It automatically wakes-up in presence of an input signal.
This switch allows to enable & disable the auto standby
mode in situations where this behavior is not desirable.
When switched ON, the power LED illuminates in blue
color, while orange when switched to standby.
9) Speaker output:
This two pin terminal block connector should be used to
connect the supplied passive loudspeaker. Using other
loudspeakers can give bad results and even cause
damage to the main unit. Be sure that the polarity of
the speakers is correct.
10) Power supply socket:
The unit should be connected to the mains circuit by using
a standard IEC C7/C8 power cord.
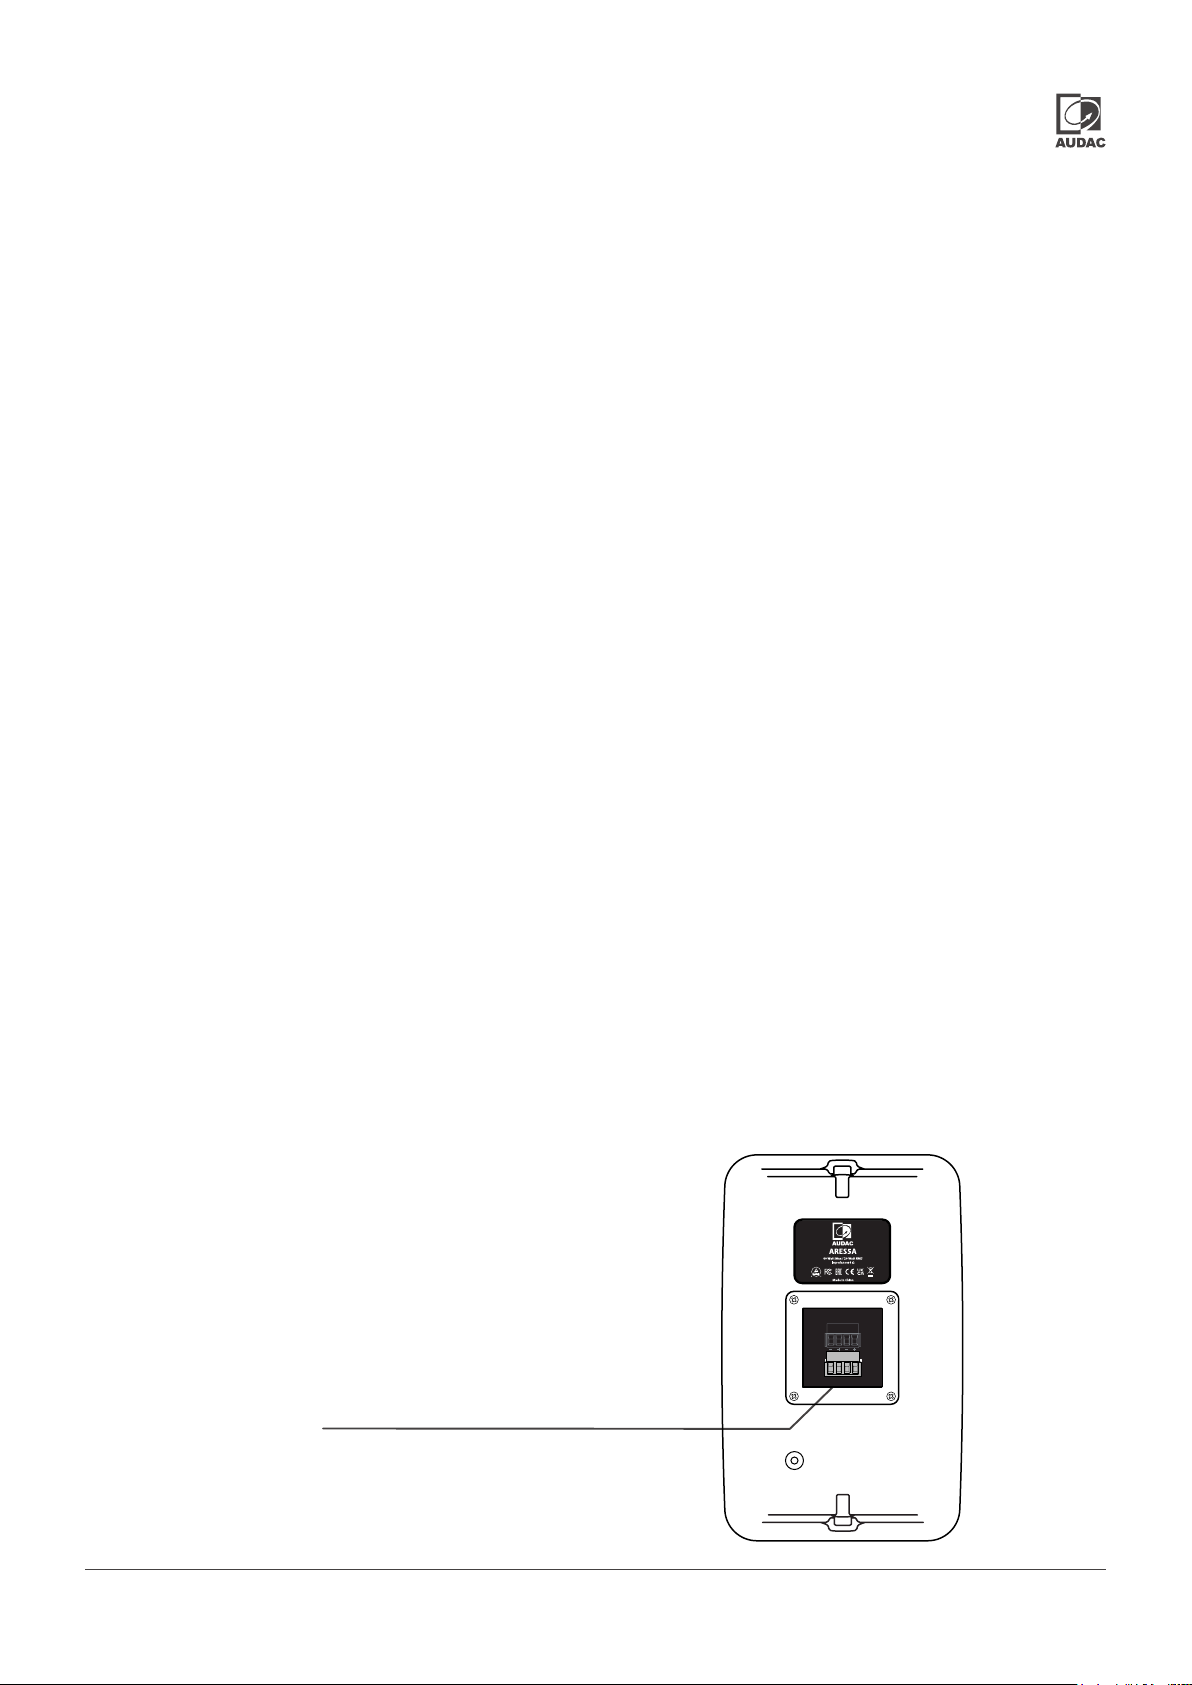
Overview ARES5: passive
Terminal block connector