manuals.online logo
Brands
  1. Home
  2. •
  3. Brands
  4. •
  5. Audio enhancement
  6. •
  7. Amplifier
  8. •
  9. Audio enhancement XD CA-60A User manual

Audio enhancement XD CA-60A User manual

1
XD CA-60A Amplifier
Quick-Start Guide
XD Receiver
WPA-03 Wall Plate
Connect the wall mount 24 VDC power supply
with 18-gauge wire. Be sure to observe polarity
and connect plus to plus and minus to minus.
www.AudioEnhancement.com • 800.383.9362
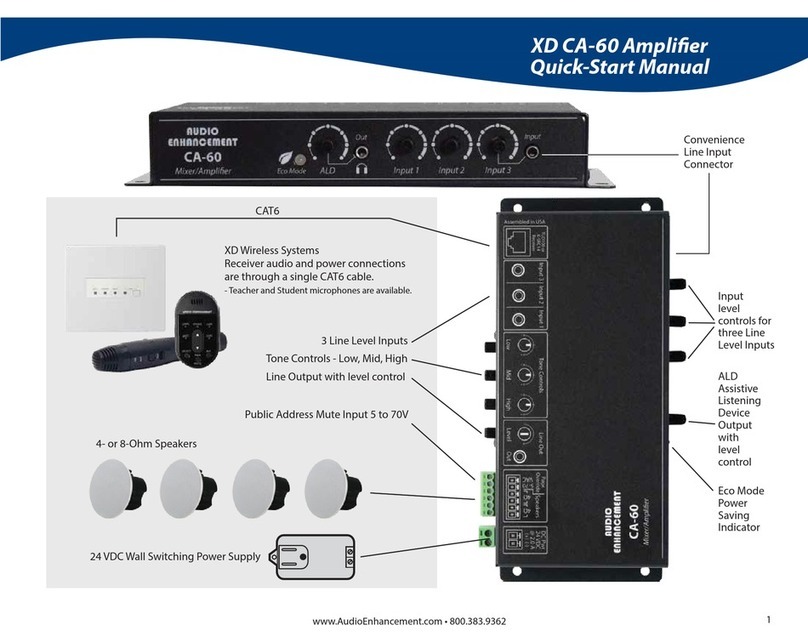
Public Address Mute
Input 5 to 70V
Input
level
controls for
three Line
Level Inputs
ALD
Assistive
Listening
Device
Output
with level
control
Eco Mode
Power
Saving
Indicator
OR
SPEAKER CONNECTION
OPTIONS
The amplifier will drive a
2-Ohm load so four 8-Ohm
speakers can be connected
in parallel and connected to
one of the amplifier’s outputs.
The 2nd output is unused.
or
You could parallel two 8-Ohm
speakers and run two sets of
two speakers and connect
each pair to one of each of
the two amplifiers’ outputs.
CAT6 Cable
ALD Output
Line Input
AUDIO ENHANCEMENT
Remote Volume Control of the
Teacher and Student Microphones
Pairing Microphones to Your Receivers
UP
Volume
DOWN
Volume
Teacher Microphone
(OWN) Level Adjustment
Student Microphone
(OTHER) Level Adjustment
Teacher Microphone
Student Microphone
The “SELECT” button determines which level
will be controlled by the UP/DOWN buttons
3
Multimedia Level Adjustment
Press either the UP or DOWN
arrow button to increase or
decrease the level of the
Teacher microphone. A blue LED
over the OWN (for own
microphone) will flash with each
press.
To adjust the Student
Microphone (OTHER) volume,
first press the SELECT button so
that the LED over the OTHER
label comes on. Now press the
UP/DOWN buttons to control the
level of the OTHER microphone,
which is typically the Student
Microphone.
Your XD microphones should already be
paired to the receiver. You can check this
by turning on your Teacher and Student
Microphones (Teacher Mic: press PWR
for 1 second; Student Mic: flip TALK
switch up). If the LED under the BATT
indicator turns green, the mic is paired. If
the LED blinks another color (orange),
then turn o your microphones and use
the following instructions to pair them to
the receiver.
Teacher Mic Student M.
Turn mic o: flip the TALK switch down.
The green BATT light will extinguish.
Press the LINK button on the receiver
(LINK LED will blink yellow).
Press and hold the LINK button and flip up
the TALK switch on the Student Microphone
until the microphone links. You will know it is
linked when the BATT LED on the
microphone and LINK LED on receiver glow
green and an audible beep will sound
through the speakers.
Turn mic o: press and hold PWR/MUTE
until the green BATT light extinguishes.
Press the LINK button on the receiver (LINK
LED will blink yellow).
Press and hold the PWR/MUTE and REC
buttons on the Teacher Microphone until
the microphone links. You will know it is
linked when the BATT LED on the
microphone and LINK LED on receiver glow
green and an audible beep will sound
through the speakers.
Selecting the LINE audio source
will control the volume of audio
devices that you have plugged
into the “Line In” input on the XD
receiver.
DC - 40758.01 XD www.AudioEnhancement.com • 800.383.9362
Other Audio enhancement Amplifier manuals

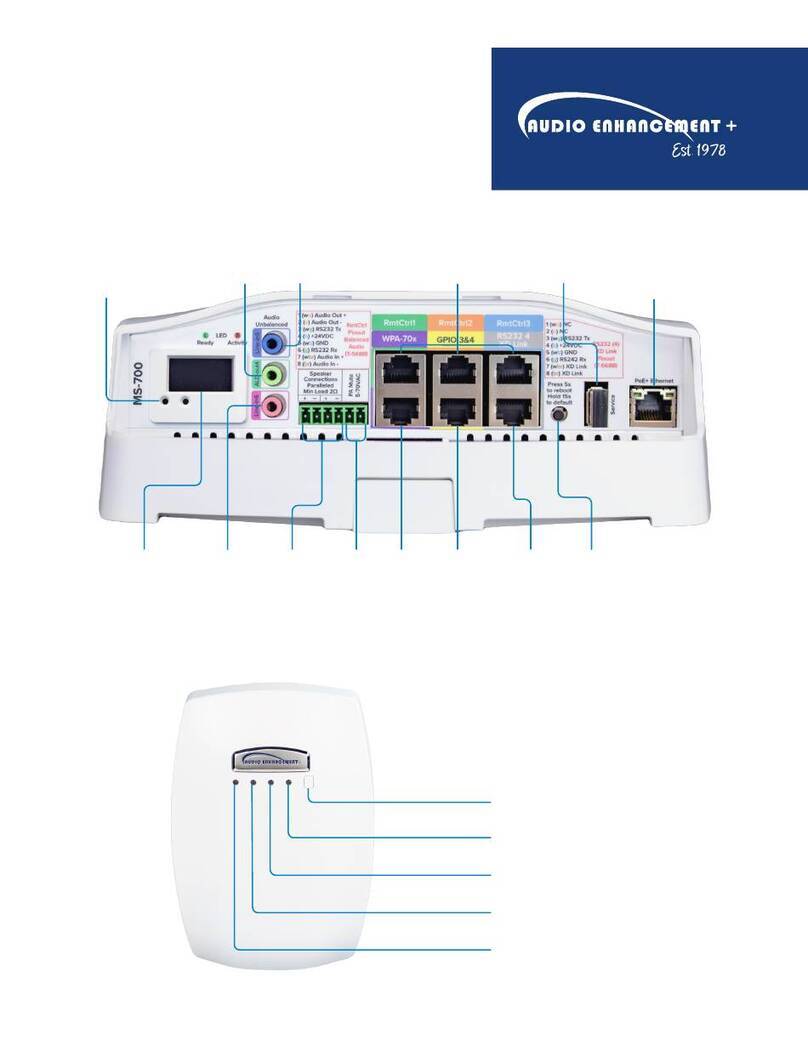
Audio enhancement MS-700 User manual

Audio enhancement

Audio enhancement MS-700 User manual

Audio enhancement CA-60 Instruction manual

Audio enhancement

Audio enhancement CA-60 Instruction manual

Audio enhancement CA-30 Instruction manual

Audio enhancement

Audio enhancement CA-30 Instruction manual

Audio enhancement GL-300 Instruction manual

Audio enhancement

Audio enhancement GL-300 Instruction manual

Audio enhancement Achiever Manual

Audio enhancement

Audio enhancement Achiever Manual

Audio enhancement XD CA-60 Instruction manual

Audio enhancement

Audio enhancement XD CA-60 Instruction manual

Audio enhancement CA-30 Instruction manual

Audio enhancement

Audio enhancement CA-30 Instruction manual

Audio enhancement CA-30A Guide

Audio enhancement

Audio enhancement CA-30A Guide

Popular Amplifier manuals by other brands

Newhank D1000 Operation manual

Newhank

Newhank D1000 Operation manual

Void Bias Q5 user guide

Void

Void Bias Q5 user guide

ATI Audio DA2008 Operating and maintenance manual

ATI Audio

ATI Audio DA2008 Operating and maintenance manual

UTAH SCIENTIFIC 100-3 Set up and operation guide

UTAH SCIENTIFIC

UTAH SCIENTIFIC 100-3 Set up and operation guide

DX Engineering RPA-2 manual

DX Engineering

DX Engineering RPA-2 manual

Bogen C10 Installation and use manual

Bogen

Bogen C10 Installation and use manual

Nimbus Water Systems ARI-R1 owner's manual

Nimbus Water Systems

Nimbus Water Systems ARI-R1 owner's manual

Radio Systems GEN-DD A/WC manual

Radio Systems

Radio Systems GEN-DD A/WC manual

Sonodyne SiA 310 owner's manual

Sonodyne

Sonodyne SiA 310 owner's manual

Ground Zero GZTA 4230X-B owner's manual

Ground Zero

Ground Zero GZTA 4230X-B owner's manual

Arylic S50 Pro+ user manual

Arylic

Arylic S50 Pro+ user manual

TEC GLADIATOR product manual

TEC

TEC GLADIATOR product manual

Gomax SP-3008KG user manual

Gomax

Gomax SP-3008KG user manual

Wilson Electronics PRO 710i installation guide

Wilson Electronics

Wilson Electronics PRO 710i installation guide

Revox Voxnet 219 user manual

Revox

Revox Voxnet 219 user manual

Extron electronics DVI DA Plus Series user guide

Extron electronics

Extron electronics DVI DA Plus Series user guide

PROEL HPD2004 user manual

PROEL

PROEL HPD2004 user manual

Brandywine FTSU-100D user guide

Brandywine

Brandywine FTSU-100D user guide

manuals.online logo
manuals.online logoBrands
  • About & Mission
  • Contact us
  • Privacy Policy
  • Terms and Conditions

Copyright 2025 Manuals.Online. All Rights Reserved.