Fast Track Installation Guide 3. Initializing the Mediant 2000
Version 4.4 17 August 2004
3. If your network features a DHCP server, in the ‘Enable DHCP’ field, select ‘Enable’; the ‘IP
Address’, ‘Subnet Musk’ and ‘Default Gateway IP Address’ fields are disabled. When the
gateway is configured to use DHCP, it attempts to contact the enterprise’s DHCP server to
obtain the networking parameters (IP address, subnet mask, default gateway and
primary/secondary DNS server).
4. Under the section ‘Trunk Configuration’, select the ‘Protocol Type’ and the ‘Framing Method’
you use (For E1 trunks, always set the Framing Method to ‘Extended Super Frame’). Note
that the Trunk Configuration parameters are global, and apply to all trunks. To configure
trunks per trunk, refer to Section 3.5 on page 22.
5. In the ‘Clock Master’ field, select the trunk clock source from the drop-down list. Choose
either ‘Recovered’ (the clock is recovered from the trunk; default) or ‘Generated’ (the trunk’s
clock source is provided by the internal TDM bus clock source, according to the parameter
‘TDM Bus Clock Source’). For detailed information on the parameter ‘TDM Bus Clock
Source’, refer to the Mediant 2000 MGCP/MEGACO User’s Manual.
6. In the ‘Line Code’ field, select the Line Code. Choose either ‘B8ZS’ (bipolar 8-zero
substitution) for T1 trunks only; ‘HDB3’ (high-density bipolar 3) for E1 trunks only; or ‘AMI’
(for both T1 and E1).
7. In the ‘ISDN Termination Side’ field (applicable only to ISDN protocols), select ‘User Side’
when the PSTN or PBX side is configured as ‘Network side’, and vice-versa. If you don’t
know the Mediant 2000 ISDN termination side, choose ‘User Side’ and refer to the ‘Status &
Diagnostics>Channel Status’ screen. If the D-channel alarm is indicated, choose ‘Network
Side’.
8. Select the control protocol type you use: MGCP or MEGACO, in the field ‘Control Protocol
Type’.
9. In the ‘Call Agent IP’ field, enter the Call Agent IP address if your enterprise’s network
doesn’t feature a DNS server that automatically defines the Call Agent’s IP address. If you
have a DNS server, the field is optional.
10. In the ‘Call Agent Port’ field, enter the Call Agent port. The default port is 2427 (MGCP) and
2944 (MEGACO).
11. In the ‘Call Agent Domain Name’ field, enter the Call Agent domain name. When using the
DNS server option, enter the domain name of the Call Agent operating with the Mediant
2000. The DNS server automatically deduces the Call Agent’s IP address from the domain
name.
12. In the ‘Gateway Name’ field, enter a name to the device. (For example: ‘gateway1.com’).
Ensure that the name you choose is the one that the Call Manager/Agent is configured with
to identify your Mediant 2000.
13. If you’re working with MGCP, in the ‘Endpoint Prefix’ field, enter an intuitive endpoint prefix.
Ensure that the endpoint prefix you choose is the one that the Call Agent works with.
If you’re working with MEGACO, in the ‘Endpoint Name’ field, enter an intuitive endpoint
name. Ensure that the endpoint name you choose is the one that the Call Manager works
with.
14. In the ‘Trunk Name‘ field, enter an intuitive trunk name. Ensure that the name you choose is
the one that the Call Manager/Agent is configured with to identify your Mediant 2000.
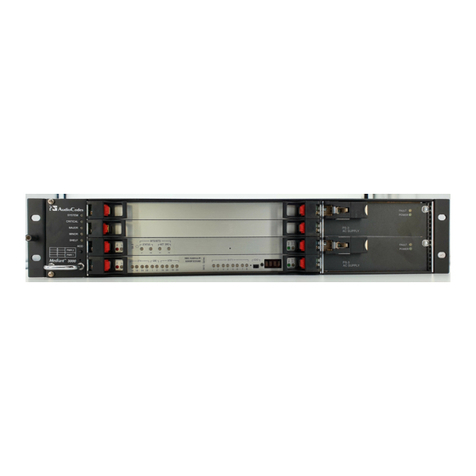
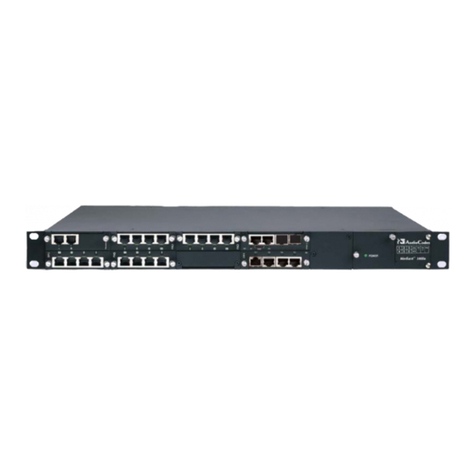
15. Click the Reset button and click OK in the prompt; The Mediant 2000 applies the changes
and restarts. This takes approximately 60 seconds to complete. When the Mediant 2000 has
finished restarting, the Ready and LAN LEDs on the front panel are lit green.
16. After the gateway is reset, in the ‘PCM Law Select’ field (Advanced Configuration>TDM
Bus Settings), select ‘A-law’ for E1 trunks and ‘µ-Law’ for T1 trunks.
You are now ready to start using the VoIP gateway.


