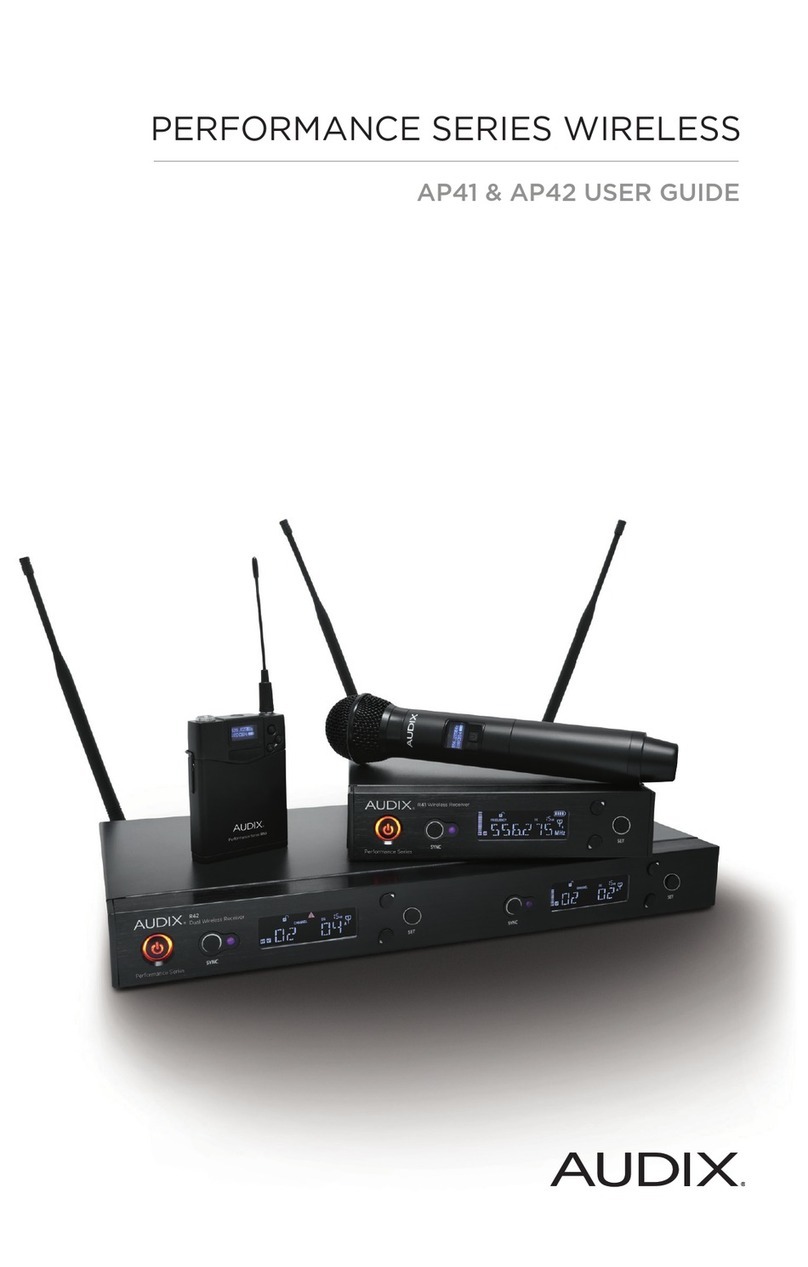
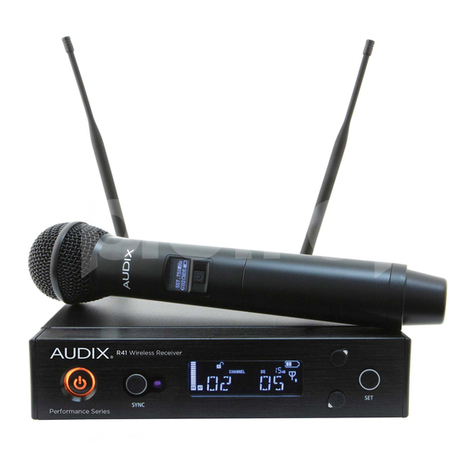
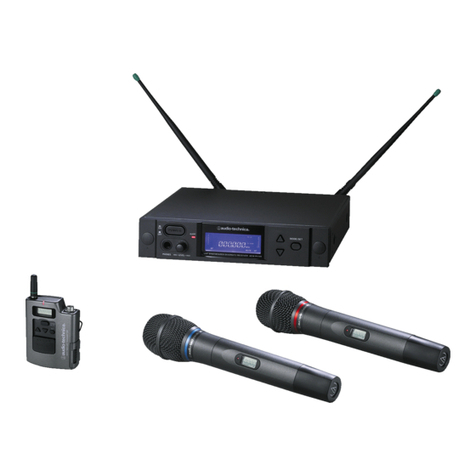
Audix RAD-360 User manual

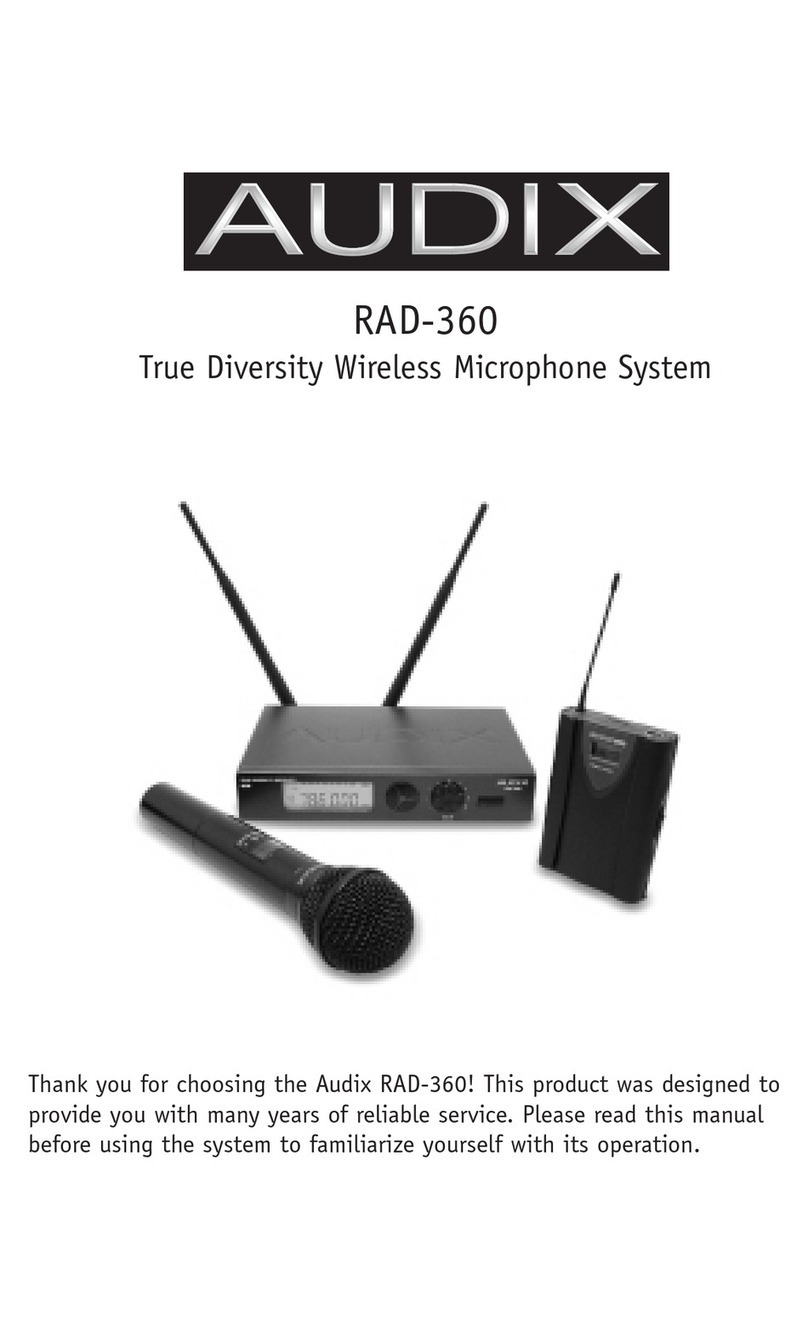
RAD-360
True Diversity Wireless Microphone System
Thank you for choosing the Audix RAD-360! This product was designed to provide you
with many years of reliable service. Please read this manual before using the system
to familiarize yourself with its operation.

1
Table of Contents
Introduction....................................................2
Types Of Transmitters ...........................................2
Frequency Groupings............................................3
Important Items ................................................3
Unpacking.....................................................4
Description Of Receiver ........................................5-6
Description Of Handheld Transmitter................................7
Description Of Bodypack .........................................8
Setting Up The Receiver .........................................9
Connecting The Power...........................................9
Connecting Antennas ............................................9
Connecting The Receiver........................................10
P.A. Application................................................10
Guitar Application ..............................................10
Battery Installation .............................................11
Setting The Frequency On The Receiver............................12
Setting The Frequency On The Handheld Transmitter .................13
Setting The Frequency On The Bodypack ...........................14
Locking/Unlocking The Receiver ..................................15
Locking The Handheld Transmitter ................................16
Unlocking The Handheld Transmitter...............................17
Locking/Unlocking The Bodypack .................................18
Adjusting Sensitivity On The Handheld Transmitter....................19
Adjusting Sensitivity On The Bodypack .............................20
Using The Bodypack ........................................21-22
Using The Scan Feature On The Receiver ..........................23
Battery Life Indicators...........................................24
Performance Tips ...........................................25-26
Troubleshooting ...............................................27
Specications ..............................................28-30

2
INTRODUCTION:
NOTICE: Users of wireless microphones in the USA, on frequencies listed
under FCC part 74.801 must comply with eligibility & licensing requirements
under FCC Part 74.832. Please review terms at:
www.access.gpo.gov/nara/cfr/waisidx_00/47cfr74_00.html
Receipt or use of this product acknowledges acceptance of the FCC
regulations. For further questions, you may contact Audix.
Wireless microphones have risen in popularity in the last several years. With
the improved technology available today, your Audix wireless system is able
to offer excellent sound quality and reliable performance for a wide range of
applications ranging from Houses of Worship to professional concert stages.
While it is true that wireless systems allow for greater freedom of movement,
they have also introduced a new set of performance challenges. This section
is intended to give you some guidelines to ensure optimal performance with
your Audix Wireless System.
Types of transmitters:
1. The handheld: The handheld is just what it sounds like. It looks similar to
your wired handheld mic you use on stage, and acts the same, except no
wires!
2. The Bodypack: The Bodypack is a transmitter you wear clipped to your
clothing. There are a variety of different mic options to plug into the
Bodypack. These include; a lavaliere (also known as a lapel mic), a
headset mic, and a clip-on mic for saxophone or brass instruments. An
adapting cable is available for use with guitar or bass. Audix has all of
these options available.
RF:
All wireless mics work on Radio Frequencies (RF). Whether in the VHF or
UHF band, all transmission of wireless information is via RF. The Audix
RAD-360 is in the UHF band with 193 user selectable frequencies per
frequency group.

3
Care and consideration must be given in the positioning of the receiver as
well as the transmitter. Metal in your walls, large numbers of people, other
wireless mics, TV stations, radio stations, distance, and battery strength are
among the things that can interfere with RF transmission.
Frequency Groups Available:
PURPLE (P) = 614 Mhz - 638 MHz (USA)
BLACK (B) = 638 MHz - 662 MHz (USA)
RED (R) = 782 MHz - 806 MHz (International only)
GREEN (G) = 790 MHz - 814 MHz (International only)
Important Items:
1. Never open up the receiver! Doing so will void the warranty and may
expose you to potential electrical hazards.
2. Always un-plug the receiver prior to moving it to a new location.
3. If you are not planning to use the system for a long period of time,
Audix recommends that you remove the batteries from the transmit-
ter.
4. Do not expose the units to direct sunlight or heat sources such as an
electric heater.
5. Do not expose the units to excessive moisture or submerge them in
water
6. If it becomes necessary to clean your RAD-360 System, use a clean
damp cloth for this purpose. Do not use cleaning agents or solvents.

4
UNPACKING YOUR RAD-360:
Before beginning installation of your Wireless System, please check the list on
the side of your packing box for contents and be sure all the components are
included. Your system should include a combination of the following compo-
nents:
1. (1) RAD 360 Receiver
2. (1) RAD 360 Transmitter. This may be either a Handheld or Body
pack Transmitter.
a) If you have purchased a Bodypack system you will also
have one (1) mic to be plugged into the Bodypack.
b) If you purchased the guitar system, you will receive one (1)
guitar cable to plug into the Bodypack.
3. (1) Power Supply
4. (2) Antennas
5. (1) Rack Mount Kit and screws
6. (1) Padded carrying case
7. (1) 1/4" - 1/4" audio patch cable
8. (1) Screwdriver for changing settings on the Bodypack
Once you have veried each of these components is present, you are ready
to begin the installation of your RAD-360 System.

5
Description of RAD-360 Receiver
(front)
Front Panel:
1. LCD Display Screen: Displays status of both Transmitter and Receiver
including Channel, RF level, Audio Level, and Battery life.
2. SET button: This button is used to change and store settings.
3. UP button: Changes parameter “up” or increase
4. DOWN button: Changes parameter “down” or decrease
5. GAIN control knob: Controls output of signal to mixer/preamp.
6. POWER switch

6
Description of RAD-360 Receiver
(back)
Back Panel:
7. STRAIN RELIEF for power cable: Prevents power cable from
being pulled out.
8. POWER PLUG input: Always use included power supply. Use of
any other power supply other than the one provided may damage
your unit and void your warranty.
9. UNBALANCED AUDIO OUT: Provides an unbalanced output
from receiver to audio mixer.
10. BALANCED XLR AUDIO OUT: Provides a balanced output
from receiver.
11. ANTENNA SOCKETS: Connects either antenna or extension cable.
12. SERIAL NUMBER: Please retain for your records and warranty.

7
Description of RAD-360 Handheld Transmitter
1. LCD Display Screen: Displays status of transmitter including Channel and
Battery Life.
2. DOWN button: Changes parameter “down” or decrease.
3. SET button: This button is used to change and store settings.
4. UP button: Changes parameter “up” or increase.
5. GRILL: Constructed of extremely durable spring steel to resist scratches
and dents.
6. BODY
7. BATTERY COMPARTMENT COVER
8. POWER SWITCH: Also functions as a mute switch.

8
Description of RAD-360 Bodypack Transmitter
1. Antenna
2. Power switch
3. LCD Display Screen: Displays status of transmitter including
Channel and Battery Life.
4. Mic or guitar cable connector
5. UP button: Changes parameter “up” or increase.
6. DOWN button: Changes parameter “down” or decrease.
7. SET button: This button is used to change and store settings.
8. Sliding cover latches
9. Sliding protective metal cover
10. Three position pad
11. Gain potentiometer 20dB
12. Belt clip
13. Battery compartment (note polarity)
Front
Back
Battery Compartment

9
Setting up the Receiver
Connecting Power:
Begin by looping POWER CABLE through STRAIN RELIEF (g. 1). This will
prevent cable from being pulled from socket during operation. Plug POWER
CABLE into POWER SOCKET (g. 2). Connect to power source.
g. 1 g. 2
Connecting Antennas:
Line slots on ANTENNA up with ANTENNA BNC SOCKET on back of unit (g.
3). Push ANTENNA on and twist clockwise to lock using knurled section of
ANTENNA (g. 4).
g. 3 g. 4

10
Connecting the Receiver:
The Audix RAD 360 features balanced and unbalanced outputs to allow you
to connect it to a wide variety of audio and instrument sound systems:
P. A. Application:
Connect the audio output of the RAD 360 Receiver to the audio input of your
PA system using a balanced (XLR) or unbalanced (1/4") cable (not included).
Guitar Application:
Connect the unbalanced (1/4") output of the RAD 360 Receiver to the input of
the guitar amplier.

11
Battery Installation
The RAD-360 transmitters require (2) AA batteries to
operate. Please observe the polarity markings in the
compartment to ensure proper operation. Always use
batteries of the same make and age to prevent possible
damage to the transmitters.
Handheld battery installation: Unscrew base of hand-
held and remove sleeve, exposing battery compartment.
Bodypack battery installation: Press latches on both
sides of transmitter and slide aluminum sleeve up,
exposing battery compartment.

Setting the Frequency on the
RAD-360 Receiver
1. Power the system up. From the startup screen, press and hold the SET
button until you see the word “FREQUE”.
2. Use the UP and DOWN buttons to set the desired frequency.
3. Press SET to store.
Important: Be sure to set the transmitter and receiver on the same frequency.
The frequencies need to match in order for the system to work.
12

13
Setting The Frequency on the RAD-360
Handheld Transmitter
1. From the startup screen, press and hold the SET button until you see the
word “FREQUE”. Be patient as it will take approximately
2 seconds for this function to trigger. The “MHz” in the upper right hand
corner of the display will start to blink.
2. Use the UP and DOWN buttons to set the desired frequency to match the
receiver. The “MHz” in the upper right hand corner of the display will con-
tinue to blink.
3. Press SET to store. The “MHz” will stop blinking.
Important: Remember that only one transmitter at a time may be used with
one receiver. In order to operate two transmitters simultaneously you will need
to have two receivers, and so on.

Setting The Frequency on the RAD-360 Bodypack
Transmitter
1. From the startup screen, press and hold the SET button until you see the
word “FREQUE”. The “MHz” in the upper right hand corner of the display
will start to blink.
2. Use the UP and DOWN buttons to set the desired frequency. The “MHz” in
the upper right hand corner of the display will continue to blink.
3. Press SET to store. The “MHz” will stop blinking.
Important: Remember that only one transmitter at a time may be used with
one receiver. In order to operate two transmitters simultaneously you will need
to have two receivers, and so on.
14

15
Locking/Unlocking RAD-360 Receiver
Locking the receiver will prevent changes to the settings.
1. Press and hold the UP button until you see the words “LOC ON”. Once the
unit is locked, you will not be able to change parameters or power down
until the unit is unlocked.
2. To unlock, press and hold the UP button until you see the words “LOC
OFF”.

16
Locking the RAD-360 Handheld Transmitter
1. From the startup screen, press and hold the SET button until you see the
word “FREQUE”.
2. Press SET once again and you will see “SENSIT” on the display.
3. Press SET again to display “LOCOFF”. Press the Up button to set it to
“LOCON” to activate the lock.
4. Press SET to store.

17
Unlocking the RAD-360 Handheld Transmitter
1. From the startup screen, press and hold the SET button until you see
“LOCON”.
2. Press the Down button to change to “LOCOFF”.
3. Press SET to store.

18
Locking/Unlocking the RAD-360 Bodypack
Transmitter
1. Press and hold the UP button until you see the words “LOC ON”.
To unlock, press and hold the UP button until you see the words “LOC OFF”.

19
Adjusting the Sensitivity on the RAD-360 Handheld
Transmitter
The RAD-360 Handheld features adjustable sensitivity to increase/decrease the output
stage of the microphone. This helps to improve gain before feedback and to prevent
overloading the mixer/preamp.
1. From the startup screen, press and hold the SET button until you see the
word “FREQUE”.
2. Press SET once again and you will see “SENSIT” on the display.
3.
Press either UP or DOWN to adjust the output of the transmitter from -0 db to -24 db.
Use the “AF” bar graph on the Receiver to gauge your settings.
4. Press SET to store.
Other manuals for RAD-360
1
Table of contents
Other Audix Microphone System manuals
