manuals.online logo
Brands
  1. Home
  2. •
  3. Brands
  4. •
  5. Aura
  6. •
  7. Water Heater
  8. •
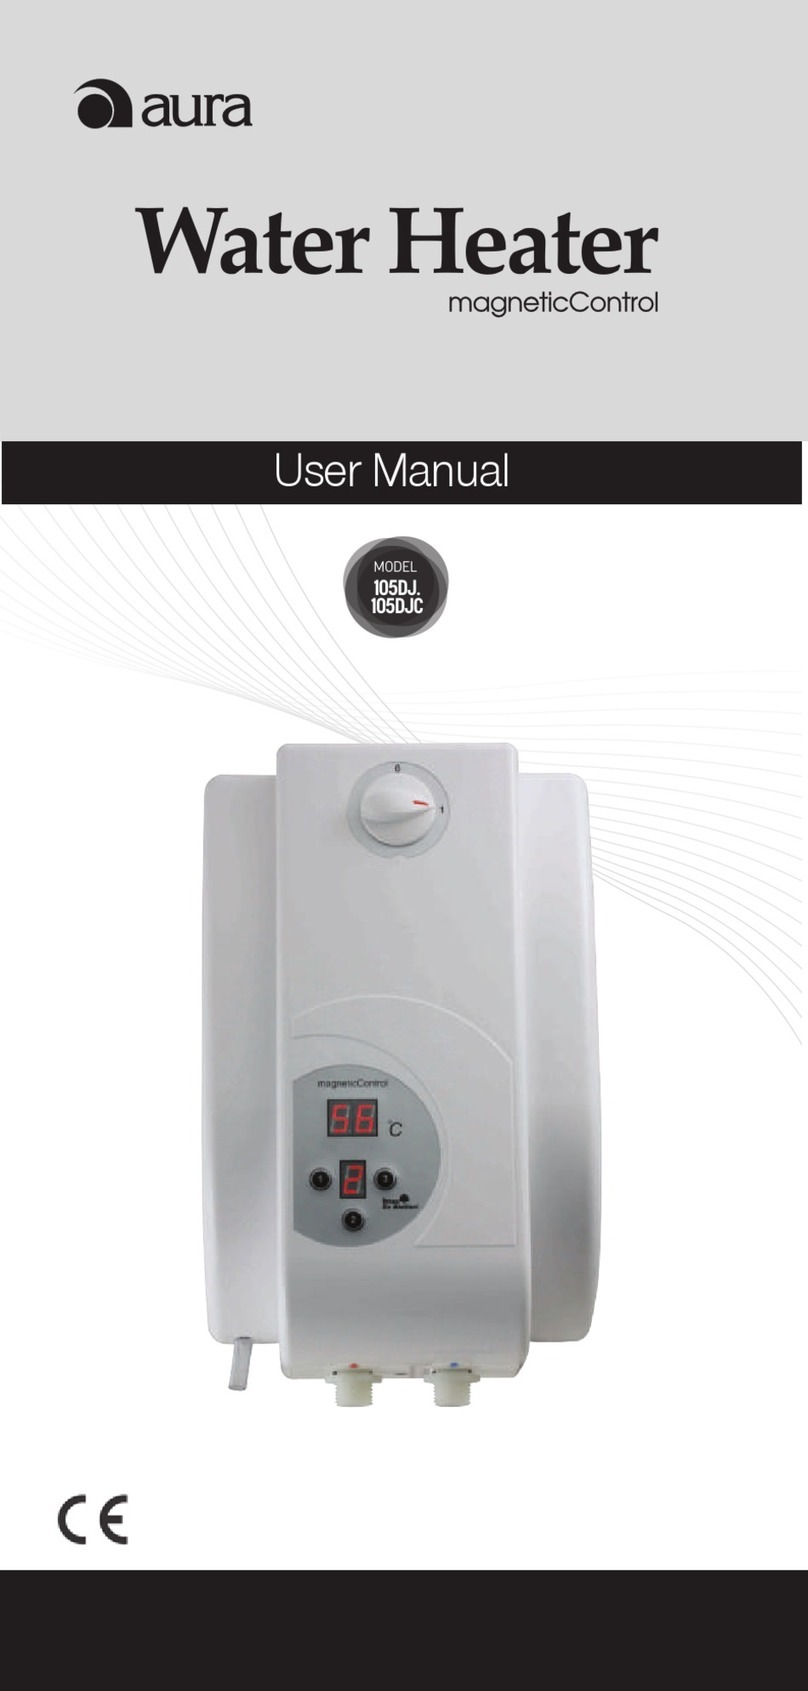
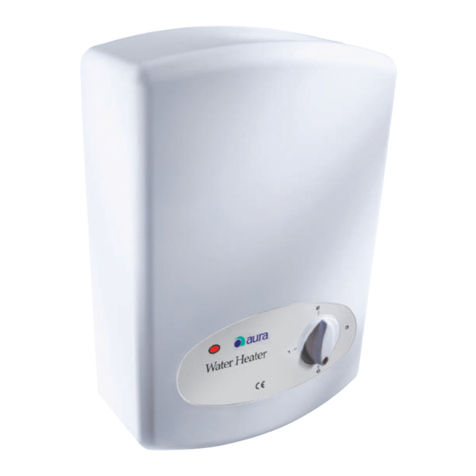
  9. Aura 105MC Seies User manual

Aura 105MC Seies User manual

TECHNICAL SPECIFICATIONS
Voltage : 230 VAC
Frequency : 50-60 Hz
Power : 7 kW
Operatable min. water pressure : 2.5 mSS
Inlet Controlled Pressure : 0 Pa (model 105MC...)
Outlet Controlled Pressure : 600 kPa (model 105MC..C)
Min. Operating Pressure : 25 kPa (2.5 mSS)
Max. Operating Pressure : 600 kPa (61 mSS)
Flow rate : 100-240 L/hour
Size (H, W, D) : 330x210x110 mm
Net Weight: : 2 kg
Protection Class : l
Zmax : 0.21 + j 0.13 Ώ
Protection aganist moisture : IP44
MODEL
105 MC...
105MC..C
USER MANUAL
Dear Customer,
Thank you for choosing our product. We hope that
microControl Water Heater, which has been manufac-
tured in modern facilities in pursuant to high-quality
standards, will provide the best efficiency for you.
Therefore, please read the entire user manual thorough-
ly and keep it for future reference.
WARNING!
The water inlet of this appliance shall not be connected
to inlet water obtained from any other water heating
system.
This appliance is not to be used for a potable water
supply.
INTRODUCTION OF WATER HEATER
• It is under the consumer's own responsibili-
ty to suit electrical and water installation to
the water heater.
• For your appliance with 7 KW heating power
being able to be mounted, have its necessary
electrical and water installation made by
qualified electricians and plumbers.
• The electrical connection of the device
should be grounded. It should never be used
in buildings which do not have an earth, have
an inadequate earth or an earth which fails to
comply the rules. Otherwise, our company
shall not be responsible from problems to be
occurred.
• Your appliance is only for household use. It
should not be used for commercial or
industrial purposes (at hairdressers which
require continuous hot water, and workplaces
such as construction sites, small scale
workshops etc.).
• Your appliance can not be connected to
main water supply in the flat, should be
connected to where authorized service
deems suitable.
• Authorized Service only makes the
electrical connection of the appliance to the
completed installation, and its initial starting.
• Do not mount your water heater where the
water in its inside may freeze. In case the
water freezes, do not operate your appliance.
• The appliance should be connected to
minimum 32 Ampere-Automatic fuse.
• When your appliance is operating, do not
operate other devices which have more than 1
KW power (oven, iron, washing machine,
dishwasher etc.).
• Only use the hose and fittings given with the
appliance when installing. Do not use
pre-used hose or fittings.
• Always contact with Authorized Service for
all kind of malfunctions, maintenance and
spare part procurement.
• In places where the water pressure is more
than 6 bars, it is recommended to insert a
pressure reducer regulator to cold water inlet
of your water heater. The hoses or pipes
which shall be directly connected to the
installation should be resistant to 6 bar
operating pressure.
• According to the season's temperature, inlet
water temperatures will vary. You may supply
hot water as you wish by adjusting the water
temperature selection stepping switch and
water inlet amount.
• Power supply of the water heater is
deactivated in case of inadequate pressure or
water cut. When it reaches the adequate
pressure, power supply is activated again.
• This appliance can be used by children form
8 years and above and people with reduced
physical, sensory or mental capabilities or
lack of experience and knowledge if they
have been given supervision or instruction
concerning the use of the appliance in a safe
way and understand the hazards involved.
Children must not play with the appliance.
Cleaning and maintenance by the user must
not be performed by children, unless they are
over 8 years old and supervised. Keep the
appliance and its cord out of reach of children
aged less than 8 years.
• This device must be mounted vertically.
• Power selector should be at “0” position
when the appliance is not used.
IMPORTANT WARNINGS
1. Front Casing
2. Power selector switch
3. Shower head
4. Adjistable holder
5. Fixed holder
6. Outlet hose
7. Tap
8. Inler hose
9. Lock nut
10. Rear casing
11. Mounting Holes
Instant Water Heater
GENERAL FEATURES
POWER SWITCH
Controls the power as 3 different level (3,4,7 kW) to adjust the water
temparature.
INDICATION LAMPS
The lamp at the top indicates the power, the other lamps indicate power
levels.
DIAPHRAGM GROUP
This sophisticated group controls the power depending on the differen-
tial pressure on both sides of rubber membrane. It shuts of the power
when the differential pressure is not enough.
THERMOSTAT
Prevents the over heating of the water by shutting off the heating
element.
RESET THERMOSTAT
It is a double safety feature for over heating. If thermostat is failed its
function, reset thermostat prevents over heating.
HOW TO OPERATE
1. Turn on the water tap. (Figure 1)
2. Adjust the flow rate by using the spherical valve. (Figure 2)
3. Depending on the season and water temparature desired, the selector
switch should be positioned to the desired level of 1,2 or 3.
4. To turn off your water heater, the power selector switch should be at
“0” position first. Wait until water cools down.
5. When water cools down, close the water tap.
6. This shut off prosess will protect the heater resistance against lime
scale deposits resulting decrease on heating and resistance failure.
Figure 1 Figure 2 Figure 3
MAINTENANCE
1. The maintenance of the appliance must be performed by an authorized
service personal only.
2. Before any maintenance or service, turn off the main power of the house.
Make sure that the power is off by checking with a voltmeter.
3. If the water has too much lime, a water purificating system is recommend-
ed to purify water. The failures caused by lime scale deposits is not under
warranty.
4. For open outlet water heaters used with spray head and spray head must
be descaled regularly.
5. Clean the front casing with a cloth using detergent. (do not use gasoline,
solvent, thinner, etc. for cleaning the case)
INSTALLATION MOUNTING OF DEVICE FOR
OPEN OUTLET (MODEL 105MC...)
Mounting of Device to Shower and Parts to be used
MOUNTING OF DEVICE
FOR CLOSED OUTLET
(MODEL 105MC..C)
Mounting of Device to Main Pipe Line
* Water inlet and outlet of the device
is R 1/2”.
* Connect the blue colour cold
water inlet pipe to cold water pipe
line with a flexible hose.
* Connect the red colour hot water
outlet pipe to hot water pipe line with
a flexible hose.
CAUTION !
The water outlet
must not be connected to
any tap/valve or fitting other
than those specified.
WARNING: All poles shall be disconnection with contact opening at least 3.5
mm means for disconnection must be incorporated in the fixed wiring should be in
accordance with the national wiring rules. The appliance must be connected to water
supply should be according the national installation rules.
MOUNTING DIAGRAM
Figure 1 Figure 2
Figure 3 Figure 4
The cable connections of the product are
made, the package is opened at the front
side for wall mounting, the card cable is
removed from the card
The ends of the antigron cable are
exposed, a hole is made in the sealing
gasket and it is mounted on the back cover
The back cover is fixed on the wall at 4
points using dowels and screws
The cable is fixed with a cable clamp and
the end of the cable is screwed into the
connector
Figure 5 Figure 6
After the back cover is fixed onto the wall, the card cable on
the back cover is mounted upon the card on the front
cover, then the front cover is fixed
After the back cover is
fixed onto the wall, screw
the front box

This manual suits for next models

1

Other Aura Water Heater manuals

Aura Magnetic Control 105DJ Series User manual

Aura

Aura Magnetic Control 105DJ Series User manual

Aura 105 A5 S1T User manual

Aura

Aura 105 A5 S1T User manual

Popular Water Heater manuals by other brands

Thermal Solutions EVAW Series Installation, operating and service instructions

Thermal Solutions

Thermal Solutions EVAW Series Installation, operating and service instructions

AQUAS AQUA FULL PRO 9.5 KW Instructions guide and user manual

AQUAS

AQUAS AQUA FULL PRO 9.5 KW Instructions guide and user manual

CORBERO CTWD30DT user manual

CORBERO

CORBERO CTWD30DT user manual

Keltech SNA-36 Installation

Keltech

Keltech SNA-36 Installation

Bosch TR4000 installation instructions

Bosch

Bosch TR4000 installation instructions

Sime ECOMAXI VB 80 Assembly, installation and operation instructions

Sime

Sime ECOMAXI VB 80 Assembly, installation and operation instructions

Kospel LUXUS KDH-9 Operating and installation instructions

Kospel

Kospel LUXUS KDH-9 Operating and installation instructions

STIEBEL ELTRON DHX 15 Select Operation and installation instruction

STIEBEL ELTRON

STIEBEL ELTRON DHX 15 Select Operation and installation instruction

IO-Homecontrol HPWH 200 COZY User's installation and operation manual

IO-Homecontrol

IO-Homecontrol HPWH 200 COZY User's installation and operation manual

Autopot FlexiTank Assembly instructions

Autopot

Autopot FlexiTank Assembly instructions

DeDietrich KALIKO Essentie ETWH 180 E user guide

DeDietrich

DeDietrich KALIKO Essentie ETWH 180 E user guide

A.O. Smith BTH 120 Service and parts manual

A.O. Smith

A.O. Smith BTH 120 Service and parts manual

Immergas Super CAESAR manual

Immergas

Immergas Super CAESAR manual

Drazice TO-20 OPERATING AND INSTALLATION Manual

Drazice

Drazice TO-20 OPERATING AND INSTALLATION Manual

Daikin EKHTSU200AA installation manual

Daikin

Daikin EKHTSU200AA installation manual

Froling FT 119 Installation and operating instructions

Froling

Froling FT 119 Installation and operating instructions

Raypak 260-401 Installation and operating instructions

Raypak

Raypak 260-401 Installation and operating instructions

Havells Bello Digital-15 operating instructions

Havells

Havells Bello Digital-15 operating instructions

manuals.online logo
manuals.online logoBrands
  • About & Mission
  • Contact us
  • Privacy Policy
  • Terms and Conditions

Copyright 2025 Manuals.Online. All Rights Reserved.