INSTALLATION AND USER MANUAL
1
4
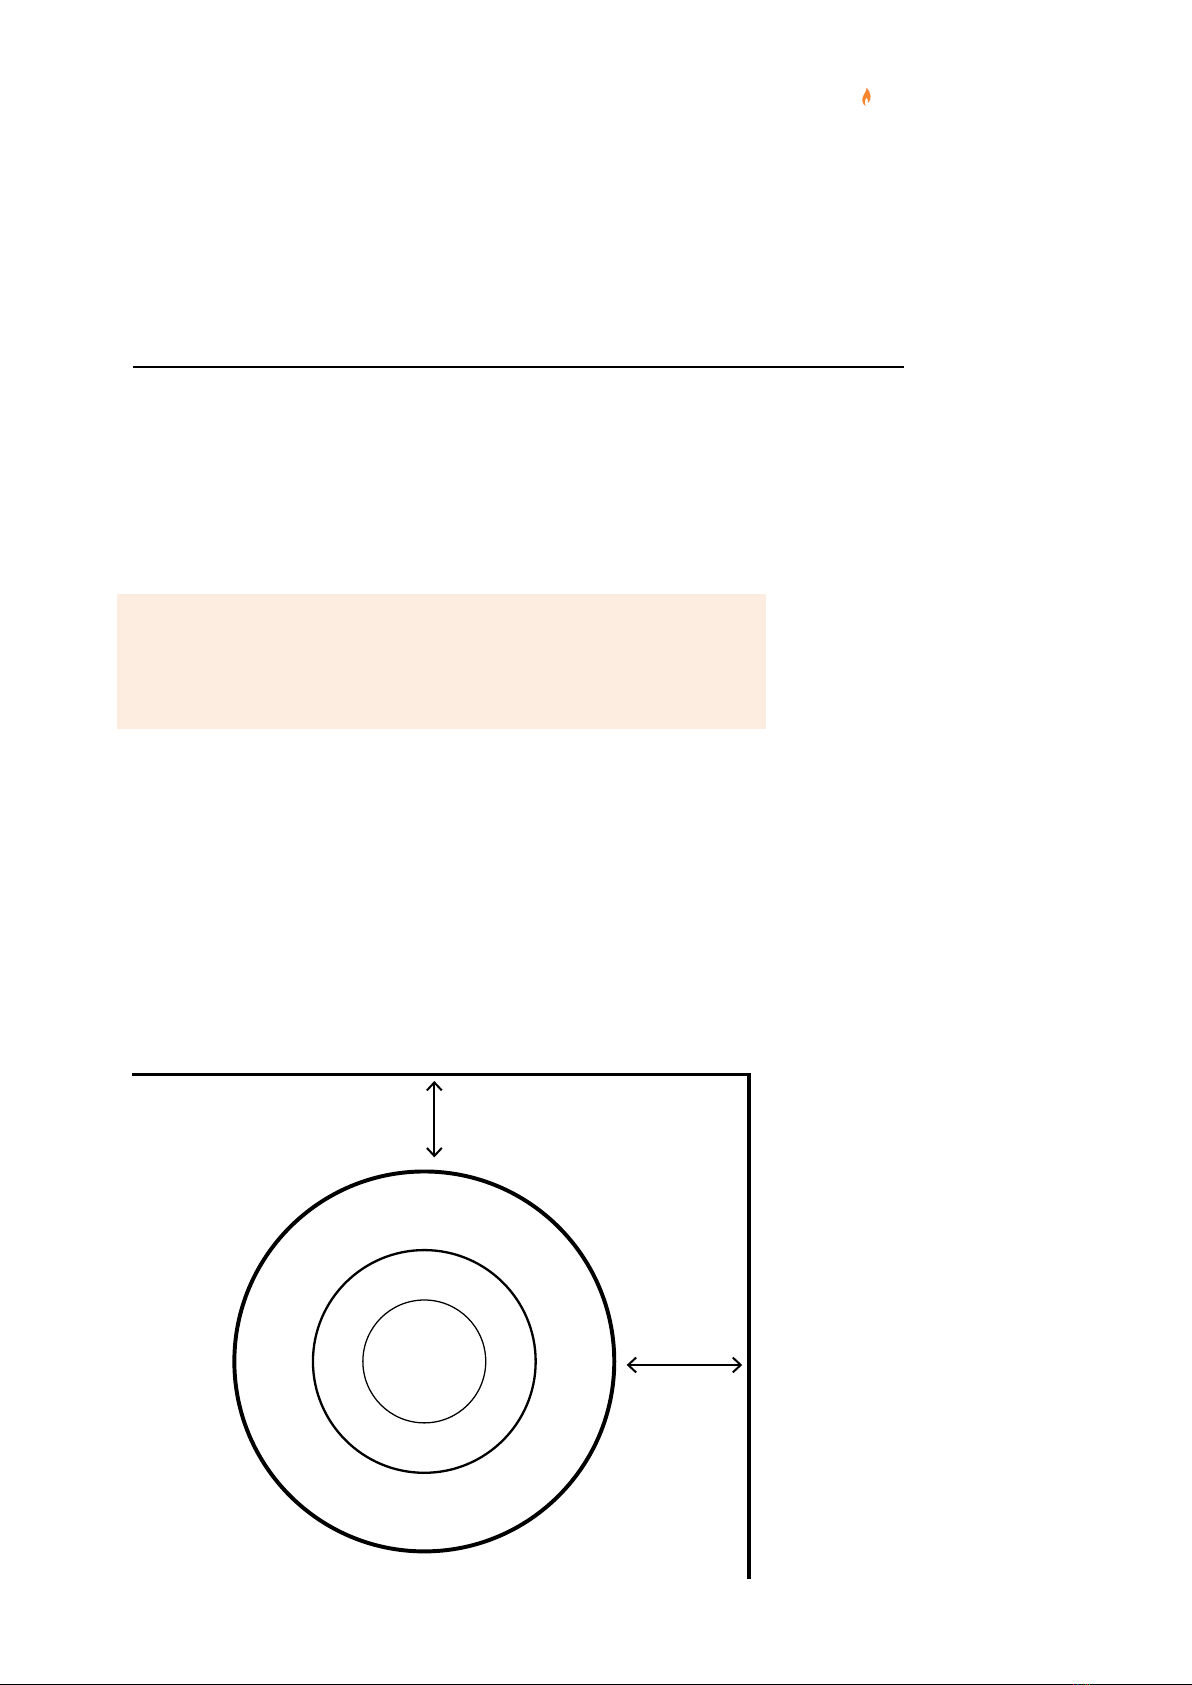
PLANNING
For your safety, ensure you have read the
operaon guidelines prior to use. Your re
must be installed by a qualied professional.
Refer to our website for assistance nding
an installer in your area:
aurorasuspendedres.com/planning-custom-
er-support/faq/
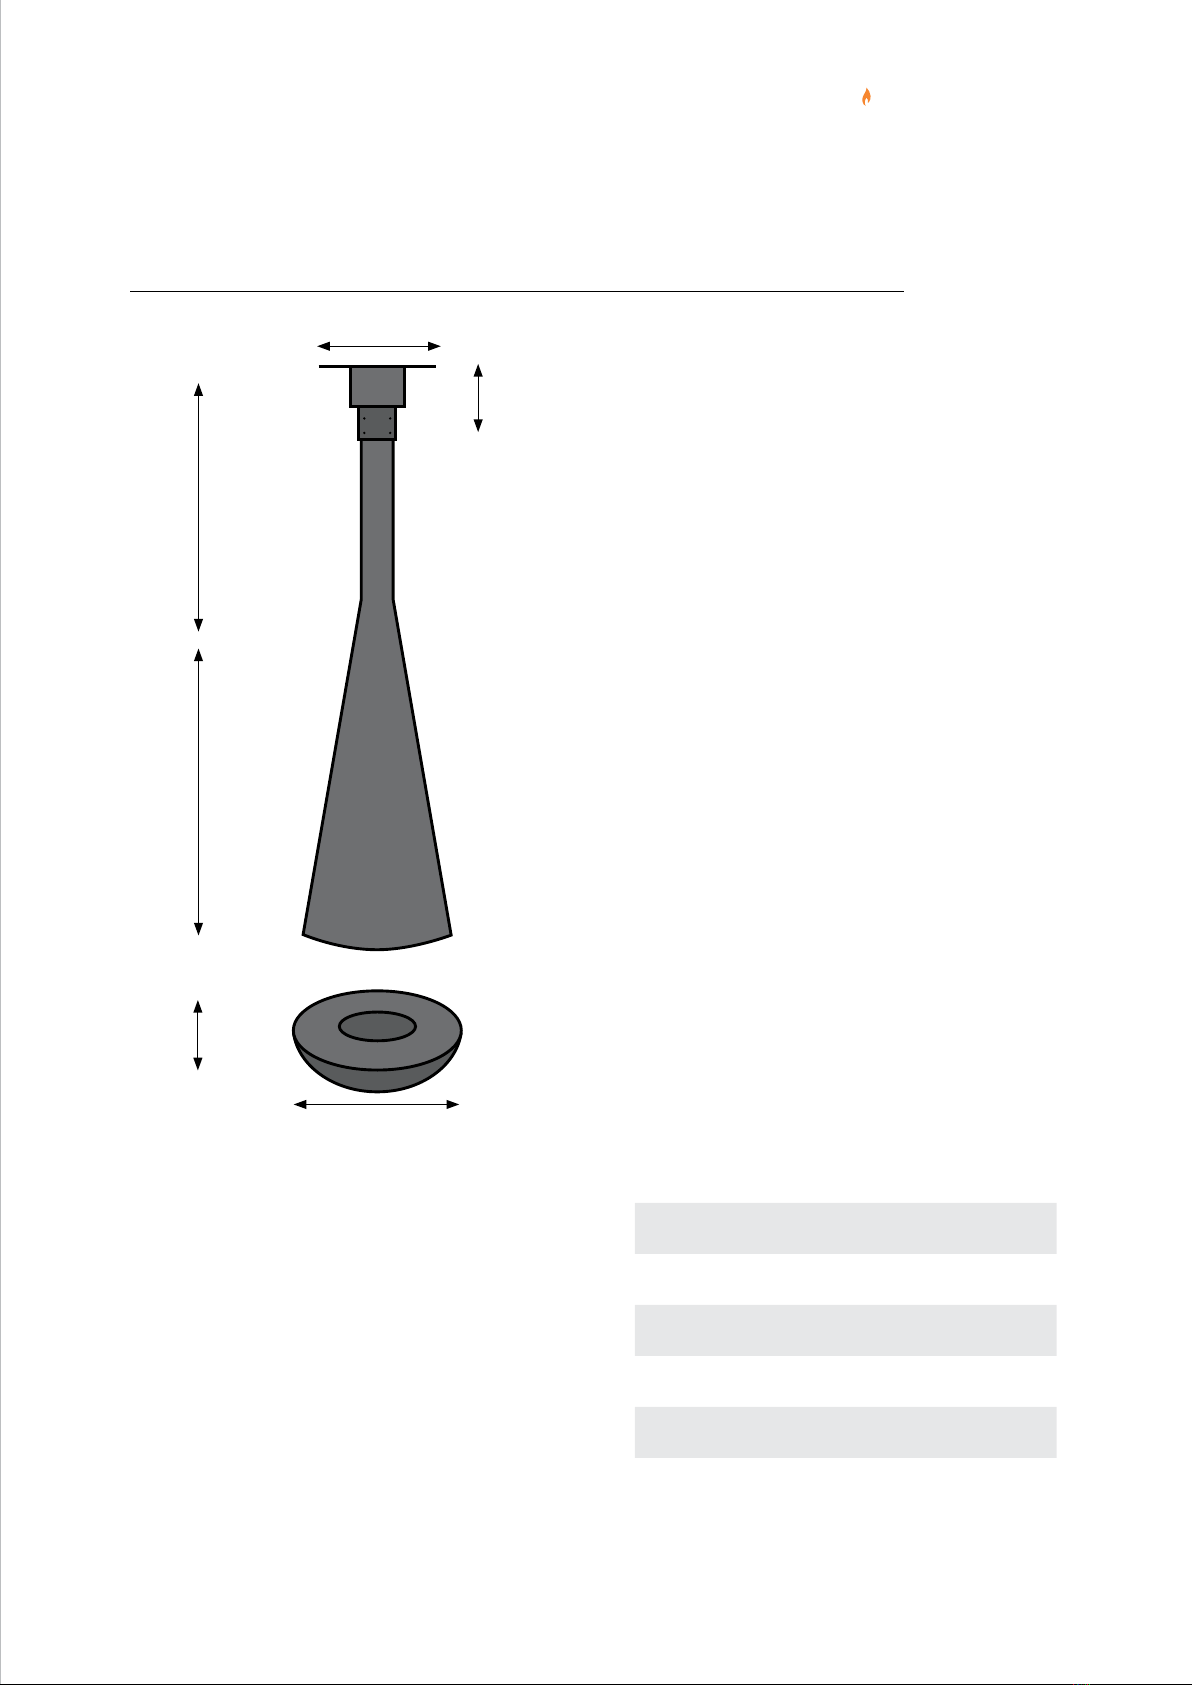
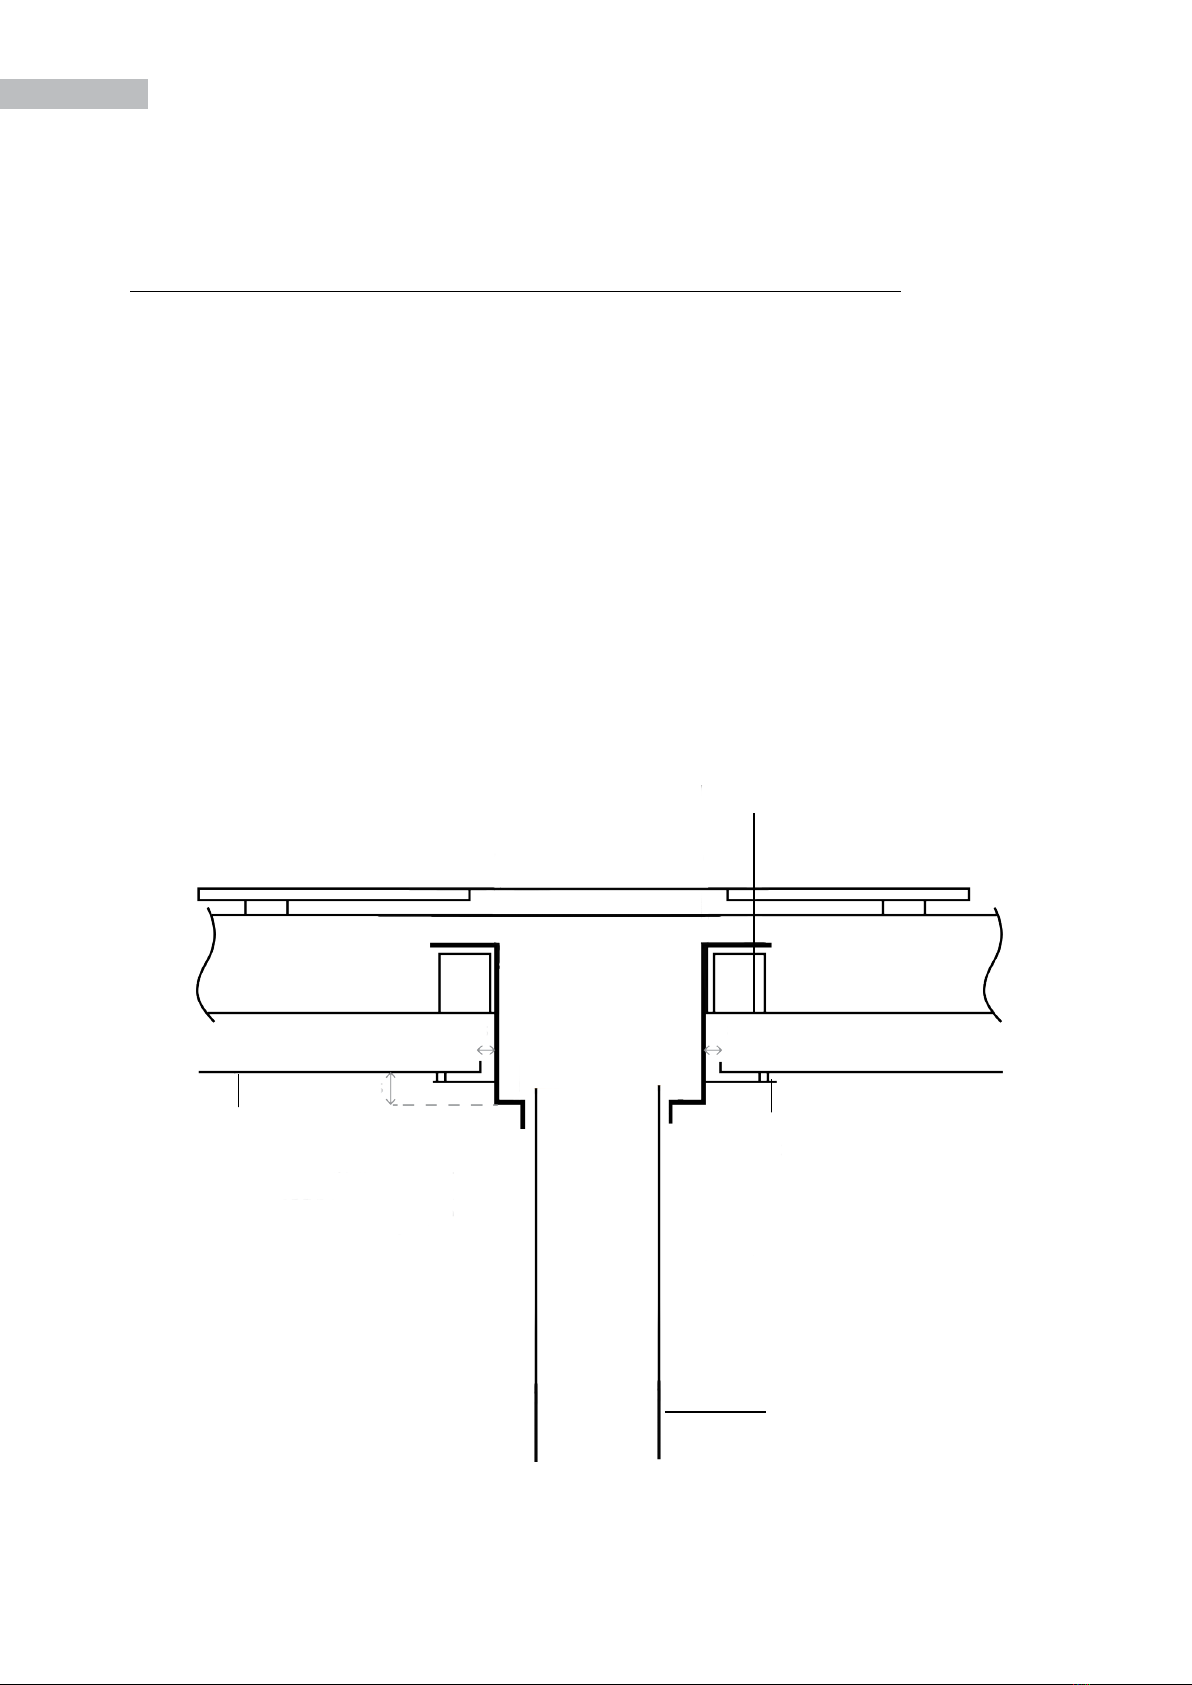
INSTALLATION PROCESS
1. Choose the posion of rebox and
ue ensuring that you follow the
clearances described within this
secon.
2. Install the suspension bracket
3. Install the lower ue
4. Install the hood
5. Fix the base to the oor
6. Insert the burner and glass re screen
!Mixing of appliance or ue-system
components from dierent sources or
modifying the dimensional specicaon
of components may result in hazardous
condions. Where such acon is
considered, Aurora res should be
consulted in the rst instance.
INTRODUCTION