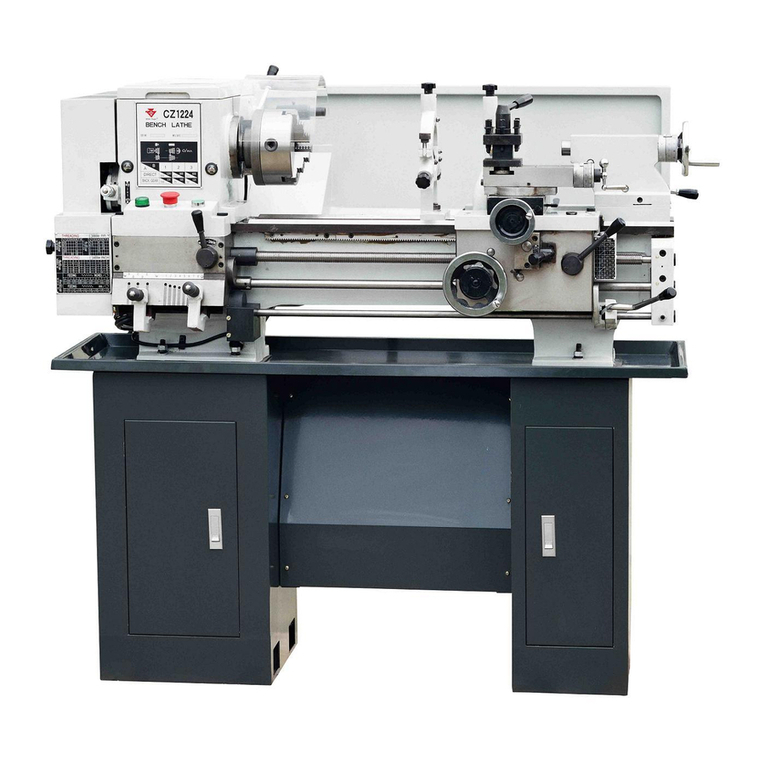
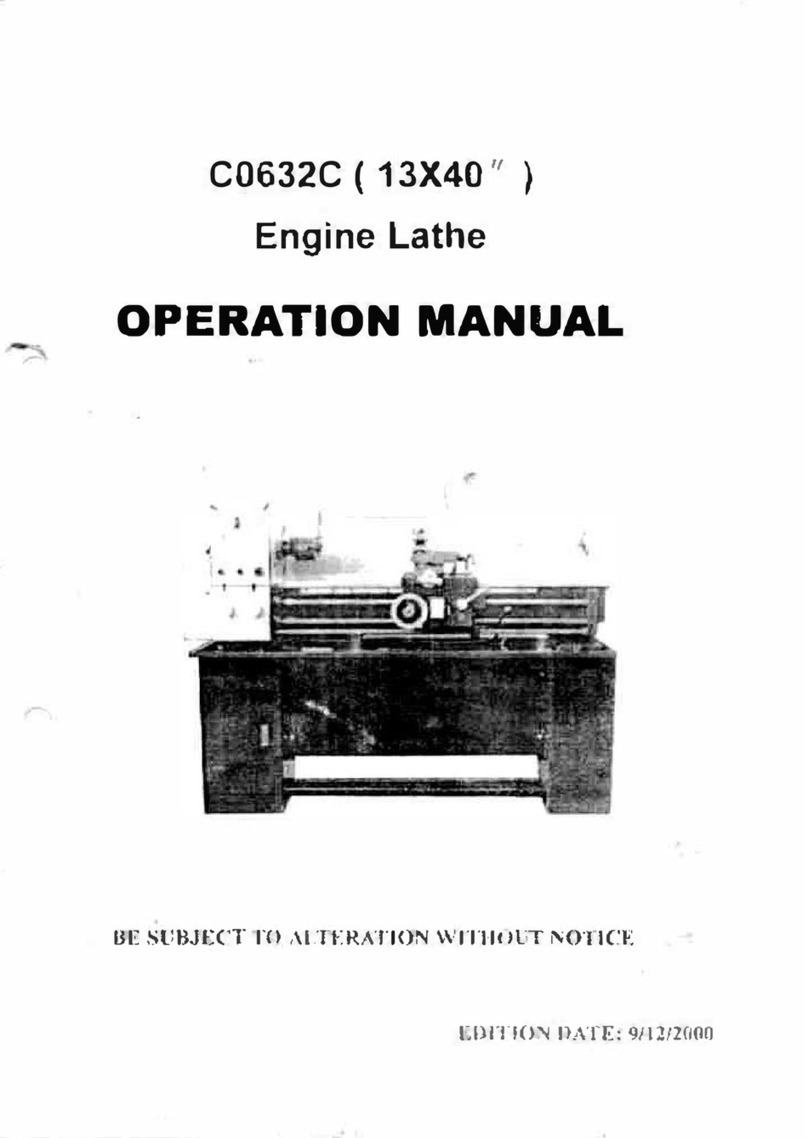
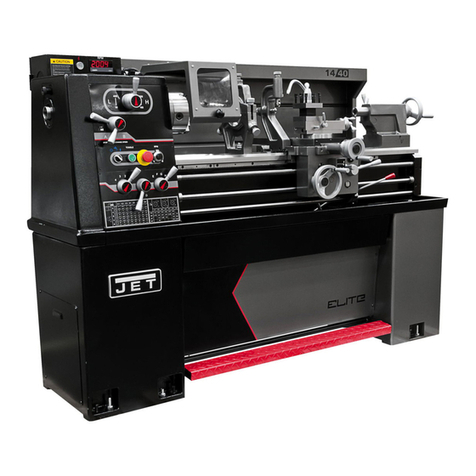
Auto Mate Raptor TC-1417 User manual

RAPTOR TC-1417
COMPACT TURRET LATHE
Safety Guidelines | Deli ery & Set-Up Guide | Maintenance Schedule | Quick-Start Guide
800-476-4849 | 170 Aprill Drive | Ann Arbor, Michigan 48103 | USA

Thank You For Your Order!
Congra ula ions on your purchase of an Au oMa e CNC La he. Wi h proper se up and care, your
machine will provide many years of quali y work and produc ivi y.
This guide covers general ins ruc ions for se up and main enance for he Au oma e CNC La he. In
addi ion o his guide you will also receive a machining opera ions and programming handbook
for he Siemens 808D con rol sys em. We s rongly recommend keeping his se up guide wi h he
manual when your machine arrives.
Enjoy your new CNC Lathe!
This manual is specifically written for the
RAPTOR TC-1417 CNC LATHE
by
De roi Machine Tools
170 Aprill Drive
Ann Arbor, MI
48103
For additional assistance or information,
you may contact us by
Phone: 800-476-4849
Fax: 800-431-8892
Email: [email protected]
Web: www.detroitmachine.tools

Index
Safety Guidelines ……………………………………………………………………………. 3
Specifications …..…………………………………………………………………………… 14
Deli ery & Setup ……………….………………………………………………….…… 16
Maintenance ………………………………………………………………..………………. 26
General operation …………………………………………………………………………. 30
Warranty ………………………………………………………………………………………. 31

Safety Guidelines
General Safety Guidelines - Safety
First!
O er iew
General opera ional echniques and safe y
procedures will be ou lined in hese
guidelines. Please no e, for example, ha
all ro a ing par s, wherever feasible, are
pro ec ed by specially designed covers and
shields. If he machine is opera ed in
accordance wi h he manufac urer’s
ins ruc ions, i will provide you wi h reliable
service. Wi h machines of his na ure,
serious acciden s may occur due o
improper or careless opera ion. I is
s rongly recommended ha you read his
manual and accompanying manuals o
unders and horoughly he con en s. No
every example of improper opera ion or
unau horized usage which may lead o
malfunc ion can be an icipa ed. If a
par icular opera ion is no documen ed in
his manual as an au horized usage of he
equipmen , i should be assumed ha i is
an unau horized or improper usage wi h
po en ial danger and should be avoided or
he manufac urer should be consul ed
before use.
Safety
This machine is provided wi h various safe y
devices o pro ec he opera or and
machine, however hese canno cover all
aspec s of safe y. The opera or mus
horoughly read and unders and he
con en of his manual before he machine
is urned on and opera ed. The opera or
should also ake in o considera ion safe y
aspec s rela ed o heir par icular
environmen al condi ions, ma erials and
ools.
Always observe the safety instructions
inscribed on the name plates fixed to the
machine.
DO NOT remove or damage these name
plates
DO NOT attempt to operate or turn on the
machine until you have read and
understood the manuals supplied with the
machine.
Safety Symbols Used In This Manual
Three ca egories of safe y guidelines have
been used hroughou his manual. Please
ake no e of hese symbols and unders and
heir meanings.
Danger
If his ac ion is no avoided, i could resul in
serious injury or even dea h. I may also
cause permanen damage o your machine.
Warning
If his ac ion is no avoided, i may cause
po en ial harm o your heal h resul ing in
serious injury. This oo has he po en ial o
cause serious damage o your machine.
Caution
If his ac ion is no avoided, i may cause
po en ial harm o your heal h such as minor
o modera e injury. No avoiding his ac ion
could resul damage o your machine.

DANGER SYMBOLS

WARNING SYMBOLS

Basic Points of Safety
There are high vol age erminals on he
elec rical con rol panel, mo ors, junc ion
boxes and o her equipmen . DO NOT ouch
any of hese componen s under any
circums ances, when he power supply is
ON.
Make sure ha all safe y covers are fi ed
and elec rical boxes are closed and secured
before he power is swi ched o ON.
If any componen s or safe y covers are o
be removed, firs swi ch off or disconnec
he main plug.
Memorize he posi ion of he EMERGENCY
STOP BUTTON on he machine so ha you
can press i immedia ely from any posi ion
is case of emergencies.
DO NOT ouch he ool holder while he
machine is running.
Under no circums ances, should you ouch
a ro a ing ool holder or work piece while
he machine is in opera ion mode.
To preven incorrec opera ion of he
machine, carefully check he posi ion of he
swi ches before opera ion.
If in doub , consul his manual or an
Au oMa e echnician for advice and
sugges ions.
Always unplug he main plug when he
machine is no in use.
If more han one person is opera ing he
machine, DO NOT proceed o he nex s ep
wi hou informing he o her opera or(s)
ha you are abou o do so.
DO NOT modify he machine in any way
ha will affec safe y.
Clothing & Safety
DO NOT subjec he machine, con rol box,
opera or panel, or elec rical con rol panel
o a high vol age surge.
DO NOT change he parame ers or
elec rical se ing values wi hou good
reason. If i becomes necessary o change
he parame ers or se ings, firs check wi h
an Au oMa e echnician o assure ha i is
safe o do so. Be sure o no e he original
values so ha he con rol can be rese o
ha value if necessary.
DO NOT pain , soil, damage, modify or
remove any of he safe y name pla es.
If he de ails become illegible or if he name
pla e is los , ob ain a replacemen from
De roi Machine Tools and moun i a he
original loca ion.
DO NOT remove any safe y covers while he
machine is in au oma ic opera ion mode.
STOP all machine opera ions before
cleaning he machine or any of he
peripheral equipmen . Af er a job has been
comple ed, se up each par of he machine
so i is ready o be used for he nex series
of opera ions.

Tie back long hair o preven en angling
wi h ro ary ools.
Always wear safe y equipmen .
Always wear a pro ec ive mask when
machining Magnesium alloys.
Ne er wear loose or baggy clo hing.
DO NOT opera e he machine while under
he influence of drugs or alcohol.
DO NOT opera e he machine if you suffer
from dizziness.
ALWAYS USE GLOVES when loading and
unloading workpieces or ools and
removing chips from he work area o
pro ec your hands from sharp chips and
burns caused by hea genera ed during
machining.
Close all covers and junc ion boxes before
running he machine.
Check all elec rical cables for damage o
preven elec rical shock.
DO NOT handle coolan wi h bare hands o
avoid irri a ion.
Always use wire rope or slings as per
s andards sui able for he load o be
suppor ed.
DO NOT remove or adjus swi ches o
increase axis ravel beyond he machine
specifica ions.
DO NOT wipe he workpiece or clear away
chips wi h your hand or a rag while he
spindle is in opera ion.
DO NOT allow chips o accumula e in he
work envelope.
Warm up he spindle and axis mo ion
before running he machine in au oma ic
mode.
DO NOT opera e he keyboard or opera ion
panel swi ches when wearing gloves.
DO NOT disconnec he main power cable
wi hou swi ching off he CNC and PC
connec ions.
Safety Aspects Related To Tools & Work
Holding
Always use proper cu ing ools and work
holding clamps sui able for he work and
wi hin he specifica ions of he machine.
DO NOT s all he machine during cu ing
due o improper feed and dep h of cu
sui able for he work piece ma erial.
DO NOT opera e he spindle above he
ra ed speed of he arbors/ ool holders and
cu ing ools you expec o moun and use
in any machining opera ion.
Replace worn ools as soon as hey are
iden ified.
Take care no o place any par of your body
in possible pinch poin s on he machine.
Make sure he ool leng h o diame er ra io
is proper in order o minimize vibra ion due
o excessive overhang condi ions.

Make sure he drawbar and he ool holders
are igh ened o he proper cu ing
condi ions before ac ual cu ing opera ions
begin.
Safety Aspects Related To
Maintenance
Always disconnec he power o he
machine before carrying ou any
main enance work.
Af er he power has been swi ched off for a
minimum of 60 minu es, check vol age wi h
a mul i-me er or equivalen me er o make
sure here is no residual vol age.
Main enance of elec rical and mechanical
componen s should only be carried ou by
individuals wi h working knowledge of he
machine ool.
DO NOT remove or modify swi ches.
Clean he machine areas af er main enance
is comple ed.
DO NOT use compressed air o clean he
machines.
Safety Aspects Related To The
Workplace
Always provide sufficien work space
around he machine and peripheral
equipmen .
Pro ec all cables from being damaged by
cu ing chips.

More Guidelines for Safe Machine Tool Operations
This machine is provided wi h various mechanical and elec rical safe y devices o pro ec he
opera or and he machine. The safe y devices include he in erlock devices and emergency
s op swi ches. However, i is absolu ely necessary ha he opera or familiarizes himself wi h
he ins ruc ion manual of he machine before opera ing he machine. The manufac urer
emphasizes ha i is he sole responsibili y of he opera or o ensure ha all opera ions using
he Au oMa e CNC La he are carried ou in a comple ely safe manner.
Nei her he manufac urer, i s represen a ives nor dealers can assume responsibili y for any
mishaps, damage or personal injury which may occur as a resul of improper opera ion or from
failure o observe he safe y precau ions men ioned in his manual.
Never opera e a CNC machine wi hou proper raining or consul ing he specific
opera or’s manual for ha par icular machine and con rol ype.
Never a emp o program a CNC machine wi hou proper raining or consul ing he
specific programmer’s manual for ha par icular machine and con rol ype.
CNC Machine Safety System
The buil -in safe y sys em on a CNC machine includes guards and pro ec ive devices which
should be securely fi ed and always kep in posi ion while he machine is being used. I may
include:
Emergency Stop Button
Used o shu down he machine immedia ely. I is loca ed on he con rol panel and a o her
poin s on he machine, for example he handheld uni .
Soundproof Cas ng
Reduces noise emission genera ed by he opera ing sec ion and pro ec s he opera or from he
risk of flying objec s or ool fragmen s.
Curta n Guards
Made of PVC and designed o pro ec he opera or from he risk of airborne chips or ool
fragmen s.
Guard Fence
The fence marks he working area in which he machine moves. I pro ec s he opera or from
he risk of in erference wi h moving par s. The guard may be of an open ype or made of mesh.

General Personal Safety Rules
Below are some general personal safety
rules that you should use as a guide only.
You might like to add any other rules that
apply to you and your environment.
Always:
Wear safe y glasses and hearing pro ec ion
when opera ing CNC machines.
Wear safe y glasses when closely observing
cu ing ools.
Wear safe y boo s or o her sui able
foo wear.
Keep long hair covered when opera ing CNC
machines.
Keep hands clear of moving par s during
machining opera ions.
S and clear of he machine while i ’s
running and warn o hers of he dangers of
being oo close.
Avoid con ac wi h cu ing edges when
handling ools or changing ools by hand.
Turn he CNC machine off comple ely and
clean i up when you have finished using i .
Check ha he machine is no opera ing
when loading a ool magazine.
Check ha he ools are in good condi ion,
for example sharp and free of cracks.
Check ha ools are se correc ly.
Double check ha he correc ool da a is
en ered in o he CNC program.
Tes ools before use.
Check ha he sea ing surfaces are clean
before ins alling ools.
Check ha he spindle direc ion is correc
for righ -hand or lef -hand opera ion.
Only use ools wi hin he limi s specified by
he manufac urer.
Only igh en ools o recommended orque
values.
Keep he area around machine clear of
obs acles.
S ack ma erial where you can reach i bu
where i is clear of he moving par s of he
machine.
Make sure ha all guards are in posi ion
while he machine is in opera ion.
Make sure ha all work and fix ures are
clamped securely before s ar ing machine.
Conduc a dry run o ensure he program is
correc .
Follow company policy on correc
procedures when handling or lif ing par s or
ooling.
NEVER:
Wear loose clo hing or jewellery.
Reach in o a CNC machine while i is
running.
Place hands near a revolving spindle.
Leave he machine so ha someone else is
able o s ar i by pressing he cycle s ar
bu on.
Use blun ools.
Use cracked or chipped ools.
Use ools wi h damaged ungs en ips.

Use he machine able as a workbench.
Use compressed air o blow chips from he
par s of he machine, machine surfaces,
cabine s, con rols or floor around he
machine.
Safety Methods For Carrying
1. Never wis your body - Change
direc ion by moving your fee .
2. Always have clear vision - Should
never have o move around objec s
ha could cause you o rip over or
bump in o any hing.
3. Slide he load - Uses less effor and
s ress han lif ing.
4. Place he load on he bench - Pu
load on edge and slide i forward.
Personal Protect ve Equ pment (PPE)
Before en ering a machine shop you mus
wear personal pro ec ive equipmen a all
imes.
Eye Protect on
I is necessary o wear safe y glasses,
goggles or face shields a all imes in areas
where small flying fragmen s or dus can be
encoun ered when working in he machine
shop.
Hear ng Protect on
Hearing pro ec ion mus be worn a all
imes. Generally opera ors choice for
comfor depending on volume of sound.
Earplugs for less sound, earmuffs for louder
sound.
Footwear
Sui able foo wear mus be worn. A closed
shoe wi h lea her uppers or safe y boo s
would be he mos appropria e.
Cloth ng
I is impor an o remember ha while you
are working in he machine shop you should
no be wearing loose clo hing or jewelry
which may ge caugh in revolving cu ers.
The moving par s of a machine revolve a
high speeds and if any loose clo hing or
jewelry is caugh in he revolving cu ers,
you will be dragged in o he machine
causing serious injury or dea h.
Risk Control
Long Hair:
Keep long hair covered.
Tie hair back.
Wear a hairne .
Noise:
Wear earmuffs.
Wear earplugs.
Eyes:
Wear safe y glasses.
Wear safe y shield.
Footwear:
Wear closed shoe wi h non-skid sole.
Dust:
Wear dus mask.
Never dus yourself or a workma e down
wi h an air hose. (compressed air)
Chemicals:
Wear gloves or pro ec ive clo hing.
Wear face mask.
Guards:
Guards on machines mus be used a all
imes.

Hazards
The three steps in ol ed in dealing with hazards:
1. Spot the hazard - A hazard is any hing ha could hur you or someone else, is unsafe, or
could cause an acciden . Use all your senses o spo hazards. Look around, lis en,
no ice any s range smells (like smoke or chemicals) and use your knowledge abou
hings ha migh be dangerous.
2. Assess the r sk - Figure ou how likely i is for he hazard o hur someone and how
badly. Always ell someone abou hazards you canno fix yourself and remember i is
more urgen o make he changes if he hazard is likely o cause serious injury.
3. M n m ze the r sk - Fix he hazard yourself if you can, or ell someone who is able o fix
i . The bes way o fix he hazard is o ge rid of i , bu as his is no always possible,
here are some ways you can make he hazard less dangerous.
1. Subs i u e i for a less hazardous ma erial or i em.
2. Isola e i o an area where i ’s fur her ou of harm’s way such as a locked room.
3. Add safeguards, for example, pu clear guards around cu ing or slicing
equipmen or warning signs for people o see.
4. Use personal pro ec ive equipmen and clo hing any ime you are working wi h
hazardous ma erials and/or equipmen .
Hazard Control
Electr cal Hazards: Elimina e/ins all elec ric droppers ins ead of using ex ension cords.
Tox c Chem cals: Subs i u e/in roduce less oxic ma erials (polishes, adhesives e c).
No ses: Enclose/ins all canopies o he noisies machines.
Fly ng part cles: Isola ion, se aside specific areas for grinding.
Mach n ng dust: Engineer con rols, ins all and use dus ex rac ion equipmen .
Sl p/Tr p hazards: Adop be er housekeeping procedures.
Fat gue: Ro a e job asks among workers.
New equ pment: Train all s aff on every piece of equipmen o assis hazardous breakdowns.
Dust/no se etc: Use personal pro ec ive equipmen .
Final Safety Notice
Au oMa e CNC machines have been proven o be safe and reliable. However, if abused or
opera ed improperly, any machine can cause injury o you or o hers. Please read his guide and
accompanying manuals carefully before you s ar machining. Proper use will crea e a safe
working environmen and prolong he life of your machine.

Specifications
Tra els Inch Metric
X Axis 9.5” 241mm
Z Axis 12.5”317mm
Max Swing O er Bed 13.25” 340mm
Swing O er Carriage 5” 127mm
Spindle Inch Metric
Power 4 HP 3.0kw
RPM 100-2800 100-2800
Spindle Taper MT5 MT5
Spindle Bore 1.65” 41mm
Dri e System Bel Bel
Axis Motors Inch Metric
X Power 6NM 6NM
Z Power 6NM 6NM
Rapids on X 120 IPM 3m/min
Rapids on Z 230 IPM 5.75m/min
Max Cutting Speed 100 IPM 2420mm/m
Accuracy Inch Metric
Repeatability .0004” 0.01mm
Tool Changer Tool Pos Tool Pos
Type N/A N/A
Capacity 6 6
Max Tool Height 0.78” 20mm
Speed (chip to chip) or Tool
General Inch Metric
Machine Weight 2425lbs 1100kg
Machine Dimensions (LxWxH) 61”x 53.5”x 66.9” 1550mm X 1359mm X 1699mm
Shipping Weight 2646 lbs 1200kg
Crate Dimensions (LxWxH) NYA NYA
Air for Pneumatic Chuck 90 PSI 620 kPa
Coolant Capacity 10 Gal 37 L
Power Requirements 220v 60 Hz 3 Phase 220v 60 Hz 3 Phase

DELIVERY & SET-UP
Tracking Your Shipment
The bes way o be prepared is o know exac ly when your machine will arrive. Once your
machine leaves our warehouse, you’ll be sen an email wi h he Tracking or PRO number o
rack your shipmen . You have mul iple op ions o rack your shipmen as your Au oMa e CNC
Sys em makes i s way o you.
By Phone
ESTES - 800.755.2728 - Press 3 and you will be direc ed o a live cus omer service
represen a ive who can help you.
UPS - 800.PICKUPS - Selec 1 and say your racking number.
U.S. Ma l - 800.275.8777 - Selec desired language hen selec 5.
On The Web
ESTES - Go o www.es es-express.com On he righ hand side of he screen here will be a box
ha says “En er PRO Number”. En er your racking number in ha box.
UPS - Go o www.ups.com On he mains screen here will be a box o en er your racking
number in. En er number, rack package.
U.S. Ma l - Go o www.usps.com Click on he “Track and Confirm” op ion, en er your pro
number, click GO.
We make every effor o ship your comple e order a one ime. If you ordered a 4 h axis ro ary
able a he ime of he machine order, he ro ary able will be shipped wi h he machine. If
ordered a a separa e ime, i will be shipped via Es es as well. If you ordered he 4 h axis wi h
an Au oMa e 808D Advanced Con rol Sys em wi h 4 h axis op ion on your CNC La he, he board
is pre-ins alled in o he con rol box.
Smaller i ems such as end mill adap ers, end mills and general machine accessories are sen via
UPS Ground or US Mail. I is possible ha you may see your machine arrive before your UPS
shipmen . Please give any i ems shipped UPS or USPS 7-10 days for delivery. If your email
address was provided a he ime of order, a de ailed lis of he i ems you ordered, along wi h
informa ion on how hey were shipped will be emailed o you. The associa ed racking
numbers for your shipmen will be emailed o you along wi h his se up guide.
We handle complex Au oMa e CNC orders every day. Orders usually consis of a leas one
cra e and several boxes of varying sizes and weigh s. We work closely wi h Es es, UPS and USPS
o make sure you are ge ing fas , convenien delivery a a reasonable cos .
Your order may arrive in several installments over a period of 7-10 days after you receive this
letter.

PREPARING FOR DELIVERY
There are a number of hings you can do o prepare your shop or work space for your new
Au oMa e CNC La he. You will need a designa ed area wi h a level floor ha is capable of
suppor ing your Au oMa e CNC La he, plus he maximum allowable workpiece weigh for your
specific model of CNC La he. (Please refer o he specifica ion char for he la he you ordered
o ob ain hese numbers). As a rule, he suppor ing s ruc ure should be able o hold 5-6 imes
he weigh of he machine wi hou any appreciable, permanen deforma ion.
Set-Up Clearances, Conditions & Location
Se up he La he in a loca ion where you have plen y of working space. The chosen loca ion for
your CNC La he should be a permanen loca ion for he machine. Transpor ing machines are
hard on he machine and he people involved. Make sure he ground is as level as possible. I
will make leveling he machine much easier. The maximum empera ure of your shop or
working environmen should no exceed 125°. Humidi y levels should no exceed 80%.
Power Requirements
When searching for a loca ion for your machine, i is also impor an o remember you will need
o be running power cables o i . You’ll wan good access where your power source is
convenien o he power supply on he machine o minimize exposed wires and elec rical
hazards.
Model Voltage Amps Phase
TC-1417 TURRET LATHE 220 30 3 Phase
220 Plug Configuration
Three phase machines are supplied wi hou a plug as here are numerous connec ions for hree
phase circui s.
Taking Deli ery
Here are some recommenda ions for aking delivery of your Au oMa e machine. In some cases,
you will pick up he cra ed machine a a rucking erminal. Before picking up your machine,
con ac he designa ed erminal and ask abou he loading arrangemen s for easy and imely
pickup. You may also arrange o have he machine delivered o your shop loca ion if you have
no already done so.
Inspecting Your Shipment
When your machine arrives, horoughly inspec each cra e and car on for signs of loss or
damage. While a shipping company employee is presen , open any cra e or car on ha shows
signs of loss or damage and examine he con en s of he package wi h he employee. If any
damage is presen , record an exac , de ailed descrip ion of he resul s of he examina ion on
bo h he shipper’s and your delivery receip . BE SPECIFIC. If damage is presen , i is bes o
documen he damage even if you deem he damage as minor. Undocumen ed and unno ed
damage will resul in a denied claim.
**NOTE: The cra e is in ended o pro ec he machine; damage o he cra e does no
necessarily mean ha your Au oMa e CNC machine has been damaged. However, no ing any
damage o he cra e on he delivery receip will make i much easier o subs an ia e a claim if
here ac ually is damage.

Loading The Machine
Af er you have inspec ed he cra e and signed for he machine, a shipping company employee
will load your machine in o your vehicle. The loading procedure depends upon your vehicle
and he facili ies a he erminal. If he shipping company’s forklif is no res ric ed o he
loading dock, you can have he cra e loaded direc ly in o he ruck or railer bed wi h he
forklif . Regardless of how you load he machine, always be sure o ie he load down securely
so ha i does no shif during ranspor .
Opening The Crate
Before opening he cra e, remove he packing lis from he plas ic bag a ached o he cra e and
pu he documen in a safe place. **Wear lea her work gloves and safe y glasses for his
opera ion, especially when cu ing he me al bands. These bands encircle he cra e and are
under ension.
Step 1: Cu he me al bands encircling he cra e wi h in snips. (Depending on he machine,
here may no be me al bands.)
Step 2: Using a hammer and claw, remove he nails from he bo om cra e cover which secure
he cra e cover o he palle .
Step 3: Once all he nails from he cra e cover have been removed, remove he nails from one
side of he cra e in order o pull he side off of he cover.
Step 4: Af er he side has been removed, and wi h he help of an associa e, il he cra e op
back off of he palle .
**No e: The cra e op is very heavy, i can weigh up o 100lbs, Make sure you’ve go assis ance
when sliding he cra e cover off of he palle .**
Step 5: Se he cra e aside. I is advised you keep he cra e in he even you were ever o
re urn he machine for repair. **No e: Check he machine carefully for signs of damage,
especially if you no ed damage o he cra e earlier. If concealed damage is found, please call
De roi Machine Tools a 800.476.4849 immedia ely.**

Remo ing Machine From Pallet
You will need a forklif wi h a minimum of 6’ forks o remove he Au oMa e CNC Mill from he
palle . If you do no own one, you can ren one from a local equipmen ren al shop. We highly
recommend a forklif over any o her me hod of ranspor ing his machine, acciden s will be less
likely o occur due o he machine and cra e no being 100% s abilized. A ipped or dropped
machine will resul in significan damage o he machine and any individual loca ed in i s
vicini y. There are four bol s securing he machine o he palle , use an adjus able wrench o
remove nu s loca ed on he machine. Once have been removed, he a ached bol s will likely
fall hrough. If he bol s do no fall hrough, jus ap he screws hrough he cas ing and palle .
Remove he shee me al cover from he lower fron of he machine. I is a ached wi h several
Allen head cap screws. This will allow access o he bol s holding he machine o he “C”
channel. he nu s
The machine can be picked up from ei her he fron or back. Shop floor layou will de ermine
which me hod is bes for your si ua ion. Molded in o he base cas ings are slo s for forklif
forks. Inser forks in o base as far as hey will go wi hou hi ing he elec rical box or chip guard
enclosure. Lif he machine only high enough o slide palle ou from undernea h. As always,
be cau ious and ry o keep sudden movemen s o a minimum. Once he palle is removed,
gen ly lower he machine un il i is a few inches off he ground. Loca e he leveling screws and
pads ha were shipped wi h he machine.

Le eling Machine
Adjus ing machine ools so hey are level is very impor an and has benefi s ha aren’ of en
considered. Ver ical machining cen ers produce more accura e par s ha will las longer when
properly leveled. A machine ool ha isn’ properly leveled will no lubrica e evenly hroughou
he machine and cause par s o wear unevenly.

1. Screw he hreaded rod all he way down in o he leveling foo .
2. Place he beveled washer over he hreaded rod wi h he bevel down.
3. Unscrew he large adjus ing ring of he leveling foo .5” above he base of he foo . This
will ensure ha you will have bo h up and down movemen available when leveling he
machine.
4. Ins all he leveling fee in each of he four loca ions on he machine and a ach he foo
wi h he hex nu . DO NOT igh en he hex nu a his ime, i mus remain loose un il
he leveling process is comple ed.
Once he leveling fee are ins alled, place he machine in i ’s final loca ion. Lower i slowly o
he floor. Sudden dropping of he machine can cause severe loss of precision. Then remove
he forklif and adjus he leveling screws as needed o make sure all four fee are securely on
he floor. This is a preliminary adjus men only.
Connecting The Electrical
All elec rical work mus be done according o he Na ional Elec rical Code and any o her local
elec rical codes and safe y requiremen s. I is recommended ha a licensed elec rician perform
hese asks. 3 phase power mus be connec ed o he L1, L2, and L3 erminals inside he
machine.
Power mus be rou ed hrough an approved 40 amp breaker. Important!!! Wire size and length must
conform to local electrical codes. The neu ral line is no used as a ground. A separa e ground
conduc or mus be run o ear h ground.
Connecting The Hydraulics (optional hydraulic chuck)
All hydraulic hoses for he machine are already ins alled on he machine i self. They require a achmen
o he hydraulic power module.
Connec he wo pressure lines and re urn line o he hydraulic power module. Hoses are
marked on he hose as o proper loca ion on he module.
This manual suits for next models
1
Table of contents

