autocom WIRE3 User manual

INSTRUCTION
MANUAL
It is very important that you fully read and understand all of
these instructions before installation and use.
These parts are designed for domestic motorcycle use.
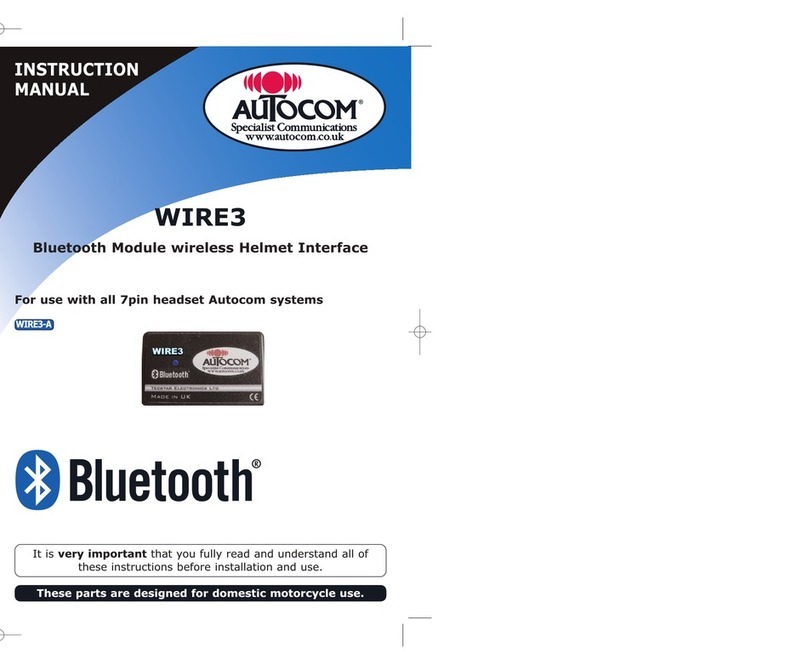
WIRE3
Bluetooth Module wireless Helmet Interface
For use with all 7pin headset Autocom systems
WIRE3-A
WIRE3

1
The unit requires a 12V vehicle supply it has a built-in voltage regulator, and reverse input protection ,
so that it is safe to use directly from a vehicle’s switched and fused supply. A power cable is supplied
along with a fitting kit.
The 12V supply must be ignition switched, so that the WIRE3 supply is off when the vehicle ignition if
OFF else the vehicle battery may be drained.
The DIN headset plug cable must be plugged into the Autocm, this provides the 0V connection.
For use with Super Pro Auto:
The WIRE3 module has a 1.3mm power plug, when used with a Super Pro Auto this plugs directly into the
Bluetooth Power socket on the front of the unit, see (picture 1).
For use with othet modules:
When used with other modles remove the power plug, and make electrical connection to the power (+ve)
RED wire to the Autocom by means of a splice connection using the tap splice terminal provided, as shown
below.
POWERING THE WIRE3 MODULE
To 12V
Supply
cut
Power plug is inserted
in to Super Pro Power Socket
The Autocom WIRE3 module is designed to allow cordless and automatic operation of
bluetooth compatible helmet devices with the Autocom unit.
Installation instructions must be followed carefully.
Installations must only be undertaken by a person who has a full understanding of the
electrical, safety and mechanical requirements involved. If in any doubt, please consult your
dealer.
The unit must be operated from a switched vehicle 12V DC supply. The unit is water-resistant
but not waterproof so care must be taken to keep it dry. Care must be taken not to mount the
unit near areas which will get hot, for example, near the engine or exhaust. Also the unit
must not be placed close to the ignition system; HT leads coil, alternator, or parts of the bike
that could cause electrical interference.
THE BLUETOOTH MODULE
UNIT INSTALLATION
WIRE3
WIRE3

You are required to pair the WIRE3 with your helmet Bluetooth headset devices before using it.
Step 1: The WIRE3 module must be connected to Autocom headset connector and powered ON before
initiating pairing, this is indicated by a slow flashing blue led. To initiate pairing, press the pairing button
until the blue indicator of WIRE3 is flashing quickly.
Step 2: Ensure there are NO other Bluetooth devices powered ON in the immediate area.
Step 3: Initiate the pairing process on your headset device. Refer to the manual of the device for details
of this process.
The pairing process may take up to 1 minute.
Note:
1. If the headset is not in pairing mode, your WIRE3 won't find the headset.
2. When put into pairing mode any existing pairing will be deleted.
3. You may need to repeat steps 1 to 3 until pairing succeeds.
4. Pairing is a process of associating Bluetooth devices with each other. It will establish a permanent
security link between the devices and enable quick access to the services provided without the need to
enter passkeys
5. Paired devices remain paired even when the devices are not powered on.
Power Supply: 12V
Power consumpsion: 30mA typical
Dimensions: (WxHxD) 58x35x17mm (2.3x1.4x0.6inch)
Weight: approx 50g
Operating temp range: -10 to 55 degress C
FCC
This equipment has been tested and found to comply with the limits for a class B digital device, pursuant
to part 15 of the FCC Rules. These limits are designed to provode reasonable protection against harmful
interference in a residential installation. This equipment gererates, uses and can radiate radio frequency
energy, and if not installed and used in accordance with the instructions, may cause harmful interference
to radio communications. However, there is no guarantee that interference will not occur in a particular
installation.If this equipment does cause harmful interefence to radio or television reception, which can be
determined by turning the equipment off and on, the user is encoraged to try to correct the intererence by
one or more of the following measures: Reorient or relocate the receiving antenna. Increase the seperation
between the equipment and receiver. Connect the equipment into an outlet on a circuit different from that
to which the receiver is connected. Consult the dealer or an experienced radio/TV technician for help.
PAIRING THE WIRE3 MODULE
AUDIO CONNECTION - BLUETOOTH TO UNIT
Headset Connection:
7pin DIN systems:
Connect the BLACK 7-pin DIN plug to the Autocom Headset connection.
Connecting to Rider or Passenger as required.
WIRE
3
WIRE3
SPECIFICATION

Autocom Communications
Tecstar Electronics Ltd, Bramley Road, St Ives, Cambridgeshire, PE27 3WS England.
Telephone: +44 (0)1480 494444
Fax: +44 (0)1480 399502
Email: [email protected]
Website: www.autocom.co.uk
All Autocom products are under warranty for a period of
12 months from the date of original purchase, to the original
purchaser, from an authorised Autocom retailer. This warranty covers
faulty materials or workmanship, subject to the goods being used only as
stated, and only for the purpose as described in the instruction manuals. This
does NOT apply to goods where they are used for any other purpose or in any other
way than is explained in the instructions. Nor where the goods have been subjected to
misuse, neglect or accidental damage, or used with any other vendor’s products, including
incorrect mechanical or electrical installation, or where the goods have been repaired, modified
or altered, without the manufacturer’s written authorisation.
The manufacturer's warranty is limited to the goods being returned pre paid to the manufacturer's
factory, with the original packaging and the original proof of purchase date. The goods must be intact for
our examination.
Where goods are accepted by the manufacturer, under the terms of the warranty
Where the manufacturer, under the terms of the warranty, accepts goods, they will be repaired free of
charge or replaced (at the option of the manufacturer). Where the goods are returned as faulty and are
found not to be, a charge will be payable to cover costs of inspection, testing, packing and return postage.
This warranty does not cover any consumable items such as batteries, replaceable hygiene foam coverings
for speakers and microphones, or any other items that are described within the instruction manuals as
being a consumable.
The manufacturer's warranty does not affect your statutory rights.
We service what we make
For details of Autocom’s International distributors and support network, please see our
website. Please contact your supplier or Autocom for any further help or information.
UK Manufacturer and Distributor
MANUFACTURERS
12 MONTH
WARRANTY
Table of contents
Other autocom Adapter manuals
