AutoLoc HF1000 User manual

Button Function Condition Indication
Press button
once
•Arm and lock the door
•Disarm and unlock the door
•Lock the door
•Unlock the door
•Ignition off & alarm disarmed
•Alarm armed
•Ignition on & doors unlocked
•Ignition on & doors locked
LED flashes quickly
Press and
hold the
button for 3
seconds
•Open trunk and disarm Anytime LED flashes quickly
Press the
button 3
times and
then press
& hold for 2
seconds
Turn on/off auto transmit Anytime LED flashes once slowly to indicate
auto transmit is turned on. LED flashes
twice slowly to indicate auto transmit
is turned off.
Press the
button 2
times and
then press
and hold for
2 seconds
Adjust auto transmit sensitivity Anytime LED flashes once quickly to indicate
Sensitivity 1, flashes twice quickly to
indicate Sensitivity 2, flashes 3 times
to indicate Sensitivity 3.
Low power indication for transmitter
While unit is arming or disarming, the siren will chirp 8
times to indicate that transmitter’s power is lower than
2.8V. If Auto Transmit was turned ON, the transmitter LED
will flash once every 2 seconds, all the Auto Transmit func-
tions will be bypassed.
Turn on/off auto transmit function
Press the button 3 times, then press and hold for 2 sec-
onds. LED will flash once slowly to indicate Auto Transmit
has been turned on. The LED will flash twice slowly to
indicate Auto Transmit has been turned off.
Set auto transmit sensitivity
Press the button 2 times, then press and hold for 2 sec-
onds. The LED will flash once quickly to indicate Auto
Sensitivity is I, twice quickly to indicate Auto Sensitivity
is II, 3 times quickly to indicate Auto Sensitivity is III.
Note: The distance of Sensitivity I is in the range of 2~3
meters; the distance of Sensitivity II is in the range of 5~8
meters, the distance of Sensitivity III is in the range of 20
meters. Transmit power grade and ANT location can be
set freely as user desires.
Transmitter programming procedure
1. Disarm the system in the way of Emergency disarming.
2. After turning the Ignition ON, press the Valet Switch
WWW.AUTOLOC.COM
TECHSUPPORT
:503.693.1918
HANDS-FREEKEYLESSENTRY
HF1000
Mount in Dry
Location
Install Fuses Good Ground
Required
Use High
Amp Relay

10 times within 8 seconds. Siren will chirp 3 times to
enter code-learning mode.
3. Press the button on the transmitter within 8 seconds.
more than 8 seconds pass or the ignition is turned OFF,
the system will exit code-learning mode automatically.
4. The siren will chirp for confirmation as soon as the
code is learned. For example, when the first transmitter
is learned, the siren will chirp once. When the second
transmitter is learned, the siren will chirp twice, etc.
5. If one of the transmitters is to be programmed, the oth-
er transmitters must be reprogrammed at the same time.
Up to 6 transmitters can be learned per module.
Using your system
Arming
1. With the ignition OFF and the alarm disarmed, press
the button once.
2. The siren will chirp and parking lights will flash once.
3. Disable engine starter (if starter kill relay is connected).
4. Doors will lock after 0.5 seconds.
5. After 3 seconds, the system is armed. LED will flash
slowly (once per second).
6. If the door is open 3 seconds later the siren will chirp
twice to indicate, LED will blink quickly, then the door trig-
ger is bypassed.
Alarm period and sounding cycle
1. While arming, if any detector is triggered, the siren
will sound. For any single trigger, the siren will sound one
cycle only. (One cycle is: sound 30 seconds and stop 3
seconds.)
2. For the same arming period, and for each single
detector, the system can only be triggered (single trigger)
at most 8 times.
3. For each individual detector, the number of sounding
cycle can be accumulated in the same arming period.
(I.e., If open the door, and let the siren sound 5 cycles,
and close the door, the siren will stop sound, then if open
the door again, it can only sound 3 cycles.)
4. After 8 cycles, the triggered detector will be bypassed.
This detector will not be triggered again in the same arm-
ing period.
2-stage sensor
1. While arming, if car receives a light shock, siren will
chirp five times and parking lights will flash once for
warning purposes.
2. While arming, if car receives a heavy signal, siren will
sound and parking lights will flash for 30 seconds imme-
diately.
Sensitivity is adjustable.
Disarming
1. When alarm is armed, press the button once.
2. Siren will chirp 3 times, parking lights flash 3 times.
If siren chirps 4 times and parking lights flash 4 times to
indicate the alarm has been activated.
3. Enable engine (if starter kill relay is connected).
4. Doors will be unlocked after 0.5sec. (See Jumper
Selection J2)
5. If somewhere was triggered, the LED will flash to indi-
cate the following:
Quick flash 2 times after a pause Shock sensor
full trigger
Quick flash 4 times after a pause Door trigger
Quick flash 6 times after a pause IGN trigger
WWW.AUTOLOC.COM
TECHSUPPORT
:503.693.1918
HANDS-FREEKEYLESSENTRY

Auto arm /disarm (turn on auto signal of transmitter)
When auto signal mode has been turned ON, the system
will enter auto-arm/disarm mode.
If the car is parked and the driver takes the transmitter out
of range, the system will arm and doors will lock without
pressing the button10 seconds later. 2 minutes later, if
driver is approaching the vehicle and in range, the system
will disarm and doors will unlock automatically.
Automatic door lock
a. When the system is disarming and the ignition turn
from OFF to ON, door will lock after 10 sec.
b. When the system is disarming and the ignition turn
from ON to OFF, door will unlock at once.
Door lock control (while driving)
a. When the ignition is ON and the doors are unlocked,
press the button once to lock the doors.
b. When the ignition is ON and the doors are locked,
press the button once to unlock the doors.
Manual anti car-jacking
The system provides two ways to enter anti-car jacking
mode.
a. When the ignition is ON, after the door is opened the
system will enter anti-carjacking mode. Within 10 sec-
onds, press the button once of the remote or auto signal
was received, system will bypass the action of opening
the door, and the system will exit anti carjacking mode.
And the parking light will flash once.
b. After turning the ignition ON, the system will automati-
cally enter anti-carjacking mode. Within 10 seconds, if
the button is pressed once or an auto signal is received,
the system will bypass the action of turning the ignition
ON, and the system will exit anti-carjacking mode. Park-
ing lights will flash once.
For MODE A, there are “a” ways to enter anti carjacking
(See Jumper Selection J4).
For MODE B, there are “a” and “b” ways to enter anti
carjacking (See Jumper Selection J4).
When the system enters anti carjacking mode:
a. For the first 15 seconds, nothing happens.
b. From 16 to 30 seconds, the LED will blink slowly.
c. From 31 to 45 seconds, the LED will blink fast and the
siren will chirp once every 2 seconds.
d. From 46-70 seconds, the LED will blink fast and chirp
every 2 seconds.
e. After 71 seconds, the siren will sound and the parking
light will flash continuously. The arming wire will output
negative 300mA current.
f. After turning the ignition OFF, the siren will sound and
the parking lights will flash for 3 minutes.
g. If the ignition is turned ON again without exiting anti-
carjacking mode, the siren will sound and the parking
lights will flash continuously again.
To exit: Override procedure is needed to exit this mode.
AUTO Anti carjacking (See Jumper Selection J3)
This entry way is auto transmit anti car-jacking mode. This
mode’s the process is follow:
1. With the ignition ON, the unit will detect the auto
transmit signal automatically. If the unit detects a valid
signal, it will switch into auto anti-carjacking mode even
auto transmit signal disappeared over 3 minutes. Oth-
erwise it will not perform auto anti carjacking. If the unit
detects invalid signal at the beginning, (or the transmitter’s
power is low) siren will chirp twice and parking light will
flash twice to indicate auto anti carjacking is invalid. The
debounce time to detect an auto transmit signal is 10
seconds.
WWW.AUTOLOC.COM
TECHSUPPORT
:503.693.1918
HANDS-FREEKEYLESSENTRY
WWW.AUTOLOC.COM
TECHSUPPORT
:503.693.1918
HANDS-FREEKEYLESSENTRY

will flash twice when locking the door. The siren will chirp
three times and parking lights will flash three times when
unlocking the door.
d. In Valet mode, except arming function, the others
remain the same.
e. To exit valet mode: Turn ignition ON, then press and
hold valet switch for 3 seconds within 8 seconds. The LED
will be OFF, and the lamp will flash twice, indicating the
system has exited valet mode.
Turn the ignition ON and press valet switch once for
1 second. The siren will chirp 4 times and the parking
lights will flash 4 times, indicating the system has been
disarmed.
Open trunk
Press and hold the button for 3 seconds to open trunk
(with 300mA negative output) and disarming.
Automatic rearming
After disarming, the system will be re-armed automati-
cally with door lock after 30 seconds if the ignition is not
turned ON and the door is not opened.
Last door arming (see jumper selection J1)
a. Turn ignition ON, then OFF and close the door. After
30 sec, the system will arm automatically or arm with
door lock (See Jumper Selection J5).
b. If one of the doors is opened during the above 30
second periods, system will postpone entering arming
mode until all doors are closed.
Memory function
The alarm memorizes the condition even if the power is
cut off.
2. If the unit receives an auto transmit signal (or anti car-
jacking was released) during auto anti carjacking mode,
unit will exit anti carjacking mode.
3. When the system enters anti carjacking mode:
a. For the first 15 seconds, nothing happens.
b. From 16 to 30 seconds, the LED will blink slowly.
c. From 31 to 45 seconds, the LED will blink quickly and
the siren will chirp once every 2 seconds.
d. From 46 to 70 seconds, the LED will blink quickly and
the siren will chirp once per second.
e. After 71 seconds, the siren will sound and the parking
light will flash continuously. The arming wire will output
negative 300mA current.
f. After turning the ignition OFF, the siren will sound and
the parking lights will flash for 3 minutes.
g. If the ignition is turned ON again without exiting anti-
carjacking mode, the siren will sound and the parking
lights will flash continuously again.
4. TO EXIT: 3 modes
(1) 0-70S turn Ignition off to exit
(2) Received auto transmit during anti carjacking to exit
(3) Perform OVERRIDE PROCEDURE to exit this mode.
Valet mode
a. When the system is disarming, turn the ignition ON
and press and hold thevalet switch for 3 seconds within 8
seconds.
b. LED stay ON and the lamp will flash once, which
indicating the system has entered valet mode.
c. In VALET mode, siren will chirp twice and parking lights
WWW.AUTOLOC.COM
TECHSUPPORT
:503.693.1918
HANDS-FREEKEYLESSENTRY
WWW.AUTOLOC.COM
TECHSUPPORT
:503.693.1918
HANDS-FREEKEYLESSENTRY
WWW.AUTOLOC.COM
TECHSUPPORT
:503.693.1918
HANDS-FREEKEYLESSENTRY
Function selection
There are five jumper selections (J1~J5). See below:
JUMPER MODE DEFAULT MODE VARIANTS
J1: LAST DOOR ARMING ON
/ OFF ON OFF
J2: LOCK/UNLOCK MODE 0.5 SEC 2 PULSE FOR UNLOCK
J3: AUTO ANTI CARJACKING ON OFF
J4: ANTI CARJACKING MODE MODE A MODE B
J5: LAST DOOR ARMING WITH
LOCK NO YES
Important: All jumper selections have to be determined
before installation. Otherwise, you have to power off the
module again to reset.
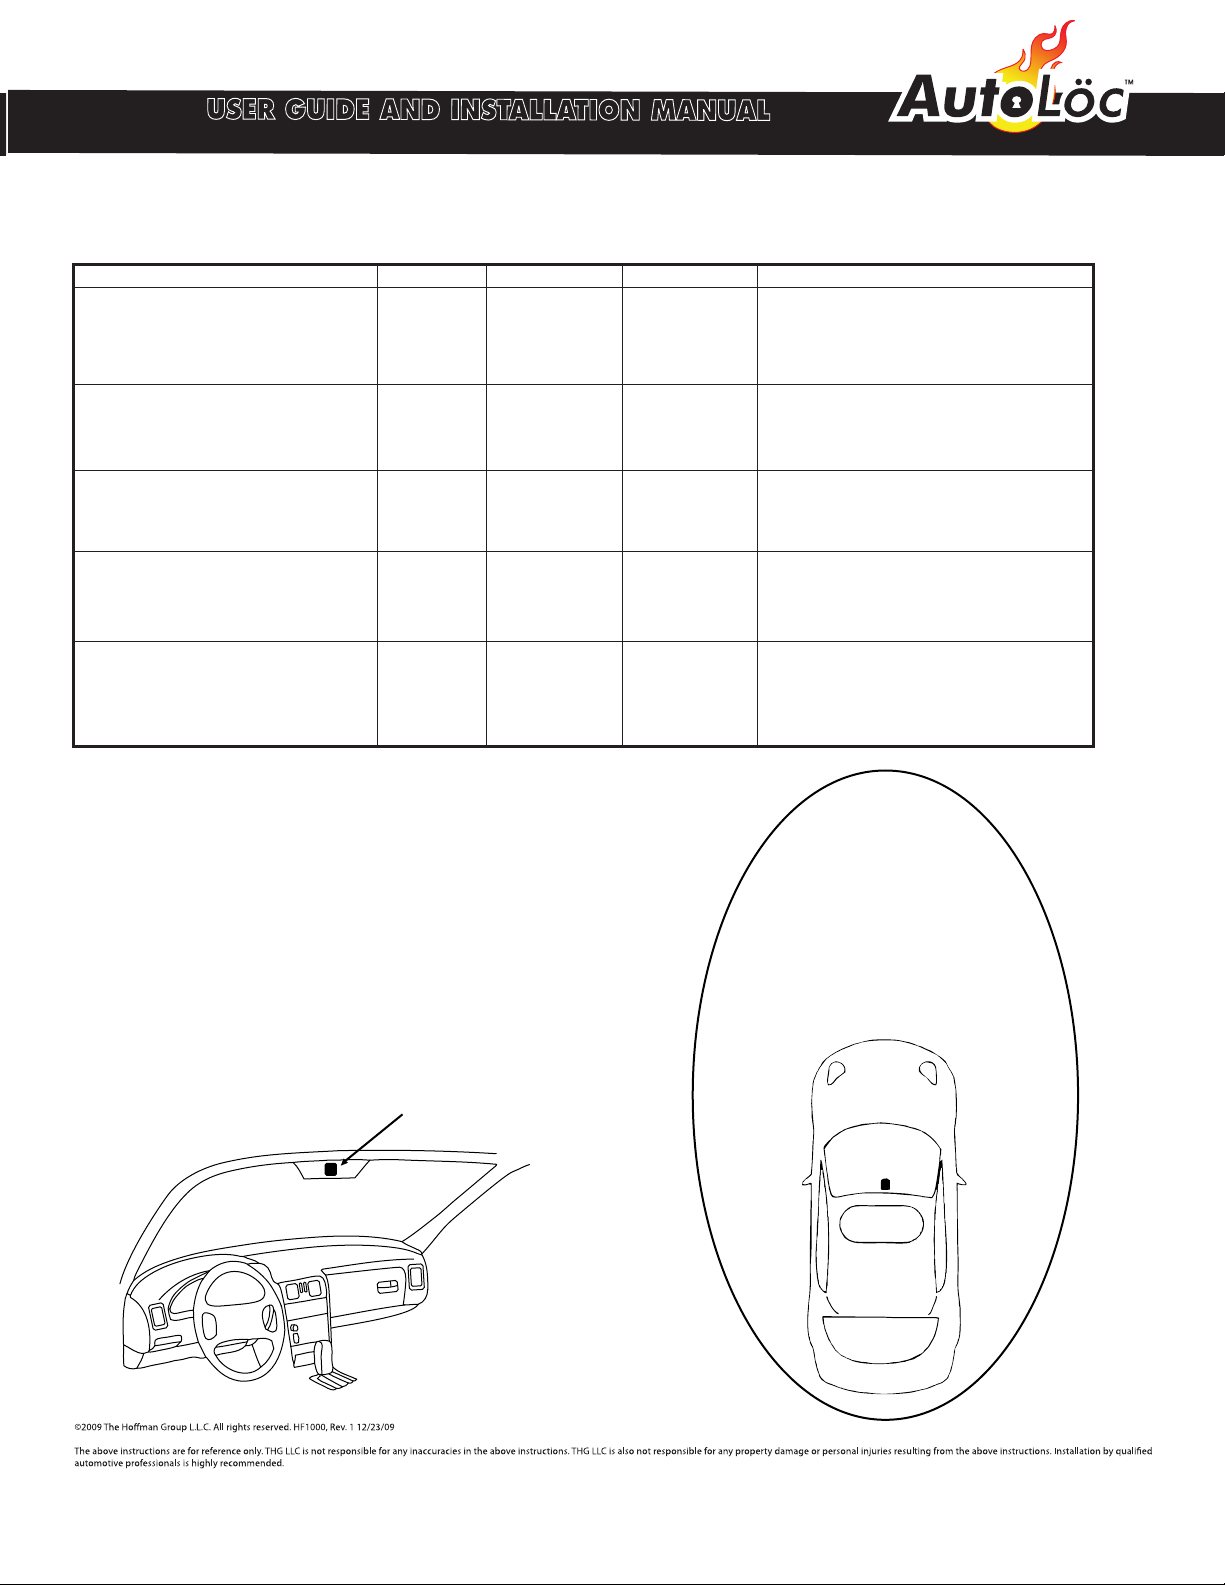
Antenna location

Valet Switch
LED
Sensitivity
Adjust
J5 J4 J3 J2 J1
Lamp
Fuse 10A
Antenna
Blue/White Lock Output -300mA
X
Green/White Lock Output -300mA
Black Ground
Yellow Ignition
Brown Door TG -
White Door TG +
Gray Arming
Purple Trunk Output -300mA
White/Red Siren Output -300mA
Orange Lamp Output -300mA
Red +12V Fuse 15A
Door TG + Door TG -
Fuse Box
+12V
Green
Red
Red
Relay
Relay
+12V
Off AccOn
Start
86
85
87a
30
86
87
85
30
12V
Battery
Optional Start Motor
Optional Trunk Release
Optional Siren
Wiring Diagram
WWW.AUTOLOC.COM
TECHSUPPORT
:503.693.1918
HANDS-FREEKEYLESSENTRY
Push Button Start Diagram (Optional)
HF500
HF1000
Accessory
Ignition Switch Accessory
Relay Ignition
Relay
Crank
Relay
Starter
(Crank)
ignition
Blue
Push Button
Black #5
Basic Hands-Free
Keyless Entry
Advanced Hands-Free
Keyless Entry
Black #3
12 Volt Power
Gray
Cut
Cut
Hands-Free
Relay
Yellow
Red Switch
87
87a
30
85
86
87
87a
30
85
86
87
87a
30
85
86
87
87a
30
85
86
Table of contents
Other AutoLoc Automobile Accessories manuals


