Parker Hannifin Corporation
Chelsea Products Division
Olive Branch, MS 38654 USA
3
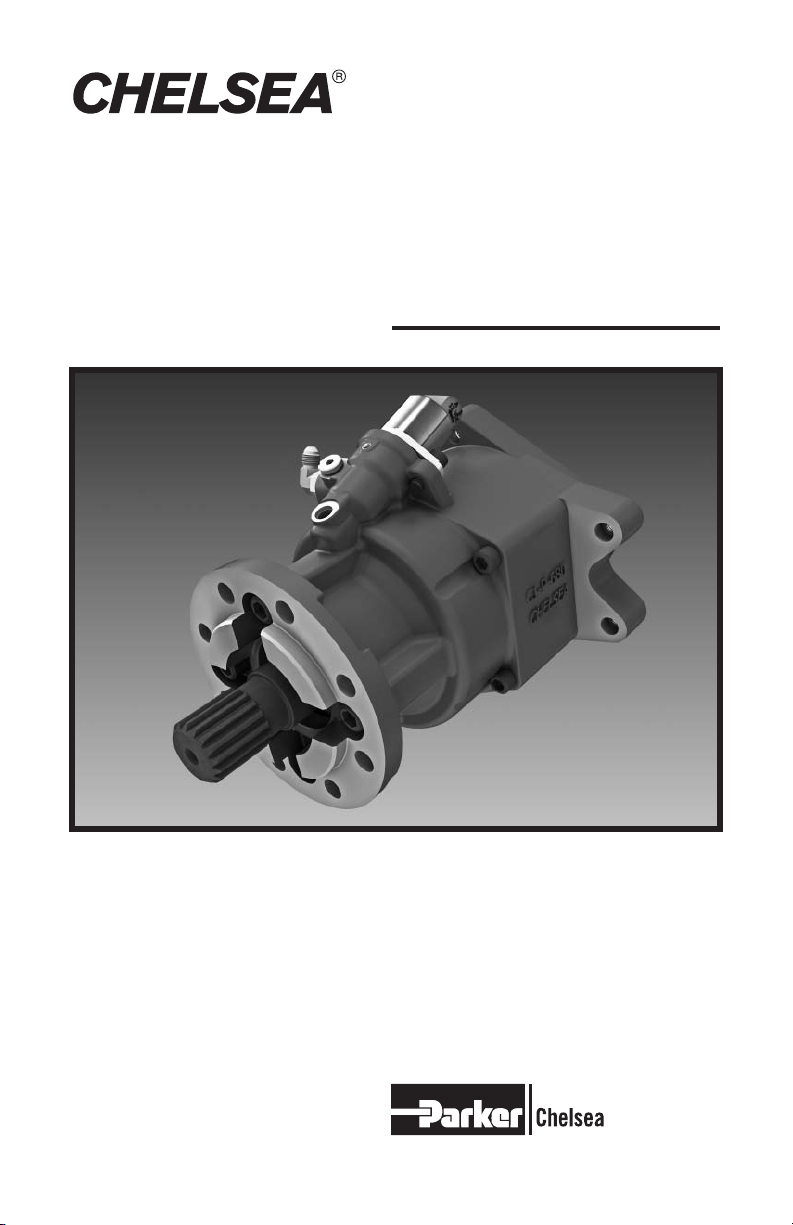
Bulletin HY25-1590-M1/US Owner’s Manual
590 Series
General Information
Using Set Screws
WARNING: Auxiliary driveshafts may be installed with either recessed
or protruding set screws. If you choose a square head set screw, you should be
aware that it will protrude above the hub of the yoke and may be a point where
clothes, skin, hair, hands, etc. could be snagged. A socket head set screw, which
may not protrude above the hub of the yoke, does not permit the same amount of
torquing as does a square head set screw. Also, a square head set screw, if used
with a lock wire, will prevent loosening of the screw caused by vibration.
Regardless of the choice made with respect to a set screw, an exposed rotating
auxiliary driveshaft must be guarded.
Important: Safety Information and Owner’s Manual
Chelsea Power Take-Offs are packaged with safety information decals,
instructions, and an owner’s manual. These items are located in the
envelope with the PTO mounting gaskets. Also, safety information and
installation instructions are packaged with some individual parts and kits. Be sure
to read the owner’s manual before installing or operating the PTO Always
install the safety information decals according to the instructions provided. Place
the owner’s manual in the vehicle glove compartment.
WARNING: Operating the PTO with the Vehicle in Motion
Some Power Take-Offs may be operated when the vehicle is in motion. To do so,
the PTO must have been properly selected to operate at highway speeds and
correctly matched to the vehicle transmission and the requirements of the driven
equipment.
If in doubt about the PTO specifications and capabilities, avoid operating the PTO
when the vehicle is in motion. Improper application and / or operation can cause
serious personal injury or premature failure of the vehicle, the driven equipment,
and / or the PTO.
Always remember to disengage the PTO when the driven equipment is not in
operation.
Safety Information (continued)
This symbol warns of possible personal injury.