~ 1 ~
Table of Contents
Table of Contents.......................................................................................................................................................................1
Safety Information......................................................................................................................................................................2
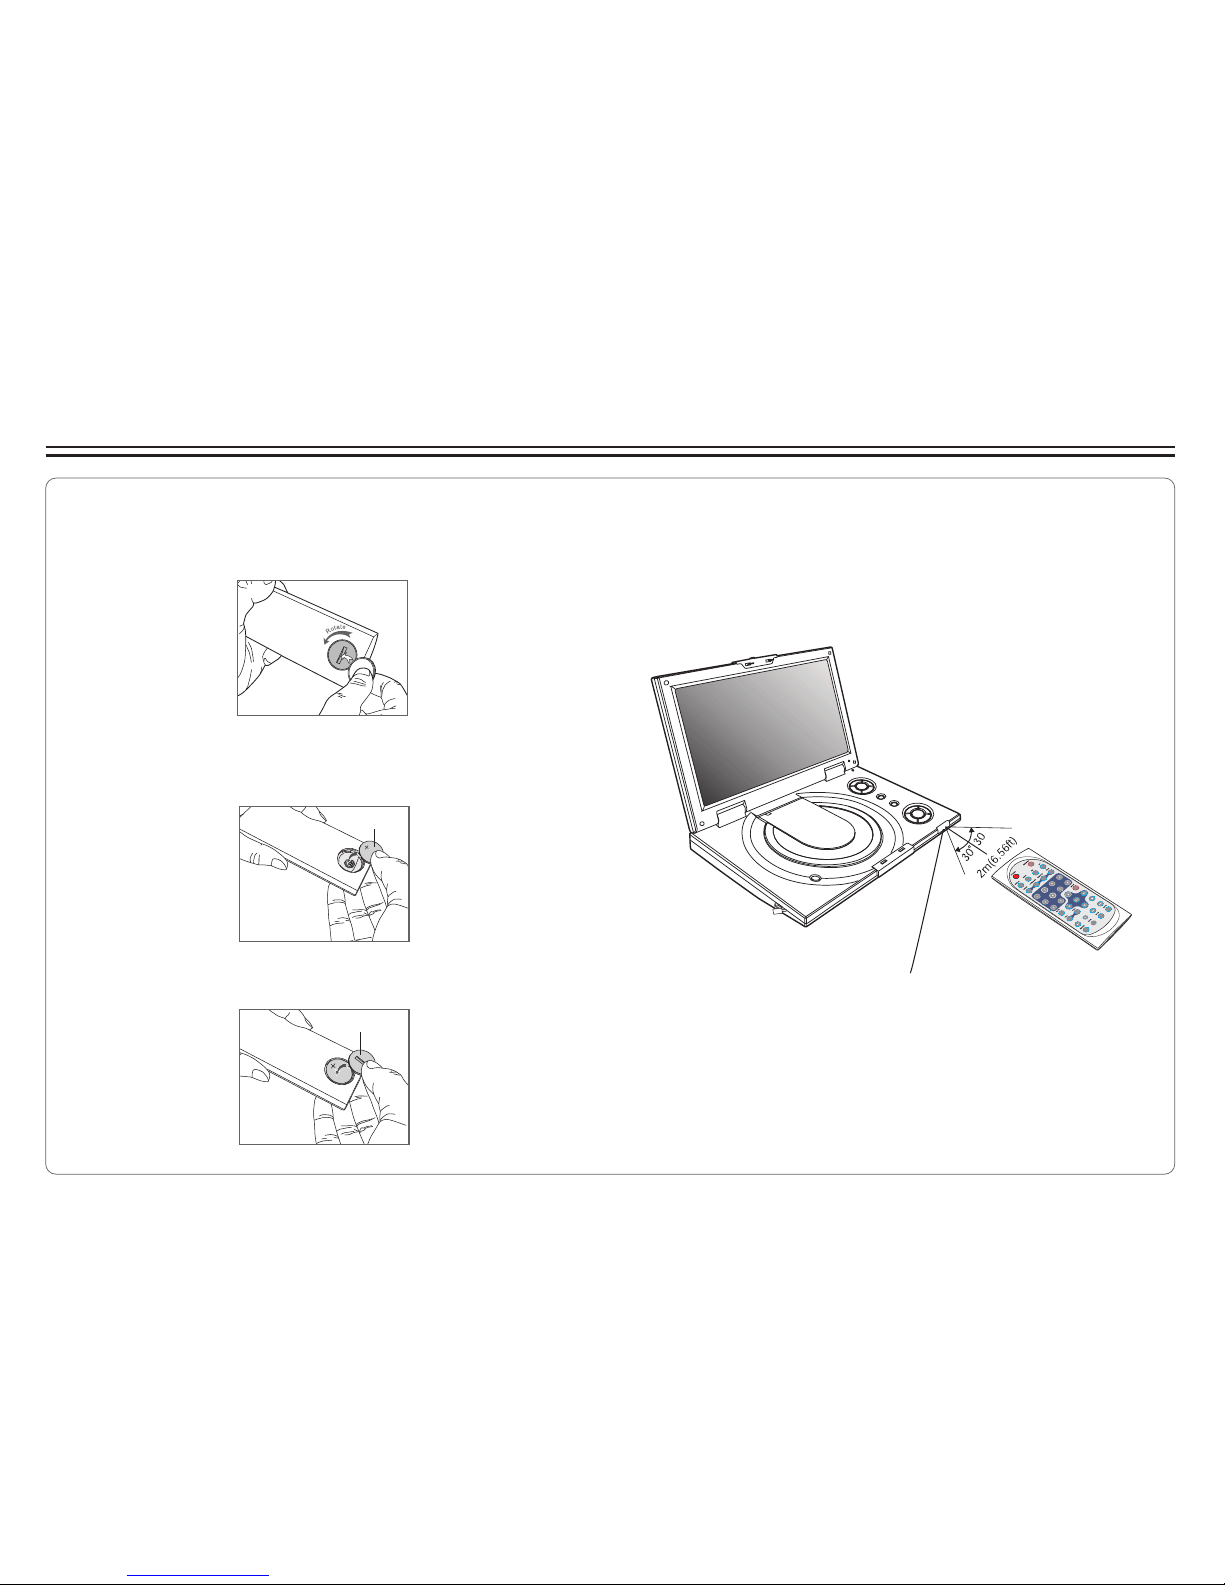
Remote Control..........................................................................................................................................................................3
Description................................................................................................................................................................................4
Using the Remote Control...........................................................................................................................................................5
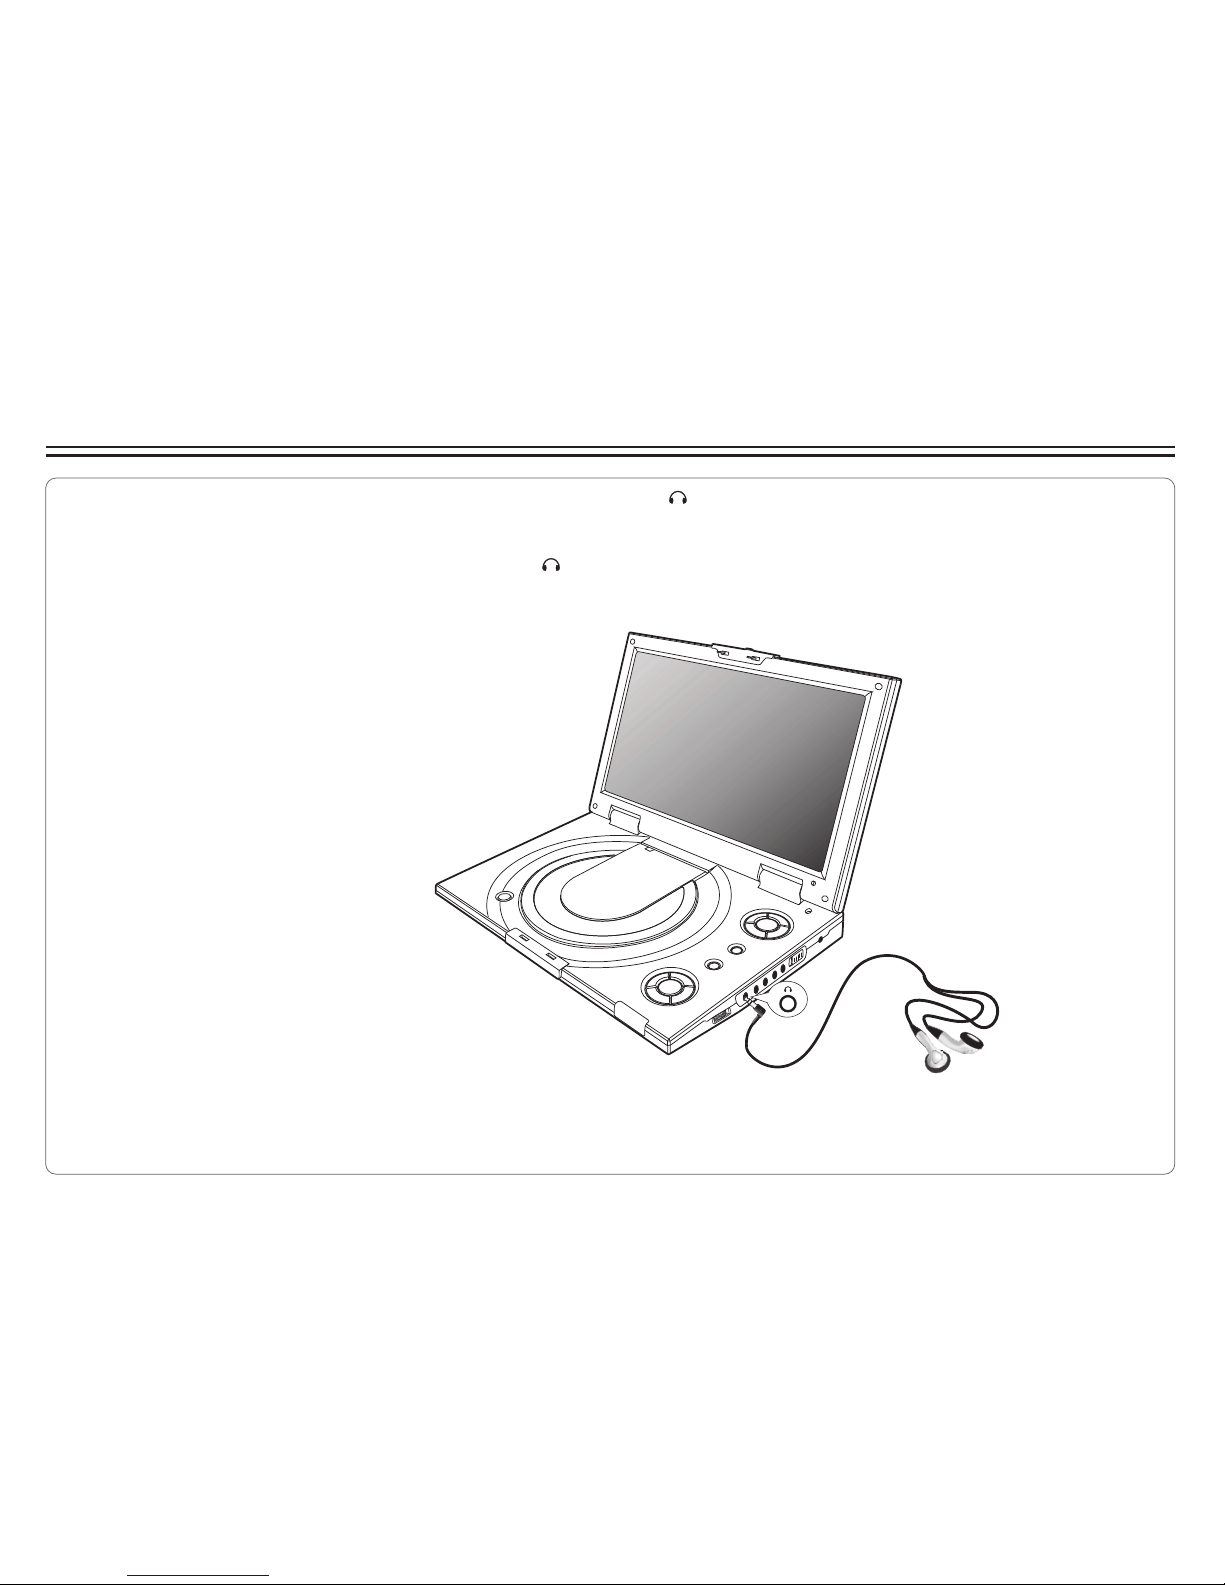
Connecting Earphones (Optional Accessory)................................................................................................................................6
Connecting to an External Component .........................................................................................................................................7
Connecting to aTV......................................................................................................................................................................8
Connecting to a Stereo Component.............................................................................................................................................9
Using USB Port........................................................................................................................................................................10
Using the AC Adaptor................................................................................................................................................................11
Using the Battery Pack..............................................................................................................................................................12
Cautions in Using Battery Pack..................................................................................................................................................13
Installing Carrying Bag/Car Harness Kit(Optional Accessory).......................................................................................................14
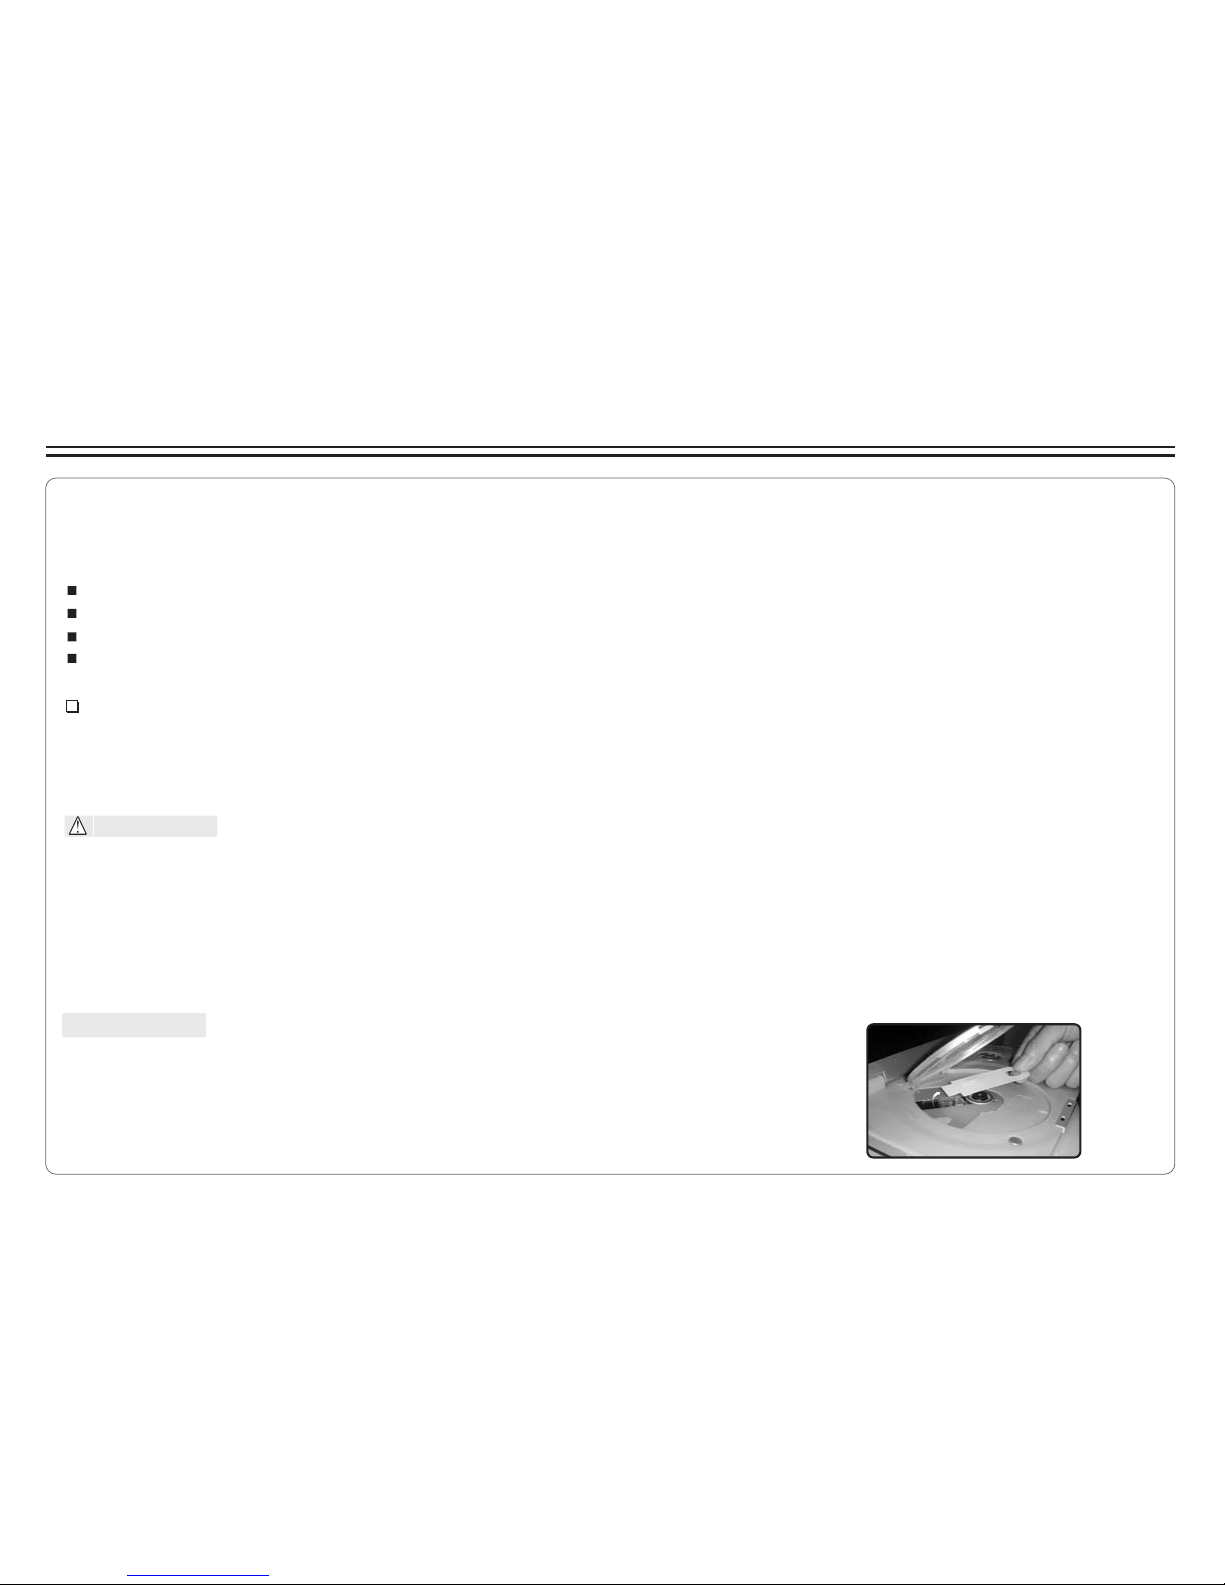
Playing a Disc.....................................................................................................................................................................15-17
Playing MP3 and Regular Audio CD...........................................................................................................................................18
Playing Picture CD....................................................................................................................................................................19
Displaying and Sorting Files......................................................................................................................................................20
Setting Language for OSD, Menu, Audio, Subtitle, External Subtitle..............................................................................................21
Setting Screen for Display Format, Screen Saver, TV System.......................................................................................................22
Setting Audio for Downmix ........................................................................................................................................................23
Setting Parental Control, Password, Displaying DivX Registration Number...................................................................................24
Setting Camera Angle, Returning to Default Setting.....................................................................................................................25
Adjusting LCD Screen...............................................................................................................................................................26
Troubleshooting..................................................................................................................................................................27-28
Specifications..........................................................................................................................................................................29
DivX Certification.......................................................................................................................................................................3
Customer Support and Warranty................................................................................................................................................30
Customer Support and Warranty (cont'd)....................................................................................................................................31