Avision FF-1105B User manual

A4 Portable Scanner
User’s Manual
Regulatory model: FF-1105B
manual-en-250-0781-E-IS25-v1
Avision Inc.

User’s Manual
ii
Trademarks
Microsoft is a U.S. registered trademark of Microsoft
Corporation.
Windows, Windows Vista, Windows 7 and Windows 8 are either
registered trademarks or trademarks of Microsoft Corporation in
the United States and/or other countries.
IBM, IBM PC are registered trademarks of International Business
Machines Corp.
Other brands and product names herein are trademarks or
registered trademarks of their respective holders.
Copyright
All rights reserved. No part of this publication may be
reproduced, transmitted, transcribed, stored in a retrieval
system, or translated into any language or computer language,
in any form or by any means, electronic, mechanical, magnetic,
optical, chemical, manual, or otherwise, without the prior
written permission.
Material scanned by this product may be protected by
governmental laws and other regulations such as copyright
laws. The customer is solely responsible for complying with all
such laws and regulations.
Warranty
The information contained in this document is subject to
change without notice.
The manufacturer makes no warranty of any kind with
regard to this material, including, but not limited to, the
implied warranties of fitness for a particular purpose.
The manufacturer shall not be liable for errors contained
herein or for incidental or consequential damages in
connection with the furnishing, performance, or use of this
material.

User’s Manual
iii
FCC Radio Frequency Interference Statement
This product has been tested and found to comply with
the limits for a class B digital device, pursuant to Part 15
of the FCC rules. Operation is subject to the following two
conditions: (1) this device may not cause harmful
interference, and (2) this device must accept any
interference received, including interference that may
cause undesired operation. The FCC Class B limits are
designed to provide reasonable protection against harmful
interference in a residential installation. This equipment
generates, uses, and can radiate radio frequency energy
and, if not installed and used in accordance with the
instructions, may cause harmful interference to radio
communications. However, there is no guarantee that
interference will not occur in a particular installation. If
this equipment does cause harmful interference to radio
or television reception, which can be determined by
turning the equipment off and on, the user is encouraged
to try to correct the interference by one or more of the
following measures:
Reorient or relocate the receiving antenna.
Increase the separation between the equipment and
receiver.
Connect the equipment into an outlet on a circuit
different from that to which the receiver is connected.
Consult your point of purchase or service
representative for additional suggestions.

User’s Manual
iv
European Union Regulatory Notice
Products bearing the CE marking comply with the following EU
Directives:
•Low Voltage Directive 2006/95/EC
•EMC Directive 2004/108/EC
CE compliance of this product is valid if powered with the
correct CE-marked AC adapter provided by Avision.
This product satisfies the Class B limits of EN55022, EN55024
and safety requirements of EN 60950.
*This machine is certified as Class 1 LED product. This means
that this machine does not produce hazardous laser radiation.

User’s Manual
v
Warning and cautions in using the lithium ion battery
Warning:
Danger warning to prevent the possibility of the battery
from leaking, heating, explosion, please observe the
following precautions:
•Don’t immerse the battery in water and seawater.
Please put it in cool and dry environment if no using.
•Do not discard or leave the battery near a heat source
as fire or heater
•Being charged, using the battery charger specifically for
that purpose
•Don’t reverse the positive and negative terminals
•Don’t connect the battery to an electrical outlet directly.
•Don’t connect the positive and negative terminal
directly with metal objects such as wire. Short
terminals of battery is strictly prohibited, it may
damage battery.
•Do not transport and store the battery together with
metal objects such as necklaces, hairpins.
•Do not strike, throw or trample the battery.
•Do not directly solder the battery and pierce the battery
with a nail or other sharp object
•Do not use lithium ion battery and others different
lithium polymer battery model in mixture
•Prohibition of use of damaged cells
•Don’t bend or fold sealing edge. Don’t open or deform
folding edge Don’t fillet the end of the folding edge
•Don’t fall, hit, bend battery body.
•Battery pack designing and packing Prohibition injury
batteries.
•Never disassemble the cells.
•The battery replacement shall be done only by either
cells supplier or device supplier and never be done by
the user.
•Keep the battery away from babies.
•Any components contacting these two edges, they must
be insulated.

User’s Manual
vi
Caution:
•Do not use or leave the battery at very high
temperature conditions (for example, strong direct
sunlight or a vehicle in extremely hot conditions).
Otherwise, it can overheat or fire or its performance
will be degenerate and its service life will be
decreased.
•Do not use it in a location where is electrostatic and
magnetic greatly, otherwise, the safety devices may
be damaged, causing hidden trouble of safety.
•If the battery leaks, and the electrolyte get into the
eyes. Do not wipe eyes, instead, rinse the eyes with
clean running water, and immediately seek medical
attention. Otherwise, eyes injury can result.
•If the battery gives off an odor, generates heat,
becomes discolored or deformed, or in any way
appear abnormal during use, recharging or storage,
immediately remove it from the device or battery
charge and stop using it.
•In case the battery terminals are dirt, clean the
terminals with a dry cloth before use. Otherwise
power failure or charge failure may occur due to the
poor connection with the instrument.
•Be aware discharged batteries may cause fire; tape
the terminals to insulate them.

User’s Manual
vii
Disposal of Waste Equipment by Users in Private Union
This symbol on the product or on its packaging indicates that
the product can not be disposed of with your other household
waste. Instead it should be sent to appropriate facilities for
recovery and recycling in an effort to protect human health
and the environment. Fore more information about where you
can drop off your waste equipment for recycling, please
contact your local city office, your household waste disposal
service or the shop where you purchased the product.
System Requirements
IBM compatible PC 586, Pentium or higher
Microsoft Windows XP(SP3), Windows Vista/Windows
7/Windows 8
USB port 2.0 (compatible with USB 1.1)
At least 100 MB of free hard disk space (500 MB is
recommended)
At least 128 MB of system memory (512 MB of RAM is
recommended)
At least 1 GB of RAM for Windows Vista or later
A CD-ROM drive

User’s Manual
viii
Table of Contents
1. Introduction .....................................................1-1
1.1 Scanner Package ......................................... 1-2
2. Scanner overview .............................................2-1
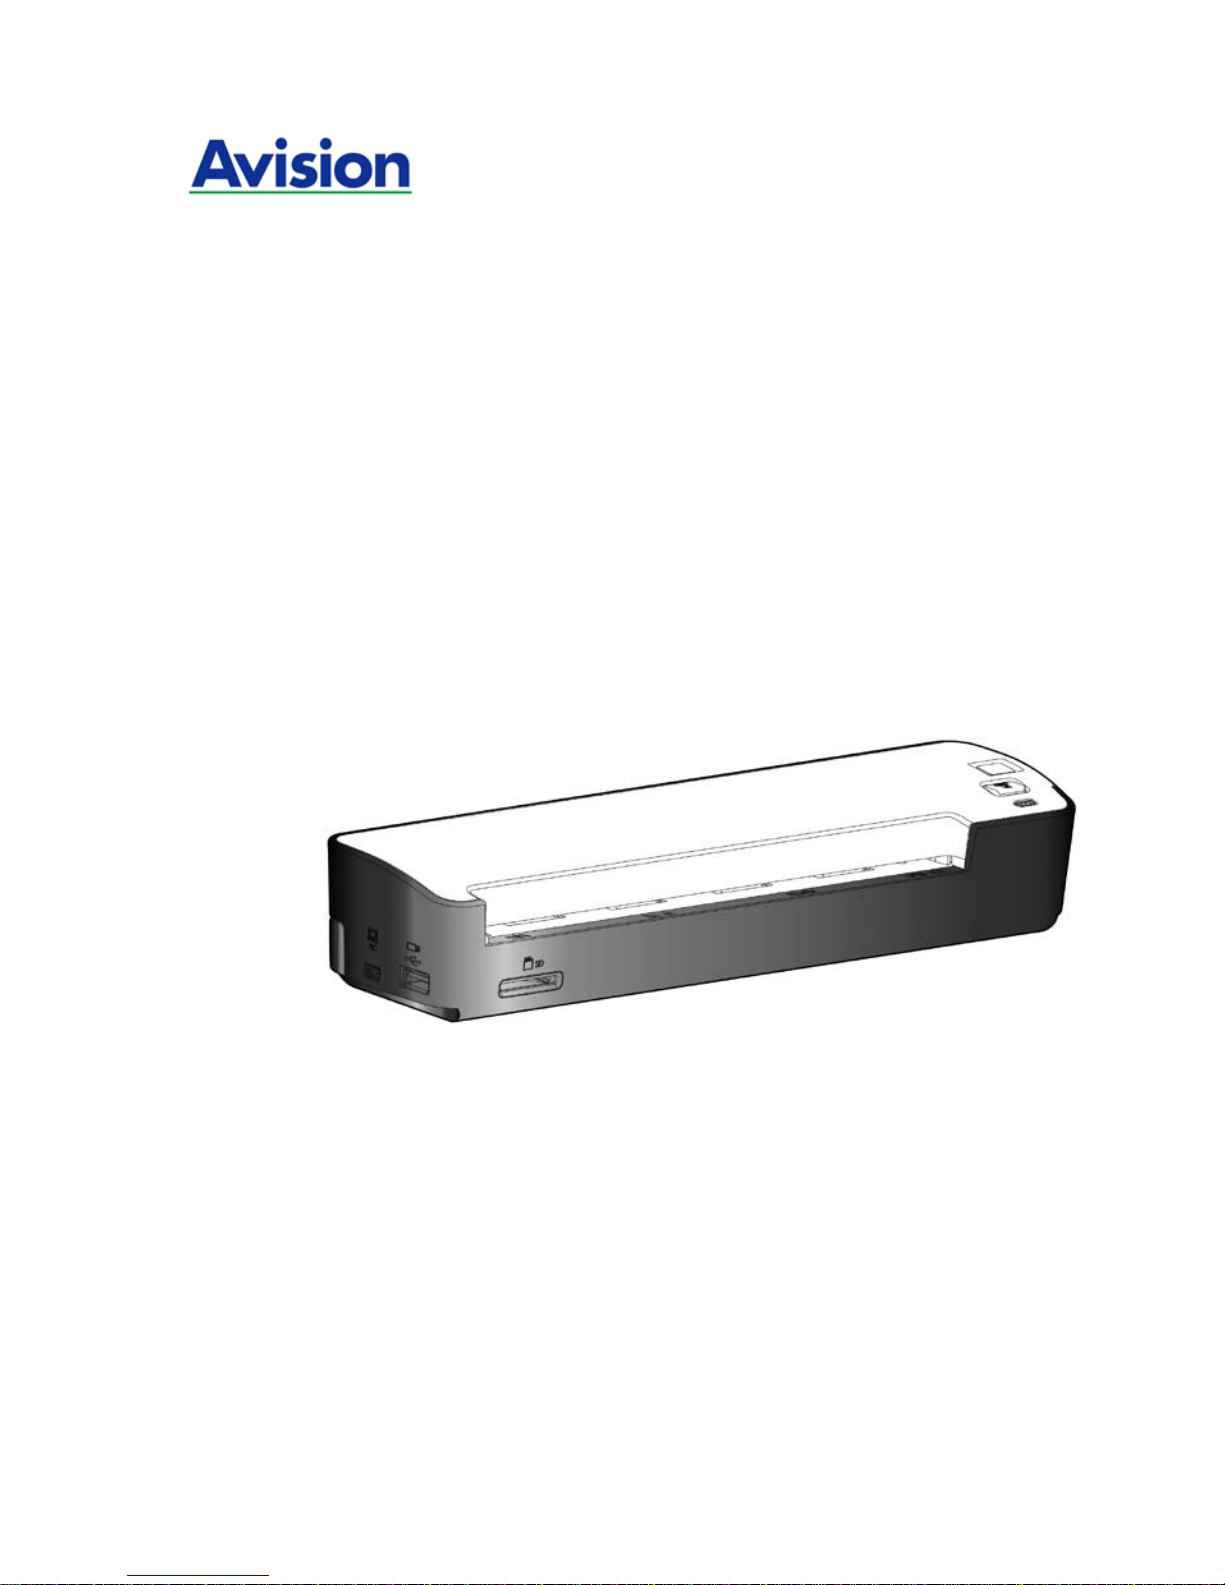
2.1 Front view................................................... 2-1
2.2 Side view.................................................... 2-3
2.3 Rear view ................................................... 2-4
3. Installation & operation in easy mode
(SD/Flash mode) ..............................................3-1
3.1 Inserting the battery.................................... 3-2
3.2 Charging the battery from the adapter or the
computer.................................................... 3-4
3.3 Inserting a memory card or a USB flash drive. 3-7
3.4 Turning on the scanner ................................ 3-9
3.5 Scanning an original .................................. 3-10
3.6 Turning off the scanner.............................. 3-13
3.7 Customizing scan settings .......................... 3-15
4. Installation & operation in advanced mode
(PC mode).........................................................4-1
4.1 Installing the Scanner Driver and Cables........ 4-1
4.2 Placing your document................................. 4-6
4.3 Verifying your scanner installation................. 4-9
4.4 A glance of the Scanner Properties Dialog box4-13
4.5 Scan from the scanner button..................... 4-14
5. Enhancing your image quality with the Scanner
Properties Dialog box........................................5-1
5.1 Buttons on the Scanner Properties Dialog box. 5-2
5.2 The Image tab............................................. 5-4
5.3 The Compression tab ................................. 5-24
5.4 The Color dropout Tab................................ 5-26
5.5 The Paper tab............................................ 5-30
5.6 The Multi-Feed Detection tab ...................... 5-36
5.7 The Preview tab......................................... 5-46
5.8 The Options tab......................................... 5-47

User’s Manual
ix
5.9 The Setting tab ......................................... 5-56
5.10 The Imprinter tab...................................... 5-59
5.11 The Information tab................................... 5-62
6. Using the buttons in the PC mode .....................6-1
6.1 Installing Button Manager V2........................ 6-1
6.2 Checking the Button Configurations before
Scanning .................................................... 6-1
6.3 Scanning From One Touch of the Buttons....... 6-4
7. Scanning documents to your iPad or
SmartPhone ......................................................7-1
7.1 Scanning photos to iPad ............................... 7-1
7.2 Scanning documents to a SmartPhone........... 7-4
8. Maintenance......................................................8-1
8.1 Calibrating the scanner ................................ 8-1
8.2 Cleaning the scanner glass ........................... 8-3
9. Troubleshooting................................................9-1
9.1 Questions in “Scan to SD/Flash” mode........... 9-1
9.2 Questions in “PC” mode................................ 9-3
9.3 The System LED light pattern ....................... 9-4
9.4 Technical Service......................................... 9-5
10. Specifications..................................................10-1
Index......................................................................... a

User’s Manual
1-1
1. Introduction
Congratulations on your purchase of the scanner. This
scanner provides you flexibility to start instant scans
without connecting it to a computer or you may use like a
regular scanner to start advanced scans by installing the
software and connecting it to a computer.
Before you install and operate the product, please take a
few minutes to read through this manual. It provides
proper instructions for you to install, operate and maintain
the product.
The following figure indicates the package contents. Please
check all the items against your checklist. If you do not
receive all the items, please contact your authorized local
dealer immediately.

User’s Manual
1-2
1.1 Scanner Package
1. Scanner main unit
2. CD (Bundled software)
3. Calibration chart
4. Cleaning swab
5. USB Y cable
6. Power adapter
7. micro SD memory card including scanner driver &
user’s manual
8. Quick Guide
1
3
4
2
5
2
5
6 7
8

User’s Manual
1-3
Note:
1. Only use the AC adapter WA-10H05 by APD included in the
machine. Using other AC adapters may damage the
machine and void the warranty.
2. Please unpack the packing carefully, and check the
contents against the checklist. If any items are missing or
damaged, please contact your dealer immediately.

User’s Manual
2-1
2. Scanner overview
2.1 Front view
No. Name Function/ Description
1Power LED and
Knob ( )
Move the knob to “1” ~
“5” to turn on and “OFF”
to turn off the scanner.
2
Scan or Custom
Button ( )
In “SD/Flash” Mode:
Press the button for 2
seconds to start
calibrating the scanner.
In “PC” Mode: Press to
start a scan.
3 Battery LED
( )
Indicate the battery
status.
Green LED: Indicates
the ready status.
Orange LED: Indicates
the power charging
status.
Red LED: Indicates the
power capacity is in low
status (about 20%).
4
3
1
2
5
1
2
3

User’s Manual
2-2
4Feeding Slot Insert an original to
start scanning.
5 System LED
Green LED: Indicate
the ready status.
Green Blinking:
Indicate the scanning
and saving status.
Red Blinking: Indicate
the following status:
•No SD card/Flash
drive inserted
•SD card/Flash drive
Memory full
•Wrong SD Card.

User’s Manual
2-3
2.2
Side view
6 Glass Release
Button
Press the button to release
the glass and to perform
cleaning. (see section 8-2,
Cleaning the scanner
glass)
7Mini USB
connector
Connect the scanner to a
computer via a USB Y
cable for data transmission
and battery charge.
8USB Flash
Drive Slot Insert a USB flash drive.
9Memory Card
Slot Insert a memory card.
6 7 8 9

User’s Manual
2-4
2.3 Rear view
10 PC Mode
Move to “PC” mode to connect
the scanner to a computer via
the mini USB cable and use the
scanner like a regular scanner.
11 SD/Flash
Mode
Move to “SD Flash” mode to
start instant scan and save your
scanned images to a SD card or
a USB flash drive.
10 11

User’s Manual
3-1
3. Installation & operation
in easy mode (SD/Flash
mode)
Precautions
•Keep the product out of direct sunlight. Direct
exposure to the sun or excessive heat may cause
damage to the unit.
•Do not install the product in a humid or dusty place.
•Place the product securely on an even, flat surface.
Tilted or uneven surfaces may cause mechanical or
paper-feeding problems.
•Retain the product box and packing materials for
shipping purposes.
To start instant scans from this scanner - to scan and save
your images to a SD card or a USB flash drive, you need to
first install and charge the battery. Follow these steps to
charge the battery from your computer.
Important:
Allow the battery to charge for at 6 hours. The battery
must be fully charged before using the scanner for the
first time.
Do not turn on the scanner power when charging the
battery.

User’s Manual
3-2
3.1 Inserting the battery
The battery comes pre-installed in the scanner’s battery
compartment. Simply turn the scanner over and remove the
protective tape from the battery compartment.
If the battery is not pre-installed in your unit, or if you need to
replace the battery for any reason, please follow these
instructions for installing the battery.
To install the battery into the scanner,
1. Open the battery cover underneath the scanner.
2. Load the battery into the battery compartment. Make sure
the battery is loaded with the correct polarity. Note the
copper strips on the battery should be touching the
copper strips on the device inside the battery
compartment.

User’s Manual
3-3
Note:
Only use the battery model provided with the scanner (NP120
for 3.7V 1700mAh).

User’s Manual
3-4
3.2 Charging the battery from the adapter or the
computer
1. Turn off your scanner by moving the “POWER” knob to the
“OFF” position.
To charge the battery from the computer, please follow these
steps:
a. Connect the mini end of the supplied USB Y cable to the
mini USB connector of the scanner.
b. Turn on your computer, and then connect the other two
rectangle ends of the USB cable to two USB ports on your
computer.
Table of contents
Other Avision Scanner manuals

Avision
Avision AV260C User manual

Avision
Avision FL-1501B User manual

Avision
Avision FF-2109B User manual

Avision
Avision FL-1507B User manual

Avision
Avision AD 250F User manual

Avision
Avision PaperAir 1000N User manual

Avision
Avision DF-1911B User manual

Avision
Avision DL-2104B User manual

Avision
Avision AV332 Series User manual

Avision
Avision AVA6 User manual

Avision
Avision AV810C User manual

Avision
Avision BT-2202B User manual

Avision
Avision AV261C User manual

Avision
Avision BS-1708B User manual

Avision
Avision AD225NW User manual

Avision
Avision FT-1906H User manual

Avision
Avision MiWand 2 Series User manual

Avision
Avision AV630C User manual

Avision
Avision DL-1203S User manual

Avision
Avision FF-2111B User manual