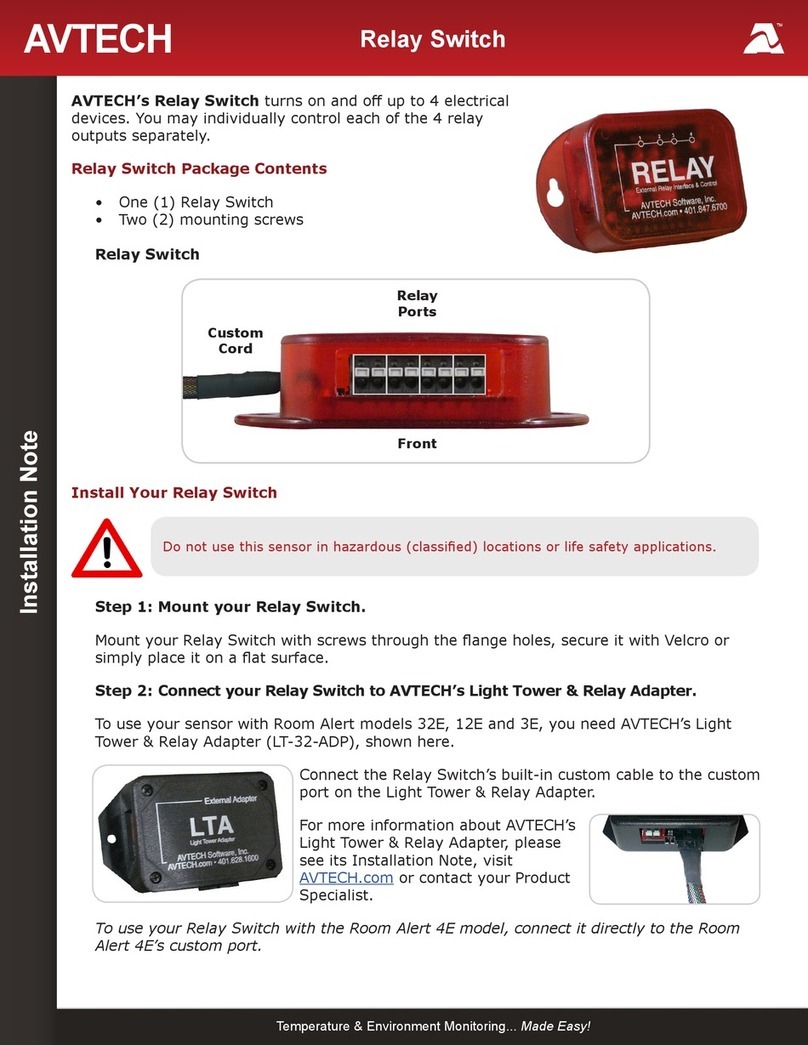
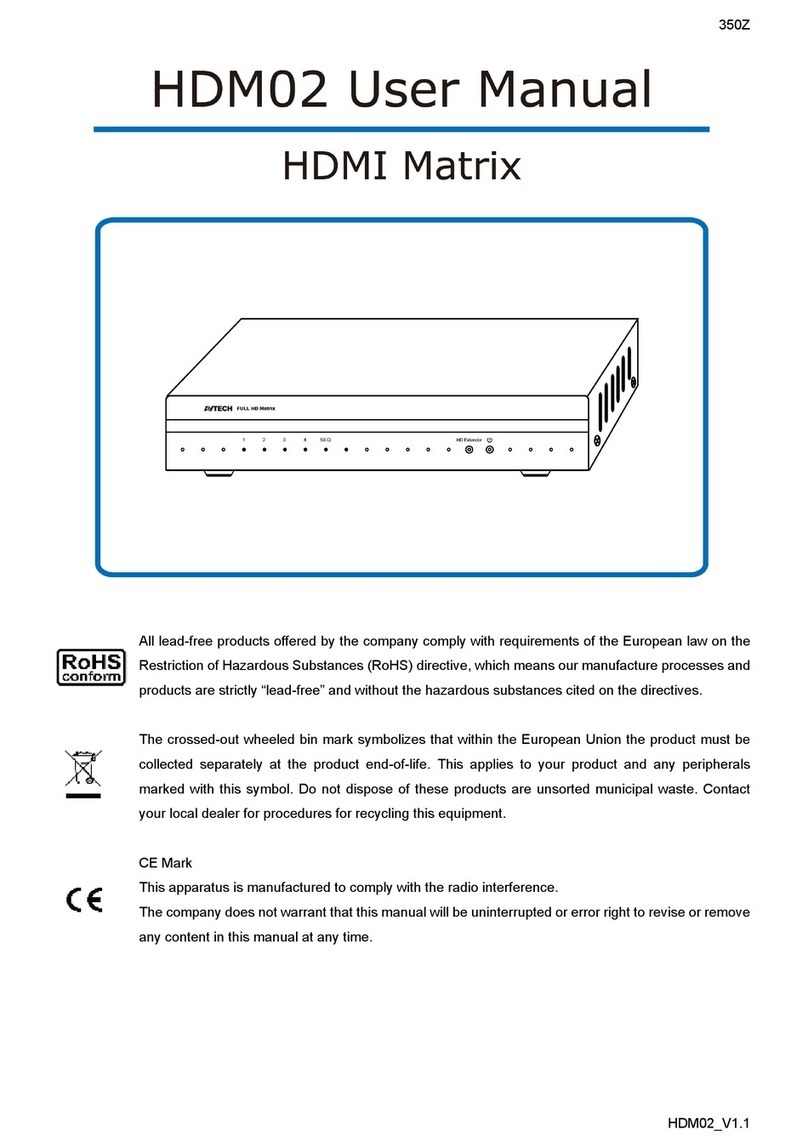
Avtech WiSH Installation and operation manual

Installation Note
AVTECH Software, Inc. Temperature & Environment Monitoring... Made Easy! AVTECH.com
Wireless Sensor Hubs
AVTECH
AVTECH’s Wireless Sensor Hubs, the WiSH (Wireless
Sensor Hub) and the WiSPR (Wireless Sensor Hub &
Powered Relay), wirelessly transmit sensor data to Room
Alert 32W and legacy model Room Alert 26W from up to 250'
away. Data is transmitted every 150 seconds via a secure,
private protocol on a ZigBee-based 2.4 GHz connection.
Transmissions are encrypted and will not interfere with other
wireless devices in the environment.
The WiSH and WiSPR include an internal temperature sensor,
2 digital ports and 1 switch port, allowing you to monitor a
variety of environmental conditions. You may pair up to 10
WiSH/WiSPRs with your Room Alert 32W or legacy model
Room Alert 26W in order to add up to 40 more sensors
wirelessly.
The WiSPR additionally repeats data from other WiSH/WiSPRs
to the Room Alert 32W or legacy model Room Alert 26W,
allowing you to extend the distance between other WiSH/
WiSPRs and your Room Alert.
Wireless Sensor Hub Package Contents
• One (1) WiSH or WiSPR
• One (1) 5V power adapter
• Two (2) mounting screws
WiSH/WiSPR
Front
Digital
Ports
Switch
Port
Left
Status
LED
Power
Port
Install Your Wireless Sensor Hub
Do not use this sensor in hazardous (classied) locations or life safety applications.

AVTECH Software, Inc. Page 2 AVTECH.com
Wireless Sensor Hubs (RAW-PWSH-HUB & RAW-WSPR-HUB)
Step 1: Mount your Wireless Sensor Hub.
1. Position your Wireless Sensor Hub up to 250' away from your Room Alert 32W (or
legacy model Room Alert 26W). Please refer to Best Practices For Positioning Your
WiSH/WiSPR in this installation note for more information.
2. Mount your Wireless Sensor Hub with screws through the ange holes, secure it with
Velcro or simply place it on a at surface.
Step 2: Connect any external sensors.
If you purchased external sensors for your WiSH/WiSPR, connect them according to their
Installation Notes.
Step 3: Connect your Wireless Sensor Hub to a power source.
Use only the AVTECH 5V power adapter. Others may damage the sensor.
1. Connect the included power adapter to the power port on
the WiSH/WiSPR.
2. Then insert the power adapter plug into a power source.
Notice that the Status LED lights up once the unit is plugged in
to power.
If you are setting up multiple WiSH/WiSPRs, it’s best to plug
them into power one at a time so that you may view each
serial number separately in the Room Alert interface and
record it on the sticker provided on the bottom of the unit. See
Conguring Your Wireless Sensor Hub in this installation note for more information.
Best Practices For Positioning Your WiSH/WiSPR
Antenna
Your Room Alert 32W (or legacy model Room Alert 26W) has
a moveable external antenna, while your WiSH/WiSPR has an
internal antenna parallel to the sensor cover. Their antenna
signals radiate in a at, circular pattern with the tip of the
antenna at its center, as shown here.
The orientation of both the Room Alert’s and the WiSH/WiSPR’s
antenna has a major impact on the eective range of the
wireless signal. The guidelines below show you how to best
position them.

AVTECH Software, Inc. Page 3 AVTECH.com
Wireless Sensor Hubs (RAW-PWSH-HUB & RAW-WSPR-HUB)
Same Floor/Level
When the WiSH/WiSPRs are located on the same oor or distributed at the same level as
the Room Alert:
Room Alert Antenna
Position the Room Alert’s antenna vertically.
WiSH/WiSPR Antenna
Mount the WiSH/WiSPR vertically with the label
facing the Room Alert. (The short side of the
enclosure should be vertical.)
If possible, locate the WiSH Sensors on the top half of the wall to avoid obstacles (people,
desks, cabinets, etc.), which reduce the range of the wireless signal. For example, if the
ceiling height is 8', the optimum height for the WiSH/WiSPR is 6'.
Dierent Floors/Levels
When the WiSH/WiSPRs are located on dierent oors or distributed above/below the
Room Alert:
Room Alert Antenna
Position the Room Alert’s antenna
horizontally.
WiSH/WiSPR Antenna
Mount the WiSH/WiSPR horizontally or
vertically with the label facing the Room
Alert. (For the vertical mount, the long
side of the enclosure is vertical.)
Place the WiSH/WiSPR as close as possible to directly above/below the Room Alert for the
most eective vertical wireless range.

AVTECH Software, Inc. Page 4 AVTECH.com
Wireless Sensor Hubs (RAW-PWSH-HUB & RAW-WSPR-HUB)
Metal
Keep the WiSH/WiSPR and Room Alert antennas as far away from metal objects as
possible. If metal is too close, it can interfere with the way the antennas radiate the
signal. Provide at least several inches of separation between the antennas and other metal
objects.
Obstructions
With a clear line of sight from Room Alert to the WiSH/WiSPR, the wireless range can be
up to 250'.
However, each obstacle between Room Alert and the WiSH/WiSPR reduces the eective
range of the wireless signal. Obvious obstacles include brick walls, drywall, doors, oors
and ceilings. Less obvious obstacles include people, desks, bookshelves, cabinets, wind,
plants or trees and more. Each of these obstacles will reduce the eective range of the
wireless signal.
The table below lists common obstacles and the approximate eect on the wireless signal
range.
Obstruction Eect On Range (Feet)
Brick Wall 40-50'
Drywall Wall (Steel Studs) 15-25'
Drywall Wall (Wood Studs) 10-20'
Door (Solid Core) 10-12'
Door (Hollow Core) 5-7'
Cubicle Wall 3-5'
People 1-3'
To determine the maximum eective wireless range in your environment, subtract the
maximum eect of each obstacle from the maximum range, 250'.
For example, if there is one brick wall, two drywall walls and three solid core doors
between Room Alert and the WiSH/WiSPR, the maximum eective range would be
approximately 114' under ideal conditions:
250' – (1 x 50') – (2 x 25') – (3 x 12') = 114'
In this case, the WiSH/WiSPR should be moved within the 114' of Room Alert. Sometimes
this could mean simply moving the sensor to the opposite wall in the room.

AVTECH Software, Inc. Page 5 AVTECH.com
Wireless Sensor Hubs (RAW-PWSH-HUB & RAW-WSPR-HUB)
Sensor Features & Specications
Environment Condition Monitored Temperature & various other conditions
Type Of Sensor Wireless Hub
Power Supply AVTECH 5V power adapter
Sensor Cable Type
Digital Port RJ-11 (standard straight-through telephone cord)
Included No; comes with compatible sensors
Maximum Extendible Length 100'
Switch Port Low-voltage two-wire speaker cable
Included No; comes with compatible sensors
Maximum Extendible Length 900'
Transmission Frequency 2.4 GHz
Maximum Distance from Room Alert 250'
Maximum WiSH/WiSPR Per Room Alert 10
Operating Temperature -40º F to 185º F (-40º C to 85º C)
Compatible Products Room Alert 32W
Legacy model Room Alert 26W
AVT-160418.01

AVTECH Software, Inc. Page 6 AVTECH.com
Congure Your Wireless Sensor Hub
Use Room Alert’s Built-In Web Interface
Navigate to Settings Sensors in the web interface of your Room Alert. The options
you see below will vary depending on the model.
1. Scroll to WiSH Sensor Settings.
2. In WiSH Sensor, choose the discovered WiSH you want to congure from the drop-
down list. In this example, we’ve chosen WiSH Sensor 1.
3. In Sensor Label, you may leave the default, “WiSH Sensor 1,” or enter something more
descriptive of up to 15 characters. You may use the following characters in sensor
labels: letters, numbers, spaces, hyphens (-), underscores (_) and periods (.).
4. In Serial #, the interface automatically detects and displays the WiSH/WiSPR sensor’s
serial number. In this example, WiSH Sensor 1’s serial number is 123456789012.

AVTECH Software, Inc. Page 7 AVTECH.com
Congure Your Wireless Sensor Hub
5. Record this number on the sticker on the bottom of your WiSH/WiSPR so you’ll know
which physical device corresponds to what you’re seeing in the interface.
AVTECH — WiSH (Power)
Sensor works with Room Alert 32W and 26W only.
Do NOT leave powered on when not in use.
Serial # 123456789012 vX.X
AVTECH.com * 401.628.1600
6. Only click Reset This WiSH Sensor if you wish to clear your current WiSH settings
and change them back to the defaults.
7. In the WiSH Internal Sensor Alarm Conguration section, you may congure the WiSH/
WiSPR’s internal digital temperature sensor:
• Alarm On automatically populates with the default temperature scale. Please refer
to your Room Alert User’s Guide & Reference Manual to change it.
• In High and Low, you may leave the default, 0—which means no alarm is
congured—or enter values for high and low thresholds. Your Room Alert generates
alerts based on those thresholds.
• In Adjust, you may leave the default, 0, or enter a value to adjust the temperature
reading if it diers from a known value at that location.
8. In the WiSH External and Switch Sensor Alarm Conguration sections, you may enter
labels and thresholds for your WiSH/WiSPR’s external digital sensors and external
switch sensor, if you have connected any. Please congure them according to their
Installation Notes.
9. In Use Alarm Prole, which controls light towers and relays on your Room Alert, you
may leave the default, Prole 1, or choose another Alarm Prole from the drop-down
menu. The Prole you choose here applies to all sensors connected to the WiSH/WiSPR
being congured: its internal, external digital and external switch sensors.
10.Select Save Settings at the top or bottom of the page. Your Room Alert will
automatically reboot and commit your changes.
Repeat the steps above for each discovered WiSH/WiSPR. A maximum of ten WiSH or
WiSPR hubs can be used with each Room Alert 32W (or legacy model Room Alert 26W).
You may also congure advanced options for your WiSH/WiSPRs by navigating to the
SettingsAdvanced page of your Room Alert. Please see your Room Alert User’s Guide
and Reference Manual for more information.

AVTECH Software, Inc. Page 8 AVTECH.com
Congure Your Wireless Sensor Hub
Use AVTECH’s GoToMyDevices For The Convenience Of The Cloud
Monitor unlimited Room Alert devices and sensors
through the cloud from anywhere… anytime! It’s
quick, easy and powerful.
Enjoy the same look and feel from any device, whether
you use a phone, tablet, laptop or desktop computer.
Alert, log, graph, view, report, and manage your
Room Alerts, with no software to install or update.
Create an account today at GoToMyDevices.com to begin!
Use AVTECH’s Device ManageR Software For Advanced Functionality
For advanced functionality and easy
management of multiple units, congure your
sensor with AVTECH’s Device ManageR, the
software that comes FREE with the purchase
of any Room Alert.
You may download the latest version from
your account at GoToMyDevices.com while
your subscription for extended service and
support is active.
AVT-160418.01
This manual suits for next models
1
Table of contents
Other Avtech Switch manuals
Popular Switch manuals by other brands

Pilz
Pilz PSEN ma1.3p-22 operating instructions

Fujitsu
Fujitsu KVM 2- Adapter Series Quick installation guide

Agilent Technologies
Agilent Technologies 11713A Operating and service manual

Ace Plus
Ace Plus EX-G052 user manual

Hella
Hella 6HF 001 579-052 Mounting instruction

Westermo
Westermo L105-S1 user guide

D-Link
D-Link GO-SW-8GE Quick install guide

epiphan video
epiphan video Pearl-2 user guide

Voltek
Voltek CT200 installation instructions

ZyXEL Communications
ZyXEL Communications AVS108 quick start guide

Magnetrol
Magnetrol Echotel 961 Installation and operating manual

TRENDnet
TRENDnet TPE-T80 Quick installation guide