EN - 1
————————————————————
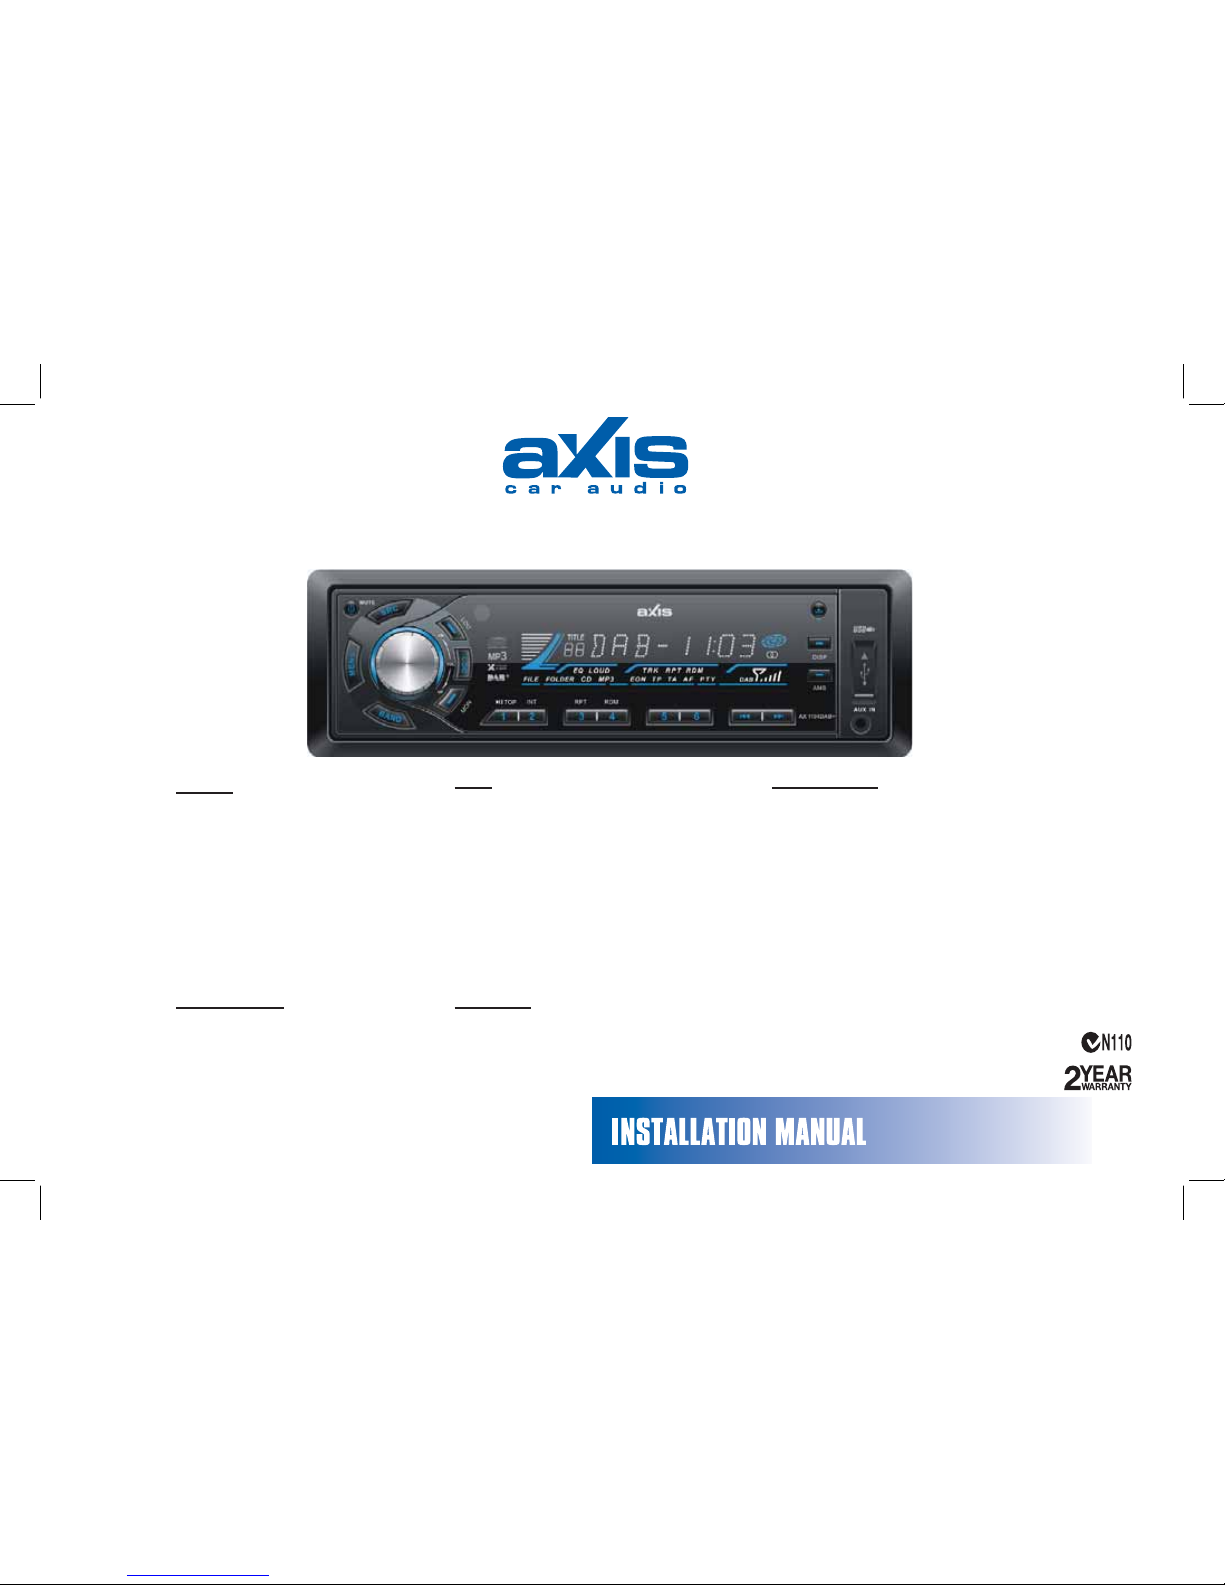
* In addition to ordinary CDs, this unit can
playback CD-R or CD-RW, MP3.
Thank you for purchasing this product. Please
read this manual carefully before operating and
VDYH it for future reference.
————————————————————
PRECAUTIONS
electrical system.
one with an identical amperage rating.
Using a fuse with a higher amperage rating
may cause serious damage to the unit.
Laser beams from the optical pickup are
dangerous to the eyes.
do not get inside the unit, they may cause
malfunctions, or create safety hazards such
as electrical shock or laser beam exposure.
time in hot or cold weather, wait until the
temperature in the car becomes normal
before operating the unit.
hear outside warning sound(horns sirens,
etc).
————————————————————
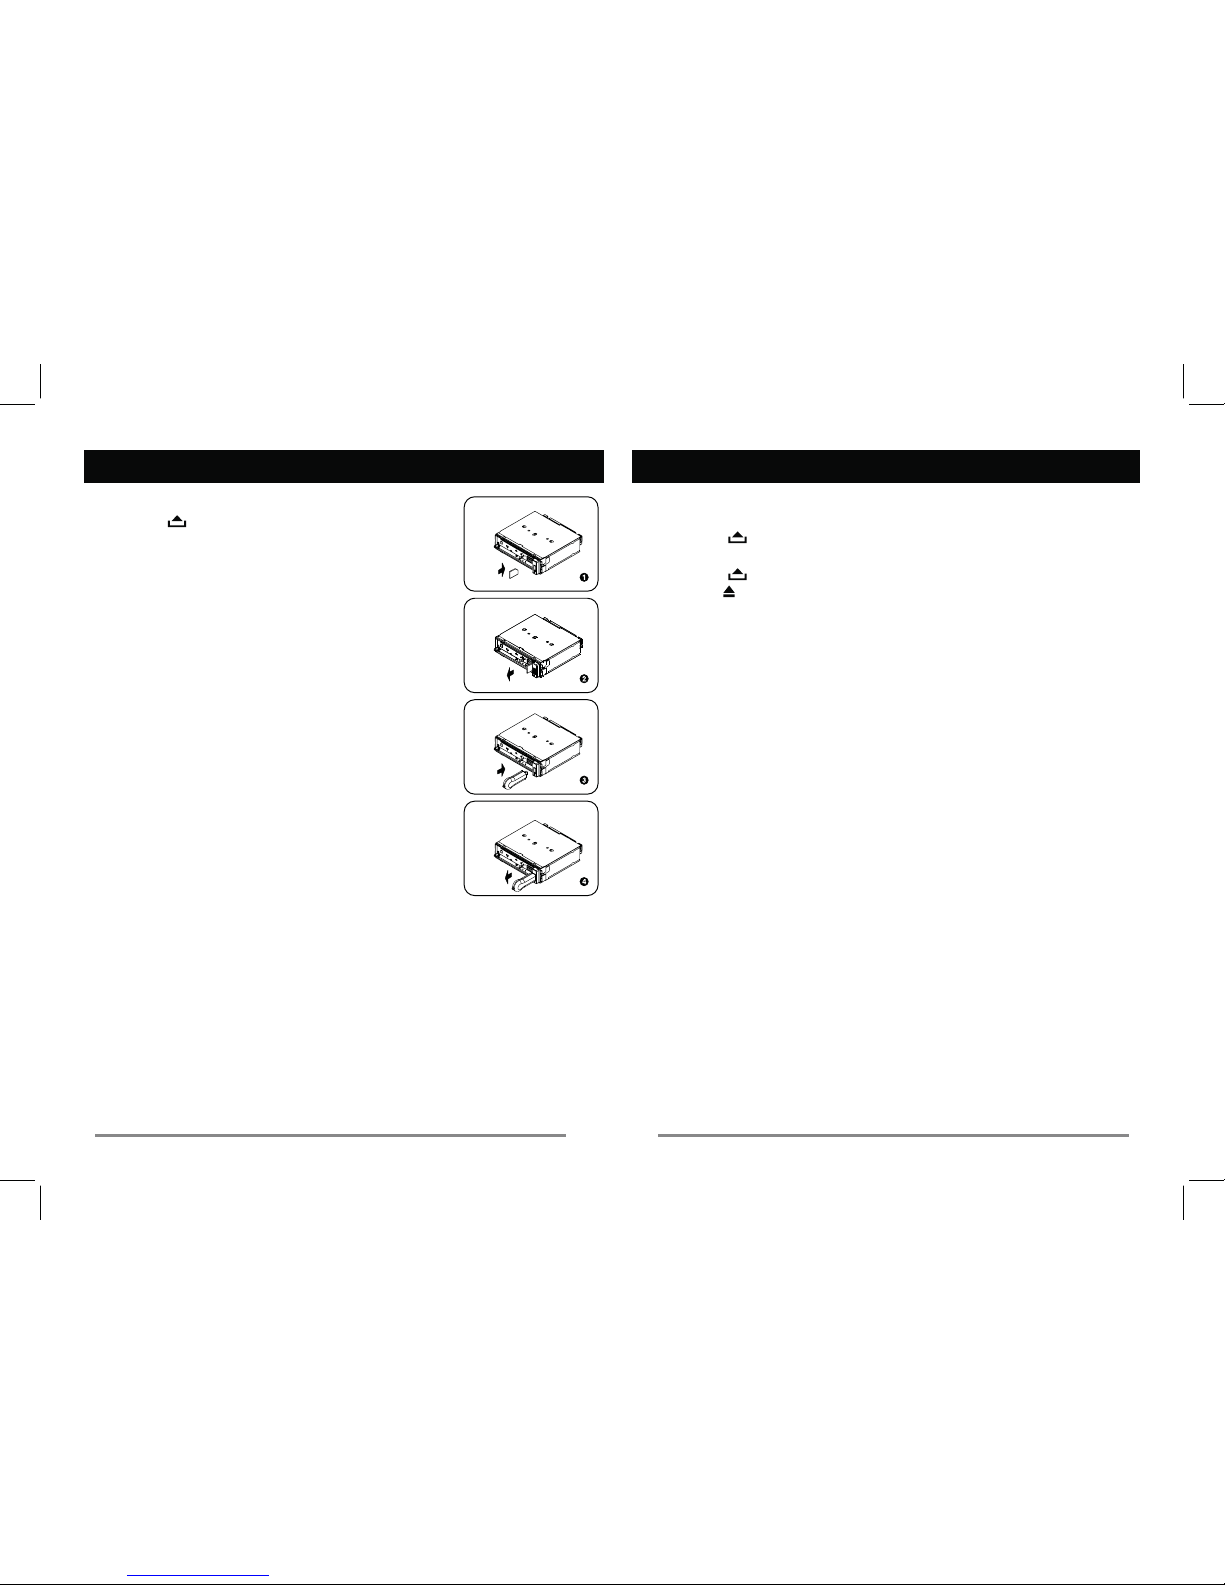
CD Notes
can cause dropouts in sound.
data protection sheet to either side of a
disc.
excessive heat.
UH
with a cleaning cloth.
alcohol.
the adapter or an irregularly shaped CD.
resulting in malfunction.
————————————————————
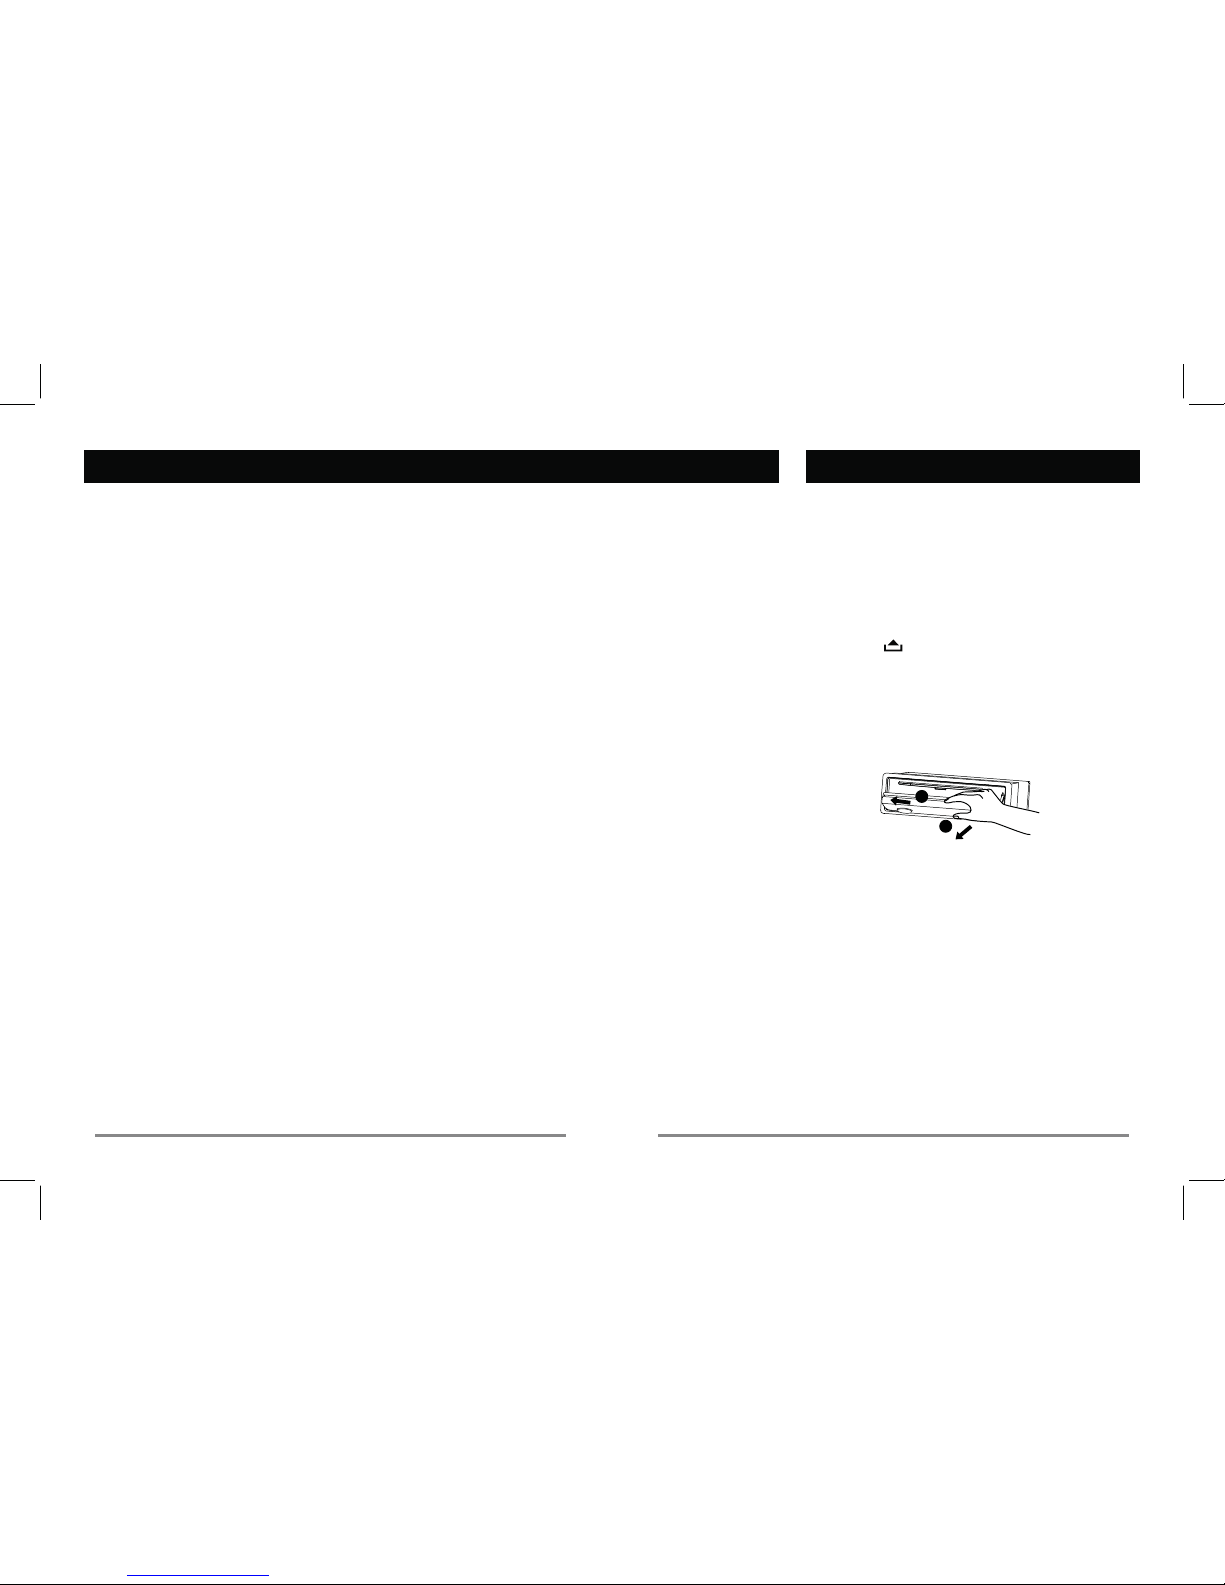
Before Operation
as this will block outside sounds, making
driving dangerous.
complicated operation.
————————————————————
CAUTION
yourself.
Consult the dealer or an experienced
technician for help.
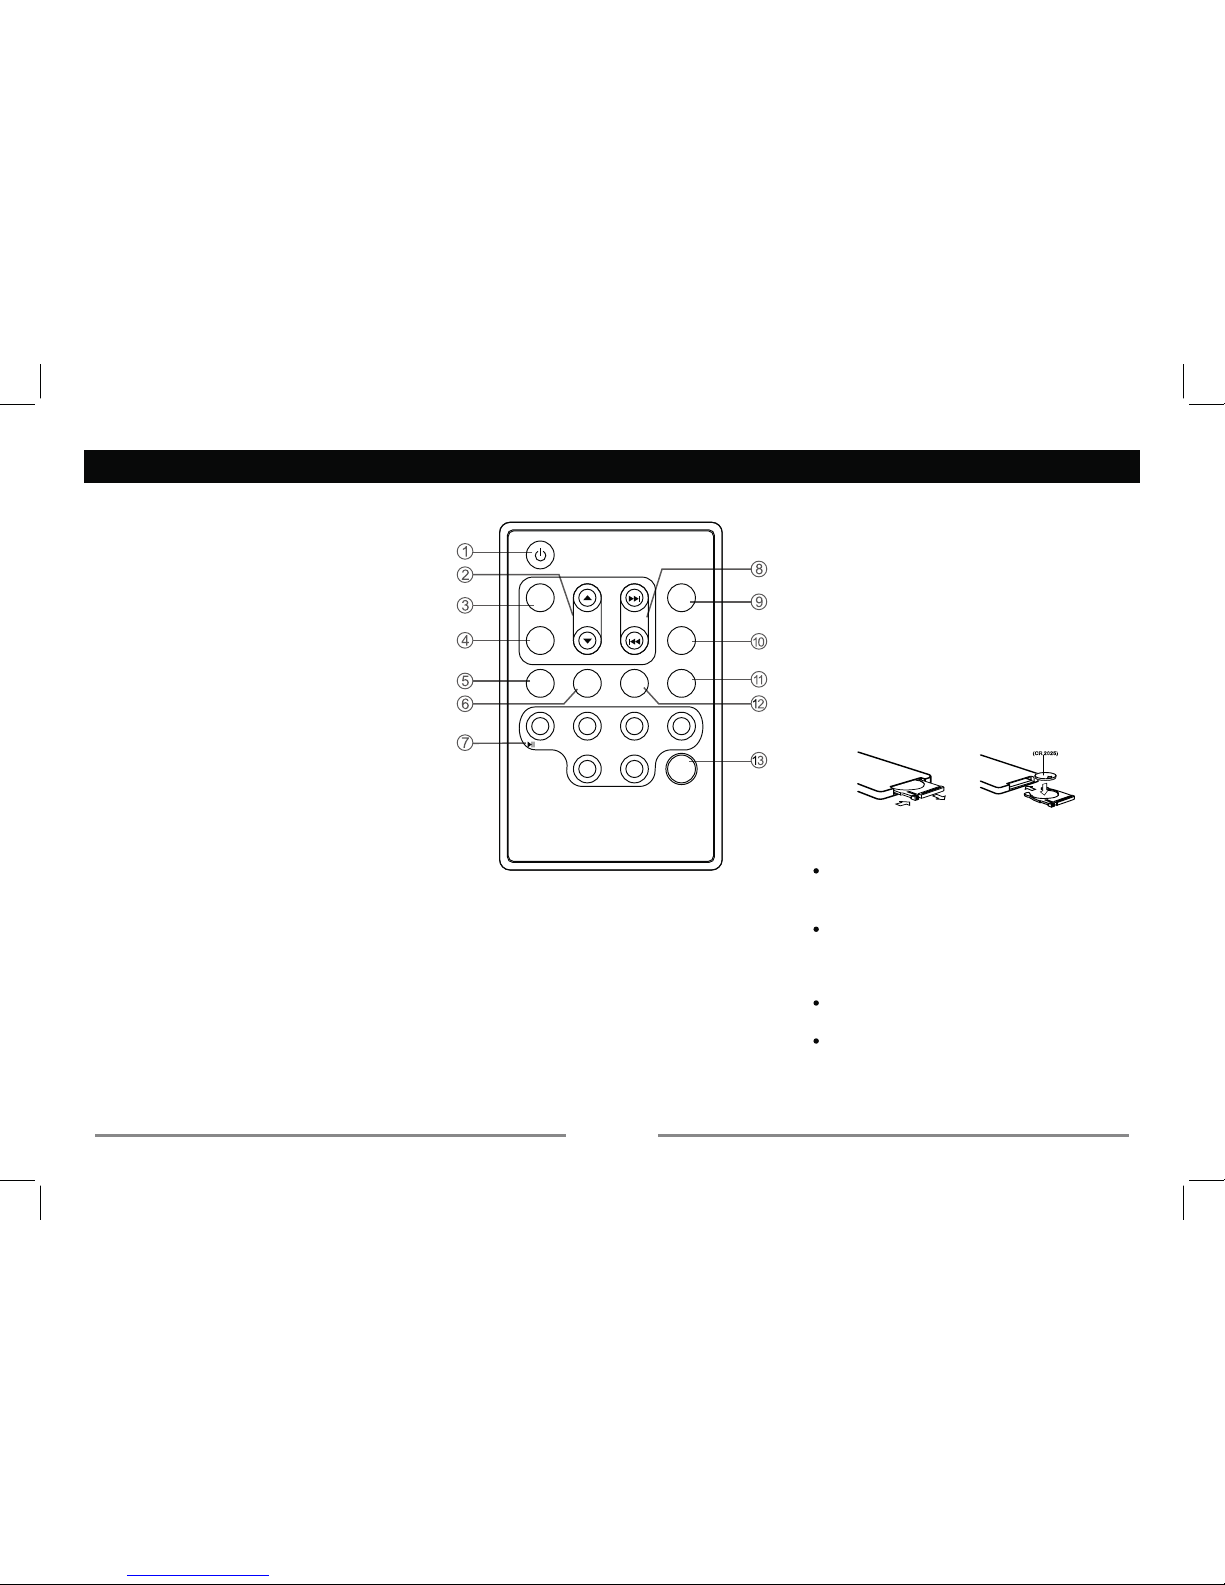
Safety Information Contents
Safety Information ........................................
Panel Controls..............................................
......................................... 3
Remote Controls........................................... 3
USB/SD/MMC MP3 Playback....................... 5
.......................................... 5
........................................... 6
............................................. 6
MP3 Playback............................................... 6
.............................................. 7
Anti-Theft System.........................................
Menu Function.............................................. 9
................................
Installation Guide........................................
Troubleshooting..........................................
.............................................