Baby Lock EMP6 Installation guide

EMP6 / BMP8 Technical Training

2 - 3
Main parts
Main unit
Disassembly
1 Motor cover and carriage cover removal
1. Remove the screw cover 1.
2. Remove the screw 1, and then remove the carriage cover 2.
3. Remove the 2 screw 2, and then remove the motor cover 3.
1
1
2
3
2
1

2 - 4
Main unit Main parts
2 Bed cover removal
1. Remove the 2 screws 1, and then remove the bed cover bottom assembly
1.
2. Remove the 2 screws 2, and then remove the bed cover lid 2from the
bed cover bottom assembly.
3. Remove the hinged door 3and the spring 4from the bed cover bottom
assembly.
4. Remove the 4 screws 3, and then remove the bed cover top 5and the bed
cover 6.
2
11
2
3
3
4
65
2

2 - 5
Main parts
Main unit
Disassembly
3 Arm cover R removal
1. Remove the 5 screw covers 1.
2. Remove the 2 screws 1, and then remove the arm cover R lid 2.
*Key point
• Remove the thumb bolt (M4S) from the operation panel
assembly before removing arm cover R.
3. Remove the 3 screws 2, and then remove the arm cover R 3.
1
1
2
3
2
Position to number "1" needle for easy
removal of these covers.
3

2 - 6
Main unit Main parts
4 Arm cover L removal
1. Remove the 3 screw covers 1.
2. Remove the screw inside the cover 1and the 2 screws outside the cover
2, and then remove arm cover L 2.
2
1
1
Inside
Outside 2
4

2 - 7
Main parts
Main unit
Disassembly
5 Base cover R removal
1. Remove the 2 screw covers 1.
2. Remove the 2 screws 1and then remove the base cover R lid 2.
3. Removes the 3 screws 2and then remove the base cover R 3.
*Key point
• ·Fully draw the feed final assembly toward you before
removing the base cover R.
1
2
3
1
2
5

2 - 8
Main parts
Main unit
6 Base cover L removal
1. Remove the 2 screw covers 1.
2. Remove the 2 screws 1, and then remove the base cover L lid 2.
3. Remove the 3 screws 2, and then remove the base cover L 3.
*Key point
• Fully draw the feed final assembly toward you before
removing the base cover L.
1
1
2
3
2
7 LED drive PCB removal
1. Disconnect the lead wire connector 2on the LED drive PCB assembly 1
from the Main PCB.
2. 2.Remove the 2 screws 1, and then remove the LED drive PCB assembly
1.
11
2
6

2 - 10
Main parts
Main unit
11 Operation panel assembly removal
1. Remove the 6 screws 1, and then remove the operation panel assembly
1.
11
11
12 Thread take-up cover removal
1. Remove the 2 screws 1, and then remove the thread take-up cover 1.
*Key point
• The pin protruding from the needle bar case final assembly
rests on the inner left side of the thread take-up cover.
1
1
7

2 - 11
Main parts
Main unit
Disassembly
13 Tension base removal
1. Remove the screw 1, and then remove the cord clamp NK-4N from the
arm bed.
2. Remove the 4 screws 2, and then remove the tension base assembly.
1
22
14 Needle plate removal
1. Remove the 2 screws 1, and then remove the needle plate 1.
1
1
8

2 - 65
Thread tension unit
Main unit
Disassembly
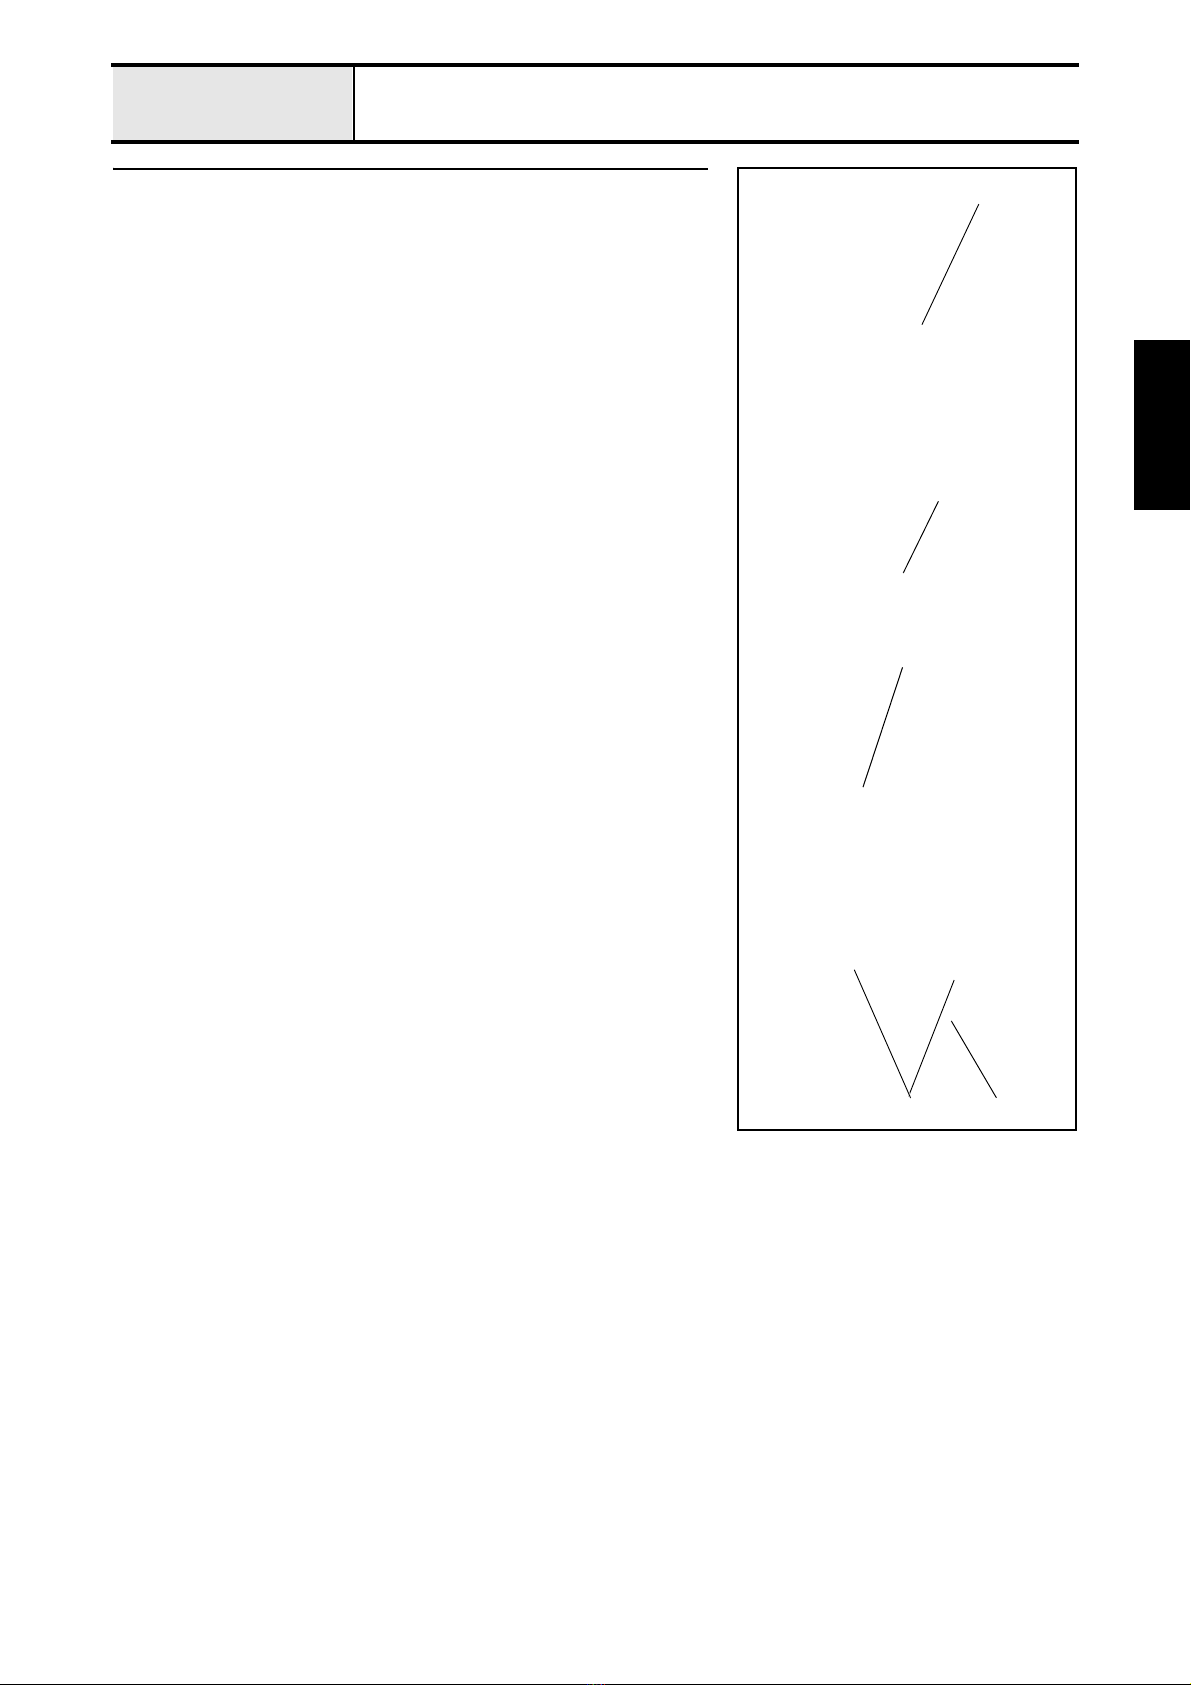
1 Loosen the tension nut removal
1. Loosen the tension nut 1, and then remove the washer 2, spring ,
tension disc presser 3, tension disc felt 4, rotary disc assembly 5, and
second tension disc felt 4. (6 locations)
NOTE
• The thread tension washer 6is inserted between the washer
2and the spring only for thread tension A.
A
1
6
2
3
4
5
4
S51
S51
S51
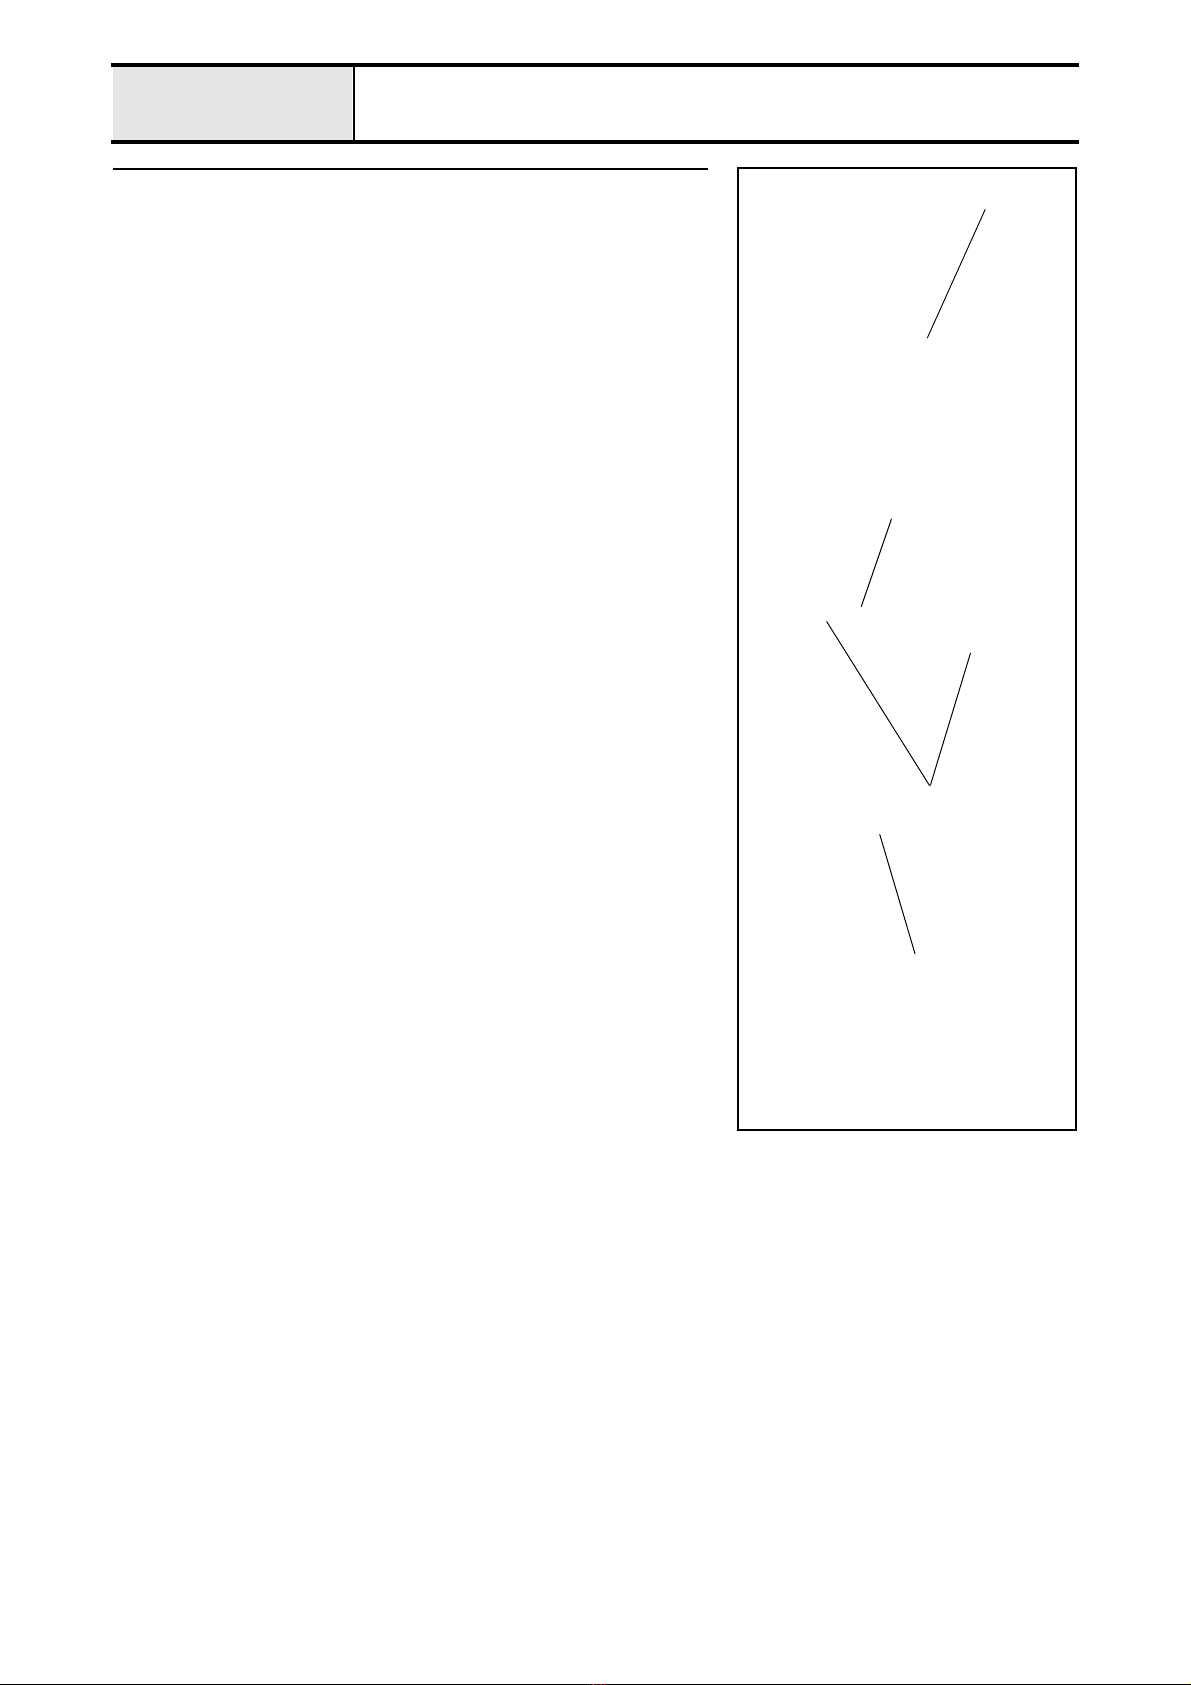
2 Tension base bracket removal
1. Remove the cord bush (KR51) 1from the tension base bracket, and then
remove the tension base lead wire assembly 2from the head PCB
assembly on the tension base.
2. Remove the screw 1, and then remove the head grounding wire.
3. Remove the 4 screws 2, and then remove the tension base bracket.
4. Remove the 2 screws 3, and then remove the bracket cover from the
tension base bracket.
1
21
2
3
2
2
Inspect to make sure that all parts are lint-free
and clean.
9

2 - 66
Thread tension unit
Main unit
3 Inner thread eyelet base removal
1. Remove the 2 screws 1, and then remove the inner thread eyelet base
assembly from the tension base assembly.
2. Remove the tension axis cap 1. (6 locations)
3. Loosen the thread guide tension axis 2, and then remove the spring
and the thread guide tension plate 3. (6 locations)
1
2
3
S52
1
S52
4
Thread sensor PCB assembly and head PCB assembly removal
1. Disconnect the FFC (SML2CD-H) from the head PCB assembly 1.
(6 locations)
2. Remove the 4 screws 1, and then remove the head PCB assembly.
3. Remove the 2 screws 2, and then remove the thread tension bracket,
thread quantity sensor cover, and head grounding wire assembly.
(6 locations)
4. Remove the 2 retaining rings CS2, and then remove the 2 rubber washers
and the thread sensor assembly 2from the thread quantity sensor cover.
(6 locations).
5. Remove the FFC (SML2CD-H) from the thread sensor assembly.
11
2
21
1
Retaining ring CS2
10

2 - 70
Main unit Thread tension unit
10 Thread take-up lever cover disassembly (Step 1)
1. Remove the 4 screws (12, 2 each), and then remove the thread holder
base assembly and the thread guide back cover.
2. Remove the screw 3, and then remove the cutter cover assembly from the
thread holder base assembly. (6 locations)
3. Remove the retaining ring CS5 from the cutter cover assembly, and then
remove the 6 NT lower thread cutters.
4. Remove the 6 retaining rings E1.5, and then remove the 6 needle thread
presser plates and the 6 springs from the thread holder base.
1
2
3
Retaining ring CS5
Retaining ring E1.5
S50
S50
11

2 - 71
Thread tension unit
Main unit
Disassembly
11 Thread take-up lever cover disassembly (Step 2)
1. Remove the 2 screws 1, and then remove the thread tension bracket base.
2. Remove the 6 screws 2, and then remove the thread tension bracket base.
3. Remove the 6 thread guide cover assemblies 2from the thread take-up
lever cover 1.
4. Remove the thread take-up bracket assembly 3from the thread guide
cover assembly. (6 sets)
1
3
2
1
2
12

2 - 53
Lower shaft unit
Main unit
Disassembly
1 Arm bed and base frame disconnection
1. Mark the position where the arm bed is attached to the base frame. Mark
the position on the base frame.
*Key point
• Marking prevents miss-location during re-assembly.
2. Remove the 4 screws 1and the 4 plain washers (M8), and then remove
the arm bed from the base frame.
1
1
2 Idle pulley assembly removal
1. Remove the 4 screws 1, and then remove the 2 bushing pressers.
2. Remove the idle pulley assembly 1.
1
1 1
3 Idle pulley disassembly
1. Remove the 2 screws 1, and then remove the set screw collar, thrust
washer, idle pulley, and second thrust washer.
2. Remove the retaining ring E7 from the idle pulley shaft.
1
1
Retaining rings E4
13

2 - 9
Main parts
Main unit
Disassembly
8 LED PCB plate removal
1. Remove the 2 screws 1, and then remove the LED PCB plate 1.
11
9 Main PCB assembly removal
1. Disconnect all connectors from the main PCB.
2. Remove the 4 screws 1, and then remove the main PCB assembly 1.
3. Remove the 4 screws 2, and then remove board holder U 2and board
holder D 3.
12
2
3
12
1
10 Spool stand frame final assembly removal
1. Remove the 3 screws 1, and then remove the spool stand frame final
assembly 1.
2. Remove the 3 studs 2.
1
1
2
14

2 - 55
Disassembly
Power unit
Main unit
15

2 - 58
Main unit Power unit
4 Power PCB disassembly
1. Disconnect the power lead wire assembly 1from the power PCB
assembly 100 (or 200).
2. Remove the 4 screws 1, and then remove the power unit cover assembly
from the power unit stay.
3. Remove the 4 screws 2, and then remove the insulation sheet and the
power PCB assembly from the power unit cover assembly.
1
1
1
2
2
16

2 - 73
Disassembly
Operation panel
Main unit
17

3 - 95
Main unit
Main unit
Assembly
8 Tension base attachment
1. Attach the tension base assembly 1to the needle bar case final assembly
with the 4 screws 1.
2. Attach the cord clamp (NK-4N) to the tension base cord at a point 125 mm
from the tension base, and secure it to the arm bed with the screw 2.
1Torque
1.18 – 1.57 N-m
2Torque
0.78 – 1.18 N-m 2
1
1
Screw, Bind
M4X6
Screw, Pan (S/P washer)
M4X10DB
18

3 - 96
Main unit
Main unit
9 Thread take-up lever cover attachment
1. Attach the thread take-up lever cover 1to the tension base assembly 2
with the 2 screws 1.
*Key point
• Place the 2 tabs on the upper section of the thread take-up
lever cover over the 2 holes 3on the operator's side of the
tension base assembly, and then align the pin on the left side
of the needle bar case final assembly with the groove 4on
the inner left side of the thread take-up lever cover.
1Torque
1.18 – 1.57 N-m
4
3
2
11
Screw, Pan (S/P washer)
M4X10DB
10 Operation panel assembly attachment
1. Attach the operation panel assembly 1with the 6 screws 1.
1Torque
1.18 – 1.57 N-m 11
11
Screw, Pan (S/P washer)
M4X10DB
19
This manual suits for next models
1
Table of contents
Popular Industrial Equipment manuals by other brands

Leader Evaporator
Leader Evaporator WSE manual

Kollmorgen
Kollmorgen RGM Programmer's guide

Trane
Trane CenTraVac 2100 operation & maintenance

SafanDarley
SafanDarley E-Brake Premium 100-3100 instruction manual

Chicago Dryer
Chicago Dryer Air Chicago Standard instruction manual

FiberLamp
FiberLamp FL5200 Operation manual