CLIPPING
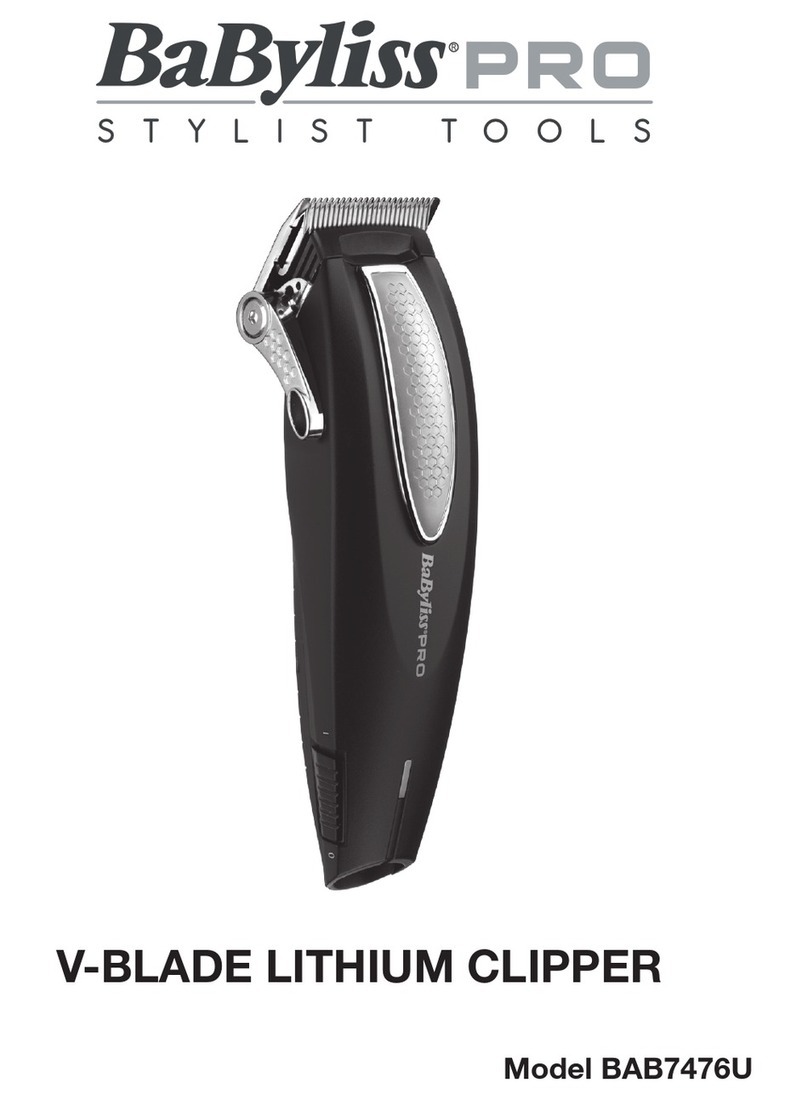
Taper Control
The taper control lever enables ne cut adjustment for precision
clipping.
• To increase the cutting length, push the lever down.
• To reduce the cutting length, push the lever up.
Comb Guides
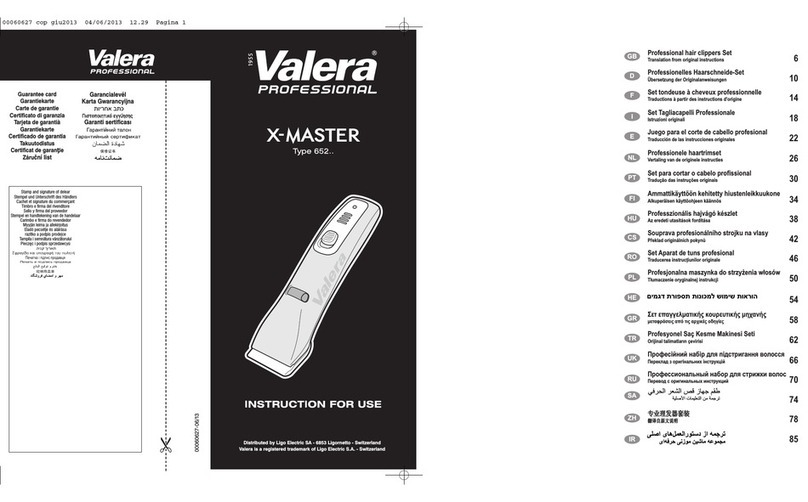
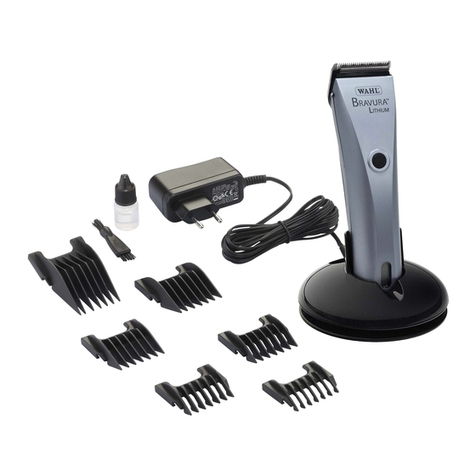
This appliance is supplied with 6 comb guides:
Cutting Length Grade
3mm (⅛’’) #1
6mm (¼’’) #2
10mm (⅜’’) #3
13mm (½’’) #4
16mm (⅝’’) #5
19mm (¾’’) #6
For an all over even cut
• Attach a comb guide as required – your clipper is supplied with 6
comb guides (grades 1-6). Each comb guide is labelled.
• Switch the clipper to the ‘I-ON’ position and the blades will start to
move.
• Starting at the nape of the neck, hold the clipper with the teeth of
the comb guide pointing upwards, ensuring that the comb guide is
resting at against the head.
• Slowly move the clipper upwards and outwards through the hair
towards your crown, against the direction of the hair growth. The
comb guide will help to lift the hair and the blades will cut the hair at
the desired length.
• Once the desired length is achieved at the back of the hair, start
clipping the top and sides.
• Hold the clipper to the front of your hair with the teeth pointing
towards the back of your head, and move the clipper towards your
crown. Repeat as necessary, moving in rows from the front and the
sides of your head to the back.
INSTRUCTIONS FOR USE
Charging the Appliance
• Before using the clipper and trimmer for the rst time, charge the batteries
continuously for 3 hours. Maximum battery capacity will only be reached
after 3 completed charging and discharging cycles.
• Connect the charging cable into the back of the charging stand. Plug
into a suitable mains power socket and switch on. Place the clipper and
trimmer into the dual charging stand. The red LED indicator lights will
ash when correctly placed in to the stand and will continuously ash
until the battery has fully charged. When the batteries are fully charged
the LED indicator lights will stop ashing but remain on.
NOTE: Always place the clipper/trimmer in the base with the ‘I/0’ switch
in the OFF position.
• When the clipper/trimmer is running low on charge, the LED indicator
light will ash, warning there is approximately 3 minutes of battery use
remaining.
• Clipper - a 3 hour charge will provide approximately 120 minutes use.
A 30 minute quick charge will provide approximately 30 minutes use.
• Trimmer - a 3 hour charge will provide approximately 85 minutes use.
A 30 minute quick charge will provide approximately 30 minutes use.
• If the charging light starts to ash rapidly (more than 4 ashes per second)
then the appliance is faulty. If this happens then please stop charging and
remove the adapter from the mains and contact the Conair Customer
Care Line. (See ‘UK After Sales Service’ section for further information).
Preserving the Batteries
• In order to maintain the optimum capacity of the rechargeable batteries,
the appliance should be recharged for 3 hours approximately every 3
months.
• Using the clipper/trimmer on the mains - ensure that the clipper is
switched off. Plug into a suitable mains socket. Wait for approximately a
minute, and then switch on.
IMPORTANT: Do not use the clipper/trimmer in this mode for more than
20 minutes.


