INTRODUCTION
This document explains how to install small pipe transit time
ultrasonic integral transducers and transducers with remote
mounting. The transducers can be installed vertically
or horizontally.
The transducers have integrated transmitter and receiver
elements that eliminate the requirement for spacing
measurement and alignment.
PREINSTALLATION
REQUIREMENTS
Program the Meter
Before the flow meter will be operational, you must select the
optimum transmission mode, enter the site information, and
enter the uid and pipe properties into the ultrasonic flow
meter. For detailed instructions, see the user manual for your
flow meter.
Select a Pipe Location for the Transducers
Select a location for the transducers on a section of pipe that
has at least 10 pipe diameters upstream of the transducers
and 5 pipe diameters downstream. See “Figure 2: Piping
configuration and transducer positioning” on page2.
For example, if a 2 in. pipe is being measured, the minimum
upstream pipe in front of the transducer should be 20 in.
and the minimum downstream pipe behind the transducer
should be at least 10 in.
Pipe runs shorter than the minimums may sometimes be
used with reduced accuracy. There is no way to determine
how much accuracy is sacrificed without doing
in-field testing.
For installations where the 10/5 pipe diameters rule cannot
be followed, divide the total length of available straight pipe
into thirds and mount the rail with 2/3 of the pipe upstream
and 1/3 of the pipe downstream.
A full pipe is absolutely essential for making accurate flow
measurements. The flow meter cannot determine if the pipe
is full or not. If the pipe is partially full, the meter will
over-report the amount of flow by the percentage of the pipe
that is not filled with liquid or may not detect any flow.
Install the mounting system in an area where the transducers
will not be inadvertently bumped or disturbed.
Avoid installations on downward flowing pipes unless
adequate downstream head pressure is present to overcome
partial filling of—or cavitation in—the pipe.
YES
45°
45°
YES
45°
45°
Top of
Pipe
45°
45°
YES
YES
45°
45°
Top of
Pipe
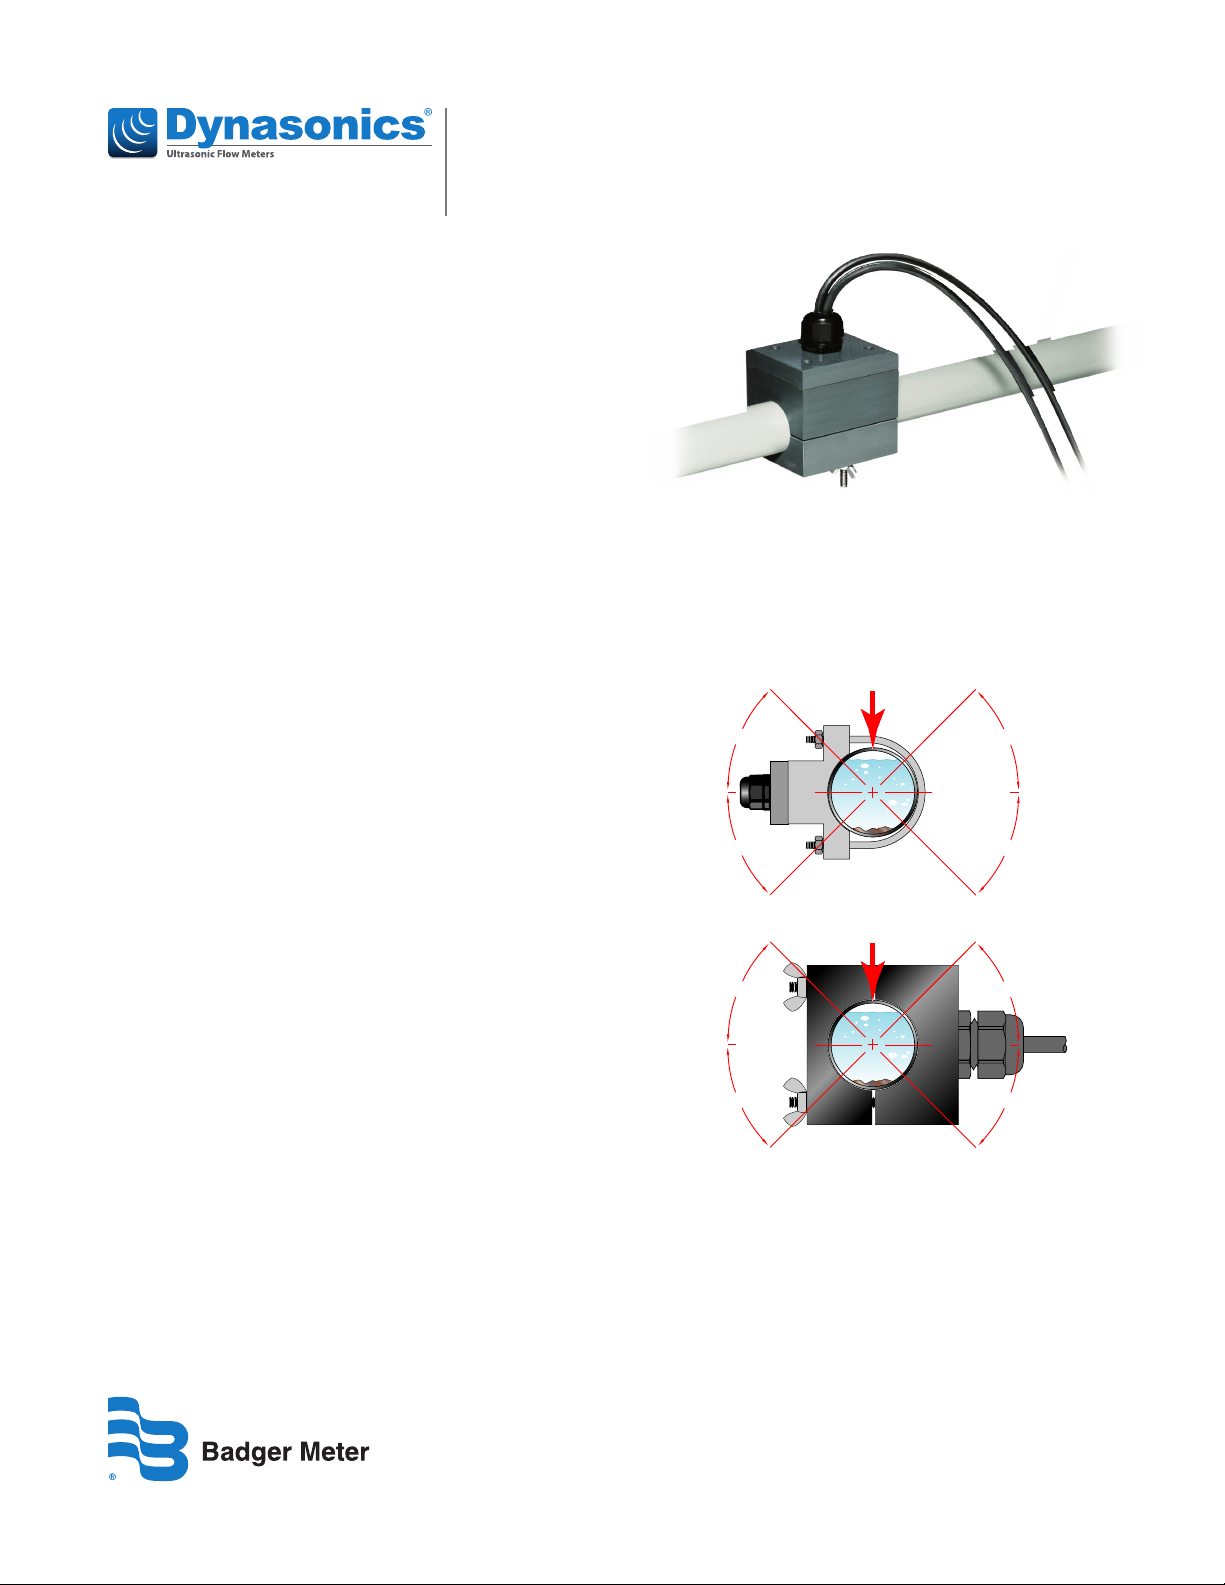
U-Bolt
Figure 1: Transducer positioning
Transducers
Small Pipe, Fixed Size Transit Time Ultrasonic Transducers
IND-UM-02649-EN-05 (March 2021) Installation Guide


