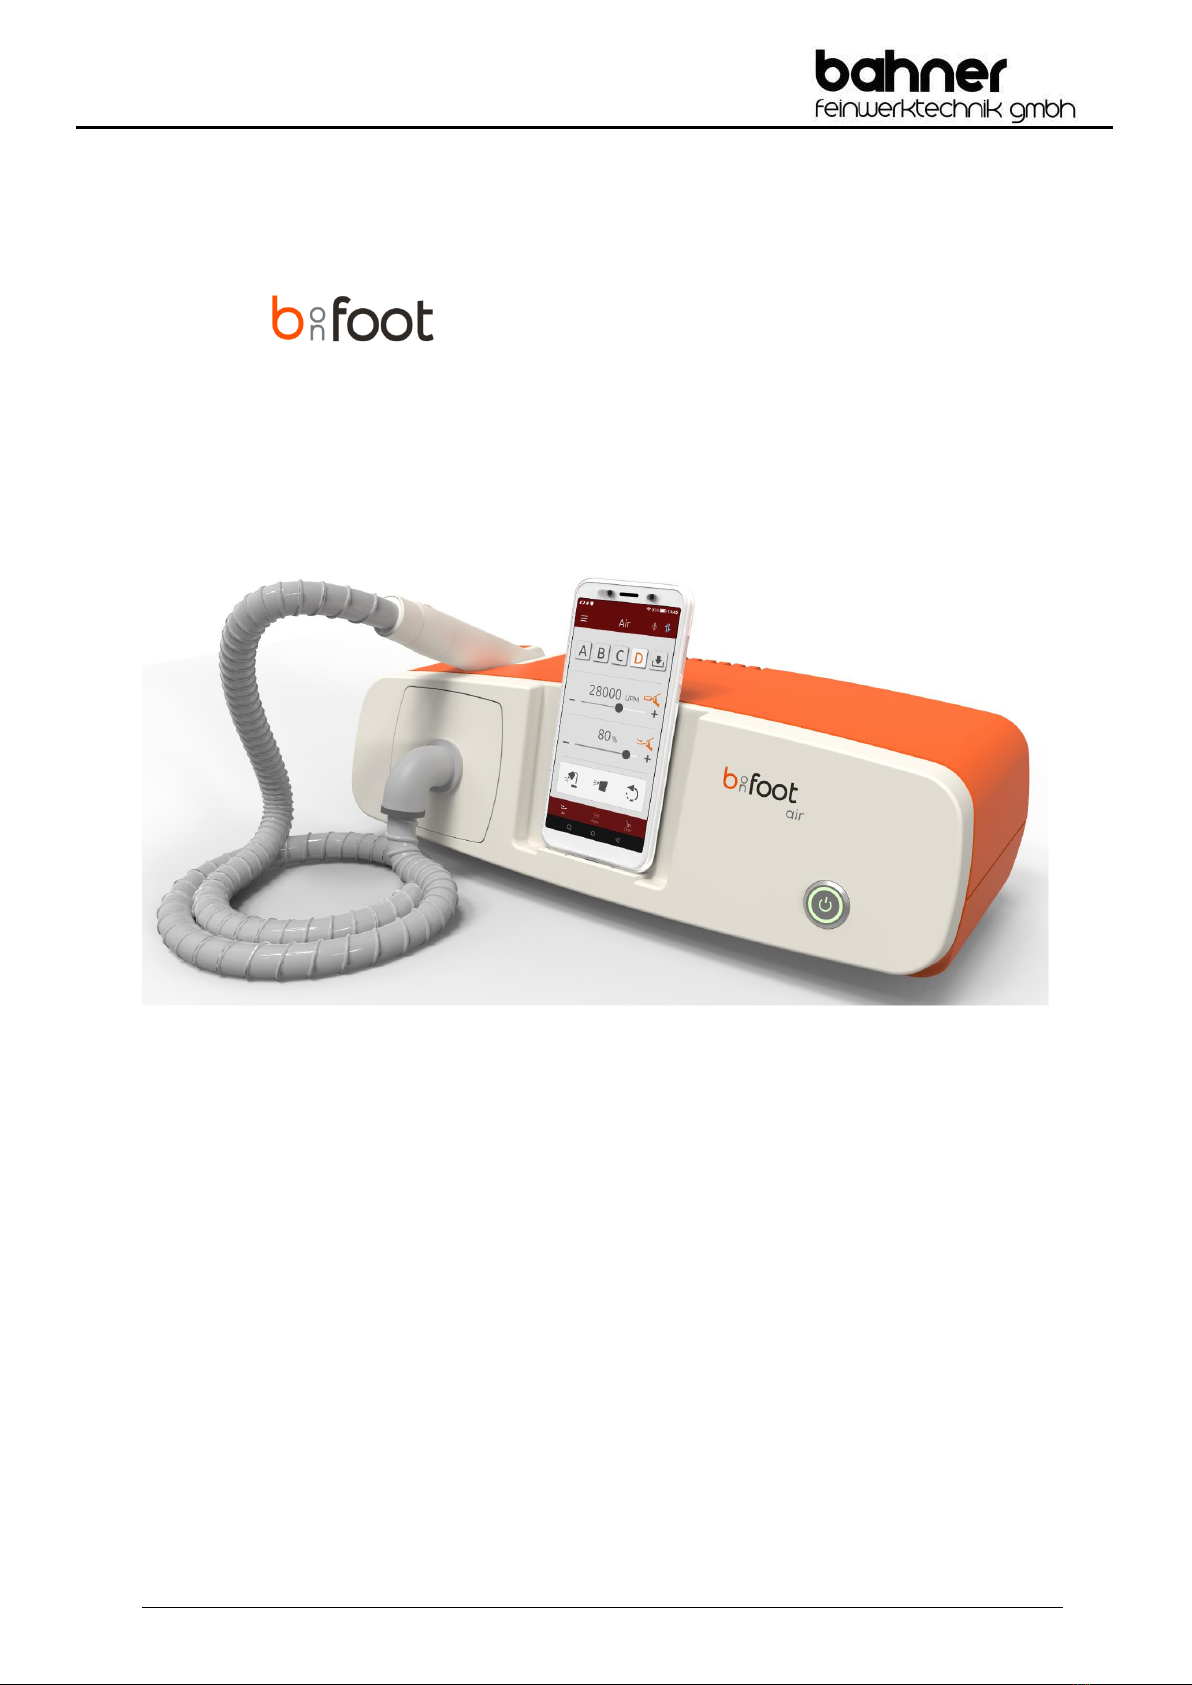
Air suction device –User manual
8. Getting started
Place the device in a safe, suitable location.
Plug the power cable into the power socket on the left side of the device and the other end into a mains
outlet. Make sure that the power plug is easily accessible at all times.
Switch on the device by pressing the on/off button on the front. Once the device is connected to the mains,
the operating mode will be audibly indicated by a brief acoustic beep.
Your Air suction device is now ready for use.
Pressing the on/off button again or unplugging the power plug shuts down the device.
When moving the position of the device (i.e. where disconnecting the device from the mains is required),
please repeat the above procedure for getting started.
8.1. Setting up the smartphone
Press and hold down the on/off button to turn on the phone. Then follow the instructions that appear on the
screen to set up the phone.
Please note:
To save battery, the phone will automatically shut down if not used within 30 minutes after the set-up has been
completed.
1. Start-up screen
Select your language and then tap
2. Connect to a mobile phone network
You will be prompted to insert your SIM cards, if available. This is not mandatory to use the smartphone.
If you do not have or do not want to use a SIM card, tap on SKIP in the lower left corner of the screen.
3. Connect to Wi-Fi
Your smartphone will automatically search for all available network connections in the immediate vicinity.
Now select the Wi-Fi network you want to connect to from the list.
You will then be asked to enter the network password and to agree to the terms of use. After
successfully connecting to the network, your phone will search for software updates.
An active Wi-Fi connection is essential to be able to download apps from the Google Play Store and
keep your smartphone updated.
You can change these settings at any time by going to Settings -> Wi-Fi.
If you do not have access to the network when setting up, you can tap SKIP at the bottom left of the
screen to postpone this step until later. In this case continue with step 5.
4. Sign in to Google
You will now be asked to sign in to Google. To do so, please enter your email address or phone number
linked to your Google account and tap Continue in the lower right corner. You will then be prompted to
enter your password and asked if you want to access the account. You must agree to Google's Terms of
Use to access the account.
If you do not have a Google account, you can tap Create Account to create a new Google account. Then
follow the instructions on the screen.
Alternatively, you can skip this step by tapping Skip at the bottom left of the screen. (A Google account is
required to download the b-on-foot app from the Google Play Store.)
In this case continue with step 7.
5. Date and time
Now set your time zone, date and time and confirm by tapping CONTINUE.
6. Name
You can now assign a name to your phone. This can personalise various apps.
You can save this setting with or without entering a name by tapping NEXT.