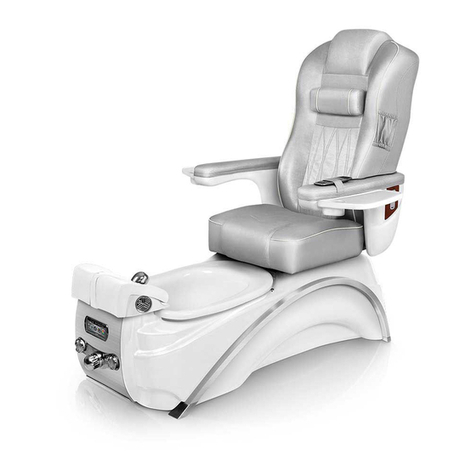
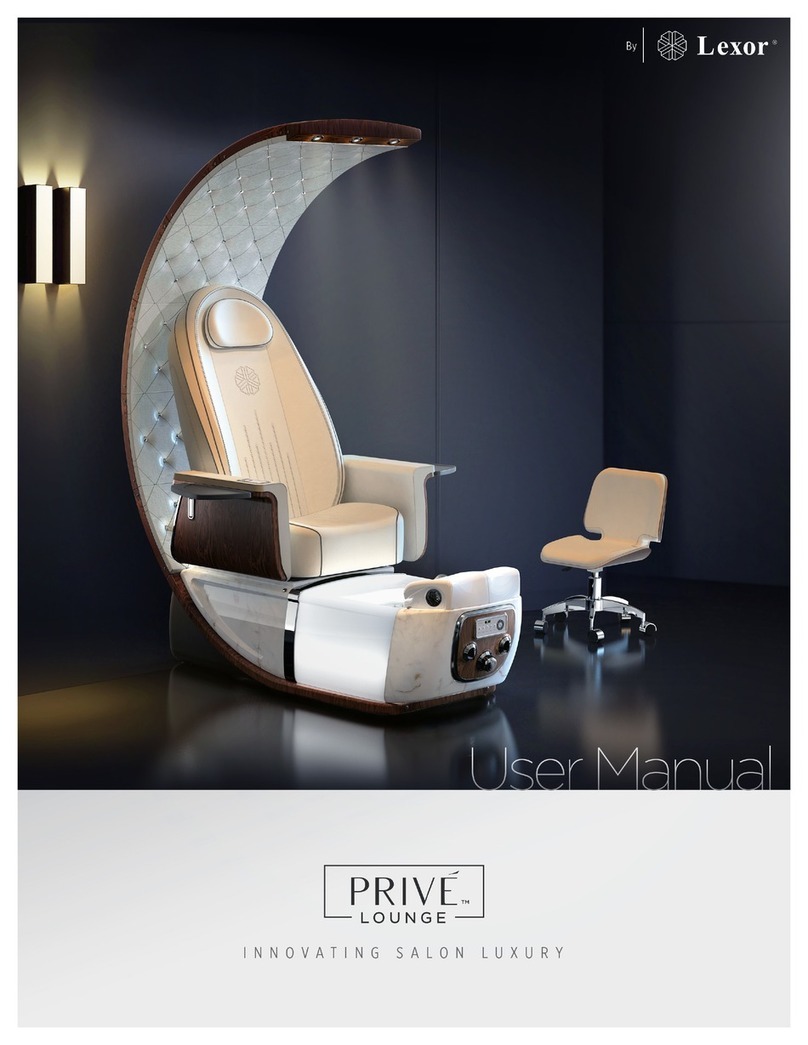
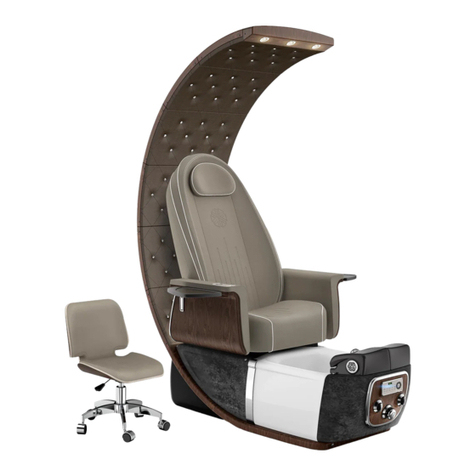
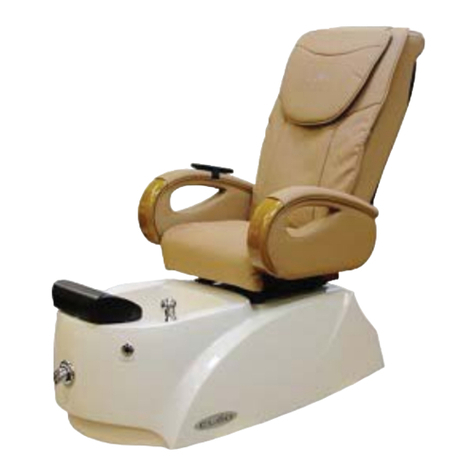
Lexor ELITE User manual


THE KEY TO SALON SUCCESS
ELITE®/PRESTIGETM PEDICURE SPA USER MANUAL
RECEIVING AND INSPECTION: If missing parts or damages are found, please notify the carrier at once
and insist on a notation of the damage on the bill of lading. DO NOT DISCARD THE SHIPPING BOX. If you
give the carrier a clear receipt for goods that have been damaged in transit, you do so at your own risk and
expense.
Table of Contents
Identifying Parts for Elite® Model 1
Identifying Parts for PrestigeTMModel 2
WALL CLEARANCE & SPA to SPA RECOMMENDED CLEARANCE 3
INSTALLATION OF PEDICURE SPA SEAT 3
INSTALLATION OF PLUMBING SYSTEM 5
INSTALLATION OF VENTILATION SYSTEM (OPTIONAL) 8
ELECTRICAL AND PEDICURE SPA COMPONENT SPECIFICATIONS 9
PRE-OPERATIONAL SETUP 10
OPERATE Auto-Fill™/Jet Switch: 12
OPERATE DIGITAL CONTROL PANEL(DCS) : 13
RESET WATER SENSOR AND WATER LEVEL 14
MASSAGE SYSTEM & REMOTE CONTROLLER 15
WARNING: 1. This Product is for indoor use only & is not recommended for use on Carpet or Wood floor
2. This Product must be connected to a circuit outlet protected by a Class A GFCI
3. DO NOT USE if you have poor circulation, or if any area of your feet or legs has an open sore
4. Maximum temperature of the water should never exceed 100 degrees F (38 C).
5. DO NOT STEP/ STAND IN THE FOOT BASIN.
6. NEVER bring and/or operate any electrical devices in or near the Pedicure Spa.
7. Maximum load in the spa chair is 250lbs (114kg).
PROPER INSTALLATION ACCORDING TO THIS MANUAL IS REQUIRED. FAILURE TO DO SO MAY RESULT IN SERIOUS
INJURY AND/OR WARRANTY WILL BE NULL. YOU MUST HAVE A LICENSED PLUMBER TO CONNECT THE SPA AND
WATER SYSTEM IN PLACE SAFELY.
STATES’ NOTICE
In the commonwealth of most states, all pedicure spas installed for Commercial usage are required to have a
backflow preventer at the salon’s cost. This device shall be installed between the water inlet hose and the spout.
PLEASE SAVE THESE INSTRUCTIONS FOR FUTURE REFERENCE

1
Identifying Parts for Elite® Model
z
Pedicure Spa with Massage System
Identifying Parts
IDENTIFYING PARTS
11.Ventilation Inlet
12. Air-Jet Connector
13. Liner Hook
14. Up/Down Armrest
15. Purse Hook
16. Manicure Tray
17. Drain Stopper
18. ECOJET™
19. Hand Spray Spout
20. Low Profile Pedicure Stool
1. Headrest
2. Chair Cushion with Massage
3. Armrest Cushion
4. Massage Remote Control
5. Aurora Bowl
6. Footrest with Calf Support
7. Digital control System(DCS)
8. Dual Function Auto-Fill™ &
Whirlpool Jet Switch
9. Hot/Cold Water Valve
10. Drain Switch

2
Identifying Parts for PrestigeTMModel
Pedicure Spa with Massage System
Identifying Parts
IDENTIFYING PARTS
1. Headrest
2. Chair Cushion with Massage
3. Armrest Cushion
4. Massage Remote Control
5. Aurora Bowl
6. Footrest with Calf Support
7. Digital Control System(DCS)
8. Dual Function Auto-Fill™ &
Whirlpool Jet Switch
9. Hot/Cold Water Valve
10. Drain Switch
11.Ventilation Inlet
12. Air-Jet Connector
13. Liner Hook
14. Up/Down Armrest
15. Purse Hook
16. Manicure Tray
17. Drain Stopper
18. ECOJET™
19. Hand Spray Spout
20. Low Profile Pedicure Stool

3
WALL CLEARANCE & SPA to SPA RECOMMENDED CLEARANCE
VERY IMPORTANT: Both the back of the chair and seat are adjustable. When the seat is at a maximum
incline, one must allow 18"(44cm) from the back wall to the foot spa. This minimum distance assures an
unobstructed recline. Failure to follow this required dimension might damage your spa components and
plumbing connections, which will void your warranty.
INSTALLATION OF PEDICURE SPA SEAT
1. FOLD & UNFOLD BACK-REST MASSAGE
INSTALLATION
Raise the backrest until a “click” is
heard. Make sure the lever is
locked before operating
To fold down the backrest: Lift up lever
handle and push the backrest downward

4
2. ASSEMBLE THE BACK AND SEAT CUSHION
3. ASSEMBLE THE ARM-RESTS
INSTALLATION
trench
Align the screws to the holes on the seat frame.
Put the seat cushion onto the frame. Then use
the provided screws to secure the seat.
Align the back cushion to fit on the back
shell. Push the cushion firmly onto the
VELCRO straps.
1) To install the armrest, position the armrest horizontally as shown above.
Align the rods and the notches as shown in Detail A and B. Fully snap-in the
armrest until hearing a “click” sound.
2) To remove the armrest, pull up the locking ring
as shown in figure and Detail C, then pull out the
armrest.

5
INSTALLATION OF PLUMBING SYSTEM
NOTE: The drainage and water supply system installation require a licensed plumber. Instructions and
local plumbing codes need to be carefully compiled to pass the city inspections.
1. GRAVITY DRAIN
1) The gravity drainage installation should comply with SECTION 701.0, 2018 UPC.
2) Trap, vent, and connectors should comply with SECTION 1001.1 and 1001.2 UPC.
3) An alternative code needs to be complied with by the states not adopting UPC.
a) Drainage system: SECTION 701.2 and 702.2 IPC (or local plumbing code)
b) Trap, vent, and connectors: SECTION 1002.1 and 1002.2 IPC (or local plumbing code)
4) The installer/plumber is responsible for obtaining and complying with the local plumbing code for
inspection. If any assistance is required from the vendor’s side, please contact our customer
service.
PLUMBING SYSTEM

6
2. POWER DRAIN
1) The power drainage installation should comply with SECTION 807.1, 2018 UPC.
2) Trap, vent, and connectors should comply with SECTION 1001.1 and 1001.2 UPC.
3) An alternative code needs to be complied with by the states not adopting UPC.
a) Drainage system: SECTION 701.2 and 702.2 IPC (or local plumbing code)
b) Trap, vent, and connectors: SECTION 1002.1 and 1002.2 IPC (or local plumbing code)
4) The installer/plumber is responsible for obtaining and complying with the local plumbing code for
inspection. If any assistance is required from the vendor’s side, please contact our customer
service.
PLUMBING SYSTEM

7
3. DRAINAGE SYSTEM RECOMMENDATION
4. HOT/CODE WATER SUPPLY SYSTEM
NOTE: The drainage and water supply system installation require a licensed plumber. Detailed
instructions can be found in the manual book. Instructions and local plumbing codes need to be
carefully compiled to pass the city inspections.
New constructions: drain a good amount of water in
a bucket to remove all debris from the new hot/cold
water pipes before connecting to new SPA chairs
(figure 1).
Replacement Spas: Make sure to use new hot/cold
water hoses to replace old ones before installing a new
Spa chair. The old debris, rubber, or plastic chips could
clog the water inlet system.
** Failure to do so will invalidate the warranty.
Figure 1. Drain water to remove
debris before installing new spa chair.
PLUMBING SYSTEM

8
INSTALLATION OF VENTILATION SYSTEM (OPTIONAL)
(The Spa comes with a preinstalled ventilation system to fulfill the regulations for some states. Please
contact your state department for the requirements and regulations)
VENTILATION

9
ELECTRICAL AND PEDICURE SPA COMPONENT SPECIFICATIONS
All electrical connections MUST be made by a licensed electrician following Local & National
Electrical and Building Codes.
SPECIFICATIONS LIST OF ELITE SPA CHAIR
Spa Dimensions & Weights
Spa (seat up-right):
Spa (fully reclined):
Net
Weight:
Shipping Weight:
Max. Handling Load
:
L=58” (147cm)
W=31” (79cm) w/ Tray =47” (120cm)
H=56” (142cm)
L=78” (198cm)
~ 224 lbs.
~ 260 lbs.
~ 250 lbs.
Adjustable Stool
Pedicure Stool:
Manicure Stool:
12” – 13”.
16.25” – 20”
Spa Water Capacity ~ 4 US Gallon
Jet Motor 120 VAC. 85W 60Hz
Massage, Motors, Seat
Sliding & Reclining
24VDC, 60W
Discharge Pump Motor – 120V at 85W 60 Hz Maximum vertical lift: 3ft.
Flow rate 400 GPH @ floor level
Air Pump for Air-Jet 120V 70W 60Hz
Power source 115 VAC, 60HZ, 15A. The power needed per spa chair = 7 Amp
Electrical Switches
One (1) electro-mechanical knob for the Whirlpool rated at 5A
contacts.
One (1) electro-mechanical knob for the Drain. Rated at 5A contact.
Safety Pedicure Spa is UL Listed.
SPECIFICATIONS
WARNING:
IT IS EXTREMELY IMPORTANT THAT THE FOOT SPA OPERATES WITH
GFCI PROTECTION A 110V-50/60Hz 15 Amp GFCI MUST BE UTILIZED

10
PRE-OPERATIONAL SETUP
1. SETUP THE Air-Jet
2. SETUP THE Eco-Jet
OPERATION & CARE
OPERATION & CARE
OPERATION & CARE
OPERATION & CARE
Plug in the other end of the pipe to the
Air-connector

11
3. Drain Stopper
The system should be set as the picture below before each service section.
(Location of the Air Connector slightly varies on different models. Refer to the page 1-2 to
locate)
OPERATION & CARE
Use the blades on the
drain stopper to poke
through the liner for
easy drainage access.

12
OPERATE Auto-Fill™/Jet Switch:
Locate the control panel at the front of the spa base. Follow the instructions below to operate the
pedicure spa.
● Twist Auto-Fill/Jet switch clockwise then release to start auto-fill.
Water will automatically shut off when it reaches the preset water level.
● To manually stop Auto-Fill water filling, twist the Auto-Fill/Jet switch clockwise again.
● Twist drain knob clockwise to start draining. Twist it back when the draining is done.
● Use “Hot/Cold water knob” to manually adjust the water temperature.
● To shut off the main water valve, follow the instructions on the right.
*** Water control knob is on by default. It should be shut down at the end of the day or when
unattended to prevent water damage risks.
● By default, Eco-Jet automatically turns on
when the water level is up. To turn off the Eco-
Jet manually, click the “Whirlpool button” on the
digital control panel.
*** DO NOT DRAIN WATER WHEN
ECO-JET IS RUNNING, OR THE DEVICE
WILL BE BURNT OFF.
OPERATION & CARE
Function works when water level meets
requirement, otherwise the screen will “dry”, jet
won’t turn on.

13
OPERATE DIGITAL CONTROL PANEL(DCS) :
❖ The LED light indicates the current working status.
❖ The factory setting for Dual-Jet:
➢ By default, Eco-jet automatically turns on with Auto-fill. Click the “WhirlPool” button to
turn it on/off.
➢ Click the “Air-Jet” button to turn on/off the Air-jet.
➢ When draining starts, the air-jet, and Eco-jet automatically turn off. The settings will
be memorized for the next section. When the system starts again, the dual-jet
automatically turn on as the last section ended.
OPERATION & CARE
WARNING:
DO NOT TURN “ON” THE ECO-JET UNLESS ADEQUATE WATER IS IN THE
TUB, OR IT MAY DAMAGE THE JET AND CAUSE NOISE.
WARNING:
DO NOT TURN “ON” THE DRAIN PUMP UNLESS ADEQUATE WATER IS IN THE
TUB. THE WARRANTY IS VOID IF THE PUMP WAS RUNNING DRY.

14
RESET WATER SENSOR AND WATER LEVEL
1. Reset the water sensor (Empty basin before activating this mode).
● A reset water sensor is required when the water level is out of range.
** Note:
- This will also reset the water level to default = 3.
- Click should be pressed slowly.
- Press and hold the “WHIRLPOOL” button again for 3 sec to resume system operation or the
system will be automatically resumed if no action is taken in 20 sec.
2. Adjust The Water Level For Auto-Fill (Empty basin before activating this
mode).
OPERATION & CARE
OPERATION & CARE

15
** Note:
- Click should be pressed slowly.
- Press and hold the “WHIRLPOOL” button again for 3 sec to resume system operation or the
system will be automatically resumed if no action is taken in 20 sec.
MASSAGE SYSTEM & REMOTE CONTROLLER
1. Press to start Auto mode with RELEX (low intensity).
Press again to switch to VIGOR (high intensity). Press again
to turn off the massage. Auto and Manual mode will run for
20 mins.
2. Press Rolling/Spot to stop rolling up/down and stop at the
desired spot.
3. Press any button (Rolling/Spot, Kneading, Tapping,
Compression) to enter Manual mode with indicated action.
4. At Manual mode, press the Intensity button to select
between Low and High intensity.
5. Press the Combine button to resume Tapping mode.
6. Press any chair button (Recline, Incline, Backward,
Forward) to move the chair to desired positions.
OPERATION & CARE

16
Operation and C
CLEANING PROCEDURE IS REQUIRED BY STATE BOARDS
Note: *** A cleaning log should be kept with each pedicure spa ***
Each State will have slight differences in cleaning policies, please check with your state’s Bureau of Barbering
and Cosmetology or Regulatory Authority for specific details.
Safety Requirements for Pedicure Spas
The Bureau of Barbering and Cosmetology requires that salons using whirlpool pedicure foot spas
must follow these disinfecting procedures to ensure proper cleaning and maintenance of the
equipment and prevent bacterial or parasitic spread disease.
Violation of this section may result in an administrative fine and/or disciplinary action. Each foot spa
that is not in compliance with this section may result in a separate violation.
NOTE: Authority cited: Section 7312, Business and Profession Code. Reference: Section 7312 (e),
Business and Profession Code.
Below is a suggestion for your pedicure spa chair’s cleaning procedure:
After Each Customer
1. All water shall be drained, and all debris shall be removed from the spa basin.
2. The spa basin must be cleaned with soap or detergent and water
3. The spa basin must be disinfected with an EPA-registered disinfectant with demonstrated bactericidal,
fungicidal, and virucidal activity, which must be used according to the manufacturer’s instructions.
4. The spa basin must be wiped dry with a clean towel.
At the End of Each Day
1. The screen shall be removed, all debris trapped behind the screen shall be removed, and the screen and
the inlet shall be washed with soap or detergent and water.
2. Before replacing the screen, the screen shall be immersed in an EPA-registered disinfected with
demonstrated bactericidal, fungicidal, and virucidal activity, which must be used according to the
manufacturer’s instructions.
3. The spa system shall be flushed with low sudsing soap and warm for at least 10 minutes, after which
the spa shall be rinsed and drained.
At Least Once A Week
1. The spa basin shall be filled with warm water and 1 teaspoon of 5.25% bleach for each gallon of
water, or a solution of Sodium Hypochlorite of approximately 50ppm used according to
manufacturer’s instructions.
2. The spa system shall be flushed with the bleach and water solution, or Sodium Hypochlorite solution,
for 5-10 minutes and allowed to sit for 6-10 hours.
3. The spa system shall be drained and flushed with water before use upon a patron.
MISCELLANEOUS
WARNING:
YOU MUST ALWAYS REFER TO YOUR STATE OR LOCAL
GUIDELINES FOR CLEANING REQUIREMENTS. OVERNIGHT
SOAKING WITH OVERDOSED CHLORINE MAY DAMAGE

17
LIMITED WARRANTY
Updated: 6/22/21
TERM COMMENCEMENT:
Limited warranty term commences on date product is received by the customer.
2-YEAR PARTS EXCHANGE LIMITED WARRANTY:
All parts for the pedicure spa chair model: Prestige, Envision Spa, Elite, Liberte, Luminous and Infinity.
90-DAY PARTS EXCHANGE LIMITED WARRANTY ON INDIVIDUAL PARTS SOLD:
All purchased parts will be covered for 90-Day parts exchange only.
NON-WARRANTY PRODUCT:
This limited Warranty is not covered on Furniture, Technician Stools/Customer Chairs, and Accessories.
PART REPLACEMENT SHIPPING FEE:
Shipping fee for replacement parts are covered under this Limited Warranty. Customers must return the defective
parts to Lexor. at customer’s expense. The defective part must include the RETURN AUTHORIZATION NUMBER
(RMA number) which is provided by Lexor’s Customer Support Representative. The RMA number will help us
locate the parts and complete the service in a timely manner. Lexor is not responsible for missing/lost returned
defective parts which are being returned without the RMA number issued.
PARTIAL TERMS AND CONDITIONS OF LIMITED WARRANTY:
Wear and tear, physical damage, abuse, misuse, accidental events are not included in this Limited Warranty.
Replacement parts are supplied with instructions and specially designed for simple installation; therefore, do not
require a technician onsite.
SHIPPING DAMAGE CLAIM:
Shipping damages must be reported within Twenty-Four (24) Hours after receiving the products. Customers must
inspect the shipment to make sure there are no damages prior to signing the Bill of Lading ( BOL - provided by
the trucking company). If there is any damage to the shipment, please notate it on the BOL before signing it and
contact Lexor’s Customer Support immediately for making a damage report.
WARRANTY DISCLAIMER:
Lexor shall have no obligation to repair, replace or refund until the verification process is completed. This limited
warranty applies only to Lexor Pedicure Spa Chairs utilized in the United States. This Limited Warranty is not
transferable. This Warranty is void if products are removed from its initial location of shipment as provided from
the invoice. Furthermore, the Limited Warranty is void if the product is subjected to improper maintenance,
negligence, improper cleaning or any other circumstances beyond Lexor’s control.
Continuing a policy of constant research and development to improve the quality of our products. Lexor, Inc.
reserves the right to change pricing, parts, designs and specifications without prior notice or obligation under this
Limited Warranty.
Lexor Manufacturing, LLC.
7400 Hazard Ave. Westminster, CA 92683
Customer Support (800)559-3030
Other manuals for ELITE
1
This manual suits for next models
4
Table of contents
Other Lexor Pedicure Spa manuals