ROM Presets User Presets
GROUP PIANO
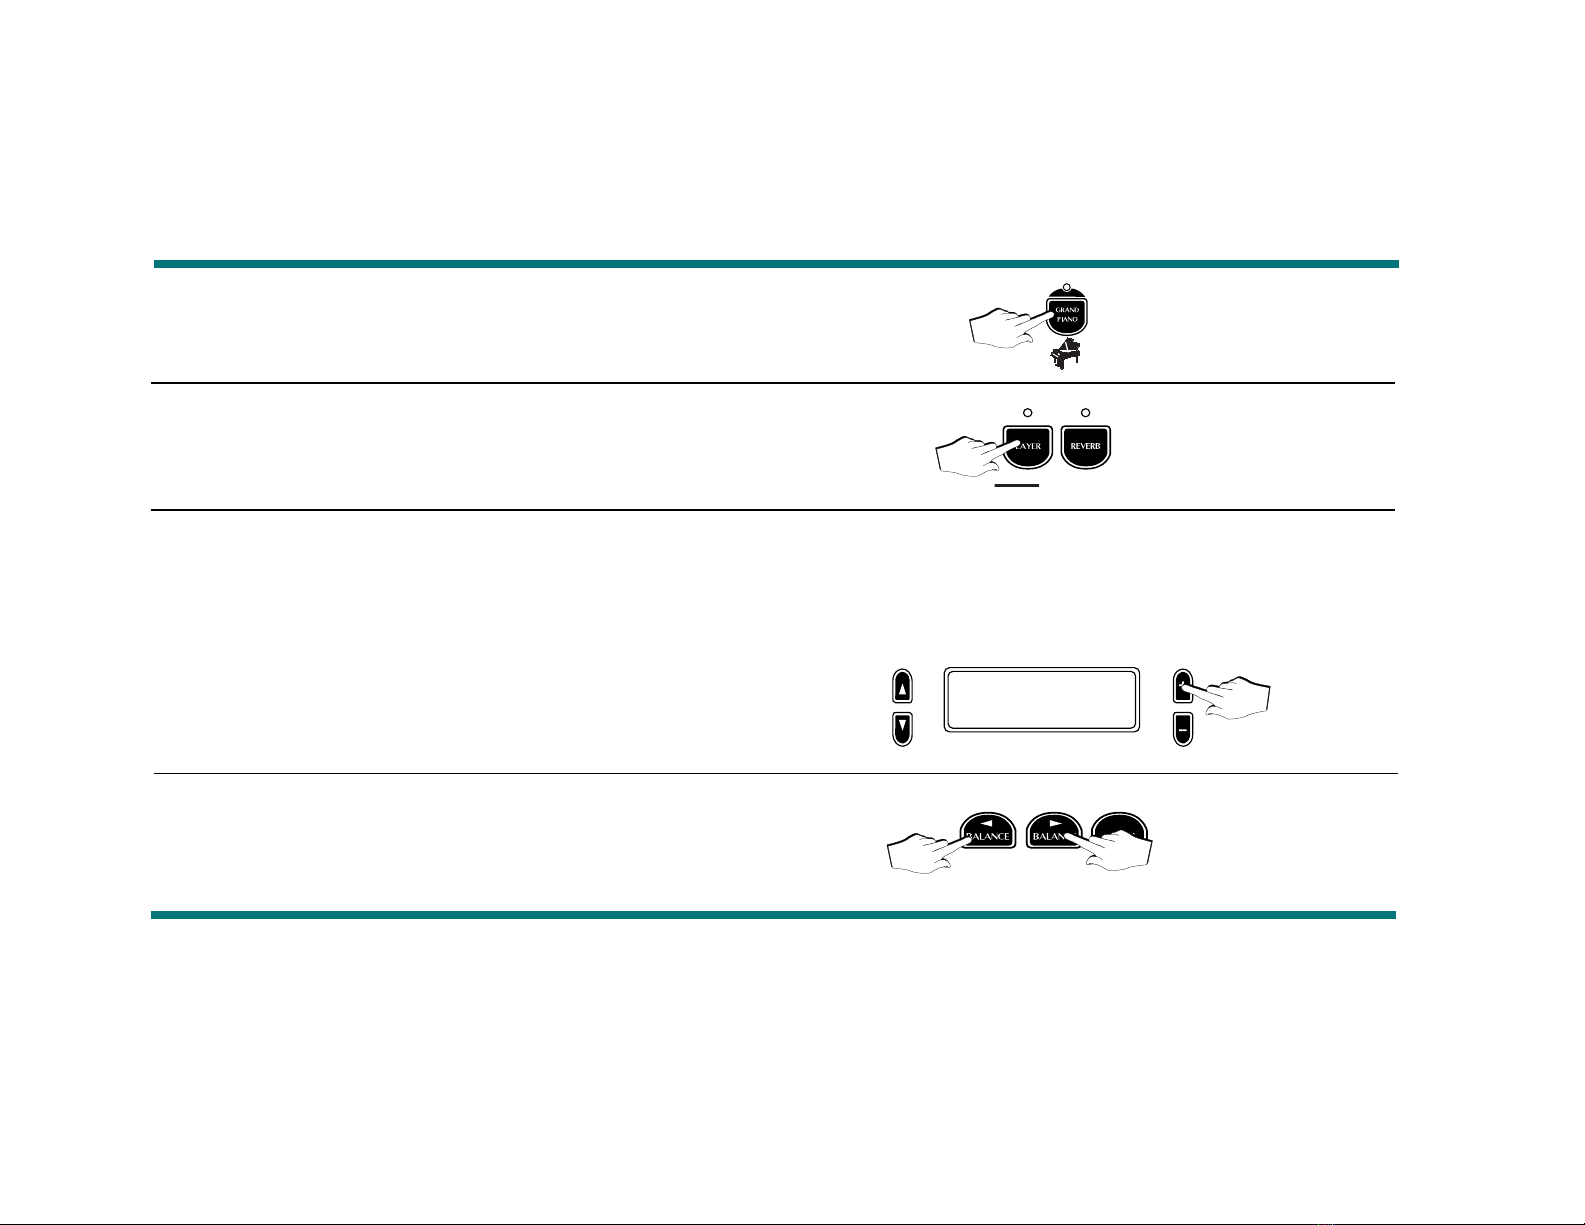
Grand Piano Grand/Reverb
Elect. Grand Rock Piano
Soft Piano Soft Piano 2
Ragtime Oscar Octaves
Piano Pad 1 Piano/Choir
Piano/String Piano/Strings 2
Jazz Split Grand/Electro 2
Piano Split Jazz Split 2
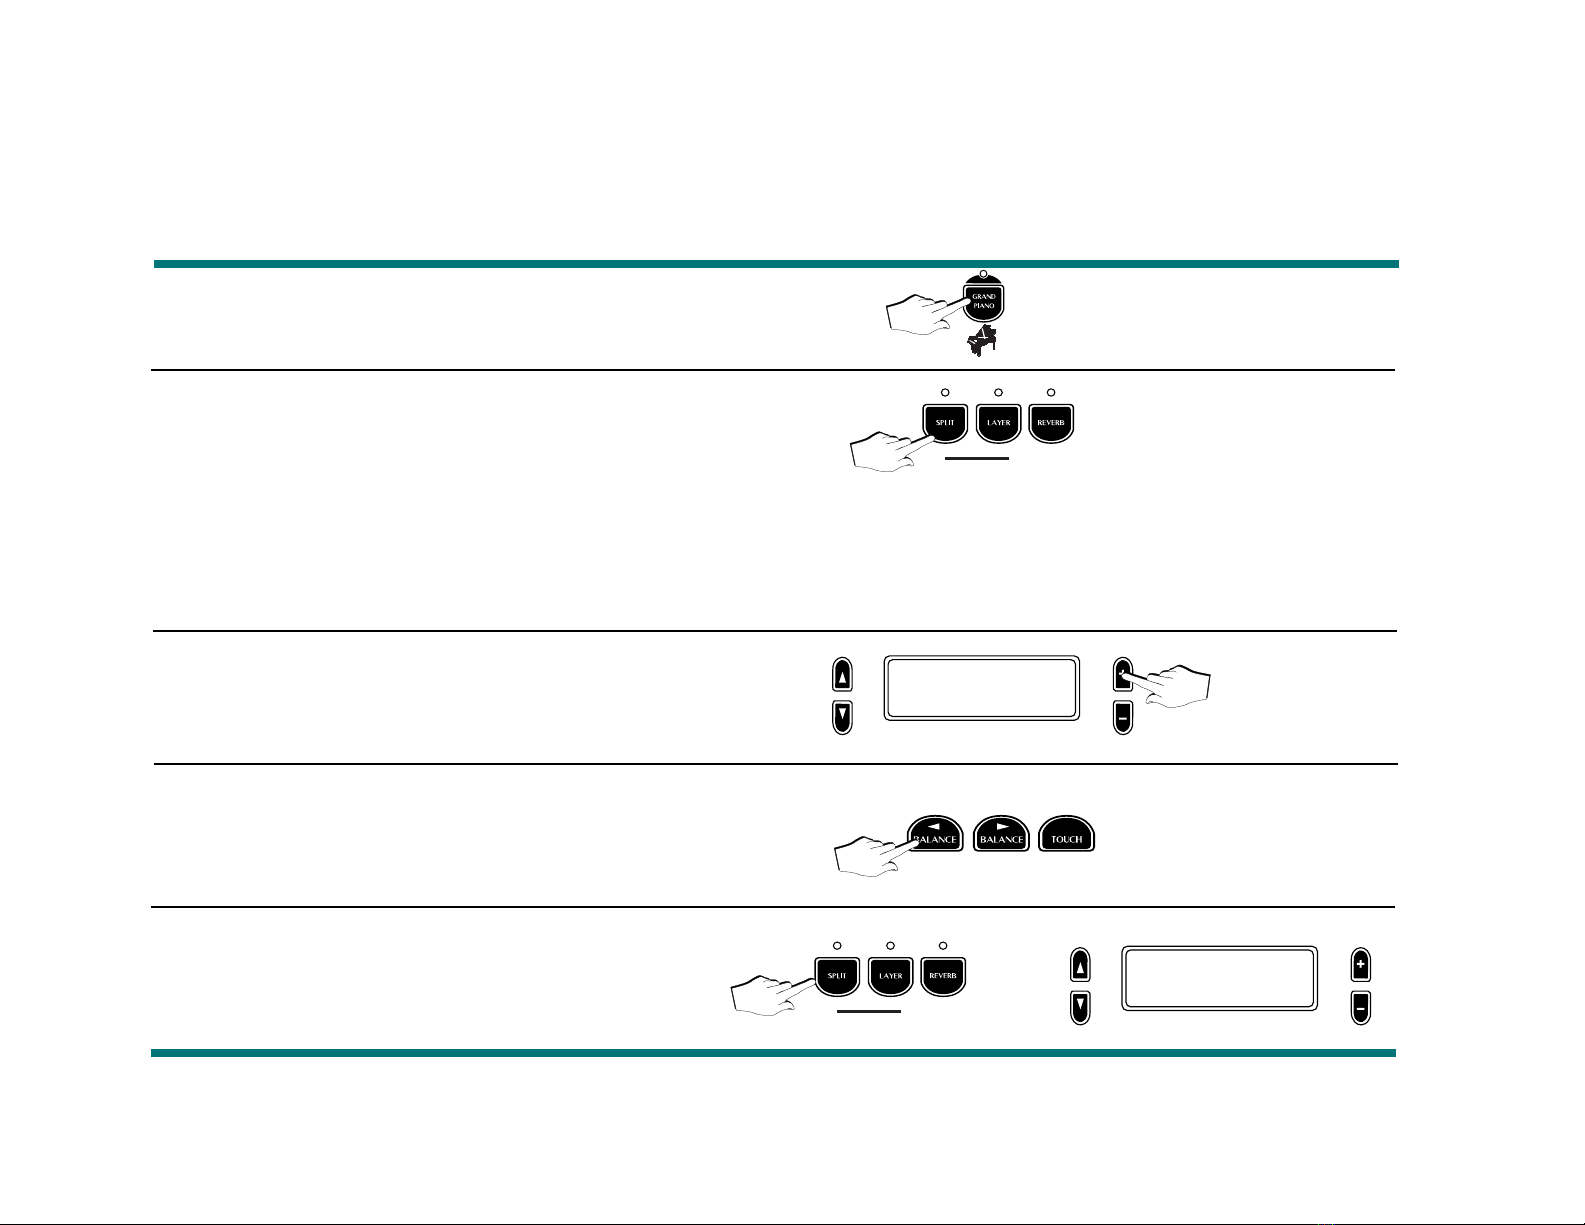
GROUP EL.PIANO
Electro 1 Electro 4
Wurlitzer Wurlisynth Sound
Electro 2 Electro 5
Electro 3 Electro 6
Electro Pad 1 Electro/S.String
Grand/Electro Grand/Electro 3
Electro Split 1 Electro/Choir
Electro Split 2 Electro Split 3
GROUP KEYBOARD
Harpsichord Grand Harpsi
Clavinet Mutant Harpsi
Celesta Toy Box
Grand Harp Harp Echo
Celesta/Choir Harp/Choir
Baroque Mix 1 Baroque Mix 2
Baroque Split 1 Harp/Strng.Split
Harp Split Harpsichord Pad
GROUP VIBES
Vibes 1 Vibes/Choir
Vibes 2 Marimvibe
Vibes 3 Toy Box 2
Marimba Vibes/Electro 2
Vibes/Electro Vibes/Electro 3
Vibes/Piano Vibes Piano 2
Vibes Split 1 Vibes Split 3
Vibes Split 2 Vibes Split 4
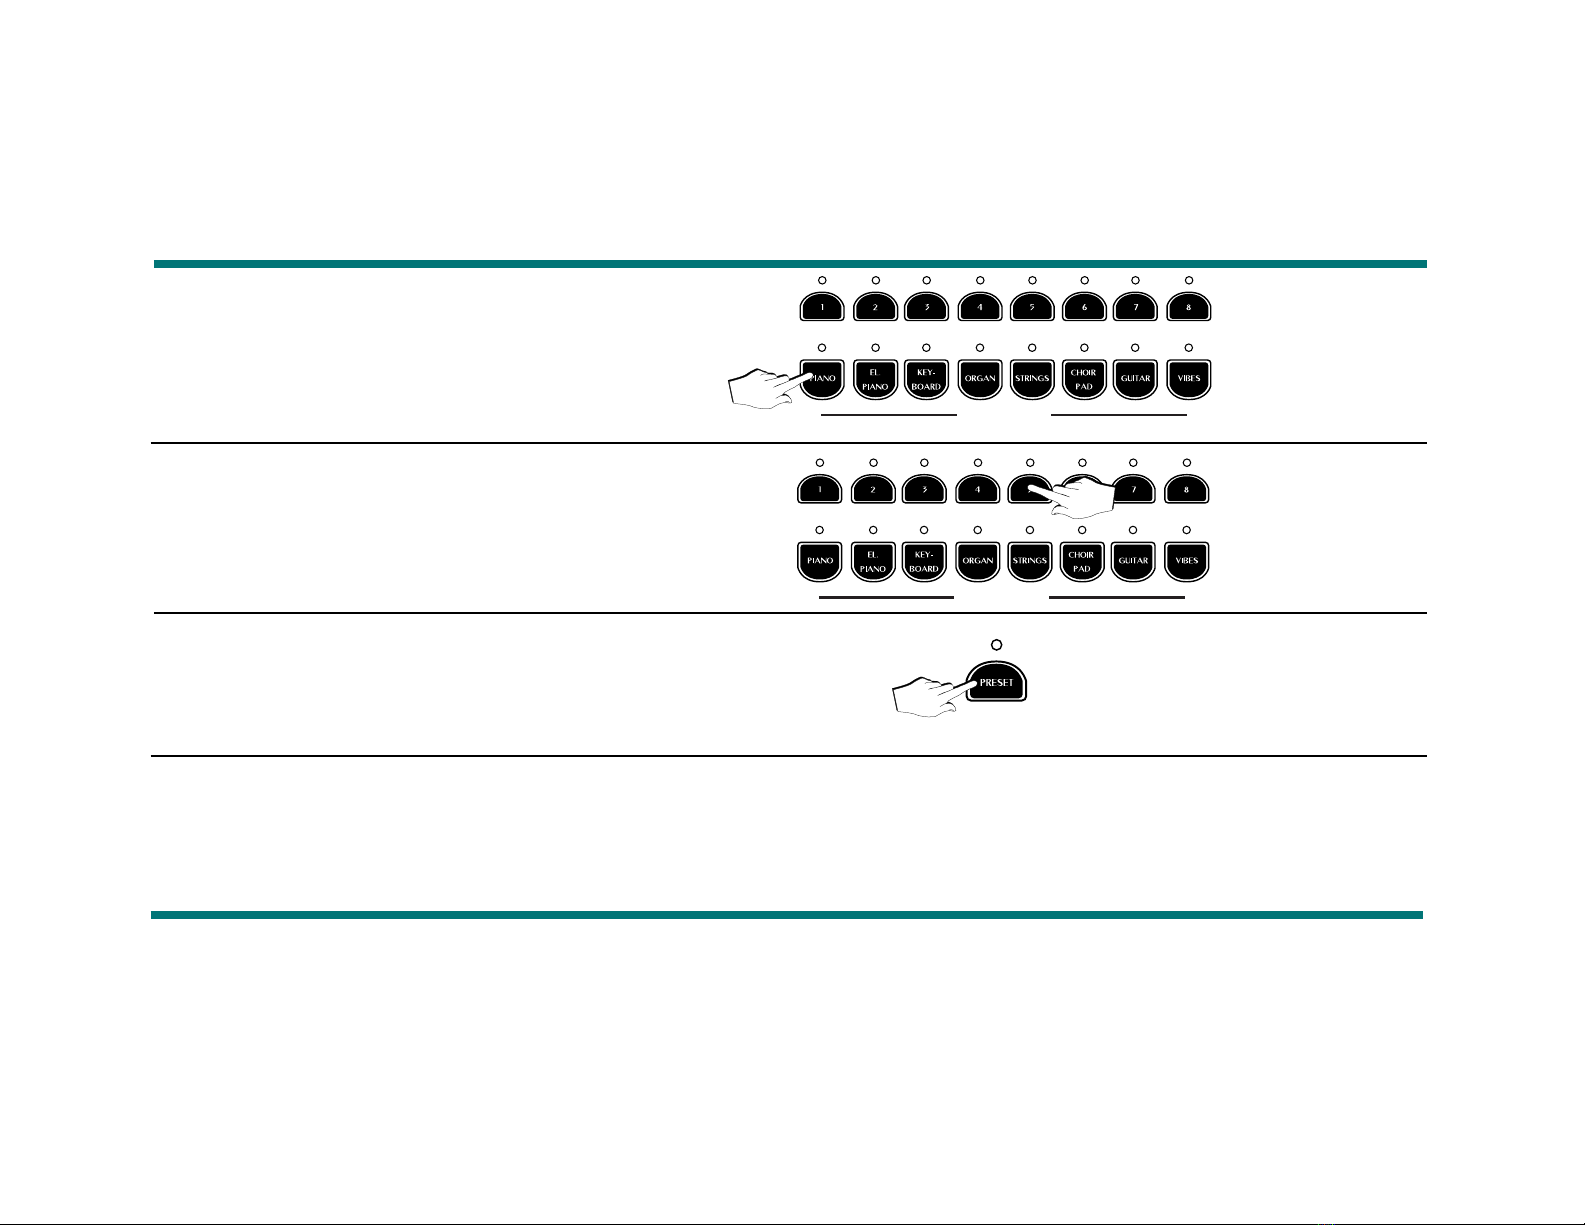
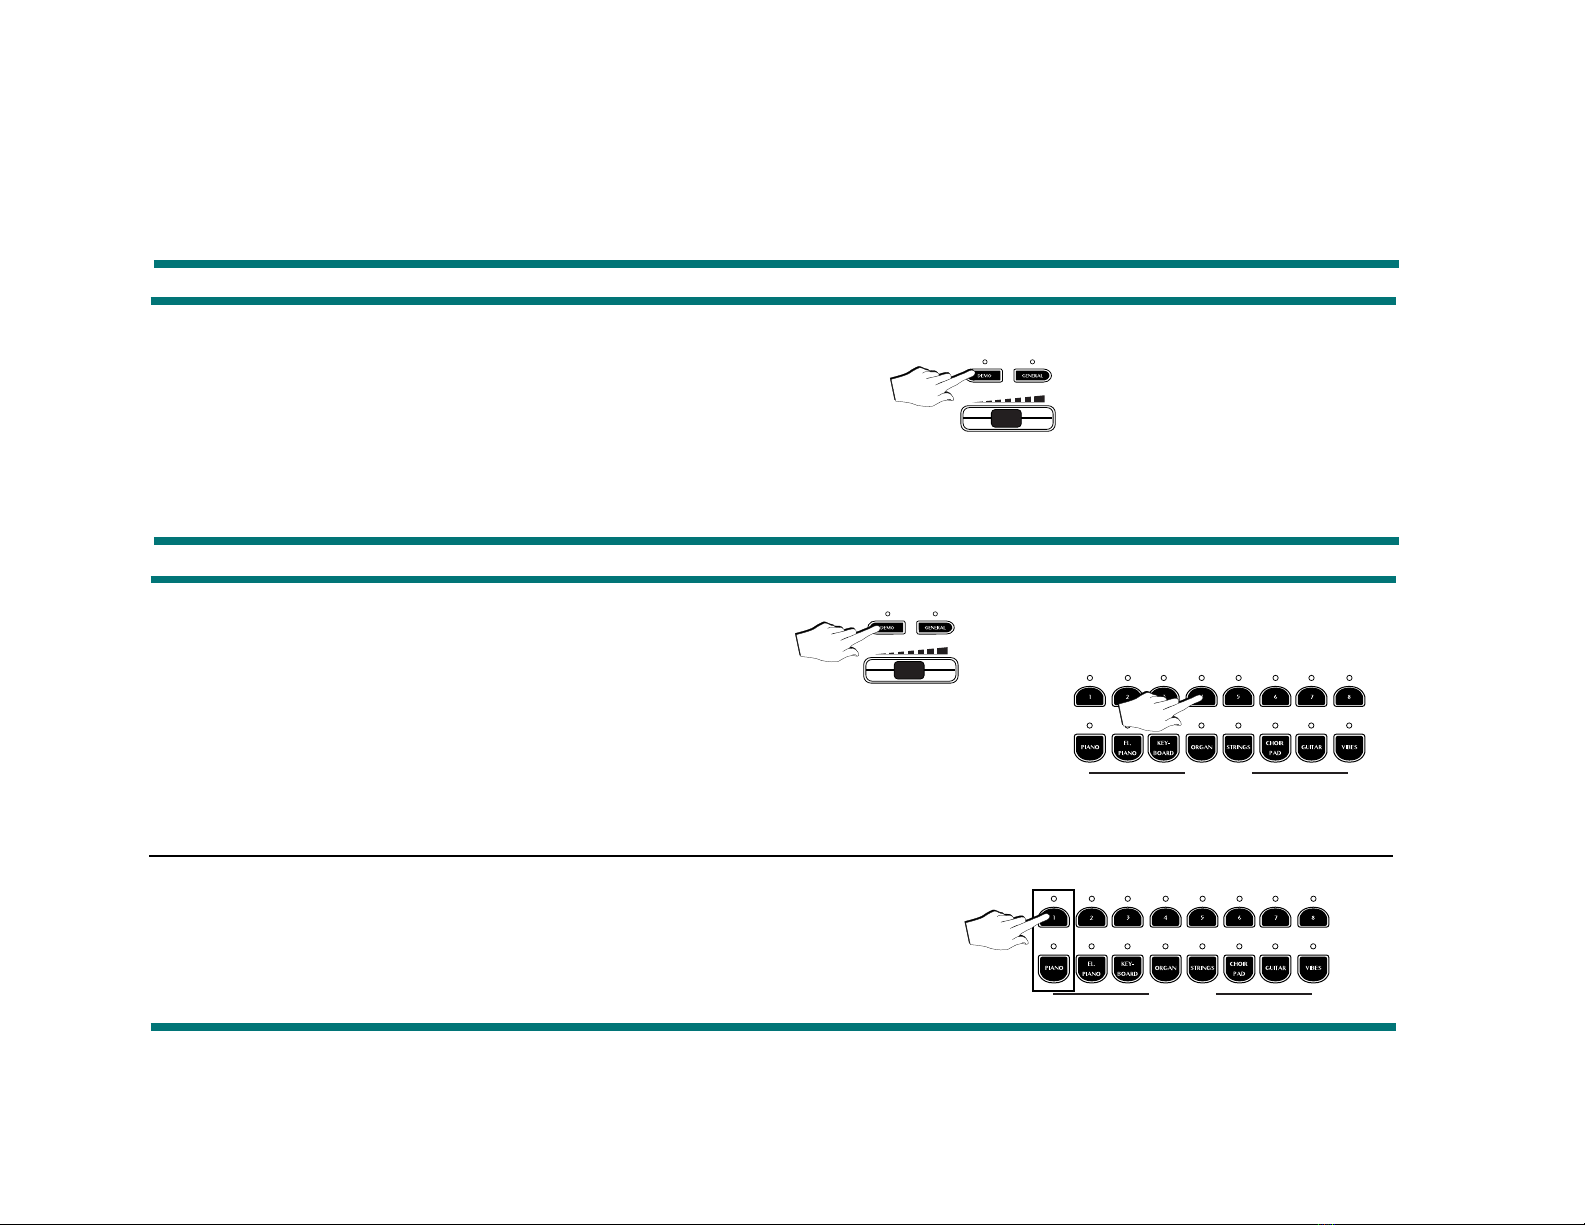
Factory Presets RP100
1. 1.
2. 2.
3. 3.
4. 4.
5. 5.
6. 6.
7. 7.
8. 8.
1. 1.
2. 2.
3. 3.
4. 4.
5. 5.
6. 6.
7. 7.
8. 8.
1. 1.
2. 2.
3. 3.
4. 4.
5. 5.
6. 6.
7. 7.
8. 8.
1. 1.
2. 2.
3. 3.
4. 4.
5. 5.
6. 6.
7. 7.
8. 8.
1. 1.
2. 2.
3. 3.
4. 4.
5. 5.
6. 6.
7. 7.
8. 8.
1. 1.
2. 2.
3. 3.
4. 4.
5. 5.
6. 6.
7. 7.
8. 8.
1. 1.
2. 2.
3. 3.
4. 4.
5. 5.
6. 6.
7. 7.
8. 8.
ROM Presets User Presets
GROUP ORGAN
Jazz Organ Jazz Organ 2
Ballpark Organ Combo 1
Theater Organ Organ Combo 2
Pipe Organ Pipe Organ 2
Organ/Choir Organ/Strings
Gospel 1 Gospel 2
Organ Split 1 Organ Split 3
Organ Split 2 Organ Split 4
GROUP STRINGS
Strings Strings 2
Soundtrack Strings/Choir
Slow Strings String Layer
Grand Strings Grand Strings 2
Stringpad 1 Stringpad 3
Stringpad 2 String Layer 2
Echo Split Organ/Strings 2
String Split 1 Organ/Strings 3
GROUP CHOIR/PAD
Choir Choir 2
Slow Choir Choir Layer
Pad 1 Wurlipad
Pad 2 Rock Pad
Pad Mix 1 Vibe Pad
Pad Mix 2 Rock Pad 2
Pad Split 1 Organ Pad
Pad Split 2 Choir/Guitar
GROUP GUITAR
1. Nylon Guitar 1. Jazzy Riffs
2. Steel Acoustic 2. Guitar Pad 3
3. Jazz Guitar 3. Mariachi
4. Electric Guitar 4. 12 String
5. Guitar Pad 1 5. Guitar Pad 4
6. Guitar Pad 2 6. Jazz Guitar 2
7. Guitar Split 1 7. Guitar Split 3
8. Guitar Split 2 8. Guitar Split 4
Page 2