Bang & Olufsen BeoVision 7 Product guide

BeoVision 7
Reference book

Tables of contents in the Reference book
The contents of this Reference book is divided into sections. Each particular section
starts with its own detailed table of contents provided with page references. Texts
in black refers to the current section, whereas the remaining sections are described
in general terms and written in grey.
The main sections are:
• Advanced operation
• Tuning and preference settings
• Placement, sockets and connections
• BeoLink system
• On-screen menus
• Index

Advanced operation, 3
• Set the television to switch itself on and off, 4
• Wake-up Timer, 6
• Use your television as a computer monitor, 7
• Set-top box operation, 8
• If you have a BeoCord V 8000 …, 10
Tuning and preference settings, 13
Find out how to set up your television for the first time and tune in programs. This
chapter also contains information about settings for time, date, stand positions,
picture and sound.
Placement, sockets and connections, 27
Find out how to handle and place your television and where the sockets are placed.
Find out how to connect a decoder, set-top box or BeoCord V 8000 video tape
recorder to your television and how to register extra equipment. How to connect
speakers and how to turn your television into a surround sound system or Home
cinema, including how to choose speaker combinations.
BeoLink system, 49
Find out how to connect an audio system to your television and operate an
integrated audio/video system. Find out how to make link connections, operate a
link system and set up your television in a link room. How to customise Beo4 to
your system.
On-screen menus, 60
Overview of the on-screen menus.
Index, 75
This chapter tells you how to operate
your television beyond daily use.
It also tells you how to operate a
connected set-top box and other
connected video equipment.
Advanced operation 3

Set the television to switch itself on and off
You can make your television switch
itself on and off automatically via the
timed play and timed standby
functions, for example, if there is a
programme you do not want to miss.
Enter as many as six Timer settings,
and bring up an on-screen list of the
Timer settings you have entered.
From this list, you can edit or delete
your Timer settings.
If your television is integrated with a
Bang & Olufsen audio or video
system with a Master Link cable,
these systems can perform the timed
play or timed standby functions as
well.
For your timed settings to be
executed correctly, ensure that the
built-in clock is set to the correct
time. For further information, refer to
the chapter ‘Set the time and date’
on page 23.
Before you start …
If you connect a Bang & Olufsen audio or video
product to your television with a Master Link
cable, you can exclude or include it in timed
functions via the Play Timer menu. For
example, set the television’s Play Timer to ON
and an audio system’s Play Timer to OFF if you
wish timed functions to apply only to the
television.
To switch on the Play Timer …
> Press MENU to bring up the TV SETUP menu
and press to highlight PLAY TIMER.
> Press GO to bring up the PLAY TIMER menu,
and press or to highlight TIMER ON/OFF.
> Press GO to bring up the TIMER ON/OFF menu.
> Press or to reveal ON.
> Press GO to store the setting.
For further information about how to switch the
Play Timer on or off for a connected Bang & Olufsen
audio or video product, refer to the Guide enclosed
with the product.
Timed play and timed standby
You can preset your television to start and
stop automatically at the same time and day
every week.
Abbreviations for days of the week:
M … Monday
T … Tuesday
W … Wednesday
T … Thursday
F … Friday
S … Saturday
S … Sunday
TIMER PROGRAMMING
store GO
SOURCE TV
PROGRAM 18 BBC
START TIME 15:40
STOP TIME 16:40
DAYS M . . TF . S
. . .
TV SETUP
select GO
PROGRAM GROUPS
TUNING
TIMER RECORDING
PLAY TIMER
OPTIONS
STAND POSITIONS
TIMER ON / OFF
TIMER INDEX
PLAY TIMER PROGRAMMING
TIMER SETUP
select GO
TIMER ON / OFF ON
TIMER INDEX
PLAY TIMER PROGRAMMING
WAKEUP TIMER OFF
SOURCE
PROGRAM
START TIME
4
NOTE! If your television is set up in a link room,
Timer programming must be carried out on your
main room system.

To enter settings for timed play or timed
standby …
> Press MENU to bring up the TV SETUP menu and
press to highlight PLAY TIMER.
> Press GO to bring up the PLAY TIMER menu and
press to highlight PLAY TIMER
PROGRAMMING.
> Press GO to bring up the PLAY TIMER
PROGRAMMING menu.
> Press or to move through the menu items.
> Use the number buttons to enter information or
press or to view your choices for each item.
When DAYS is highlighted, press once to be
able to move through the days, and press or
to remove a day you do not want. Press to
move to the next day, and press to move back
to a previous day. When the weekday(s) you
want are displayed, press GO to accept the
day(s).
> When you have filled in the required information,
press GO to store your Timer settings.
> Press EXIT to exit all menus.
To view, edit or delete your Timer settings …
> Select TIMER INDEX from the TIMER SETUP
menu to bring up your list of Timer settings.
The first Timer setting in the list is already high-
lighted.
> Press or to move the cursor to a Timer
setting you wish to edit.
> To edit a setting, press GO and follow the
procedure described to the left.
> To be able to delete a selected setting, press the
yellow button.
> If you change your mind, press to move the
setting back into the list. You can also press
EXIT to exit all menus.
> Press the yellow button a second time to delete
the setting.
View, edit or delete a Timer
Bring up an on-screen list of the settings you
have entered. From this list, you can edit or
delete your Timer settings.
PLAY TIMER INDEX
delete
edit GO
6:00 - 7:00 TV 3
ZDF MTWTF . .
20:00-22:00 TV 15
CNN MT . . . S .
15:40-16:40 TV 18
BBC M . . TF . .
TV SETUP
select GO
PROGRAM GROUPS
TUNING
TIMER RECORDING
PLAY TIMER
OPTIONS
STAND POSITIONS
TIMER ON / OFF
TIMER INDEX
PLAY TIMER PROGRAMMING
TIMER SETUP
select GO
15:40-16:40 TV 18
BBC M . . TF . .
TIMER ON / OFF ON
TIMER INDEX
PLAY TIMER PROGRAMMING
WAKEUP TIMER OFF
5

Wake-up Timer
You can make the television wake
you up in the morning.
The Wake-up Timer is a once-only
Timer, it lasts for one hour. Like an
alarm clock it is disabled once it has
been executed. It applies only to the
television it has been programmed
on.
Once you have made one Wake-up
Timer, the television automatically
suggests the time you entered for the
latest Wake-up Timer when you enter
a new one.
Wake-up Timers can of course also
be disabled again.
When you have programmed a Wake-
up Timer, the television cannot be
part of an ordinary Play Timer or
Standby Timer until the Wake-up
Timer has been carried out or
disabled.
Enter a Wake-up Timer
You must choose the source and program
number of your Wake-up Timer as well as the
start time.
Check or delete a Wake-up Timer
You can call up the settings for the Wake-up
Timer to check the time or to disable the
Wake-up Timer by setting it to OFF.
To enter settings for a Wake-up Timer …
> Press MENU to bring up the TV SETUP menu
and press to highlight PLAY TIMER.
> Press GO to bring up the PLAY TIMER menu and
press to highlight WAKE UP TIMER.
> Press GO to bring up the WAKE UP TIMER
menu.
> Press or to move through the menu items.
> Use the number buttons to enter information or
press or to view your choices for each item.
> When you have filled in the required
information, press GO to store your Wake-up
Timer.
> Press EXIT to exit all menus.
To change settings for a Wake-up Timer or
delete it …
> Press MENU to bring up the TV SETUP menu
and press to highlight PLAY TIMER.
> Press GO to bring up the PLAY TIMER menu and
press to highlight WAKE UP TIMER.
> Press GO to bring up the WAKE UP TIMER
menu.
> Press or to move through the menu items.
> Use or to change settings or enter a new
time with the number buttons. Change the ON/
OFF setting to OFF if you wish to delete the
Wake-up Timer.
> When you have made your changes, press GO
to store them.
> Press EXIT to exit all menus.
WAKE UP TIMER
store GO
SOURCE TV
PROGRAM 21 BBC
START TIME 07:00
ON / OFF ON
PLAY TIMER
select GO
TIMER ON / OFF OFF
TIMER LIST
TIMER PROGRAMMING
WAKE UP TIMER 07:00
6

Use your television as a computer monitor
If you connect your television to a
computer, as described on page 33,
you can use it as a monitor.
Remember to register your computer
in the CONNECTIONS menu. For
further information about how to
register the computer as a source,
refer to the AV4 menu in the chapter
‘On-screen menus’ on page 67.
IMPORTANT! If you wish to connect a
computer to the television and use the
television as a monitor, make sure that
you disconnect the television, the
computer, and all equipment connected
to the computer from the mains before
you connect the computer and the
television to each other.
When in use, the computer must be
connected to a grounded wall outlet as
specified in the computer’s setting-up
instructions.
Bring up the computer image on the
screen
To see the computer picture on the television
screen, you must bring it up with Beo4.
Picture and sound adjustments
When you have the computer picture on the
screen, you must call up the HDTV SETUP
menu to make adjustments to brightness,
contrast, colour and sound volume.
> Press MENU to bring up the HDTV SETUP menu.
> Press or to move between the menu
options.
> Press or to adjust settings.
> Press GO to store your settings and exit the
menu.
The settings you make in this menu only apply to
the HDTV SETUP. Temporary volume adjustments
can be made as usual.
To bring up the computer
picture …
Press repeatedly until PC appears
in the Beo4 display
Press to bring up the picture
You can then operate the
computer as you normally would.
HDTV SETUP
BRIGHTNESS 31
CONTRAST 31
COLOUR 31
VOLUME 40
LIST
PC
GO
7

Set-top box operation
The built-in Set-top Box Controller
acts as an interpreter between a
set-top box of your choice and the
Beo4 remote control. When a
set-top box is connected, you can
use the Beo4 remote control to gain
access to the programs and functions
offered by your set-top box.
Some functions are immediately
available via Beo4 when you switch
on the set-top box. Additional
functions are available through a
Set-top Box Controller menu that you
bring up on the screen.
Set-top Box Controller menu
Some of the buttons on your set-top box
remote control are not immediately available
on Beo4. To find out which Beo4 buttons
activate specific services or functions in your
set-top box, bring up the Set-top Box
Controller menu on the screen.
Press to switch on the
set-top box
Press to bring up the Set-top Box
Controller menu
Press the number button that
activates the function you want,
or …
… press one of the coloured
buttons to activate a function
When set-top box is selected as
source, press MENU twice to
bring up the television’s main
menu.
Example of a Set-top Box Controller menu – The
Beo4 buttons are shown to the left on the menu
and the set-top box buttons are shown to the right.
GUIDE
ME N U
TEXT
INFO
WI D E
1
2
3
4
5
GUIDE
MENU
TEXT
INFO
WIDE
1
2
3
4
5
DTV
MENU
1 – 9
8
NOTE! Your set-top box can be registered as
STB(DTV) or STB(V.AUX) in the CONNECTIONS
menu. This determines which button activates the
set-top box; DTV or V.AUX.
NOTE! If your set-top box is connected to the
HDTV sockets, no Set-top Box Controller menu
can be shown on the screen.

Universal Beo4 operation
If you know which Beo4 button activates the
function you want, you can activate the
function without bringing up the Set-top Box
Controller menu first.
Use the set-top box’s own menu
Once you have activated your set-top box,
you can operate the set-top box’s own menus,
such as the program guide, via Beo4.
Use a set-top box in a link room
When your set-top box is connected to the
television in the main room, you can operate
the set-top box from the link room television.
However, the Set-top Box Controller menu
cannot be displayed on the television screen
in the link room.
While your set-top box is
activated …
Press GO and then the number
button that activates the
function you want
Press one of the coloured
buttons to activate a function
Press GO and then or to
step up or down through
programs directly
Press and hold GO to bring up
the Program guide or the ‘Now/
Next’ banner on the screen
depending on your set-top box
While the set-top box’s own
menu is shown …
Moves the cursor up or down
Moves the cursor left or right
Selects and activates a function
Press GO and then or to
step between menu pages or
step in program lists
Exits menus, or returns to a
previous menu*
Exits menus, enters or exits
different modes, such as radio
Use the coloured buttons as
indicated in the menus of your
set-top box
*Depending on your set-top box,
you may have to press EXIT twice
instead of STOP to return to a
previous menu.
Press to switch on the set-top box
in the main room
Press GO and then the number
button that activates the
function you want
Press one of the coloured
buttons to activate a function
GO
GO
GO
STOP
EXIT
GO
1 – 9
GO
GO
DTV
GO
1 – 9
9

If you have a BeoCord V 8000 …
Some of the features of the
BeoCord V 8000 function differently
with this television than described in
the BeoCord V 8000 Guide, and
some are not available.
It is not possible to play in slow
motion, make track markers, erase
track markers set automatically, or
make daily or weekly Timer
recordings* as described in the
BeoCord V 8000 Guide.
You can still use the Beo4 remote
control to play and search through a
videotape.
From the recording menu, you can
check, edit or delete all the timed
recordings that are waiting to be
executed.
For further information about the
video tape recorder, refer to its own
Guide.
Play and search through a tape
Once you have selected the video tape
recorder via Beo4, all operations are carried
out via Beo4. Playback of the videotape you
have loaded starts automatically.
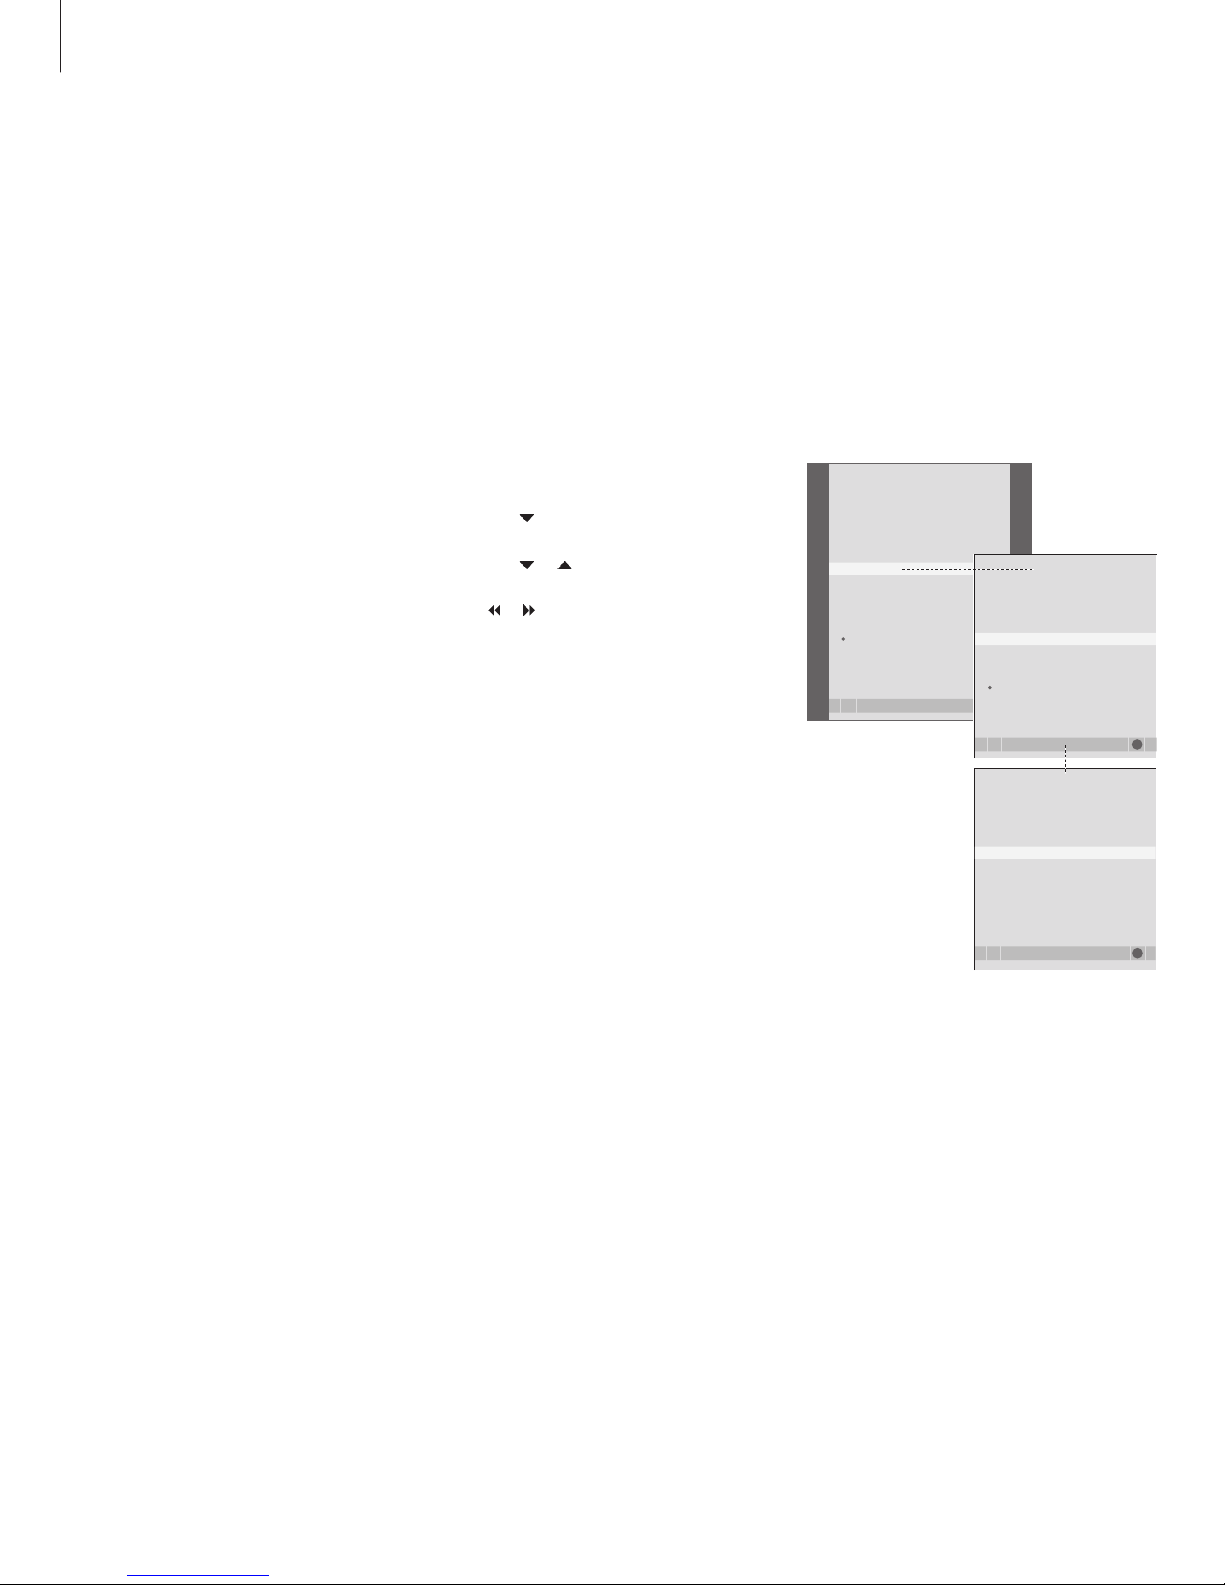
To cue or wind through the
tape …
Press or to cue backwards
or forwards through the tape
Press or a second time to
cue faster
Press or a third time to
rewind or fast forward through
the tape, or …
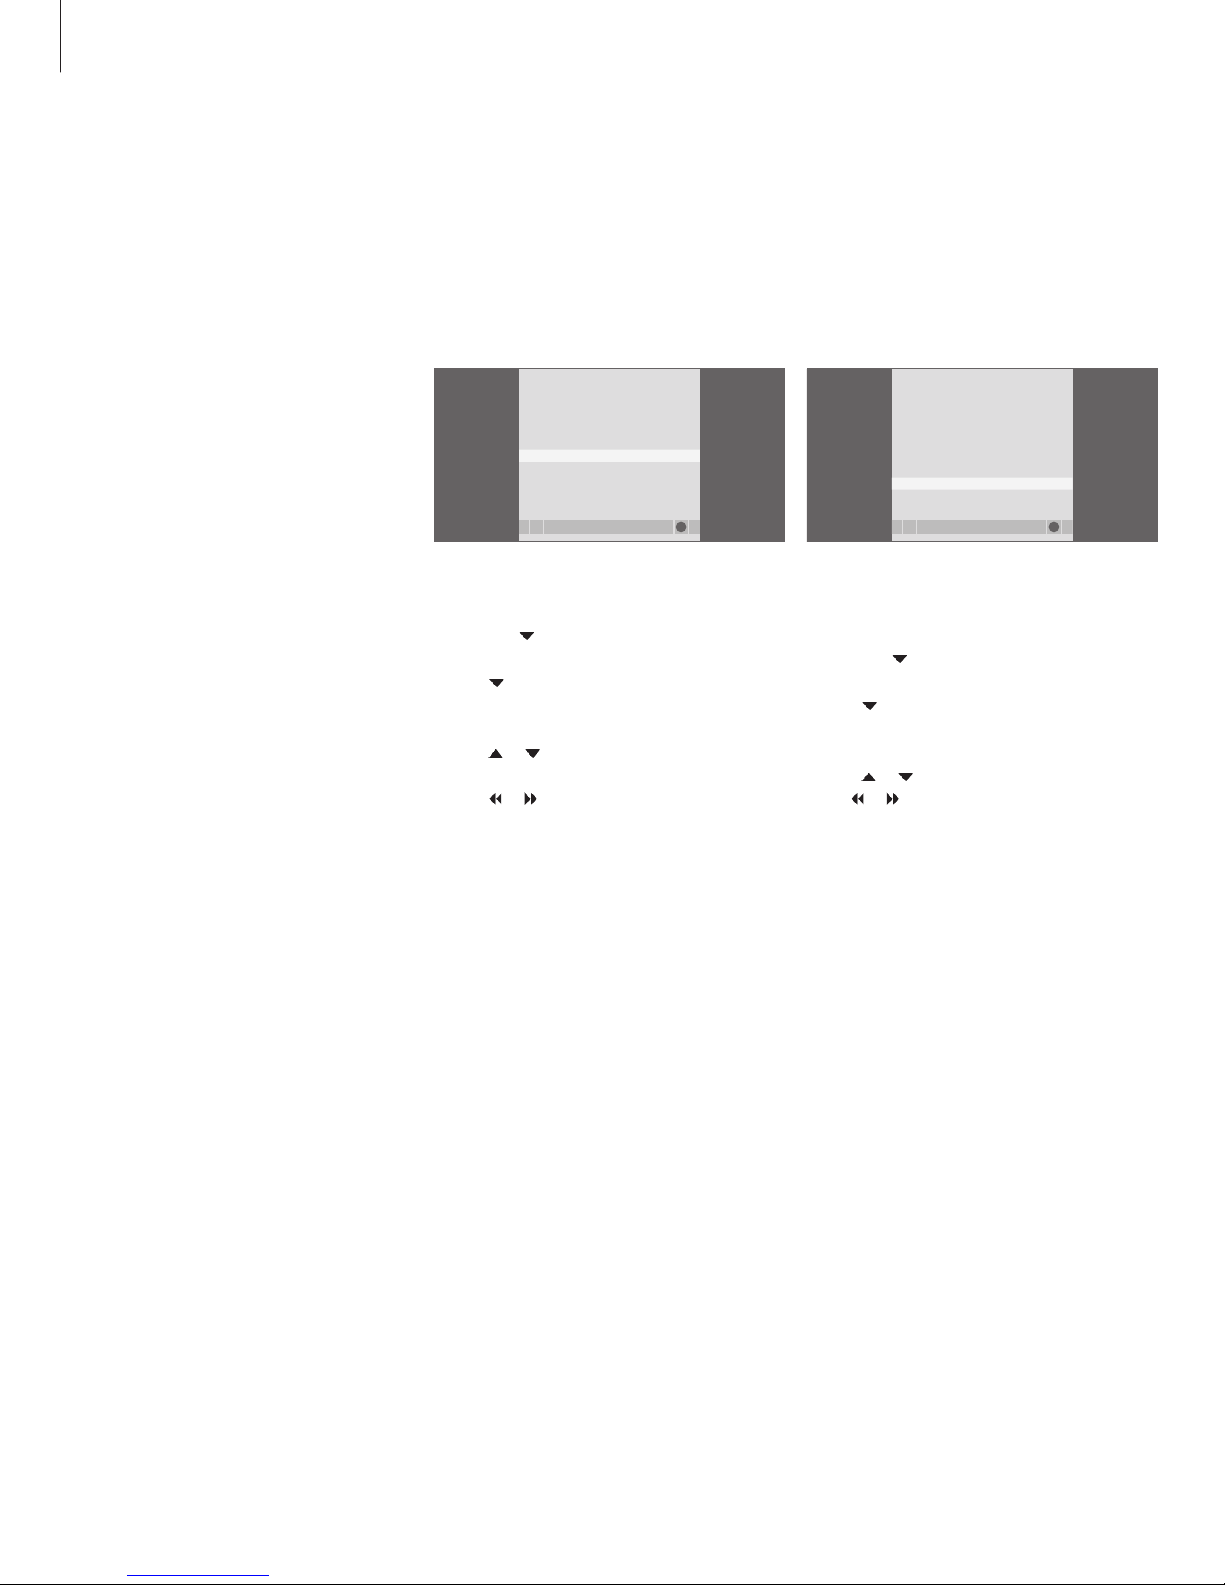
… press and hold or for 2
seconds to rewind or fast
forward through the tape
Press to start or resume playback
Press or to step forwards or
backwards through different
tracks or recordings on a tape
To pause or stop a tape …
Press to pause the tape with the
picture on the screen
Press again to resume playback
Press to stop the tape completely
Press to switch the television and
the video tape recorder to
standby
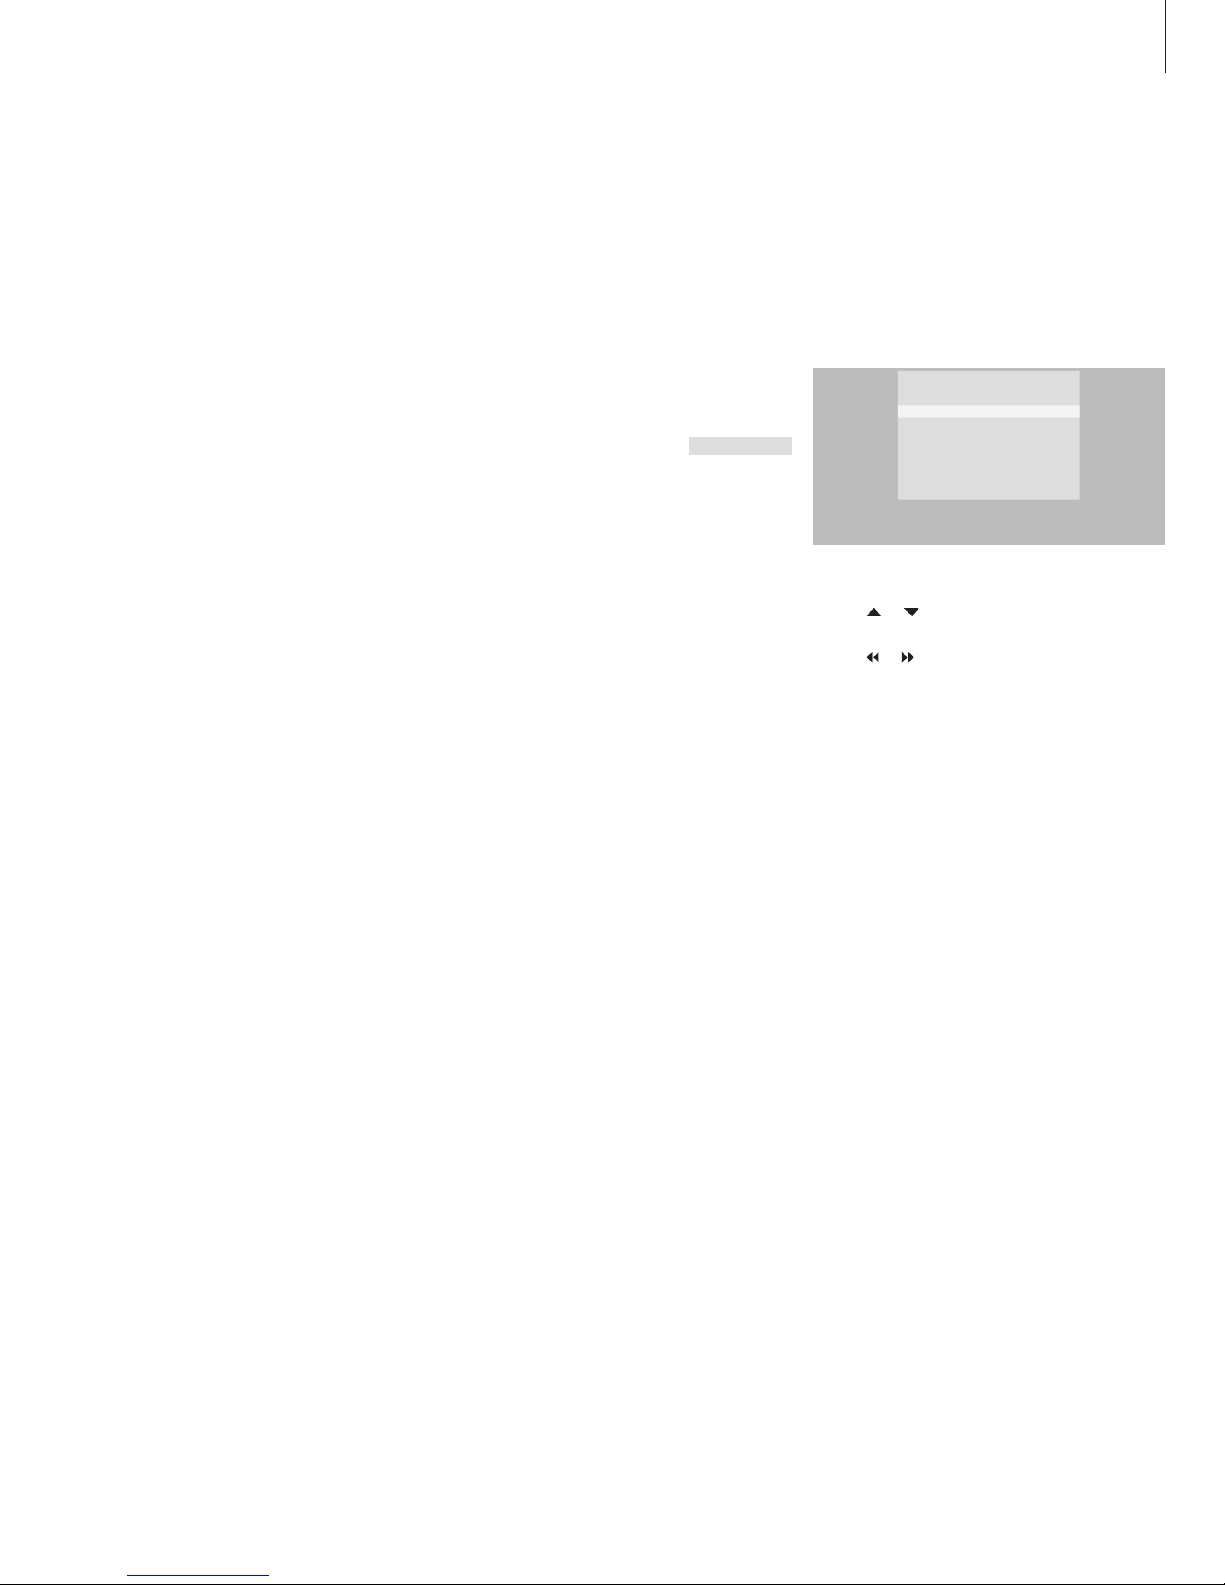
Timed recording via teletext
You can program up to 6 timed recordings.
Recordings can be programmed via the on-
screen menu or directly via the relevant
teletext page.
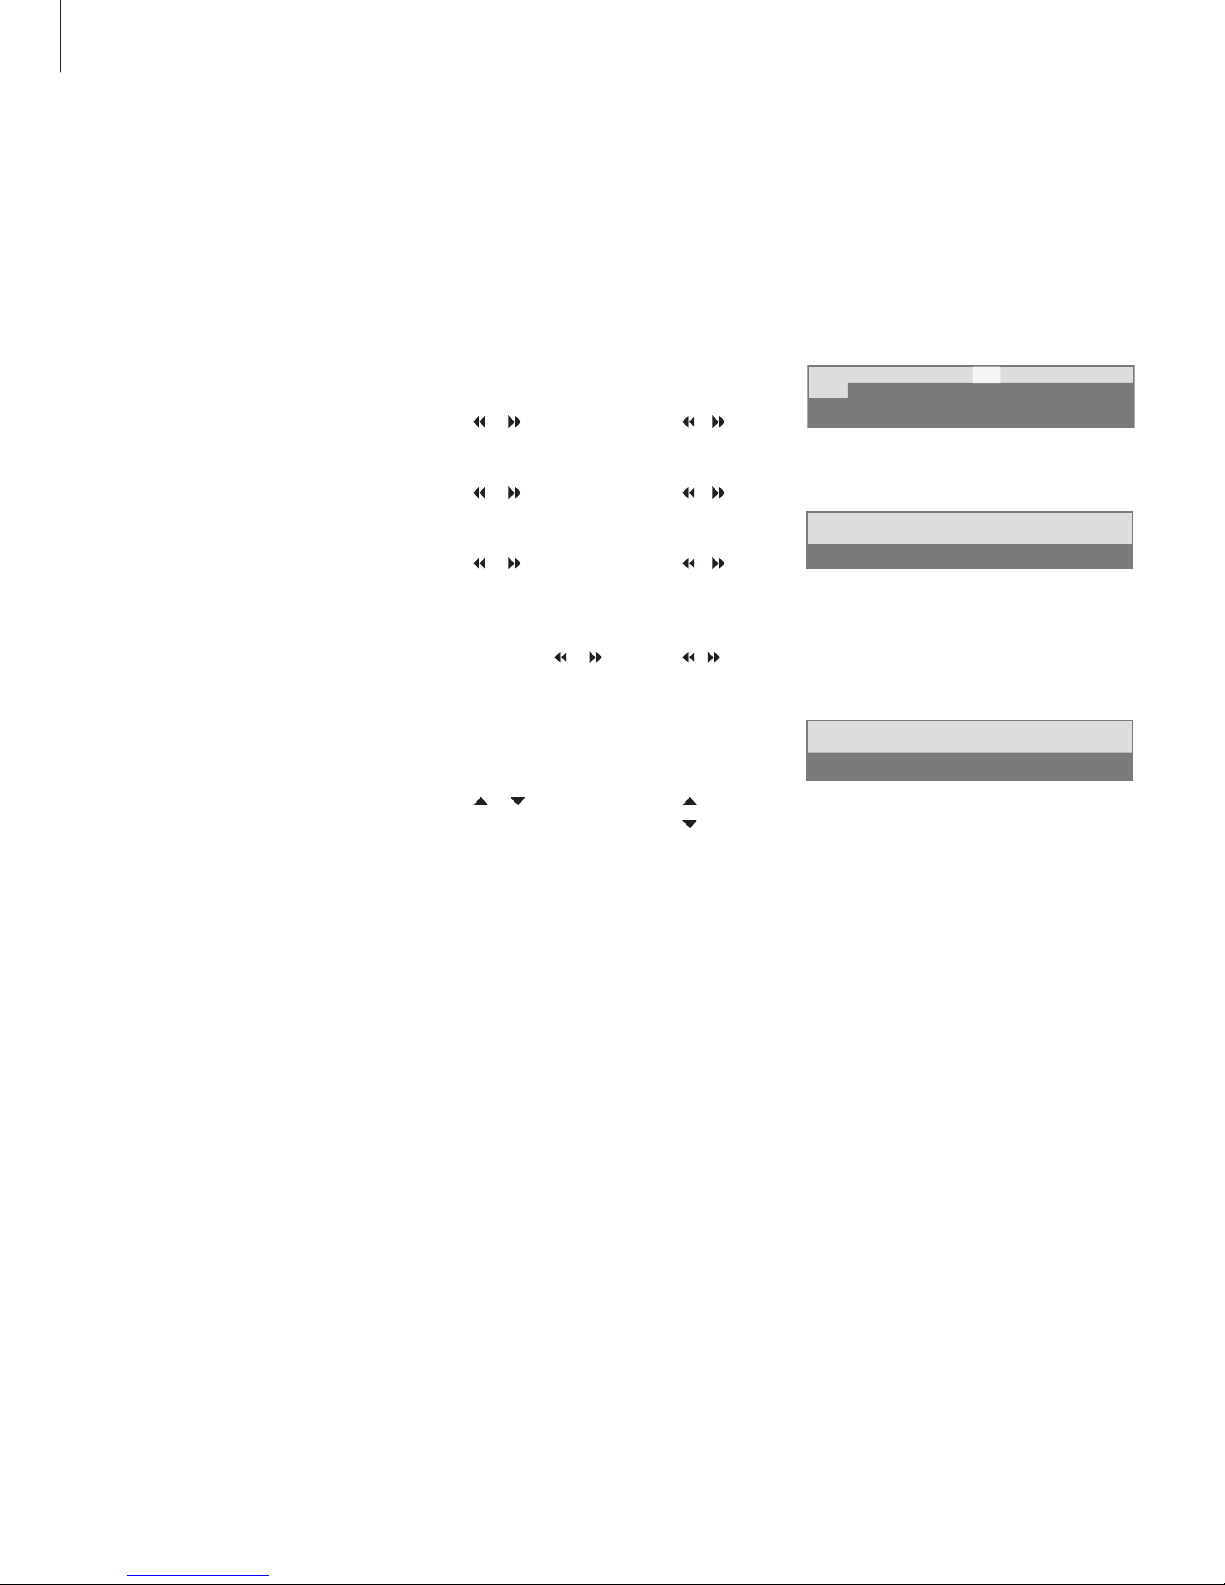
The menu bar on the teletext page.
The status line for a recording may appear above
the teletext page with both start and stop times
indicated, or on the actual program you want to
record.
The recording is now stored.
PAGE PROGRAM HALT REC SETUP REVEAL
P202 BBC S202 Wed 13 Oct 12:39:34
18:30-21:00 13. OCT P1 BBC OK?
P202 BBC S202 Ons 13 Oct
PROGRAMMING STORED
GO
GO
GO
STOP
•
10
*NOTE! Recordings can only be made as described,
if the BeoCord V 8000 is connected directly to
this television.

Insert a tape for recording …
> Find the teletext page you want.
> Press RECORD to be able to select a programme
to record, or use to move to REC on the teletext
menu bar and press GO.
> Press or to move to the start time or the
actual programme title.
> Press GO to select the chosen start time or
simply select the programme title.
> If necessary, press GO to select the stop time,
you can change the stop time by pressing
and include two or three programmes in a row.
> Check the status line for the recording, if
necessary use or or the number buttons to
change and or to move between the
entered data.
> Press GO to store the timed recording.
PROGRAMMING STORED indicates that your
recording is stored.
You can also bring up the menu for making a
Timer recording via the main SETUP menu for the
relevant source, such as TV.
If the PDC/VPS option is set to ON in the
BeoCord V 8000 OPTIONS menu, you do not have
to select start and stop times for your recording,
but only the programme name on the teletext
page.
Record via on-screen menu
When you use the on-screen menu to
program a timed recording, remember to
first switch to the source (such as TV) you
wish to record.
Insert a tape ready for recording …
> Press TV to switch on the television or DTV to
switch on a set-top box, if available.
> Press RECORD on Beo4 to bring up the
recording menu.
> Press until MENU is highlighted.
> Press GO to bring up the menu for setting a
timed recording. START TIME is highlighted.
> Use the number buttons or or to enter
information for your timed recording; stop time,
date, different program number if necessary,
and activate the PDC/VPS function if available.
> Press or to step from option to option.
> Press GO to store the recording.
> Press STOP to back up through previous menus
or press EXIT to exit all menus directly.
If PDC/VPS is an option on the menu, then you can
set it to OFF or AUTO. The option you choose will be
valid for this particular recording only. For further
information about the PDC and VPS systems and
recording, refer to the BeoCord V 8000 Guide.
TV RECORD
select GO
NOW
TELETEXT
RECORD LIST
MENU
PROGRAM
START TIME
STOP TIME
TV RECORD
store GO
PROGRAM 18 BBC
START TIME 15:40
STOP TIME 16:40
DATE 7 MAY
PDC / VPS OFF
11

Check the recordings already set
You can check the recordings that are waiting
to be executed, as well as edit or delete them.
If the timed recordings overlap, this is
indicated when the recording is stored and
shown in the list of recordings.
> Press RECORD to bring up the recording menu.
> Press until RECORD LIST is highlighted.
> Press GO to bring up the list of recordings.
> Press or to highlight a recording.
To edit a highlighted recording …
> Press GO to be able to edit the recording.
> Press or to change start and stop times,
date or program number.
> Press or to step through the options.
> Press GO to store the recording and return to
the list.
To delete a highlighted recording …
> Press the yellow button to delete the recording.
> Press the yellow button again to confirm, or
press to move it back into the list.
> Select another recording to delete, or press
EXIT to exit all menus.
Overlapping recordings are indicated by OVERLAP.
A red dot indicates which recordings overlap.
>> If you have a BeoCord V 8000
Stop a recording in progress
To stop a recording in progress, you must
access the recorder first.
While BeoCord V 8000 is recording …
> Press V MEM to access the video tape recorder.
> Press STOP to pause the recording.
> Press STOP to stop the recording completely.
TV RECORD
select GO
20:00-21:00 TV3
SUPER CH
NOW
TELETEXT
RECORD LIST
MENU
RECORD LIST
TALK SHOW SAT 110
SKY SUN 15 SEP
20:00-22:00 RADIO 15
MEJRUP FRI 7 APR
delete
edit GO
20:00-21:00 TV 3
SUPER CH FRI 7 MAY
12

Tuning and preference settings
Find out how to perform the first-
time setup procedure and tune in all
available programs automatically. In
addition, you can find information
about how to edit tuned programs
and adjust other available settings,
such as time, date, picture and sound.
For information about how to place
your television and connect
additional video equipment, refer to
the chapter ‘Placement, sockets and
connections’ on page 27.
Advanced operation, 3
All you need to know about using your television beyond daily use, such as how to
operate timed play and timed standby functions, a connected set-top box, and a
connected BeoCord V 8000 video tape recorder.
Tuning and preference settings, 13
• First-time setup of your television, 14
• Edit tuned TV programs, 16
• Re-tune or add programs, 20
• Set positions for the television to turn to, 22
• Set the time and date, 23
• Adjust picture and sound settings, 24
• Choose menu language, 26
Placement, sockets and connections, 27
Find out how to handle and place your television and where the sockets are placed.
Find out how to connect a decoder, set-top box or BeoCord V 8000 video tape
recorder to your television and how to register extra equipment. How to connect
speakers and how to turn your television into a surround sound system or Home
cinema, including how to choose speaker combinations.
BeoLink system, 49
Find out how to connect an audio system to your television and operate an
integrated audio/video system. Find out how to make link connections, operate a
link system and set up your television in a link room. How to customise Beo4 to
your system.
On-screen menus, 60
Overview of the on-screen menus.
Index, 75
13

First-time setup of your television
The setup procedure described here is
activated only when the television is
connected to the mains and switched
on for the first time.
You must select the menu language,
register any extra equipment you
have connected, determine the
centre position for the motorised
stand – if your television is equipped
with one – and start the automatic
tuning of TV programs.
Select menu language
The first time you switch on your television,
you must select which language you want all
the menus to be displayed in.
Register extra equipment before
auto-tuning
Some extra equipment is detected by the
television automatically. You can check and
confirm the registration of the equipment
involved.
The menu language setup appears. If you wish to
change the menu language at a later date, you
can find the item under OPTIONS in the TV SETUP
menu.
> Press TV to switch on the television. The
language menu appears.
> Press or to move between the displayed
languages, if necessary.
> Press GO to store your choice.
When the CONNECTIONS menu appears …
> Press or to step between the different
socket groups: AV1, AV2, AV3, AV4, CAMERA
and PROJECTOR.
> Press GO to be able to register a connected
product to the highlighted socket group.
> Press or to move between the sockets in
the group.
> Press or to register what you have
connected to the highlighted socket.
> Press GO to be able to select another socket
group.
> When you have completed your settings, press
the green button to store the setup.
MENU LANGUAGE
select accept GO
DANSK
DEUTSCH
ENGLISH
ESPAÑOL
FRANÇAIS
ITALIANO
NEDERLANDS
SVENSKA
CONNECTIONS
select GO
AV1 V.MEM
AV2 NONE
AV3 NONE
AV4 NONE
CAMERA NONE
PROJECTOR NONE
14

When the menu for auto tuning appears, the
prompt CHECK AERIAL CONNECTION appears to
remind you to check that your TV aerial is properly
connected.
> Press GO to start auto tuning. The television
tunes in all available programs.
Make sure that there is enough room for the
television to turn to the right and left.
For further information about stand positions,
refer to the chapter ‘Set positions for the
television to turn to’ on page 22.
Store all programs and settings
When you have selected the menu language,
a menu for program tuning automatically
appears on the screen.
Determine the centre position
If your television is equipped with the optional
motorised stand, the STAND ADJUSTMENT
menu appears on the screen. Once the centre
position is determined, select your favourite
positions for when the television is switched
on and in standby.
When the STAND ADJUSTMENT menu
appears …
> Press GO to start stand adjustment.
> If the adjustment is interrupted the text
‘ADJUSTMENT FAILED’ appears on the screen.
Remove obstacles preventing the television
from turning, and press GO to start adjustment
again.
> Once adjustment is complete, the text
‘ADJUSTMENT OK’ appears, followed by the
STAND POSITIONS menu.
> Move between the different stand positions;
VIDEO, AUDIO and STANDBY by means of
and and press GO to enter the menu.
> To turn and possibly tilt the television, press
or and or .
> Press the green button to store each of the
positions.
STAND ADJUSTMENT
adjust GO
CALIBRATING . . .
CENTRE POSITION
AUTO TUNE
start
CHECK AERIAL CONNECTION
TV
GO
15

Edit tuned TV programs
If automatic tuning of all programs
has not stored the programs on your
preferred program numbers or has
not named all the stored programs
automatically, you can rearrange the
order in which the programs appear
and provide them with a name of
your own choice.
If the tuned programs require
additional editing, such as fine tuning,
use the MANUAL TUNING menu.
Move tuned TV programs
Once automatic tuning of programs has been
completed, the EDIT PROGRAMS menu
appears automatically and you can move your
tuned programs.
> Press TV to switch on the television.
> Press MENU to bring up the TV SETUP menu,
and press to highlight TUNING.
> Press GO to bring up the TV TUNING menu.
EDIT PROGRAMS is already highlighted.
> Press GO to bring up the EDIT PROGRAMS
menu.
> Press or to select the program you wish to
move.
> Press once to be able to move the program.
The program is now moved out of the list.
> Press or to move the program to the
desired program number.
> Press to make the program move back into
the list or change places with the program
which occupies the desired program number.
> Now, move the program which you changed
places with to an empty program number or to
a number already occupied and repeat the
procedure.
> When you have moved the relevant programs,
press STOP to back up through all menus, or
press EXIT to exit all menus.
EDIT TV PROGRAMS
move
move delete
1
2 TV2
3 . . . . . . . .
4 EUROSPRT
5 ZDF
6 RTL7
7 . . . . . . . .
8 DR1 BBC
9 . . . . . . . .
. .
. .
17 NRK
18 TV4
move
move delete
EDIT TV PROGRAMS
1 DR1
2 TV2
3 . . . . . . . .
4 EUROSPRT
5 ZDF
6 RTL7
7 . . . . . . . .
8 BBC
9 . . . . . . . .
. .
. .
17 NRK
18 TV4
EDIT TV PROGRAMS
more
name move
1 DR1
2 TV2
3 . . . . . . . .
4 EUROSPRT
5 ZDF
6 RTL7
7 . . . . . . . .
8 BBC
9 . . . . . . . .
. .
. .
17 NRK
18 TV4
TV SETUP
select GO
PROGRAM GROUPS
TUNING
TIMER RECORDING
PLAY TIMER
OPTIONS
STAND POSITIONS
EDIT PROGRAMS
ADD PROGRAM
AUTO TUNING
TV TUNING
select GO
EDIT PROGRAMS
ADD PROGRAM
AUTO TUNING
MANUAL TUNING
LINK FREQUENCY
1 DR1
2 TV2
3 . . .
16

Name tuned programs
Once automatic tuning of programs has been
completed, the EDIT PROGRAMS menu
appears automatically and you can name the
TV programs that have been tuned in.
> Press TV to switch on the television.
> Press MENU to bring up the TV SETUP menu,
and press to highlight TUNING.
> Press GO to bring up the TV TUNING menu.
EDIT PROGRAMS is already highlighted.
> Press GO to bring up the EDIT PROGRAMS
menu.
> Press or to select the program you wish to
name.
> Press the green button to be able to name the
program. The naming menu is now activated.
> Press or to find the individual characters in
the name.
> Press to move to the next character. As you
move, the television suggests possible names,
but you can still use and , or and to
enter or edit all the characters in the name you
choose.
> Press GO to store the name.
> If necessary, repeat the procedure and name
other program numbers.
> When you have named the relevant programs,
press GO to accept your edited list, or press
EXIT to exit all menus.
EDIT TV PROGRAMS
character next
accept GO
1 DR1
2
3 A
4
5 ZDF
6 RTL7
7 . . . . . . . .
8 BBC
. .
. .
17 NRK
18 TV 4
TV SETUP
select GO
PROGRAM GROUPS
TUNING
TIMER RECORDING
PLAY TIMER
OPTIONS
STAND POSITIONS
EDIT PROGRAM
ADD PROGRAM
AUTO TUNING
TV TUNING
select GO
EDIT PROGRAMS
ADD PROGRAM
AUTO TUNING
MANUAL TUNING
LINK FREQUENCY
1 DR1
2 TV2
3 . . .
EDIT TV PROGRAMS
more
name move
1 DR1
2 TV2
3 . . . . . . . .
4 EUROSPRT
5 ZDF
6 RTL7
7 . . . . . . . .
8 BBC
9 . . . . . . . .
. .
. .
17 NRK
18 TV4
17

>> Edit tuned programs
Delete tuned programs
Once the automatic tuning of programs is
completed, you can delete any tuned TV
programs you do not want.
> Press TV to switch on the television.
> Press MENU to bring up the TV SETUP menu
and press to highlight TUNING.
> Press GO to bring up the TV TUNING menu.
EDIT PROGRAMS is already highlighted.
> Press GO to bring up the EDIT PROGRAMS
menu.
> Press or to move to the program you wish
to delete.
> Press to move the program out of the list.
> Press the yellow button to be able to delete the
program – the program is then shown in red.
> Press the yellow button again to finally delete
the program, or press twice to move the
program back into the list.
> When you have deleted the relevant programs,
press EXIT to exit all menus.
EDIT TV PROGRAMS
move delete
1 DR1
2 TV2
3 . . . . . . . .
4 EUROSPRT
5 ZDF
6 RTL7
7 . . . . . . . .
8 BBC
. .
. .
17 NRK
18 TV4
EDIT TV PROGRAMS
move
move delete
1 DR1
2 TV2
3 . . . . . . . .
4 EUROSPRT
5 ZDF
6 RTL7
7 . . . . . . . .
8 BBC
. .
. .
17 NRK
18 TV4
EDIT TV PROGRAMS
more
name move
1 DR1
2 TV2
3 . . . . . . . .
4 EUROSPRT
5 ZDF
6 RTL7
7 . . . . . . . .
8 BBC
. .
. .
17 NRK
18 TV4
TV SETUP
select GO
PROGRAM GROUPS
TUNING
TIMER RECORDING
PLAY TIMER
OPTIONS
STAND POSITIONS
EDIT PROGRAM
ADD PROGRAM
AUTO TUNING
TV TUNING
select GO
EDIT PROGRAMS
ADD PROGRAM
AUTO TUNING
MANUAL TUNING
LINK FREQUENCY
1 DR1
2 TV2
3 . . .
18

Adjust tuned programs
You can store TV programs on program
numbers of their own. Fine tune the program
reception, indicate the presence of coded
programs and choose appropriate sound
types for the individual programs.
> Press TV to switch on the television.
> Press MENU to bring up the TV SETUP menu
and press to highlight TUNING.
> Press GO to bring up the TV TUNING menu and
press to highlight MANUAL TUNING.
> Press GO to bring up the TV MANUAL TUNING
menu.
> Press or to move between items on the
menu.
> Press or to view your choices for each item.
> If you choose NAME, then press the green button
to start the naming procedure. Use or and
to enter the characters in the name you
choose.
> To bring up the extra TV MANUAL TUNING
menu, move to EXTRA and press GO. Now fine
tune if relevant, or select type of sound.
> When you have finished editing, press GO to
accept the settings.
> Press GO to store the adjusted program.
> Press EXIT to exit all menus.
If the item SYSTEM appears on the menu, then
make sure that the correct broadcast system is
displayed before you begin tuning:
B/G … for PAL/SECAM BG
I … for PAL I
L … for SECAM L
M … for NTSC M
D/K … for PAL/SECAM D/K
If programs are broadcasted with two languages
and you want both languages, you can store the
program twice, once with each language.
TV MANUAL TUNING
TUNING STORED
SEARCH . . .
FREQUENCY 210
PROGRAM NUMBER 1
NAME DR1
EXTRA
TV MANUAL TUNING
accept GO
FINE TUNE 0
DECODER OFF
TV SYSTEM B / G
SOUND STEREO
TV MANUAL TUNING
start
store GO
SEARCH . . .
FREQUENCY 210
PROGRAM NUMBER 1
NAME DR1
EXTRA
TV SETUP
select GO
PROGRAM GROUPS
TUNING
TIMER RECORDING
PLAY TIMER
OPTIONS
STAND POSITION
EDIT PROGRAM
ADD PROGRAM
AUTO TUNING
TV TUNING
select GO
EDIT PROGRAMS
ADD PROGRAM
AUTO TUNING
MANUAL TUNING
LINK FREQUENCY
SEARCH
FREQUENCY
PROGRAM NUMBER
19

Re-tune or add programs
You can make your television find
your TV programs for you.
Preset up to 99 different TV
programs on program numbers of
their own and give each program a
distinct name.
You can tune in new programs, for
example, if you move – or re-tune
previously deleted programs.
When tuning in programs via the
ADD PROGRAM menu, your
previously tuned programs are left
unchanged. This allows you to keep
program names, their order in the TV
list, and any special settings you may
have stored for those programs, such
as decoder or broadcast system
settings.
Re-tune via automatic tuning
You can re-tune all your TV programs by
letting the television tune in all the programs
automatically.
Please note: If you re-tune all your TV
programs, all Groups of programs and
program settings you have made disappear!
> Press TV to switch on the television.
> Press MENU to bring up the TV SETUP menu
and press to highlight TUNING.
> Press GO to bring up the TV TUNING menu and
press to highlight AUTO TUNING.
> Press GO to bring up the AUTO TUNING menu.
> Press to start auto tuning.
> Once auto tuning is completed, the EDIT
PROGRAMS menu appears. You can then
rearrange the program order, delete programs
or rename them.
select GO
TV SETUP
PROGRAM GROUPS
TUNING
TIMER RECORDING
PLAY TIMER
OPTIONS
STAND POSITIONS
EDIT PROGRAMS
ADD PROGRAM
AUTO TUNING
TV AUTO TUNING
start
EDIT TV PROGRAMS
more
name move
TV AUTO TUNING
DELETES PROGRAM GROUPS
TV TUNING
select GO
EDIT PROGRAMS
ADD PROGRAM
AUTO TUNING
MANUAL TUNING
LINK FREQUENCY
1 DR1
2 TV2
3 . . .
1 . . . . . . . .
1 DR1
2 TV2
3 . . . . . . . .
1 DR1
2 TV2
3 . . . . . . . .
4 EUROSPRT
5 ZDF
6 RTL7
7 . . . . . . . .
8 BBC
9 . . . . . . . .
. .
. .
17 NRK
18 TV4
20
Other manuals for BeoVision 7
11
Table of contents
Other Bang & Olufsen Home Theater System manuals

Bang & Olufsen
Bang & Olufsen BeoVision 7 User manual

Bang & Olufsen
Bang & Olufsen BeoVision 9 User manual

Bang & Olufsen
Bang & Olufsen BeoSound THEATRE User manual

Bang & Olufsen
Bang & Olufsen BeoVision 7 User manual

Bang & Olufsen
Bang & Olufsen VX5500 Beovision User manual

Bang & Olufsen
Bang & Olufsen BeoVision 7 User manual

Bang & Olufsen
Bang & Olufsen BeoSystem 3 User manual

Bang & Olufsen
Bang & Olufsen BeoSystem 4 User manual

Bang & Olufsen
Bang & Olufsen BeoVision 7 User manual

Bang & Olufsen
Bang & Olufsen BeoVision 7 Product guide