10
You can extend your system into a
surround sound system by adding
four Bang & Olufsen loudspeakers
and a BeoLab 2 subwoofer*.
When you switch on one of the
sources, speakers in a surround
sound system can be cut in or out,
depending on what kind of sound
suits the source you are using.
If you connect a projector, you can
turn your system into a Home cinema.
When you switch to the Home
cinema setup, the television switches
the picture from its own screen to
the projector screen and activates the
appropriate speakers.
Surround sound and Home cinema
Select speakers for movie sound
You can select the speaker combination that
suits the source you are using, provided that
the various sound modes are available in your
system.
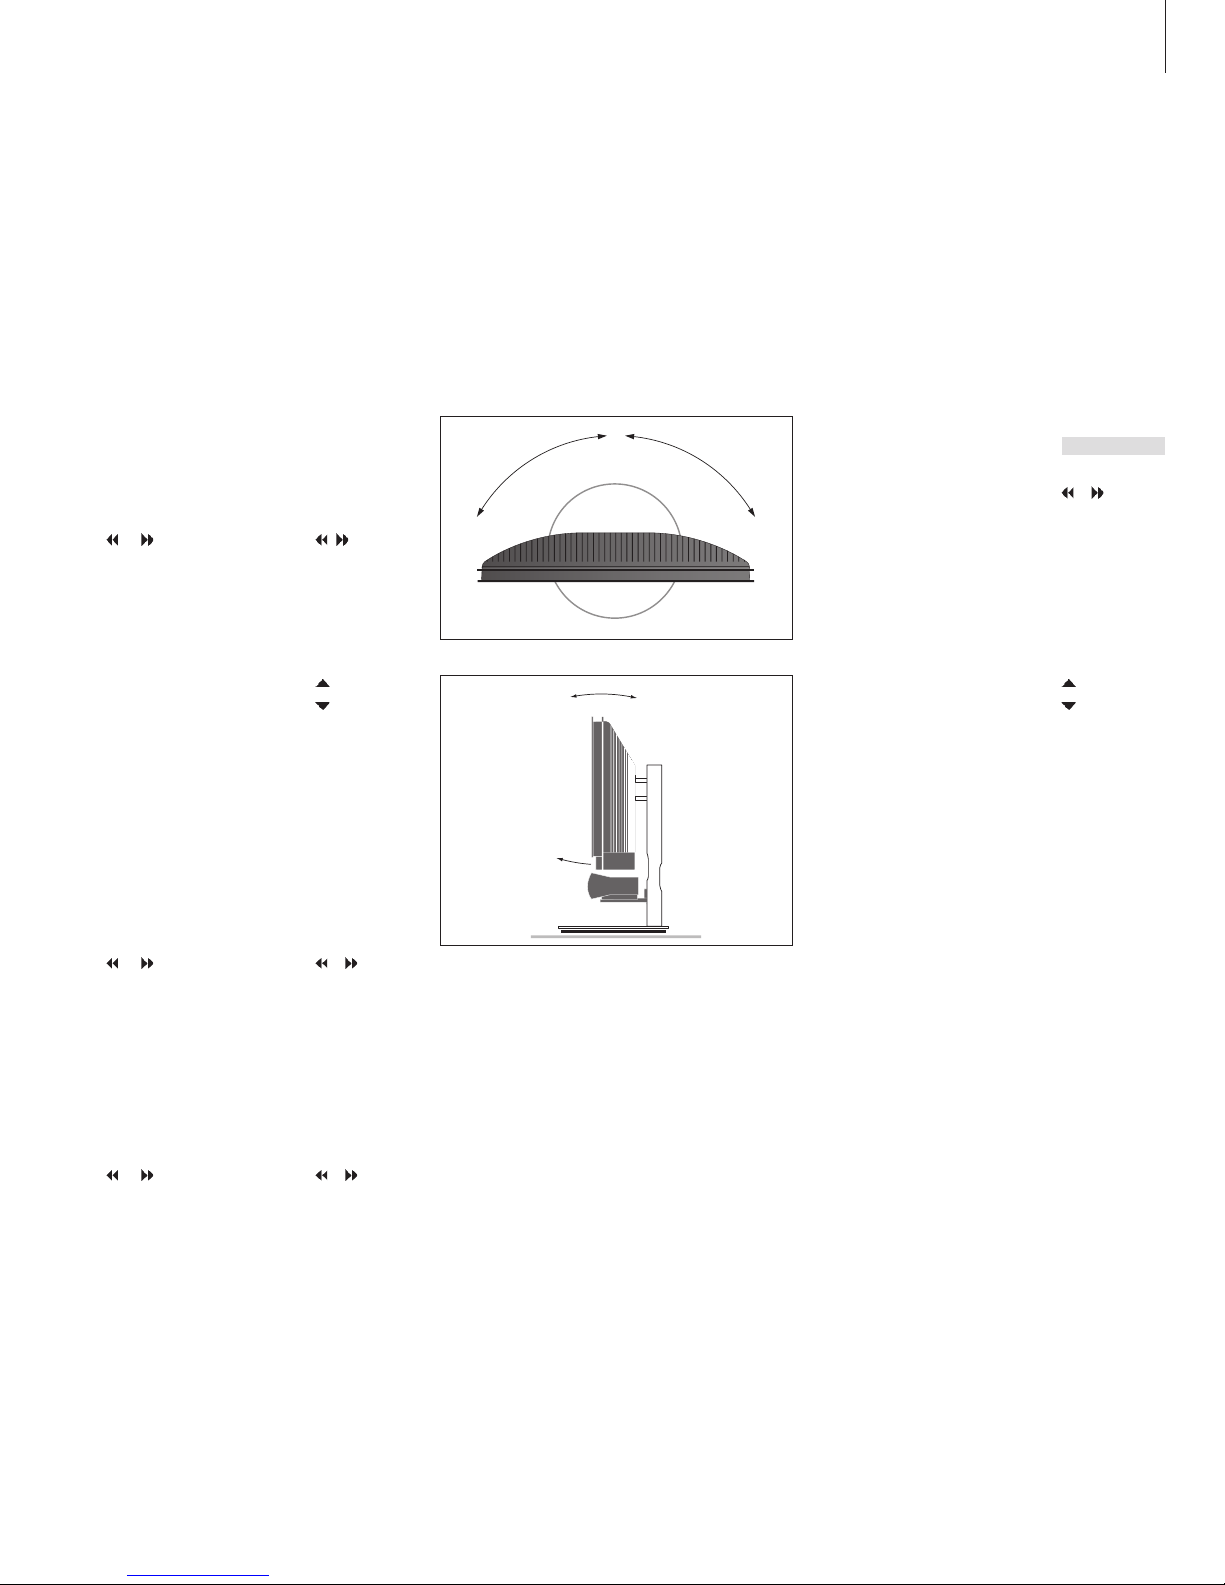
Press repeatedly to display
SPEAKER on Beo4
Press the number of the speaker
combination you want. The
selected speakers cut in
automatically
Press to adjust the balance
between the front and rear
speakers
Press to adjust the balance
between the left and right
speakers
Press to remove SPEAKER from
the Beo4 display and to return to
the source you were using
Speaker combinations
SPEAKER 1 … Sound in the centre speaker only.
SPEAKER 2 … Stereo sound in the two front
speakers. The BeoLab 2 subwoofer is active.
SPEAKER 3 … The centre speaker, front speakers
and the BeoLab 2 subwoofer are active.
SPEAKER 4 … Enhanced stereo sound in the front
and rear speakers. The BeoLab 2 subwoofer is
active.
SPEAKER 5 … Surround sound from all speakers
including the BeoLab 2 subwoofer. For
programmes encoded in Surround Sound.
If you have added only two front speakers to the
television, you will only be able to choose
SPEAKER 1–3.
LIST
SPEAKER
1 – 5
EXIT
*NOTE! For further information about how to
connect speakers to the television, refer to the
chapter ‘Loudspeaker setup – surround sound’ on
page 42 in the Reference book.