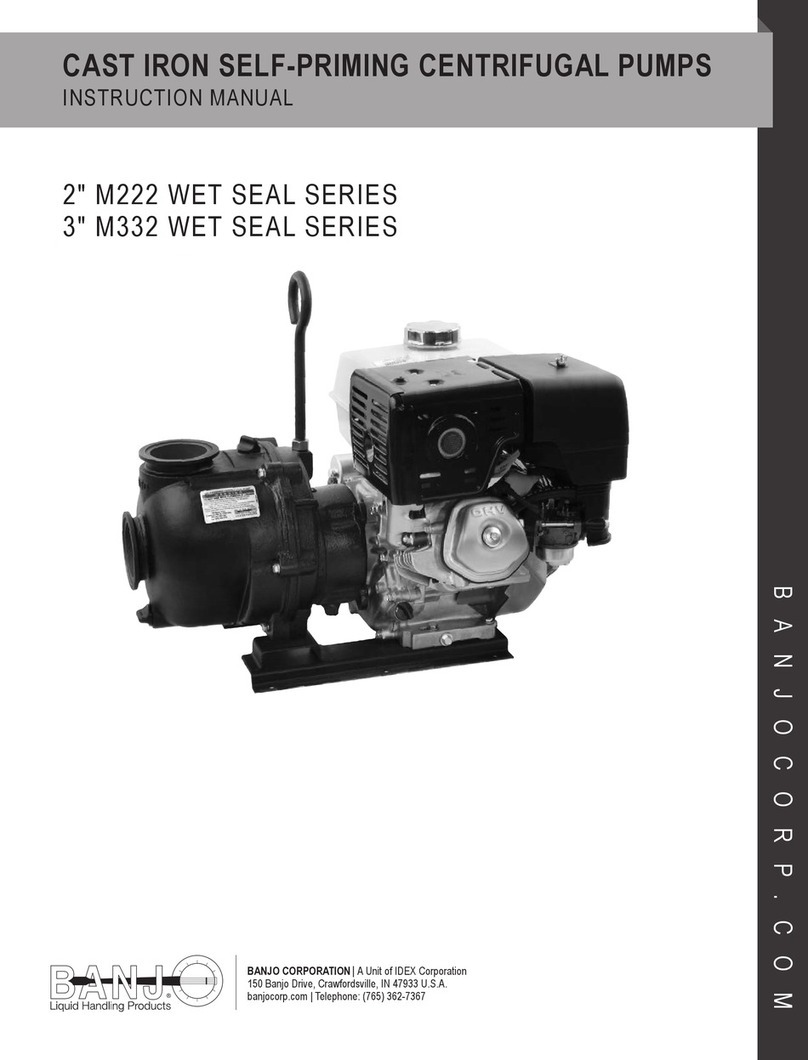
Banjo 201 Series User manual

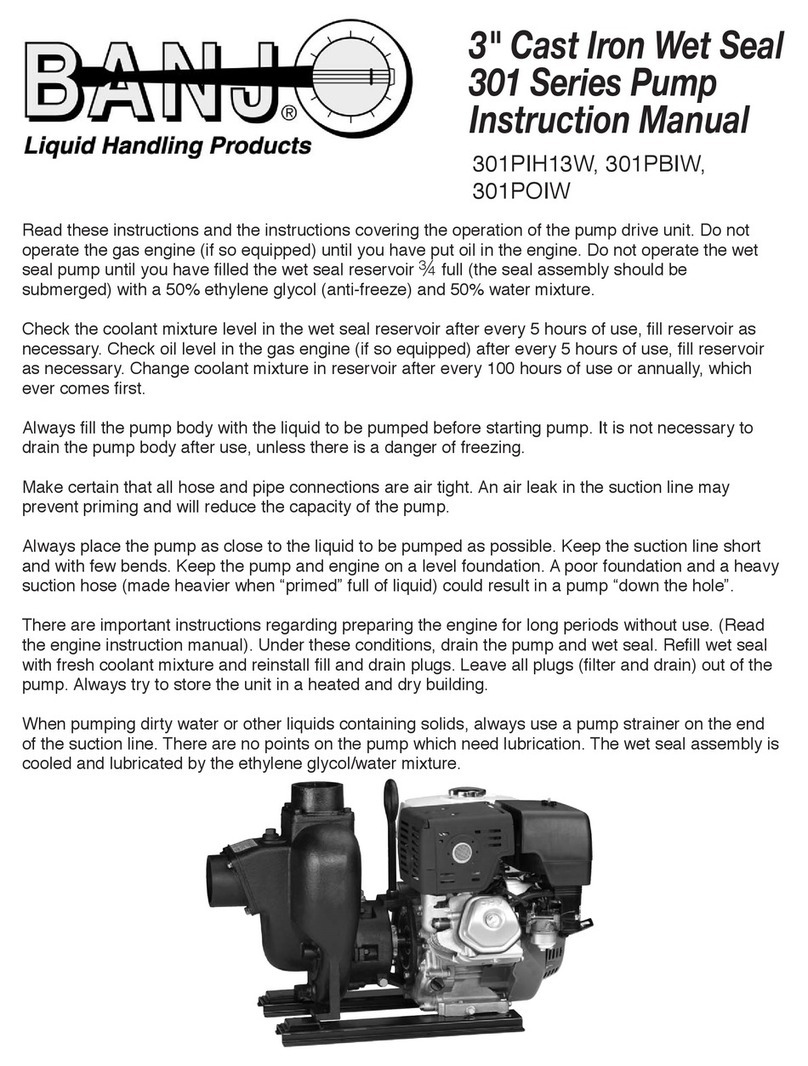
2" Cast Iron Wet Seal
201 Series Pump
Instruction Manual
201PIH5W, 201PI6PROW,
201POIW, 201PBIW
Read these instructions and the instructions covering the operation of the pump drive unit. Do not
operate the gas engine (if so equipped) until you have put oil in the engine. Do not operate the wet
seal pump until you have lled the wet seal reservoir 3/4 full (the seal assembly should be
submerged) with a 50% ethylene glycol (anti-freeze) and 50% water mixture.
Check the coolant mixture level in the wet seal reservoir after every 5 hours of use, ll reservoir as
necessary. Check oil level in the gas engine (if so equipped) after every 5 hours of use, ll reservoir
as necessary. Change coolant mixture in reservoir after every 100 hours of use or annually, which
ever comes rst.
Always ll the pump body with the liquid to be pumped before starting pump. It is not necessary to
drain the pump body after use, unless there is a danger of freezing.
Make certain that all hose and pipe connections are air tight. An air leak in the suction line may
prevent priming and will reduce the capacity of the pump.
Always place the pump as close to the liquid to be pumped as possible. Keep the suction line short
and with few bends. Keep the pump and engine on a level foundation. A poor foundation and a heavy
suction hose (made heavier when “primed” full of liquid) could result in a pump “down the hole”.
There are important instructions regarding preparing the engine for long periods without use. (Read
the engine instruction manual). Under these conditions, drain the pump and wet seal. Rell wet seal
with fresh coolant mixture and reinstall ll and drain plugs. Leave all plugs (lter and drain) out of the
pump. Always try to store the unit in a heated and dry building.
When pumping dirty water or other liquids containing solids, always use a pump strainer on the end
of the suction line. There are no points on the pump which need lubrication. The wet seal assembly is
cooled and lubricated by the ethylene glycol/water mixture.
201PIH5W 201PI6PROW
Tel: 866-777-6060
Fax: 866-777-6383
Springer Pumps, LLC
Website: www.springerpumps.com
Int'l: +001 267 404 2910

Disassembly Instructions:
1
Tel: 866-777-6060
Fax: 866-777-6383
Springer Pumps, LLC
Website: www.springerpumps.com
Int'l: +001 267 404 2910

2
Disassembly Instructions:
5. Remove impeller from the wet seal assembly
by pushing the wet seal shaft from the back of
the assembly.
6. Remove cover plate from the wet seal
assembly. It may be necessary to pry the cover
plate away from the reservoir by using the pry
tabs located on the cover plate.
7. Remove the seal assembly from the wet seal
assembly at this time.
8. Inspect the wear plate and replace or repair as
necessary.
9. The inlet and outlet anges and gaskets can be
inspected and replaced as necessary.
Tel: 866-777-6060
Fax: 866-777-6383
Springer Pumps, LLC
Website: www.springerpumps.com
Int'l: +001 267 404 2910

Assembly Instructions:
Clean all parts being reused in parts washing
solvent before reassembly. Remove all remnants
of old gaskets. Rinse and clean pump of all
residue from liquids previously pumped. It may
also be necessary to sandblast corroded
components to remove rust from mating surfaces.
1. Install inlet and outlet anges with new gaskets
as necessary.
2. Replace wear plate as necessary. It is highly
recommended that the wear plate bolts be
secured with Loctite 241 (blue). Securing the
bolts in this fashion will not allow the bolts to
vibrate loose during pump operation.
3. Install the ceramic/viton seal halves into the
reservoir and cover plate. Lubricate the O. D.
of the viton seal with petroleum jelly and install
the seal halves into the bores of the respective
components by using a slight pressure with your
thumbs. DO NOT STRIKE THE SEAL HALVES
AT ANY TIME, OTHERWISE SEAL FAILURE
WILL OCCUR.
4. A shim is used to set the clearance between
the impeller and wear plate. Any shim with a
thickness of .030/.040 can be used. An ideal
shim is ½" wide piece of No. 21 gauge sheet
metal.
3
shim is
½
" wide piece of No. 21 gauge sheet
shim is
½
" wide piece of No. 21 gauge sheet
metal.
shim is
½
" wide piece of No. 21 gauge sheet
metal.
metal.
shim is
metal.
shim is
½
metal.
" wide piece of No. 21 gauge sheet
Tel: 866-777-6060
Fax: 866-777-6383
Springer Pumps, LLC
Website: www.springerpumps.com
Int'l: +001 267 404 2910

Assembly Instructions:
5. Install gaskets to front and back of cover plate
and install cover plate on the pump housing.
6. Install seal spring assembly on the impeller
shaft. Lubricate the shaft and viton portion of
the seal with petroleum jelly. Slide onto shaft
using your thumbs.
7. Mate the reservoir adapter with the cover plate.
This is done by sliding the reservoir over the
shaft and onto the cover plate. Align the bolt
patterns of the two parts, also align the
components such that the ll plug hole of the
reservoir is facing up.
8. Install six 3/8 lock washers and 3/8" nuts onto
the six wet seal housing studs and tighten.
4
Tel: 866-777-6060
Fax: 866-777-6383
Springer Pumps, LLC
Website: www.springerpumps.com
Int'l: +001 267 404 2910

5
Assembly Instructions:
9. Mate the wet seal and pump assembly to the
drive unit. Insert the shaft of the drive unit into
the wet seal shaft. Install four 3/8" bolts with lock
washers through the wet seal adapter and into
the drive unit.
10. Install the impeller shaft clamp over the
serrated tines of the wet seal shaft. Lubricate
the clamp bolts with anti-seize thread lubricant
and tighten to 40 ft.lb. minimum. It may be
necessary to further tighten the clamp
depending upon drive unit size and pump load
during operation.
11. Fill the reservoir ¾ full with a 50% water &
50% ethylene glycol (anti-freeze) mix. The uid
level should cover the top of the seal assembly.
Install the ¾" ll plug using a thread sealant.
12. Remove the shim from the pump.
Tel: 866-777-6060
Fax: 866-777-6383
Springer Pumps, LLC
Website: www.springerpumps.com
Int'l: +001 267 404 2910

4
13
1
89
67
5
4
11
13
20 10
2
15 30
23
15
25 31
24
21
13 14 18
32
26
29
22
12
3
28 27 16
19
ITEM PART NO DESCRIPTION QTY
⁄ 6
⁄
⁄
⁄
⁄
⁄
6
9
8
18
89
12
3
4
56
14
15
16
17
7
10 11 12 13 26
18 28 19 24 25 29 27 21 22 20
23
8
ITEM PART NO DESCRIPTION QTY
⁄
⁄
⁄
ITEM PART NO DESCRIPTION QTY
1
ITEM PART NO DESCRIPTION QTY
Tel: 866-777-6060
Fax: 866-777-6383
Springer Pumps, LLC
Website: www.springerpumps.com
Int'l: +001 267 404 2910

150 Banjo Drive ℡ 765-362-7367 ℻ 765-362-0744
Crawfordsville, IN 47933 ℻ 800-458-0232 [email protected] www.banjocorp.com
Tel: 866-777-6060
Fax: 866-777-6383
Springer Pumps, LLC
Website: www.springerpumps.com
Int'l: +001 267 404 2910
This manual suits for next models
4
Table of contents
Other Banjo Water Pump manuals
Popular Water Pump manuals by other brands

Armstrong
Armstrong Design Envelope 4380 Installation and operating instructions

Lincoln industrial
Lincoln industrial 94822 manual

Jojo
Jojo YBP750 Instructions for use

Grundfos
Grundfos BM Series Installation and operating instructions

NexPump
NexPump Ai Single instruction manual

Wilo
Wilo HC 20.1 E3 Series Installation and operating instructions