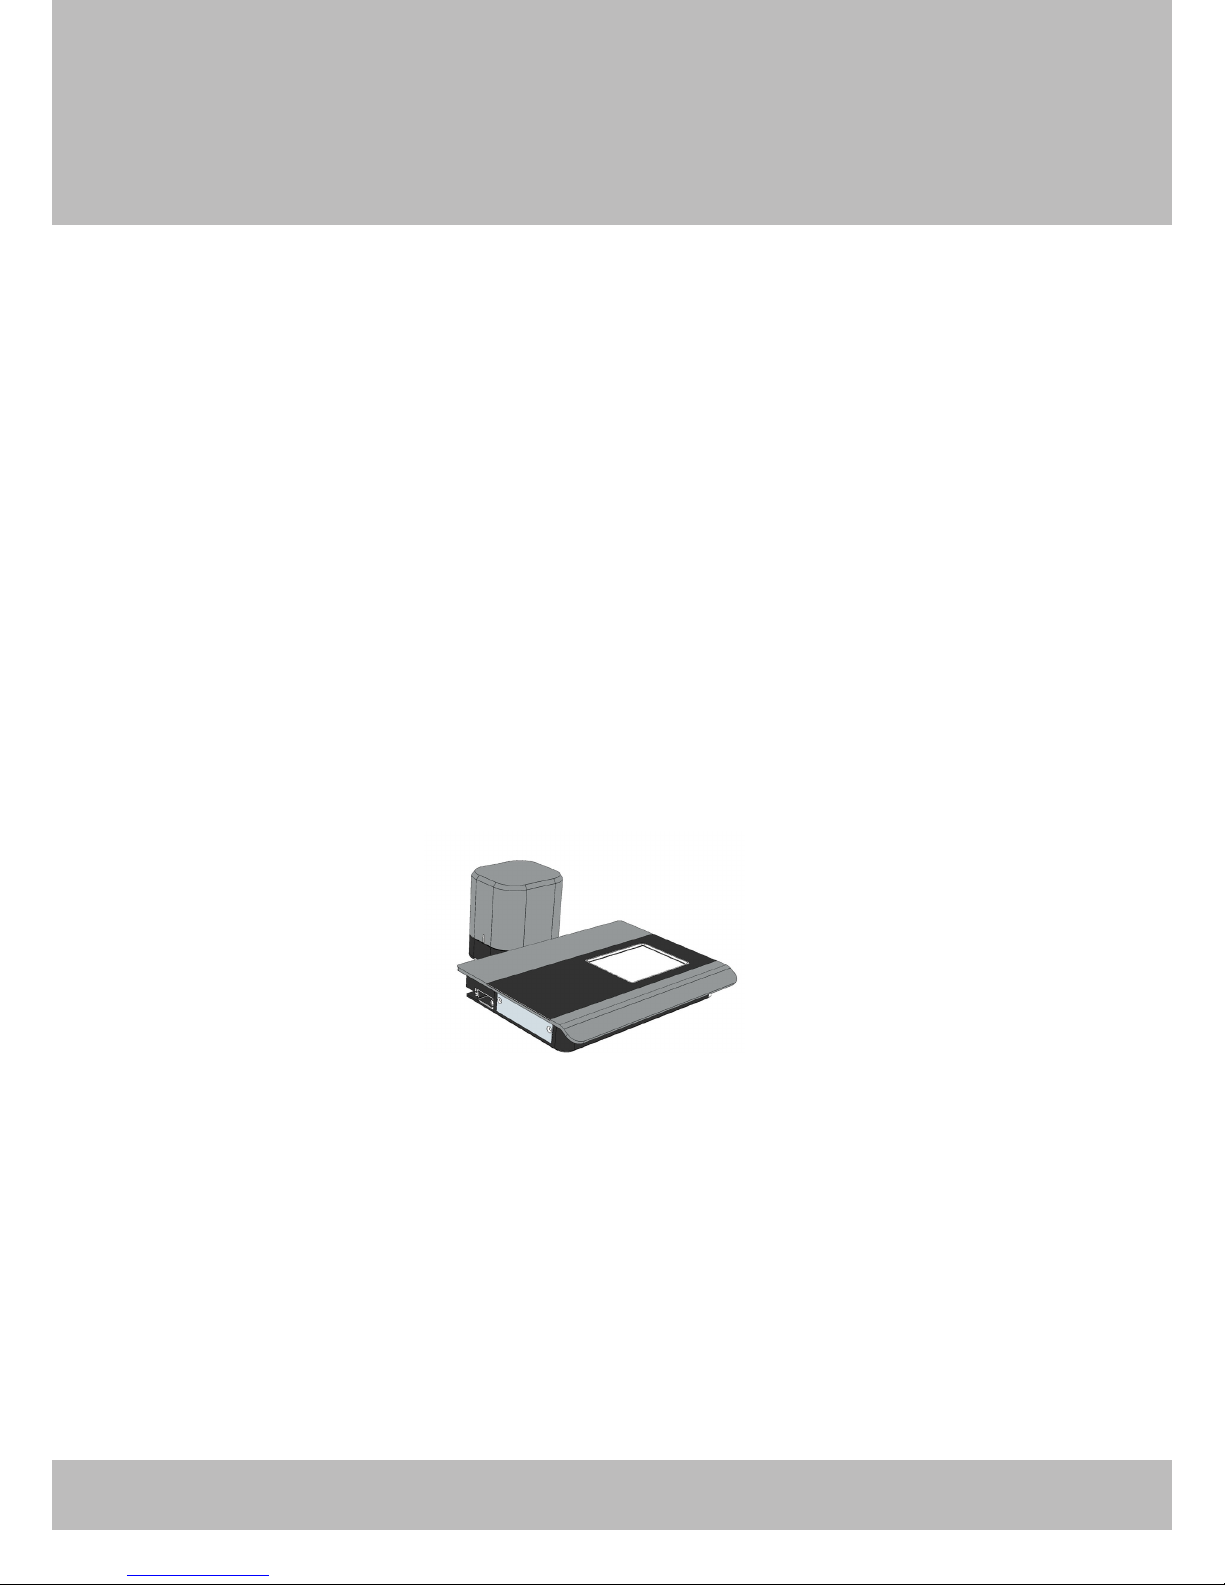
Barbieri Spectropad Series 2 User manual

Operating Manual
edition 08/14 for Firmware version 6.00 or newer
Reflection spectrophotometer
for digital imaging market
Series 2


Barbieri Spectropad
Operating Manual Spectropad Series 2 - Page 3
1.
Contents
1. IntroductIon
..................................................................................... 4
1.1 What you can do WIth thIs Instrument
.................................... 5
1.2 unpackIng the Instrument
..................................................... 6
1.3 components
......................................................................... 7
2. puttIng Into operatIon
....................................................................... 8
2.1 Battery chargIng
.................................................................. 8
2.2 usB connectIon
................................................................... 9
2.1 product regIstratIon
.......................................................... 12
3. usIng the Instrument
...................................................................... 13
3.1 statusBar
.......................................................................... 13
3.2 BegInner-mode
.................................................................. 13
3.3 touch panel
....................................................................... 14
3.4 shoWIng Instrument InformatIon
.......................................... 14
3.5 calIBratIon
........................................................................ 15
3.6 measurIng reflectIve samples
.............................................. 16
3.7 measure thIn reflectIve samples
.......................................... 18
4. chart measurIng mode
..................................................................... 19
5. doc measurIng mode
....................................................................... 22
measurIng areference strIp
............................................... 23
measurIng acontrol strIp
.................................................. 24
6. spot measurIng mode
....................................................................... 26
6.1 Image QualIty mode
............................................................ 29
6.2 lIne measurIng mode
........................................................... 30
7. settIngs
......................................................................................... 31
7.1 WIfI Interface confIguratIon
................................................ 31
7.2 BegInner mode confIguratIon
.............................................. 33
8. Instrument maIntenance
.................................................................. 34
8.1 changIng the reference WhIte
.............................................. 34
8.2 packIng the Instrument for transport
.................................. 34
9. specIfIcatIons
................................................................................. 35

Barbieri Spectropad
Page 4 - Operating Manual Spectropad Series 2
1.
IntroduCtIon
We congratulate you on your choice!
We from BARBIERI electronic are proud of presenting to you the spec-
trophotometer Spectropad. This instrument features the latest tech-
nology in precise optics, state-of-the-art electronics and software
functionality. It is especially created for use in digital imaging market
and in particular for industrial printing applications.
May we suggest you read the operating manual first for fully enjoying
the capabilities of this instrument; thus you will be able to get familiar
with its functions step by step. As always, Barbieri electronic supports
you with a one year warranty through its service organizations. Please
get in touch with us in case of need.
May we also thank you for the confidence you have put in us by pur-
chasing this instrument.
Stefan Barbieri
Managing Director

Barbieri Spectropad
Operating Manual Spectropad Series 2 - Page 5
1.1
What you Can do WIth thIs Instrument
The Spectropad introduces a new way of accurate color control in in-
dustrial printing.
Based on the high precision Barbieri qb-technology, a technology spe-
cifically designed for industrial printing applications, this instrument
features highest measuring accuracy which forms the basis to highest
color quality on your printed results.
The instrument has been designed according to ISO 13655-2009.
Quality control
With its DOC option (digital output control) you can check print quality
directly on the printer with immediate feedback if printing conditions
are within tolerances.
Printer calibration and profiling
The chart measurement ability allows you to quickly measure calibra-
tion and profiling charts.
Spot color measurement
The instrument allows measurement of single colors and indication of
the respective L*a*b* values and Delta E deviations against reference
colors.

Barbieri Spectropad
Page 6 - Operating Manual Spectropad Series 2
1.2
unpaCkIng the Instrument
The instrument is delivered with the following components:
1. Barbieri Spectropad
2. Rechargeable battery module
3. Power adapter/ charger
4. USB cable
5. USB stick or CD with software/ drivers
6. Quick Guide in printed format
7. Microfiber cleaning cloth
For security reasons, the rechargeable battery is separately packed
with the instrument. This assures transport security by guaranteed
switch-off of WiFi signals.
Before putting into operation the instrument, please insert the re-
chargeable battery module into its slot.
Charge the battery for 2 hourse before use.

Barbieri Spectropad
Operating Manual Spectropad Series 2 - Page 7
1.3
Components
1: Measuring head
2: Touch display
3: Calibration switch
4: On/Off switch
5: USB connector
6: Power connector
7: Reference white
8: Position wheel
9: Battery holder
1
2
3
4
5
6
7
8
9

Barbieri Spectropad
Page 8 - Operating Manual Spectropad Series 2
2.
puttIng Into operatIon
The instrument is switched on, by shortly pressing the On/Off button.
The main screen appears:
To switch off the device, select the “Switch off” button on the screen or
alternatively press the On/Off switch on the instrument.
Pressing the On/Off switch for more than 5 seconds will force the in-
strument to switch off in case it is in a blocked condition.
2.1
Battery ChargIng
The instrument is equipped with a rechargeable battery. The battery
can be charged by connecting the power adapter to the instrument.
A LED near the power connector indicates the correct charging. When
instrument is switched on, the battery indicator in the status line indi-
cates additionally if battery is charging.
Charging is finished after approx. 4 hours charge time with power
adapter.
Note: The battery is charged also over the USB cable when connected,
but only when instrument is switched off. Charging time is approx. 20
hours over USB cable.

Barbieri Spectropad
Operating Manual Spectropad Series 2 - Page 9
2.2
usB ConneCtIon
Before connecting the instrument to the computer, please install the
Barbieri Gateway measuring software supplied on the USB stick/CD
accompanying your instrument.
This will also install the required USB driver.
Then connect the instrument with your computer and launch the Bar-
bieri Gateway software.
Installing on a Mac computer under OS X
Switch off the Spectropad. Insert the supplied USB stick/CD-Rom into
your computer, run the Gateway Installer program and follow the in-
structions.
Check if driver is correctly installed:
• Switch on instrument
• Open “System Information” (About this Mac/ More info...)
• Show the “System Report” and check “Hardware/ USB”. The in-
strument “Spectropad” must be listed

Barbieri Spectropad
Page 10 - Operating Manual Spectropad Series 2
Installing on a PC with Microsoft Windows XP or later
Switch off the Spectropad. Insert the supplied USB stick/CD-Rom into
your computer, run the Gateway Installer program and follow the in-
structions.
The USB driver is now on your computer.
• Connect the Spectropad to the computer using the supplied USB
cable.
• Switch the Spectropad on.
There are two drivers to be installed for the connection between your
computer and Spectropad:
1. High speed USB to serial converter
2. USB virtual serial port driver
The installation procedures are guided automatically by an installation
wizard.
Note: The two installations follow automatically each other!
Your new Hardware is now installed and ready for use!

Barbieri Spectropad
Operating Manual Spectropad Series 2 - Page 11
To check if the installed hardware is listed on your computer:
• Open “Control Panel”, “System”
• Select “Hardware” and click “Device Manager”.
• You will find the just installed hardware in the appearing list under
“Ports” and “Universal Serial Bus controllers”.

Barbieri Spectropad
Page 12 - Operating Manual Spectropad Series 2
2.1
produCt regIstratIon
It is recommended to register your instrument with Barbieri electronic
in order to get access to privileged information like access to download
area, product information/ firmware updates etc.
Registration can be done through the Barbieri Gateway measuring
software or manually by registering on the Barbieri web site: www.
barbierielectronic.com

Barbieri Spectropad
Operating Manual Spectropad Series 2 - Page 13
3.
usIng the Instrument
3.1
statusBar
The upper status bar in the display indicates the following information:
WiFi connection and signal strength
Sound on
Sound off
Battery status
Information button
Exit window (go back)
Some additional information on the current job is also indicated in this
Statusbar:
M0, M1, M2 Measuring condition (Light condition)
Measuring direction unidirectional from right to left
Measuring direction unidirectional from left to right
Measuring direction bi-directional
Spot measurement under optical aperture
3.2
BegInner-mode
The instrument will show additional step-by-step instructions
when the “beginner-mode” is enabled.
When disabled, these instructions do disappear.
It can be switched on- and off by blicking on this icon.

Barbieri Spectropad
Page 14 - Operating Manual Spectropad Series 2
3.3
touCh panel
The instrument is equipped with a touch panel which can be operated
by your fingers, or by a pointer.
Please make sure to not scratch the panel by avoiding using hard items.
The panel can be cleaned with the soft cloth included with the instru-
ment.
Note: the color indicated on the screen are only approximate colors and
no color management is applied for this screen!
3.4
shoWIng Instrument InformatIon
On the main screen, click on in the upper right of the statusbar to
show the instrument information:
The following information is displayed:
- Firmware version
- Serial number (Instrument/ Modul)
- MAC address (WiFi)
- Clock
- Temperature
- relative Humidity
Note: the clock is set automatically to the computer time and date
when connecting the instrument to a computer and launching a meas-
uring software.

Barbieri Spectropad
Operating Manual Spectropad Series 2 - Page 15
3.5
CalIBratIon
For accurate measurements, the device must be calibrated before the
use.
The measuring head is equipped with a switch which allows manual
insertion of the white reference.
When this switch is operated, the instrument will automatically detect
this and inform you that it is being calibrated.
Release the switch when calibration is terminated.

Barbieri Spectropad
Page 16 - Operating Manual Spectropad Series 2
3.6
measurIng refleCtIve samples
The instrument can measure most reflective materials used in large
format printing. The samples are placed on an even surface.
For thin materials (paper, textiles) please see next chapter.
First, get familiar with the movement of the Spectropad. The instru-
ment is equipped with two rollers and two rubbers on its lower side:
Place the instrument on a table, and put your hand on the instrument
as indicated in the picture below. When pushing down your heel of the
hand, the instrument is lifted up slightly and movement of the instru-
ment in Y-direction can be done by pushing it.
rubbers
rollers

Barbieri Spectropad
Operating Manual Spectropad Series 2 - Page 17
Put the instrument centered on a printed chart.
Position the instrument on the center of the bottom chart line by
centering the two laser beams:
When this is done, keep the instrument panel fixed, and move the
measuring head to the beginning of the chart row
Now the instrument is ready to start the measurement. See chapter
“Chart measuring mode” to learn how to start measurements.
Measuring speed:
A position wheel under the measuring head will recognize the current
position and recognize when the end of the line has reached.
It also recognizes the speed of movement:
Make sure the speed indicator is in green range during measurement,
as this will allow most exact measurements.
Note: The instrument supports Bi-directional measurements. This
means, lines can be measured in direction from left to right and from
right to left. For beginners it is recommended to start with uni-direc-
tional measurement.

Barbieri Spectropad
Page 18 - Operating Manual Spectropad Series 2
3.7
measure thIn refleCtIve samples
When measuring thin materials (e.g. paper), the measurement must
be effected on a staple of same material. This will assure accurate and
repeatable measurements independent on the surface the material is
placed.
Alternatively, you may place the sample to be measured on a white
surface corresponding to ISO 13655-2009 white backing specifications.

Barbieri Spectropad
Operating Manual Spectropad Series 2 - Page 19
4.
Chart measurIng mode
The chart measuring mode is used to measure complete color charts.
Predefined job definition files which have been created with the Bar-
bieri Gateway software or 3rd party software are offered for selection
and can be measured:
Select the desired job and confirm with “Select”.
Select the measuring direction to be used.
Note: the selected direction is always indicated in the Statusbar. It can be modified by clicking on the
arrow icon in the Statusbar.
Note: to disable display of this message (disable Beginners-mode), click on the icon in the right
lower corner.

Barbieri Spectropad
Page 20 - Operating Manual Spectropad Series 2
A window will appear which shows you where to position the marker
before starting measurement.
The chart measuring window will appear:
Measure the complete chart line by line as requested.
The measuring head needs to be positioned at the beginning of the line
to be measured.
Stop shortly to make the instrument recognize that the start position
has been found and then start moving the head over the full length of
the line until the instrument tells you by a beep and by a message that
measurement is terminated.
Note: Charts are measured from bottom up!
Table of contents
Other Barbieri Measuring Instrument manuals