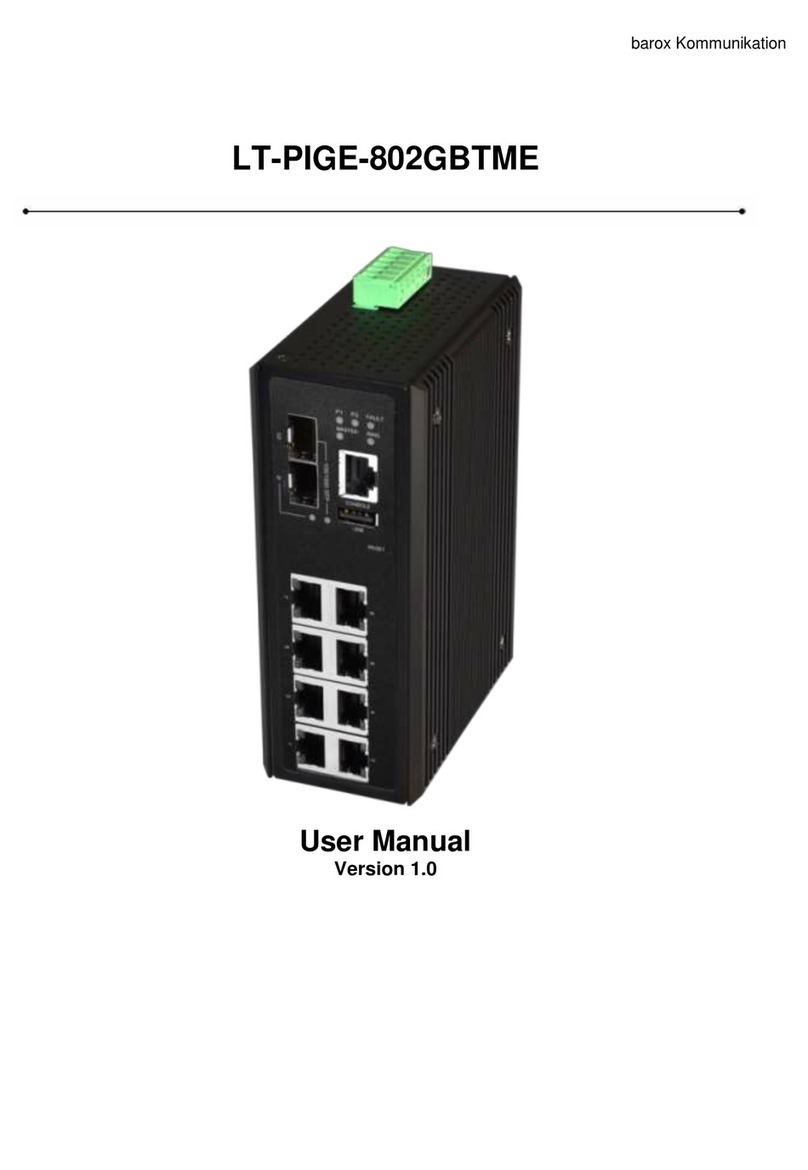
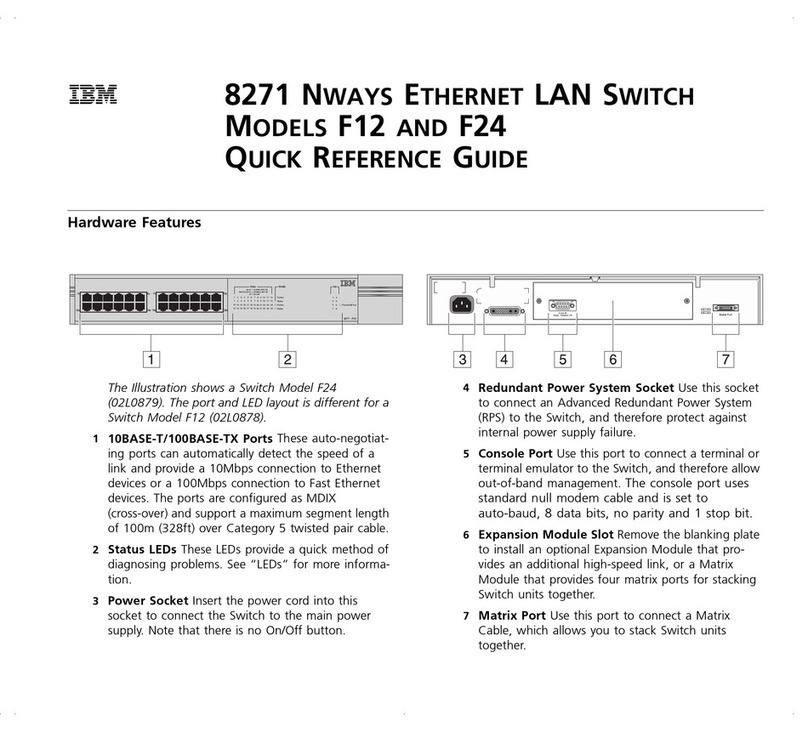
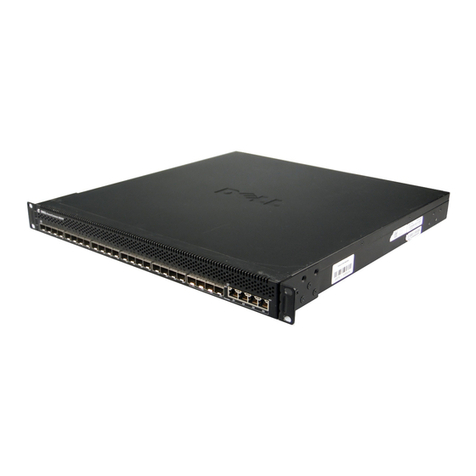
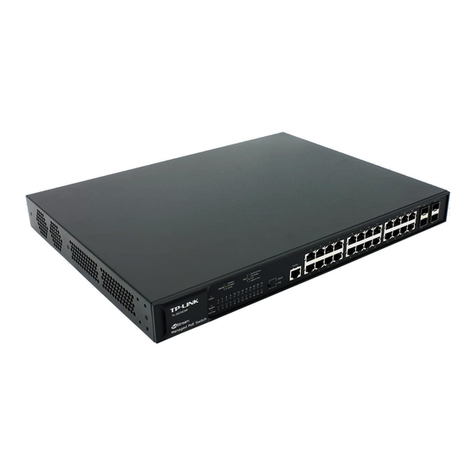
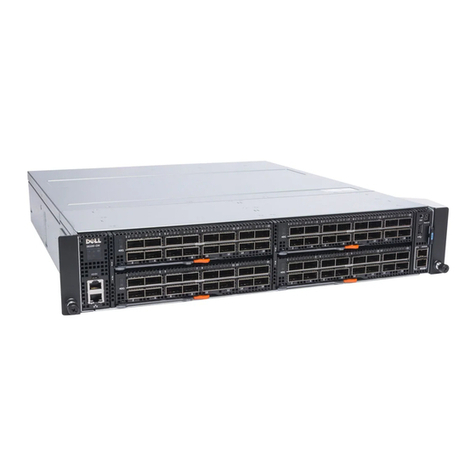
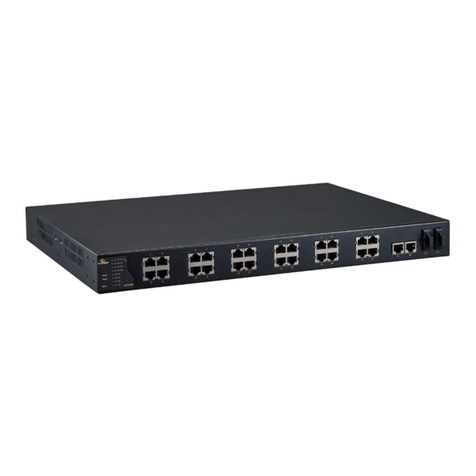
Barox RY-LGSP28-52 Series User manual

Operating Instructions
RY-LGSP28-10
RY-LGSP28-28
RY-LGSP28-52/xxx

barox Kommunikation 2
19” Switches:
RY-Switches of the 28-Series
Firmware Release v8.40.1589
Hardware Version v1.02
Mechanical Version v1.01
PoE Firmware Version 208-211
Copyright © barox Kommunikation
All rights reserved. The contents of this document may not be reproduced in any form
or by any means without the express authorisation of barox Kommunikation.
Registered trademark
barox® is a registered and protected trademark of the barox Kommunikation company.
All other registered trademarks or registered brands mentioned in this manual
are the property of the respective manufacturers.
Liability
Information contained in this document may be changed without prior notice.
barox Kommunikation reserves the right to modify the respective devices and/or
this manual without prior notification.
Our products may contain unintentional technical and/or typographical errors.
Modifications are regularly carried out to improve our products.
The latest operating instructions are available on our website.
www.barox.ch
www.barox.de/en/
Published by:
barox Kommunikation AG
Im Grund 15
CH-5405 Baden-Daettwil
Switzerland
www.barox.ch
Publication Date: August 2020
Version: 1.1

barox Kommunikation 3
T A B L E O F C O N T E N T S
1INTRODUCTION 5
1.1 Contents 5
1.2 About Us 5
1.3 Website 5
1.4 Support 5
2Short Description 5
2.1 Special Features for Video Networks 5
2.2 DMS (Device Management System) 6
3Commissioning 6
3.1 Factory Default and Login 6
3.2 System Information 7
3.3 Set a Static IP Address or use DHCP 8
3.4 Time Configuration 9
3.4.1. Local Settings 9
3.4.2. NTP (Network Time Protocol) 10
3.5 Port Configuration 11
3.5.1. SFP Port 11
3.6 Change of User Name and Password 12
3.7 Loop Protection 13
3.8 Ring Configuration 14
3.8.1. Ring Master 14
3.8.2. Port Configuration 15
3.9 VLAN Configuration 17
3.10 Power over Ethernet (PoE) 18
3.10.1.PoE Configuration 18
3.10.2.PoE Power Delay 19
3.10.3.PoE Schedule 20
3.10.4.PoE Auto Checking 20
3.11 Saving and Retrieving the Configuration 21
3.11.1.Download Configuration 21
3.11.2.Upload Configuration 22
4DMS Device Management System 23
4.1 Management 23
4.2 Graphical Monitoring 25
4.3 Maintenance 29
5Switch Management in the Security Focus 30
5.1 Management and Security on Switch Level (Layer 1 and 2) 30
5.1.1. Bandwidth Settings and Restrictions 30
5.1.2. Information Regarding the General Consideration of the Bandwidth Demand 31
5.1.3. Securing the Ports using MAC Configuration Settings 31
5.1.4. Port Security with Limit Control Settings 37
5.1.5. Private VLAN with Port Isolation 38
5.2 Use and Protection of IP Functions (Layer 3) 40
5.2.1. DHCP Server 40
5.2.2. Protection of DHCP by ARP Inspection 41
5.2.3. IP Source Guard 44
5.3 Protection of the Switch Management and Network Administration (Layer 3–7) 46
5.3.1. User Management and Configuration 46
5.3.2. Deployment and Authentication Settings using the Switch Management 48
5.3.3. Access Management and Use of HTTPS 50
5.3.4. Configuration and Use of Certificate-based Access to the Management 51
5.4 SNMP –Monitoring- and Administration Function 52
5.4.1. Configuration of SNMP v2c 52
5.4.2. SNMP Trap Configuration 53

barox Kommunikation 4
5.4.3. Supplementary Information regarding the Sending of SNMP Traps 57
5.5 SNMP v3 Configuration 58
5.5.1. Activation of the SNMP v3 Function 58
5.5.2. SNMP Trap Configuration 62
5.5.3. Supplementary Information regarding the Sending of SNMP Traps 64
5.6 Reading SNMP Traps 65
5.7 Use of MIB Files for Reading-out and Control of the Switches 68
5.8 Control of Switch Functions via SNMP and MIB using the “SET” Operation 70
6Firmware Upgrade 72
7Factory Defaults 72
8WARRANTY 73

barox Kommunikation 5
1I N T R O D U C T I O N
These operating instructions describe the commissioning of the switches and the configuration of
the most important basic functions.
All persons using this manual should have the following skills:
•Knowledge of how to install and operate electronic devices
•Experience with using computer systems
•Knowledge of Local Area Networks (LANs) and a general knowledge of IP communications
•Knowledge on working with web browsers
1.1 Contents
This operating manual is divided into the following chapters:
1. Introduction
2. Commissioning of the switches
3. Diagnostic tools and firmware upgrades
1.2 About Us
In all situations where a network is required to transmit high-quality video content fast and
securely, barox Kommunikation’s range of POWERHAUS switches guarantee pioneering
connections.
barox Kommunikation designs, coordinates and supplies everything from a simple, point-to-point
connection to a large area network running multicast applications.
1.3 Website
Information on our full range of switches as well as download links to our data sheets,
documentation and the latest firmware are available on our website: www.barox.ch.
1.4 Support
Our POWERHAUS Partners are available to help you should you have any problems or
questions regarding the configuration of your switches.
2S h o r t D e s c r i p t i o n
All our RY switches are manageable, full Gigabit IP switches with layer 2/2+ functionality. We
offer a range of different models with a varying number of optical and electrical ports which −
depending on the model −can support anything up to PoE++.
2.1 Special Features for Video Networks
•Active Camera Monitoring
Cameras powered via a PoE connection from the switch are continually monitored. In the case of
a camera failure, the switch automatically restarts the camera all by itself. Should this operation
fail, the switch automatically sends out an alarm via SNMP.
•Active Monitoring of the PoE Power Supply
Should the amount of power requested from the switch be too high, e.g. through a defective
camera, the switch will automatically send out an alarm via SNMP.
•Active Management of the Level of PoE Power Supplied
When the switch is started up, the individual PoE ports can be started up one after another
to avoid overloading the PoE power supply.

barox Kommunikation 6
•Other Useful Features
Jumbo Frames up to 9,600 Bytes are supported at 1 Gbit/s and also 100 Mbit/s.
Port security by means of MAC address restriction and IP identification.
Readability and provision of certificates, resp.
Extra high backplane performance for smooth video transmission at full port utilisation
Ports using PoE can be detected at the push of a button (front panel).
2.2 DMS (Device Management System)
The switch is equipped with an integrated network monitoring and control system that uses
a very simple method to provide the user with an excellent overview of the whole network.
The network Topology View provides a quick overview of all the switches and terminal equipment
in the network, e.g. IP cameras and servers, together with information on their respective IP
addresses, device types and device descriptions. Plans showing the floor layout and the local
environment can be stored as background images. These allow the user to quickly access
specific network equipment −even without special knowledge of the IP structure.
Finalised plans can then be exported again and included in the documentation.
3C o m m i s s i o n i n g
The switches can be configured using a web browser. To do this, a PC/laptop can be connected
to any desired RJ45 port. Care should be taken to ensure that the IP address of the PC/laptop
belongs to the same network segment as the switch. For example: 192.168.1.111.
Alternatively, the switches can also be configured via a CLI (console port). In this document, the
switch configuration is explained using a web browser.
3.1 Factory Default and Login
The switches are supplied with the following factory default settings:
IP address: 192.168.1.1
Subnet mask: 255.255.255.0
User: admin
Password: admin
A connection can be made to the switch by entering the IP address of the switch (192.168.1.1)
straight into a web browser. To log in, the user simply enters the user name and password listed
above.
Once the login process has been successfully completed, the “System Information” page is
automatically displayed showing the most important information on the switch.

barox Kommunikation 7
3.2 System Information
This page displays the most important information on the switch.
Key:
1. Name of the switch model
2. Firmware version
3. Hardware version
4. MAC address
1
3
2
4

barox Kommunikation 8
3.3 Set a Static IP Address or use DHCP
The first step is to allocate an IP address to the switch. To do this, go to the “ Switch/System/IP
Address/Settings”menu in the navigation tree.
Static IP Address
In the above image, one can see that the IP address of the switch is 192.168.1.1 and that the
subnet mask is 24 (255.255.255.0). The gateway has the IP address 192.168.1.254.
If the switch is to be allocated a new IP address, the existing IP address is simply overwritten
and then confirmed by clicking on the “Apply” icon. The same applies, if the subnet mask or
gateway address needs to be changed.
DHCP
If the switch is to be integrated into a network where a DHCP server allocates the IP addresses,
the sliding switch “IPv4 DHCP Client Enable” needs to be set to “on”.
The DHCP server will then allocate an IP address to the switch within the pre-defined range.
There are now two ways of finding out which IP address has been allocated.
a) Software tool, e.g.: SoftPerfect Network Scanner
https://www.heise.de/download/product/network-scanner-13270
b) Console port
This method requires using the console cable supplied with the switch. The console port of the
switch is an RS232 interface, i.e. a PC/laptop with a serial interface or a USB-RS232 adapter is
required.
To configure the switch via the CLI port, we recommend using the “PuTTY” software.
http://www.chip.de/downloads/PuTTY_12997392.html
The factory default settings of the CLI interface are as follows:
Bit rate: 115,200
Data bits 8
Parity: None
Stop bits: 1
Flow control: None
Once the connection is established using the serial interface, the user needs to log on using the
user name and password.

barox Kommunikation 9
The following command can be used to show the IP address:
RY-LGSP28-52/740# show ip interface brief
➔Important: This change now needs to be permanently saved.
To do this, access the switch by entering the new IP address in the web browser and then click
on the diskette symbol at the top right-hand corner.
3.4 Time Configuration
The system time used by barox Kommunikation switches can either be configured manually or
via an NTP server. The whole purpose of defining the time is to use it in the log file. If an error
message is generated, a date stamp is added to the respective entry in the log file so that the
downtime and/or the time when the error occurred is accurately recorded which helps to localise
the possible causes.
3.4.1. Local Settings
In the “System/System Time” menu, select “Use Local Settings” as “Clock Source”. The date and
time are then manually entered in the specified format in the field next to “System Date” and then
confirmed using the “Apply” button.
➔If the switch is restarted, the time is deleted and needs to be re-configured as the switch
does not have its own backup battery.

barox Kommunikation 10
3.4.2. NTP (Network Time Protocol)
The Network Time Protocol is a standard for synchronising clocks in computer systems using
packet-based communication networks.
As time servers generally broadcast Greenwich Mean Time, the “Time Zone” must be selected
accordingly to ensure that a) the time is correct and b) the system switches correctly between
summer and winter time.
Configuration is done in two steps.
The first step is to select “Use NTP Server” as a clock source. This activates the icon in the top
right-hand corner of the mask “Configure NTP Server”.
Clicking the icon leads to the entry mask, which is the second step.
However, if the time is to be retrieved from specific source, for example from a time server, NTP
server, firewall etc., the respective IP address must be entered in the “Server 1” field. This is the
only way of ensuring that the switch can actually contact the respective IP address. Up to
5 sources can be defined.
The NTP Time-Sync Interval defines the time interval used for synchronising the time. 5, 10, 15,
30, 60 and 120 minutes are possible.
If there is no time source available in one’s own network and the time is to be retrieved from an
external source via the Internet, it is possible to enter the external NTP server details directly, e.g.
213.209.109.45 at http://www.pool.ntp.org/de/
As soon as the switch can access the time and date, the correct date is shown in the “System
Date” field.

barox Kommunikation 11
3.5 Port Configuration
The ports are set to “Auto”mode when they leave the factory. Auto-negotiation is the procedure
which allows two connected Ethernet network ports to independently negotiate and configure
the highest-possible transmission speed as well as the duplex mode. This procedure only
applies to twisted pair cables −not to fibre optic connections.
Nevertheless, in some cases the terminal device may not be correctly recognised. This
sometimes occurs when using a camera with a 100 Mbit/s interface. In this case, the port
must be manually set to 100 Mbit/s.
If a port is not to be used for security reasons, this can be disabled completely. In this case,
the configuration mode should be set to “Disabled”.
3.5.1. SFP Port
The SFP ports are also equipped with an Auto mode. This is different to the auto-negotiation
procedure used by copper ports. SFP ports are only capable of recognising the transmission
speed through auto-negotiation and only support full duplex mode.
In some cases, a switch may not correctly detect whether an SFP is a 100 Mb or 1000 Mb model
which will prevent the latter from functioning. In such cases, the port data rate needs to be set
manually.
The SFP ports of the switches are not coded. This means that SFPs supplied by other
manufacturers can be used −whereby no guarantee is supplied that these will function properly.
The barox Kommunikation product range includes SFPs for multi and single mode fibres with
transmission speeds of 100 Mbit/s, 1 Gbit/s and 10 Gbit/s. Distances of between 550 m and
120 km can be achieved depending on the type of fibre and transmission speed.
➔Please also refer to http://www.barox.ch/cm/produkte/product/ip-produkte/zubehoer/ac-sfp

barox Kommunikation 12
3.6 Change of User Name and Password
barox Kommunikation switches offer the option of generating a number of users with different
rights. Up to 15 different levels can be defined.
Level 15 is the highest level and is intended to be used by the administrators.
Another r user can be generated by clicking on “Add New User”. Then the “User Name”,
“Password” and “Privilege Level” need to be defined.
The exact range of rights applying to the new user can now be defined in the “Privilege Level”
menu.
In the following example, the technician concerned has a privilege level of 10, i.e. he/she is
allowed to configure everything based on his/her Read/Write rights. However, this technician’s
“Debug” rights are so limited that he/she cannot even read “Debug” data.

barox Kommunikation 13
This table is highly complex which allows extremely precise rights to be granted. For example,
it is possible to define a user who can only read the MAC table.
3.7 Loop Protection
In larger networks, it is very easy to accidentally, resp. unintentionally, make physical
connections that result in a loop. If no loop protocol (e.g. RSTP) has been activated,
the whole network hangs and becomes inoperative.
The “Loop Protection” feature was specially designed to handle such situations. Once this
feature has been activated, it is possible to define whether the respective port should be
shut down, merely an entry made in the log file or both (“Shutdown Port and Log”), if a loop
is accidentally created.
➔Ports already actively running RSTP must not additionally be monitored using the
Loop Protection feature. This would lead to massive malfunctions within the network.
“Shutdown Time” shows how long a port is to remain disabled, should a loop be detected.
Possible time entries: 0 –604,800 s (7 days). If “0” is entered here, the port will remain
deactivated until the switch is rebooted.

barox Kommunikation 14
3.8 Ring Configuration
To guarantee redundancy within the network, it is crucial to set up a ring topology. To ensure
that the network is not overloaded by a broadcast storm, a protection mechanism is required.
RSTP (Rapid Spanning Tree Protocol) is one of the fundamental protocols used in an Ethernet
network. It ensures that no network loops are created within individual network segments. Unlike
an IP packet, an Ethernet frame does not have a maximum Time to Live (TTL) and, therefore,
may potentially go around in circles for an indefinite period of time. This, in turn, could overload
the network and, in the worst case, bring the network to a standstill.
How the Rapid Spanning Tree Protocol works is explained in detail in Wikipedia.
https://de.wikipedia.org/wiki/Spanning_Tree_Protocol
3.8.1. Ring Master
In a ring topology, one switch must be defined as the master which then assumes the task of
monitoring the ring. In the event that a connection is interrupted, this master then notifies all
the other switches in the ring so that the alternative connection can be activated. The switch
with Priority 0 is the ring master.
The RSTP protocol is designed to automatically make the switch with the lowest MAC address
the ring master, if no ring master has been defined.
The desired protocol version must be selected in the “Spanning Tree/ STP Configuration” menu.
RSTP is supported by all switch manufacturers –making it compatible with third-party
manufacturers.
The switch factory default is set to “Bridge Priority” 32768. If the switch is to act as master,
the Bridge Priority must be set to “0”. All the other values can be left as they are.
Priority 0 = Ring Master

barox Kommunikation 15
3.8.2. Port Configuration
The menu item “CIST” in the menu “MSTI Configuration” must be edited for defining the ports,
which are integrated into the ring.
The factory default for all ports is “STP Enabled”. This means that, in theory, the ring can be
created using any desired port. To optimally distribute the load across the network, it is possible
to define that the data packet flow be channelled using Path Cost. The term “Path Cost”
originates from the time when lines were leased for A to B connections which meant that they
were expensive.
Example:
In a larger ring with numerous terminal devices and larger data volumes it makes sense to
channel the data flow within the ring to distribute the load evenly across the switches (load-
sharing). To achieve this, the path cost needs to be defined.

barox Kommunikation 16
In the above example, the network consists of two central switches (A+B) and 5 other switches
that form the ring. All in all, 21 cameras have been installed −each supplying 5 Mbit/s of video
data, i.e. a total of over 100 Mbit/s of data.
Scenario 1: Only RSTP is active on all the switches
The switch with the lowest MAC address functions as the master. This may be the smallest
switch in the ring with the lowest CPU performance. The direction of data flow is not known.
In the case of an interruption, the switch-over may take a little longer as this small switch
cannot process the data so quickly.
Scenario 2: RSTP is active on all the switches, switch A has Prio 0 and switch B Prio 4096
In this case, switch A has been defined to assume the role of master. If this switch fails,
switch B will take over the role of master. Switch A monitors the ring. Should network traffic
be interrupted, switch A’s CPU has enough power to be able to react quickly. Port 21 of
switch A may be marked as being “Blocked”. The data from all the video cameras will then
be provided via port 22. Small switch C then has to process the data from all the video cameras,
causing a bottleneck.
Scenario 3: RTSP active, the master and Path Cost have been defined
This configuration precisely defines how the data should flow. The load is distributed on two
sides. None of the switches is pushed to the limit. As the path cost of switch D, port 10 and
switch E, port 9, is higher than that of all the other ports in the ring, this route will only be
activated, if network traffic is interrupted.
Path Cost −default setting:
The cost depends on the distance from the root bridge (master) and the available uplink to the
target. Normally, the path cost of reaching the target via a 100 Mbit/s uplink is higher than that
of a 1 Gbit/s uplink. In this case, the 100 Mbit/s link would be blocked from being used as a
redundant path. Although path costs have been standardised according to the IEEE provisions,
different values can be manually specified, for example, to select a preferred uplink where the
speeds are identical so as to reflect the real cost of a leased line.
➔Wherever possible, one should aim to realise a configuration that corresponds to
the one illustrated in the above image.
Data flow
Data flow
Path Cost
20,000

barox Kommunikation 17
3.9 VLAN Configuration
VLAN configuration is effected on one single page.
All the VLAN numbers requiring configuration must be listed in the field “Allowed Access VLANs”.
Once the VLAN numbers have been entered, the individual ports can be allocated to a specific
function and VLAN.
Mode VLAN Function
Access No. A terminal device is to be connected to this port
Trunk --- Connection between two switches
Hybrid --- Connection between two switches or to a terminal device
The allowed VLANs can be defined in the “Allowed VLANs” column both in “Trunk” and “Hybrid”
mode. The same applies to forbidden VLANs, which can be defined in the column “Forbidden
VLANs”.

barox Kommunikation 18
3.10 Power over Ethernet (PoE)
With respect to PoE, the switch has numerous options for optimising PoE implementation. Power
can be controlled, resp. turned on or off, on a time or event-triggered basis. In addition, powered
devices (e.g. PoE cameras) can be monitored and rebooted, if required.
3.10.1. PoE Configuration
Every switch has a pre-defined performance capacity. This describes how much power can be
supplied via the PoE ports. The crucial component here is the power supply installed in the
switch. In the above example using an RY-LGSP28-52 switch with 24 PoE+ ports, a maximum
of 740 W can be supplied. This means that it is impossible to connect a 30 W terminal device
to each of the 48 ports as this would require a total of 1,440 W. The integrated power unit cannot
supply this much power.
This means that it is important to keep track of how much power is being supplied per port.
POE appliances are divided into various categories depending on their respective consumption.
Class
Power available to the powered device
Classification signature
0
0.44 –12.96 W
0 to 4 mA
1
0.44 –3.84 W
9 to 12 mA
2
3.84 –6.49 W
17 to 20 mA
3
6.49 –12.95 W
26 to 30 mA
4
12.95 –25.50 W (only 802.3at/Type 2)[4]
36 to 44 mA
https://de.wikipedia.org/wiki/Power_over_Ethernet
Reserved Power determined by
One can define how the maximum amount of power to be supplied is determined in the section
“Reserved Power determined by”.
- Class = corresponds to the class to which the terminal device says it belongs
- Allocation = according to the value stated in the “Maximum Power (W)” column
- LLDP-Med = ditto Class mode, pulls the information via LLDP (where possible)
If the terminal device exceeds the predefined power limit, the port turns PoE off.

barox Kommunikation 19
Power Management Mode
This is where one defines how the switch should behave should the maximum possible power
level be exceeded.
Actual Consumption
Should the amount of power demanded by the devices exceed the maximum possible amount
of power that the switch can provide, PoE is turned off completely. If the power limit is only
exceeded by one single port, PoE is only turned off to this port.
The importance of the individual ports is defined in the “Priority” column. Ports set to “ Low” are
turned off immediately, whereas ports set to “Critical” are turned off last should the maximum
power level be exceeded.
Reserved
Ports set to “Reserved” are only turned off, if the power reserved for them in the
“Maximum Power (W)” column is exceeded.
PoE Schedule
Each individual port can be allocated to a time schedule. A total of 16 time schedules
can be created.
3.10.2. PoE Power Delay
As already mentioned, the switch can provide a limited amount of power.
However, today’s IP cameras require an ever-increasing amount of power. If a pan/tilt camera
with an integrated heater and IR emitter is used, the amount of power required will climb even
higher.
When rebooting, switching between day and night mode, turning on the heater or IR emitter etc.,
a camera needs considerably more power (peak power supply) than during steady, uninterrupted
operation.
Should several cameras connected to one switch all log in at the same time, the maximum
amount of power that can be supplied by this switch might be exceeded. Exceeding this
maximum power level will cause the switch to immediately log itself back off and may also
cause damage to the power supply, if numerous unsuccessful attempts are made.
To avoid this problem, one can configure the individual ports to start up one after the other
in the following menu. In the example below, port 1 is activated after 10 seconds and ports 2
and 3 are activated in 20 seconds intervals.

barox Kommunikation 20
3.10.3. PoE Schedule
Turning the power on and off can also be controlled using a weekly schedule. Up to 16 different
profiles can be created. Each individual port can be allocated to a specific profile.
In the following example, the camera and power at the PoE port, resp., is turned on only Monday
between 07:30 to 18:15 Hrs.
3.10.4. PoE Auto Checking
PoE Auto Checking is used to monitor functionality. For example, the camera connected to port 1
with IP address 192.168.1.250 can be pinged every 30 seconds to check its availability.
After 3 failed attempts, PoE to port 1 is turned off and turned back on after 15 seconds. This
forces the camera to reboot.
60 seconds after the camera has rebooted, the ping monitoring mechanism will kick in again.
This manual suits for next models
5
Table of contents
Other Barox Switch manuals
