manuals.online logo
Brands
  1. Home
  2. •
  3. Brands
  4. •
  5. Kramer
  6. •
  7. Switch
  8. •
  9. Kramer VS-211UHD User manual

Kramer VS-211UHD User manual

VS-211UHD Quick Start
P/N:
2900- 301103QS
Rev:
5
Scan for full manual
VS-211UHD Quick Start Guide
This guide helps you install and use your VS-211UHD for the first time.
Go to www.kramerav.com/downloads/VS-211UHD to download the latest user manual and check if firmware
upgrades are available.
Step 1: Check what’s in the box
VS-211UHD UHD 2x1 Auto Switcher
4 Rubber feet
1 Bracket set
1 Power supply (5V DC)
1 Quick start guide
IR remote control transmitter with batteries
Step 2: Get to know your VS-211UHD
#
Feature
Function
1
PROG USB Connector
Connects to a PC to upgrade the firmware
2
IR Sensor and LED
Receives and indicates IR signals from a remote control (flashes during valid IR activity)
3
AUTO LED
Lights when auto switching is active, off for manual switching
4
AUTO/MANUAL Button
Press to select between auto-switching or manual switching mode
5
LAST LED
Lights when last connected input is active, off for highest priority
6
LAST/PRIORITY Button
When in the AUTO mode, the switch selects switching to a priority or last connected device
7
IN 1 Button
Press to route HDMI™source 1 to the output (dim when active video connected, lit when
selected)
8
IN 2 Button
Press to route HDMI source 2 to the output (dim when active video connected, lit when
selected)
9
OFF Button
Press to mute the video output (lit when muted)
10
ON LED
Lights when power is connected to the unit
The terms HDMI, HDMI High-Definition Multimedia Interface, and the HDMI Logo are trademarks or registered trademarks of HDMI Licensing Administrator, Inc.
#
Feature
Function
11
INPUT 1 HDMI Connector
Connects to HDMI source 1
12
INPUT 1 AUDIO 3.5mm Connector
Connects to unbalanced stereo audio source 1
13
INPUT 2 HDMI Connector
Connects to HDMI source 2
14
INPUT 2 AUDIO 3.5mm Connector
Connects to unbalanced stereo audio source 2
15
HDMI OUT Connector
Connects to an HDMI acceptor
16
AUDIO OUT Terminal Block
Connects to a balanced stereo audio acceptor
17
INPUT SELECT Contact Closure Terminal
Block
Connects to external contact closure switches
18
RS-232 Terminal Block
Connects to an RS-232 source
19
MODE/PRESET DIP-Switches
Use to set EDID, audio and delay settings (see Step 6)
20
5V DC Connector
Connects to a power supply for the unit
Step 3: Mount VS-211UHD
Install VS-211UHD using one of the following methods:
•Attach the rubber feet and place the unit on a flat surface.
•Fasten a bracket (included) on each side of the unit and attach it to a flat surface
(see www.kramerav.com/downloads/VS-211UHD).
•Mount the unit in a rack using the recommended rack adapter (see www.kramerav.com/product/VS-211UHD).
•Ensure that the environment (e.g., maximum ambient temperature & air flow) is compatible for the device.
•Avoid uneven mechanical loading.
•Appropriate consideration of equipment nameplate ratings should be used for avoiding overloading of the circuits.
•Reliable earthing of rack-mounted equipment should be maintained.
•Maximum mounting height for the device is 2 meters.
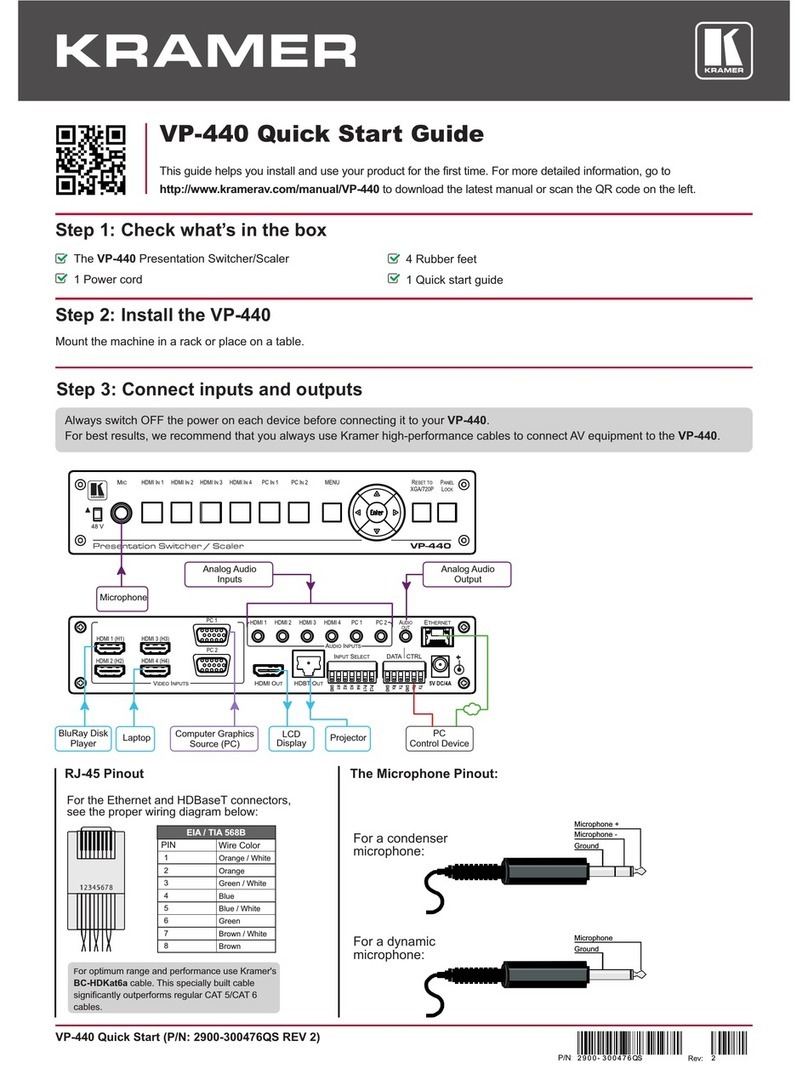
Step 4: Connect inputs and outputs
Always switch OFF the power on each device before connecting it to your VS-211UHD.
To achieve specified extension distances, use the recommended Kramer cables available at www.kramerav.com/product/VS-211UHD.
Using third-party cables may cause damage!
Step 5: Connect power
Connect the power cord to VS-211UHD and plug it into the mains electricity.
Safety Instructions (See www.kramerav.com for updated safety information)
Caution:
•For products with relay terminals and GPI\O ports, please refer to the permitted rating for an external connection, located next to the terminal or in the User Manual.
•There are no operator serviceable parts inside the unit.
Warning:
•Use only the power cord that is supplied with the unit.
•Disconnect the power and unplug the unit from the wall before installing.
Step 6: Set DIP-switches
Set the DIP-switches as shown in the following table:
DIP
Function
Off (Up)
On (Down)
1
Audio EDID
Pass audio EDID of sink
Limit to 2-CH LPCM
2
Color EDID
Pass deep color parameter of sink
Limit to RGB 8bpp
3
Lock EDID
Pass EDID of sink
Lock current display EDID and the current settings of
DIPs 1 and 2 (The settings of DIPs 1 and 2 cannot be
changed when DIP 3 is locked)
This state also allows copying the default EDID or an
EDID file to the inputs when using EDID Designer. (If
using EDID Designer, refresh after copying)
4
HDCP
Enable HDCP support
When On, if the output supports HDCP,
the input declares HDCP support. It
then handles HDCP on the output and
input actively. If the output does not
support HDCP then the input does not
support HDCP.
Disable HDCP support
When Off, the device does not support HDCP on its
input, even if HDCP is detected on the output.
5
Auto Embedding
Port 1
Embed analog audio only if the video is
DVI
Always embed analog audio input
6
Auto Embedding
Port 2
7
Audio From
Source
ARC
8
Output Off Delay
Settings
15sec default (configurable)
15min
Step 7: Operate VS-211UHD
Manual Switch Mode
In Manual switch mode, the VS-211UHD does not automatically switch to another channel even if an input signal is not
detected on the manual input.
To select Manual switch mode:
Press the AUTO button to turn the Auto LED off.
To select an input in Manual switch mode:
Press the IN1 or IN2 button to route this input to the HDMI output. The keys respond as follows:
Input LED bright: input selected
Input LED dim: input active and not selected
Input LED off: input is not active and not selected
Auto Switch Mode
In Auto switch mode, the VS-211UHD automatically switches one of two HDMI inputs to a predefined or the last connected
input whenever the currently active video signal is interrupted or whenever a higher-priority video signal is detected.
To select Auto switch mode:
1. Press the AUTO/MANUAL button to turn the Auto LED on.
2. Press the LAST/PRIORITY button to select an auto switch mode:
Last connected (LAST LED on) –The device always switches to a newly detected active video source. When the
device is powered on, the output switches to the highest priority input
Priority (LAST LED off) –The device always switches to the highest priority input source. The default priority is Input 1
then Input 2.
Manual Override Mode
Auto switch mode can be overridden by a manual command, such as pressing an input button or sending a control command.
In such a case, the system switches to the manually selected source. If this manually selected source is not active, the system
waits a set amount of time (10 seconds, default) and then switches back to auto mode. Manual override selection is not stored
in non-volatile memory.
Step 8: Technical Specifications
INPUTS:
2 HDMI connectors, 2 unbalanced stereo audio on 3.5mm mini jack
ANALOG AUDIO UNBALANCED INPUT:
Nominal level: 316mVRMS, maximum level: 1VRMS, impedance: 10kΩ
OUTPUTS:
1 HDMI connector, 1 balanced stereo audio on 5-pin terminal block
ANALOG AUDIO BALANCED OUTPUT:
Nominal level: 316mVRMS, maximum level: 1VRMS, impedance: 150Ω
PORTS:
1 RS-232 on a 3-pin terminal block, 1 mini USB for programming
HDMI SUPPORT:
HDMI 1.4, Deep Color, 3D, ARC, up to 7.1 uncompressed audio channels
SUPPORTED RESOLUTIONS:
Up to UXGA, 4K x 2K, 4K @60 4:2:0
CONTROLS:
Front panel buttons, contact closure, IR, RS-232 Protocol 3000
SOFTWARE SUPPORT:
Protocol 3000, EDID Designer, K-Upload
POWER CONSUMPTION:
5V DC, 520mA
OPERATING TEMPERATURE:
0° to +40°C (32° to 104°F)
STORAGE TEMPERATURE:
-40° to +70°C (-40° to 158°F)
HUMIDITY:
10% to 90%, RHL non-condensing
DIMENSIONS:
18.8cm x 11.5cm x 2.5cm (7.4” x 4.5” x 1.0”) W, D, H
WEIGHT:
0.425kg (0.9lbs) approx.
SHIPPING DIMENSIONS:
35.1cm x 16.5cm x 5.2cm (13.8” x 6.5” x 2.0”) W, D, H
SHIPPING WEIGHT:
0.56kg (1.2lbs) approx.
INCLUDED ACCESSORIES:
Power adapter, IR remote control

Other manuals for VS-211UHD

2

Other Kramer Switch manuals

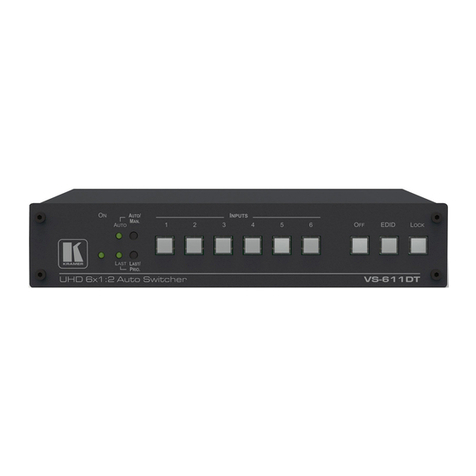
Kramer TP-590T User manual

Kramer

Kramer TP-590T User manual

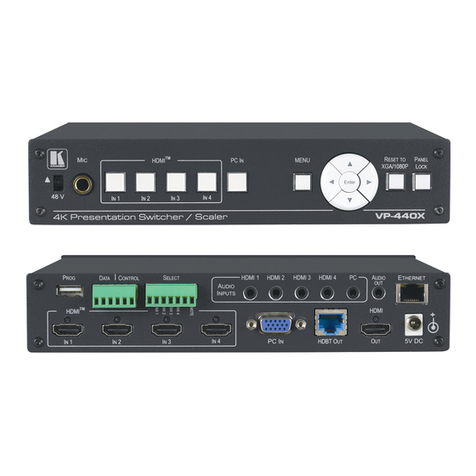
Kramer VP-733 User manual

Kramer

Kramer VP-733 User manual

Kramer VS-121HC User manual

Kramer

Kramer VS-121HC User manual

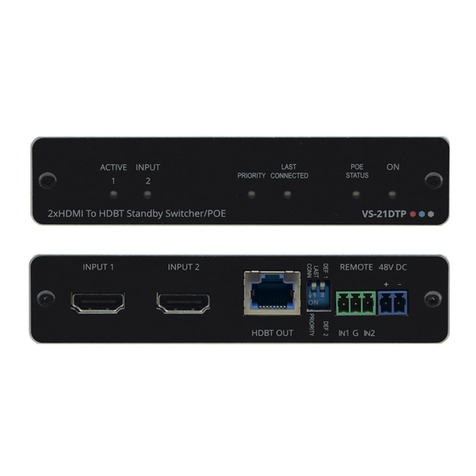
Kramer VS-411UHD User manual

Kramer

Kramer VS-411UHD User manual

Kramer VS-41HDCP User manual

Kramer

Kramer VS-41HDCP User manual

Kramer ProScale VP-728 User manual

Kramer

Kramer ProScale VP-728 User manual

Kramer VS-41HC User manual

Kramer

Kramer VS-41HC User manual

Kramer VS-81ETH User manual

Kramer

Kramer VS-81ETH User manual

Kramer ProScale VP-728 User manual

Kramer

Kramer ProScale VP-728 User manual

Kramer VP-770 User manual

Kramer

Kramer VP-770 User manual

Kramer TOOLS VP-211K User manual

Kramer

Kramer TOOLS VP-211K User manual

Kramer VA-1DVIN User manual

Kramer

Kramer VA-1DVIN User manual

Kramer KIT-401 User manual

Kramer

Kramer KIT-401 User manual

Kramer VP-81K User manual

Kramer

Kramer VP-81K User manual

Kramer SWT3-41-U-T User manual

Kramer

Kramer SWT3-41-U-T User manual

Kramer WP-501 User manual

Kramer

Kramer WP-501 User manual

Kramer SID-X2N User manual

Kramer

Kramer SID-X2N User manual

Kramer VIA CONNECT PRO User manual

Kramer

Kramer VIA CONNECT PRO User manual

Kramer VS-211HDx1 User manual

Kramer

Kramer VS-211HDx1 User manual

Kramer VS-44DT User manual

Kramer

Kramer VS-44DT User manual

Kramer VS-311HDMI User manual

Kramer

Kramer VS-311HDMI User manual

Kramer VP-23xl User manual

Kramer

Kramer VP-23xl User manual

Kramer VM-22H User manual

Kramer

Kramer VM-22H User manual

Kramer VS-81H User manual

Kramer

Kramer VS-81H User manual

Popular Switch manuals by other brands

GESTRA NRS 2-1 Installation and service instructions

GESTRA

GESTRA NRS 2-1 Installation and service instructions

H3C S5500-SI Series Operation manual

H3C

H3C S5500-SI Series Operation manual

Bones TWIN-CITY AB/Y owner's manual

Bones

Bones TWIN-CITY AB/Y owner's manual

NETGEAR FSM726E - ProSafe Switch Hardware installation guide

NETGEAR

NETGEAR FSM726E - ProSafe Switch Hardware installation guide

Comtech EF Data SMS-758 Installation and operation manual

Comtech EF Data

Comtech EF Data SMS-758 Installation and operation manual

kasa HS210 KIT user guide

kasa

kasa HS210 KIT user guide

Elinx ESW726 Family installation guide

Elinx

Elinx ESW726 Family installation guide

Weidmuller IE-SW-IP67-5M12 Hardware installation guide

Weidmuller

Weidmuller IE-SW-IP67-5M12 Hardware installation guide

MicroNet SP3524A user manual

MicroNet

MicroNet SP3524A user manual

Indu-Sol PROmesh U16 Quick start user guide

Indu-Sol

Indu-Sol PROmesh U16 Quick start user guide

Edimax ES-5824PH datasheet

Edimax

Edimax ES-5824PH datasheet

Festo CDSM-S1 operating instructions

Festo

Festo CDSM-S1 operating instructions

SMC Networks SMCGS10P-Smart Management guide

SMC Networks

SMC Networks SMCGS10P-Smart Management guide

Keithley 708 instruction manual

Keithley

Keithley 708 instruction manual

TRENDnet TEG-S41SX Specifications

TRENDnet

TRENDnet TEG-S41SX Specifications

Directed Electronics VS100 owner's guide

Directed Electronics

Directed Electronics VS100 owner's guide

H3C s5820x series IRF Command Reference

H3C

H3C s5820x series IRF Command Reference

Eaton Crouse-hinds series operating instructions

Eaton

Eaton Crouse-hinds series operating instructions

manuals.online logo
manuals.online logoBrands
  • About & Mission
  • Contact us
  • Privacy Policy
  • Terms and Conditions

Copyright 2025 Manuals.Online. All Rights Reserved.