manuals.online logo
Brands
  1. Home
  2. •
  3. Brands
  4. •
  5. EtherWAN
  6. •
  7. Switch
  8. •
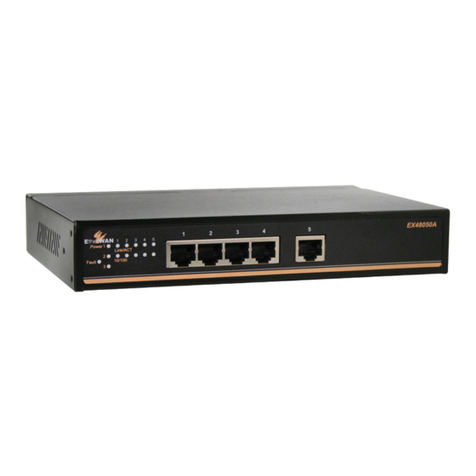
  9. EtherWAN EX75000 User manual

EtherWAN EX75000 User manual

Copyright ©2014 EtherWAN Systems, Inc. Page 1
All Rights Reserved
EX75000 rev. 1.0
12/2/2014
1 Unpacking
Unpack the items. Your package should include:
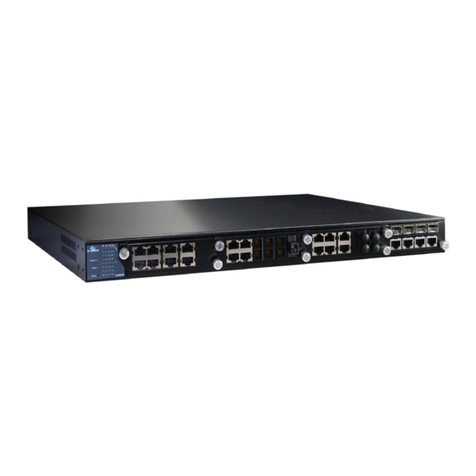
One EX75000 Series hardened managed
switch
Rack-mounting hardware brackets
One CD containing this user’s guide
If items are missing or damaged, notify your
EtherWAN representative. Keep the carton and
packing material.
2 What Else You Need
Appropriate cables for data ports
Personal computer or laptop
3 Select a Location
Desktop installations: Mount on a flat table
or shelf surface.
Rack installations: Use a 19-inch (48.3-
centimeter) EIA standard equipment rack
that is grounded and physically secure.
Identify a power source within 6 feet (1.8
meters).
Choose a dry area with ambient temperature
between -40 and 75ºC (-40 and 167ºF).
Keep away from heat sources, sunlight, warm
air exhausts, hot-air vents, and heaters.
Be sure there is adequate airflow.
Keep the switch at least 6 ft. (1.83 m) away
from the nearest source of electromagnetic
noise, such as a photocopy machine.
4 Connect to the Data Ports
Your switch has the following ports:
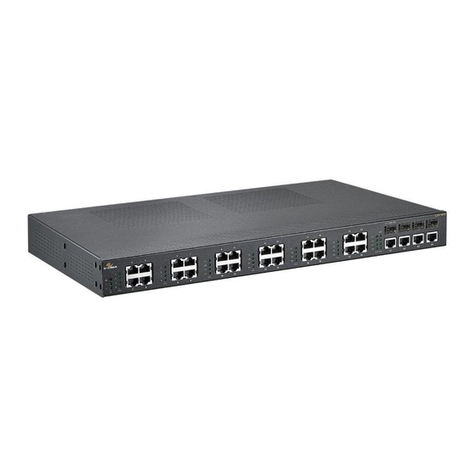
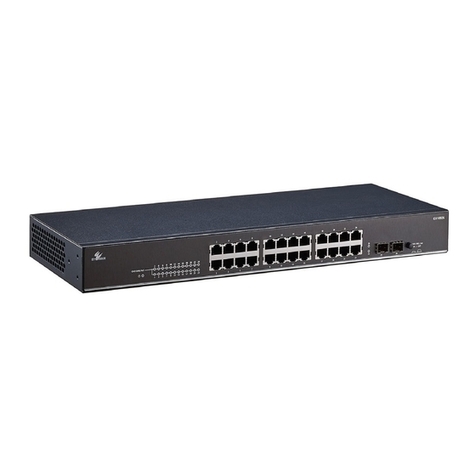
24 10/100Base-TX Power over Ethernet (PoE)
ports
4 Gigabit ports
10/100Base-TX PoE Ports
The switch has 24 10/100Base-TX Power over
Ethernet (PoE) ports that conform to IEEE802.3at
and provide up to 30W per port, with a total
power budget of 420W.
These ports can connect to devices such as an IP
surveillance camera or a Voice Over Internet
Protocol (VoIP) phone.
A. Insert one end of a category 5 or better cable
into a switch port.
B. Connect the other end into the Ethernet port
of the device.
C. Repeat steps A and B for each additional
device you want to connect to the switch.
Gigabit Ports
This switch has 4 10/100/1000Base-TX ports,
1000Base-SX/LX/BX ports, or 1000Base SFP ports.
You can connect these ports to network devices
such as a computer, printer, network video
recorder (NVR), network storage, or they can
connect to the network itself.
5 Apply DC Power
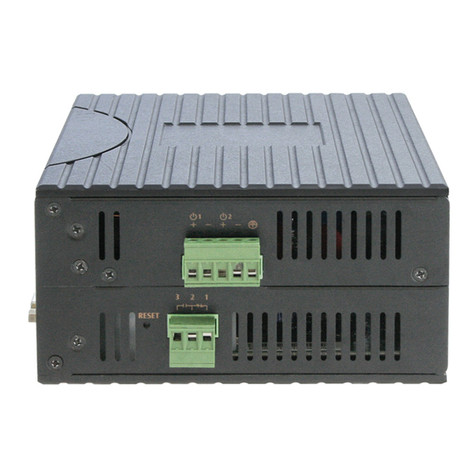
The switch has a 48-57VDC terminal block:
+55VDC -55VDC
−0 -55
+ +55 0
Earth Ground
The switch also has a relay with the following
settings:
Setting Relay Settings
Relay normal b c OPEN, c a CLOSE
Relay alarm b c CLOSE, c a OPEN
EX75000 Managed Switch Installation Guide
Continued on next page
EX75000 Managed Switch Installation Guide
Copyright ©2014 EtherWAN Systems, Inc. Page 2
All Rights Reserved
EX75000 rev. 1.0
12/2/2014
Power-Up Sequence
When you apply DC power:
All Link/ACT LEDs blink momentarily.
The Power LED goes ON.
LEDs for every port connected to a device
flash.
6 Front Panel LEDs
LED Color Status
Power Green ON = power on.
OFF = power off.
Alarm Red ON = power failure occurred.
OFF = normal operation (no power failure).
10/100Base-TX LEDs
Link/Act Green ON = valid network connection is established.
Flashing = port sending or receiving data.
10/100/1000Base-TX, SFP LEDs
Link/Act Green ON = valid network connection is established.
Flashing = port sending or receiving data.
1000Base-SX/LX/BX LEDs
Link/Act Orange ON = valid network connection is established.
Flashing = port sending or receiving data.
7 Managing the Switch
The following procedures are optional, but
recommended for a basic configuration.
A. Connect a PC to an available switch port
using an appropriate cable.
B. Confirm that the Link/ACT LED for the switch
port to which the PC is connected is ON. If
not, choose a different port.
C. Configure the PC’s TCP/IP settings to use the
subnet 192.168.1.Xand subnet mask
255.255.255.0, where Xis a number from 2
to 254 other than 10.
D. In a Web browser address bar, type
http://192.168.1.10 and press Enter.
E. Log in to the management interface:
F. Change the system name:
- In the left pane, click +next to System,
then click System Name/Password.
- On the right side, click in the System
Name text box.
- Replace the name shown with a name you
want to assign to the switch.
- Click the Update Setting button below
the System Name text box.
G. By default there is no password assigned to
the switch. To add a password:
- In the page above, click in the Password
text box, enter a password, and retype it
in the Retype Password text box.
- Click Update Setting below the
Retype Password text box.
H. Change the switch’s IP address and subnet
mask to match the scheme on your network:

Other EtherWAN Switch manuals

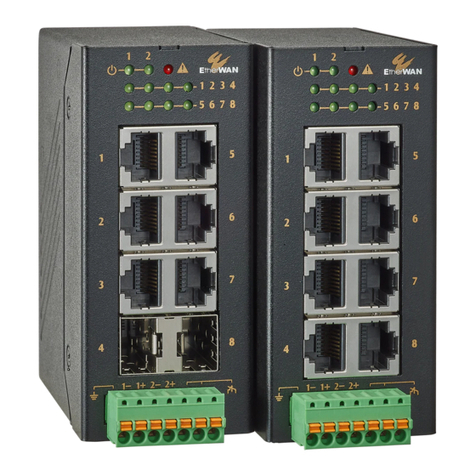
EtherWAN OttoE TG103 Series User manual

EtherWAN

EtherWAN OttoE TG103 Series User manual

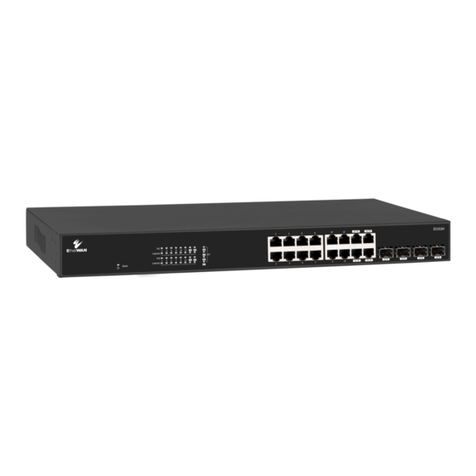
EtherWAN EX89000 User manual

EtherWAN

EtherWAN EX89000 User manual

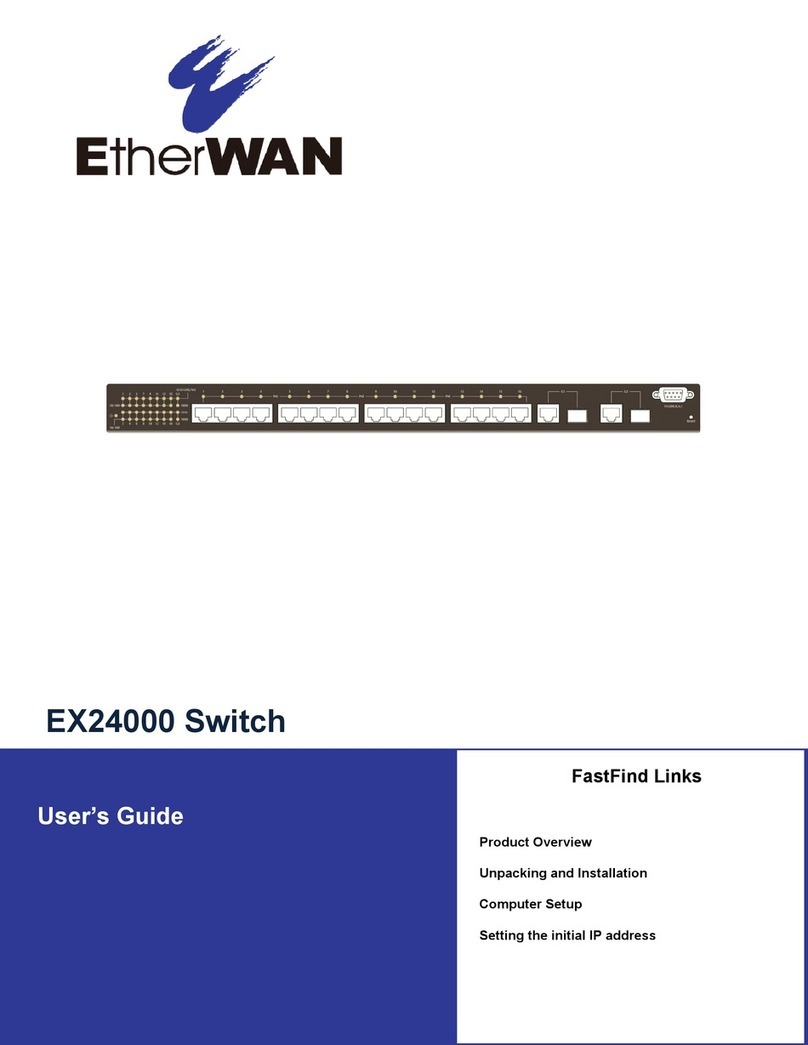
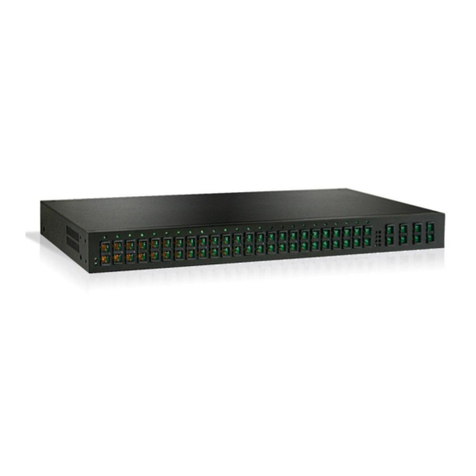
EtherWAN EX24000 User manual

EtherWAN

EtherWAN EX24000 User manual

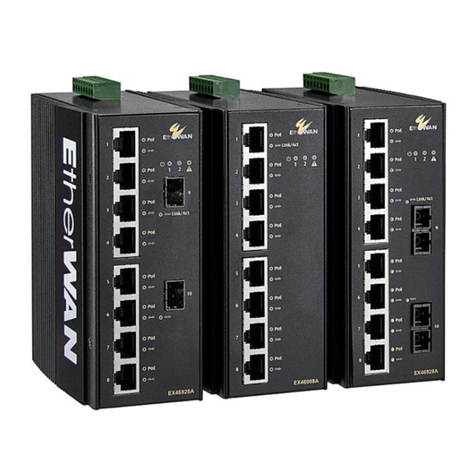
EtherWAN EX46900A Series User manual

EtherWAN

EtherWAN EX46900A Series User manual

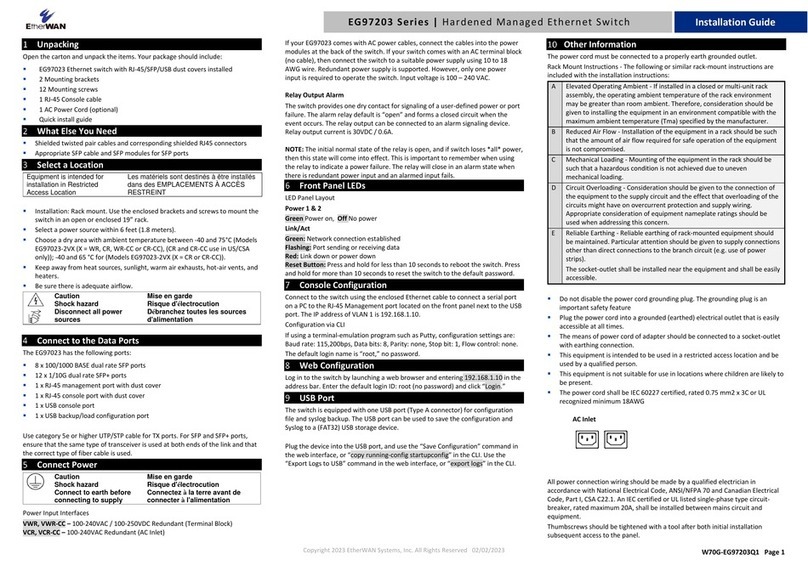
EtherWAN EG97203 Series User manual

EtherWAN

EtherWAN EG97203 Series User manual

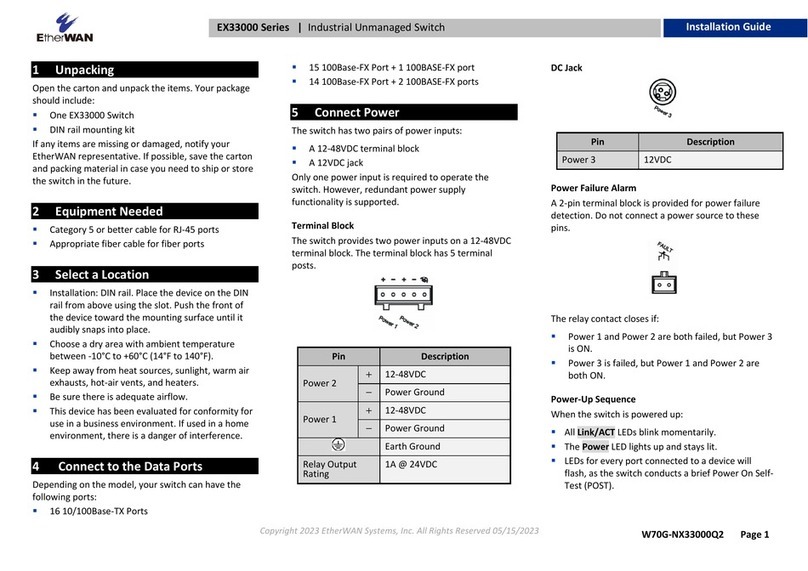
EtherWAN EX33000 Series User manual

EtherWAN

EtherWAN EX33000 Series User manual

EtherWAN EG97000 Series User manual

EtherWAN

EtherWAN EG97000 Series User manual

EtherWAN EX63000 Series User manual

EtherWAN

EtherWAN EX63000 Series User manual

EtherWAN ER59000 Series User manual

EtherWAN

EtherWAN ER59000 Series User manual

EtherWAN EX48000A Series User manual

EtherWAN

EtherWAN EX48000A Series User manual

EtherWAN EX78000 Series User manual

EtherWAN

EtherWAN EX78000 Series User manual

EtherWAN EX87000 Series User manual

EtherWAN

EtherWAN EX87000 Series User manual

EtherWAN EX78900X Series User manual

EtherWAN

EtherWAN EX78900X Series User manual

EtherWAN InfraGreEn IG5 User manual

EtherWAN

EtherWAN InfraGreEn IG5 User manual

EtherWAN EX78000R User manual

EtherWAN

EtherWAN EX78000R User manual

EtherWAN EX46900A Series User manual

EtherWAN

EtherWAN EX46900A Series User manual

EtherWAN EX33000 Series User manual

EtherWAN

EtherWAN EX33000 Series User manual

EtherWAN EX38000 Series User manual

EtherWAN

EtherWAN EX38000 Series User manual

EtherWAN OttoE TF100 Sereis User manual

EtherWAN

EtherWAN OttoE TF100 Sereis User manual

EtherWAN EX19164 User manual

EtherWAN

EtherWAN EX19164 User manual

EtherWAN EX72129A User manual

EtherWAN

EtherWAN EX72129A User manual

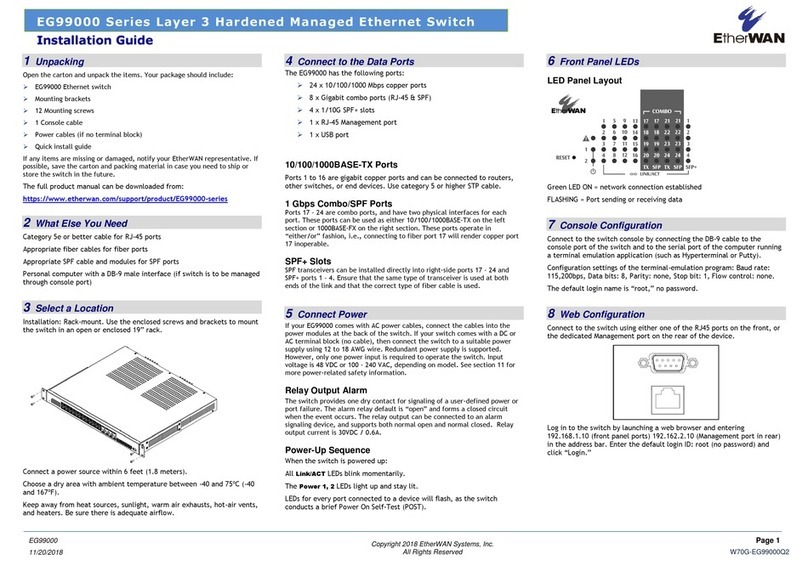
EtherWAN EG99000 Series User manual

EtherWAN

EtherWAN EG99000 Series User manual

EtherWAN EX16926 User manual

EtherWAN

EtherWAN EX16926 User manual

EtherWAN EX73900 Series User manual

EtherWAN

EtherWAN EX73900 Series User manual

Popular Switch manuals by other brands

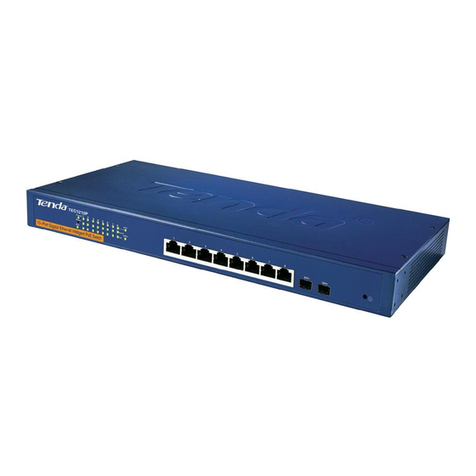
Tenda TEG1210P user guide
Tenda

Tenda TEG1210P user guide
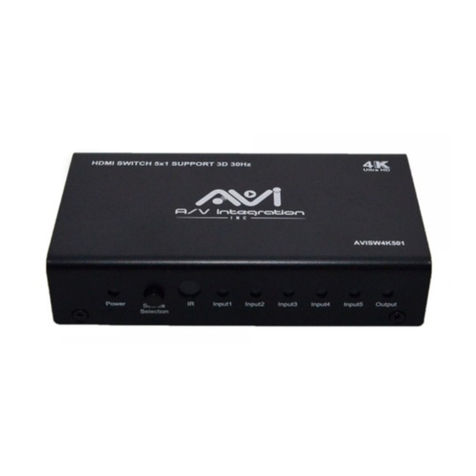
AVI AVISW4K501 user manual

AVI

AVI AVISW4K501 user manual

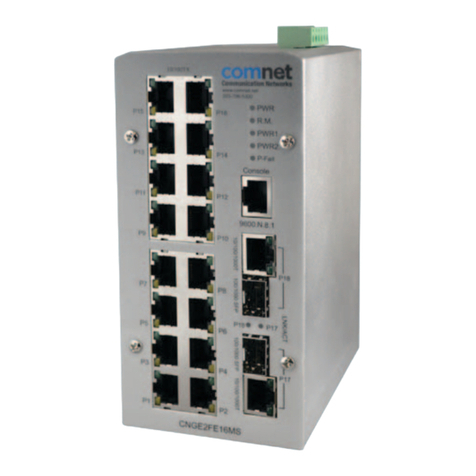
Comnet CNGE2FE16MS Installation and operation manual

Comnet

Comnet CNGE2FE16MS Installation and operation manual

Alcatel OmniSwitch 6600 Supplemental user guide
Alcatel

Alcatel OmniSwitch 6600 Supplemental user guide
KTI Networks KF-8D installation guide

KTI Networks

KTI Networks KF-8D installation guide

Philips SWS3434W Specifications

Philips

Philips SWS3434W Specifications

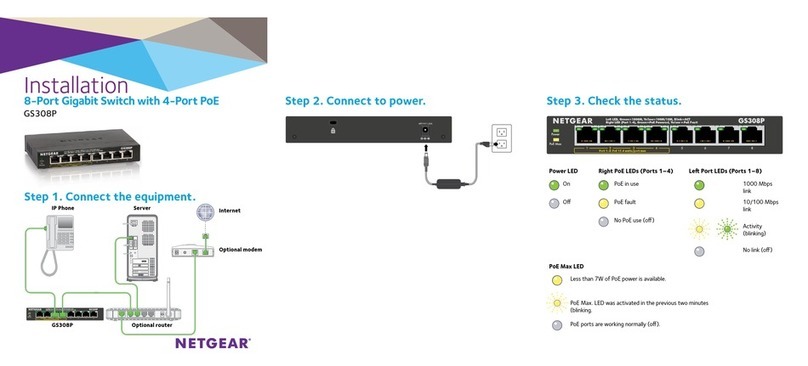
NETGEAR GS308P Installation

NETGEAR

NETGEAR GS308P Installation

Enterasys BL-89420ENT user guide

Enterasys

Enterasys BL-89420ENT user guide

AlzaPower APW-HCA8Y user manual

AlzaPower

AlzaPower APW-HCA8Y user manual

LEGRAND Wattstopper WS-301 manual

LEGRAND

LEGRAND Wattstopper WS-301 manual

MTT MS3704SW user manual

MTT

MTT MS3704SW user manual

RTcom DS-21R user manual

RTcom

RTcom DS-21R user manual

Ocean Matrix OMX-YUVAB user manual

Ocean Matrix

Ocean Matrix OMX-YUVAB user manual

Alcatel omniaccess 4302 installation guide

Alcatel

Alcatel omniaccess 4302 installation guide

Vega VEGACAP 67 operating instructions

Vega

Vega VEGACAP 67 operating instructions

Keysight Technologies U9400A Operating and service manual

Keysight Technologies

Keysight Technologies U9400A Operating and service manual

COMEX ATS 16S user manual

COMEX

COMEX ATS 16S user manual

Buffalo BS-GU2008P user manual

Buffalo

Buffalo BS-GU2008P user manual

manuals.online logo
manuals.online logoBrands
  • About & Mission
  • Contact us
  • Privacy Policy
  • Terms and Conditions

Copyright 2025 Manuals.Online. All Rights Reserved.