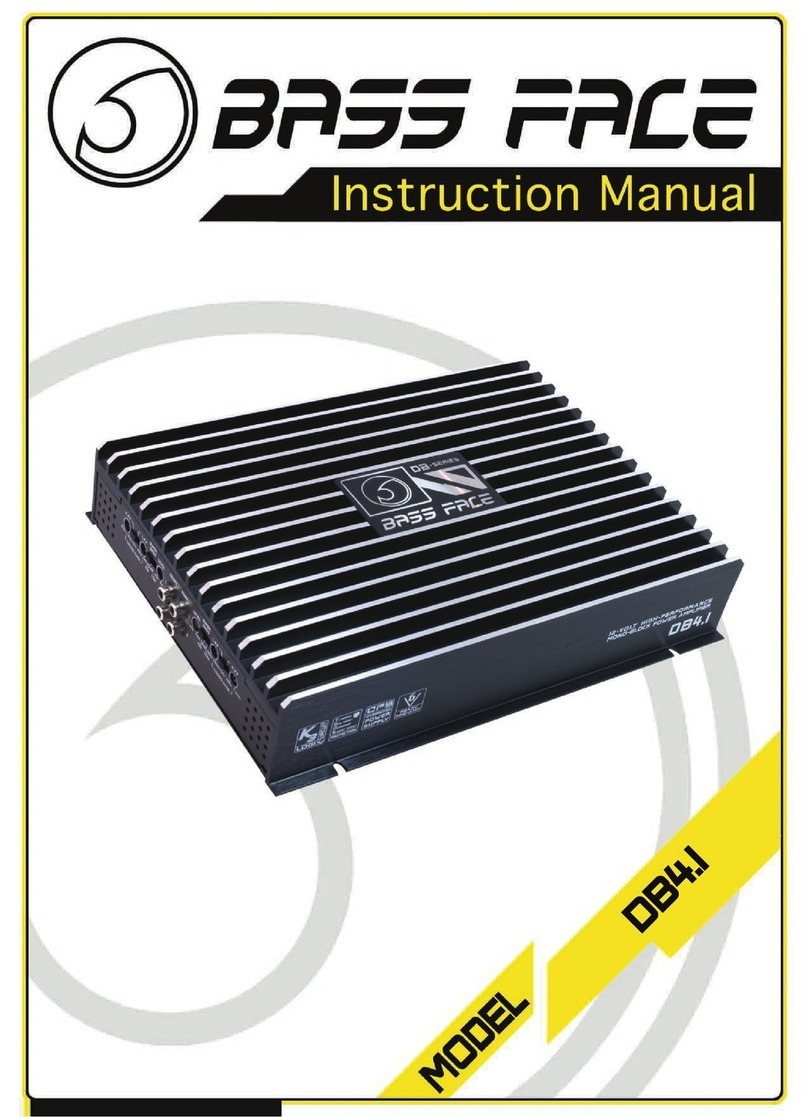
BASSFACE DB2.2 User manual

DB2.2 2/1 Channel Bridgeable Stereo
12v Power Amplifier 1240w Verified RMS
Power Output
Instruction manual

Thank you for choosing Bassface. From the simplest connector to our top of the range
amplifier - every element of these products has been designed to give you the best possible
performance for your money. Please take the time to read these instructions carefully as
they contain useful and important information. Modern high power audio systems can
generate voltages at the speaker similar to mains operated equipment – for some reason
everyone seems to ignore or forget this. Your wiring needs to be good to be safe. Please
remember this and take your time. Please exercise caution when setting volume levels –
powerful audio equipment can easily produce enough sound to permanently damage
hearing. Remember that audio competitors use ear protection when operating and
competing. Do remember that incorrect installation or abuse is not covered under warranty
– please make sure that your installation and any partnered product is suitable and
compatible. If you are unsure please seek qualified advice before proceeding. Always use
appropriate hand and eye protection when working with tools, and always work within your
capabilties as an installer. We offer a 12 month manufacturer warranty via your distributor
or retailer. Please retain your purchase receipt as proof of purchase. Please note that
Bassface operates a policy of continuous product development and we reserve the right to
change specification without prior notice. You can follow our process on our website by
reviewing the version history information.
Please note that we sometimes include information inside these manuals which we feel is of
potential value to the client on related subjects such as conversion charts, capacitance
values or wiring diagrams. Please feel free to copy any of this information since it is in the
public domain.

To begin, disconnect the car battery, taking note of any required precautions suggested by

the vehicle manufacturer such as alarm or radio codes, or on board computer or AGM
battery requirements.
For vehicles with front mounted batteries find a suitable point on the firewall/bulkhead to
run the power wire through. Where the cable passes through the metal it is absolutely vital
that a rubber grommet be fitted to prevent the cable from chafing through the insulation as
this would be a major fire risk. The positive wire needs to go to the + positive terminal on
the battery. A fuse of appropriate size to protect the cable needs to be fitted in line no more
than 18” from the battery.
Once you have the power cable in the car, run it back to the boot or to where you intend to
fit the amplifier. When you do this, be aware that you will need to run the remote turn on
cable and the RCA signal cable from the head unit back to the amp too.
If the wires you are running have to run over or go alongside other looms of the car, try to
cross them at right angles to avoid unwanted interference in the signal, and try not to run
them parallel with other cables either. If you can, run the power and the signal cables down
opposite sides of the car. This isn’t essential but if you do get any interference once the job
is complete the first thing to look at will be separating these wires so if you can do it first it
makes a lot of sense!
The absolutely most important aspect of the power install is the earth wire. This wants to
be very securely bolted to the chassis of the car. We recommend drilling a hole (take care
not to drill through your spare tyre, brake lines or anything else) in the boot floor and sand
off any paint to the bare metal where the wire will be connected. A bad earth is a very
common flaw in installation and can cause a number of headaches later down the line so be
sure to take care in doing this. Do not use a self tapping screw to secure the earth down, as
it will probably soon come loose and impair performance. Other common disasters include
trying to earth to rear light mounting bolts, boot lock mountings and other ways to “trap”
the cable in the hope you might get a good earth. For every volt the amplifier doesn’t see it
requires twice the power to create the same output which means poor performance and a
possible broken amplifier. Once the work is complete neatly repaint the over the finished
bolted connector and chassis of the car with some primer to prevent corrosion.
We would like to make clear that the current demands of modern high power car audio are
highly significant, and dependant upon the speaker loads, gain levels and supply voltage.
We make every reasonable attempt to publish test results showing the likely current
consumption of each of our amplifiers, and we urge installers - even ones engaged in
modest car installations - to make provision for these current demands. Poor power supply
planning and a failure to provide sufficent energy to run the amplifiers is amongst the
number one reason for premature (or instant!) failure of the unit. It can also destroy
speakers, source units and even cause fire.
On a related matter, we have been made aware of the use of Bassface products in
situations where bench power supplies (or power supplies that are not a conventional car
battery/alternator) are used to power our products. From a purely technical standpoint
there is no good reason why this cannot be accomplished successfully BUT it is absolutely
critical that current provision is made with reference to the appropriate test estimates. We
need to make clear that due to the number of possible technical hurdles we are unable to
extend warranty to any kind of installation where the power source is not a 12v
car/alternator combination that meets necessary requirements.

It is also very important that a power amplifier is not used without an appropriate speaker
load on each channel. The design of each amplifier is different, and so some amplifiers will
tolerate running with open circuit channels, wheras some absolutely will not. It is easy to
quickly damage an amplifier if channels are left open. Always make sure minimum
impedance requirements are met. The most common examples we see are four channel
units where one half of the amp is used to run a pair of speakers or a subwoofer (even
worse) and the other side is left undriven. This will almost certainly destroy components on
circuit board resulting in smoke/fire/certain failure of the amplifier. We have also seen
similar incidents where mono amps have their load removed (subwoofer taken out of the
boot on a quick release) but where the remote cable still powered up meaning the amp is
receiving a full signal! This is also likely to fill your car with expensive smoke. It goes
without saying, but we will say it anyway, that this is yet another warranty void situation.
(And like all the other ones, it is easily avoidable!)

The first step when installing an amplifier is to lubricate the terminals. The reason for this is

that sometimes, the plating applied to the screws can rub off slightly in the threads,
causing binding. This can then result in damaged threads and/or rounded screw heads. We
recommend the use of a medium thickness general purpose oil. In the UK there is a product
known as "3 in 1" oil which we like to use in the workshop, but any reasonably thick,
decently penetrating oil will work. We do not recommend the use of spray lubricants for this
job because they are too thin, wont penetrate the threads and can contaminate the
cosmetic surface of the product. Also, whilst it might sound like a simple and obvious thing
to say, please make sure that you use the correct allen key or screwdriver when operating
the amp terminals. The screws are made from relatively soft material, and can very easily
become rounded and damaged over time. We see this ALL the time in our repair centre, so
we KNOW that some of you don't read these manuals! Thanks for being one of the careful
ones.

Once your power cable, RCA and remote lead are all securely running through the car to

where you want the amp and the earth wire is fastened securely, somewhere close to the
amp, you can fit the amplifier. If applicable don’t forget to fit the amplifier remote control
wire and any speaker wires running forwards at the same time.
The amp should be mounted on a solid surface such as a boot floor. Wherever you do
choose to mount the amp, it needs sufficient ventilation; 2-3” around will be enough. We do
not recommend mounting an amplifier on a bass box as the vibrations can cause damage
to the internals of the amplifier over time.
You need to ensure that the load you subject your amplifier to is within specification and of
a sensible nature and that you have the appropriate cooling where applicable. It is your
responsibility to ensure the amp is kept at a sensible working temperature. Vertical
mounting or “hot boxing” can cause severe damage to the amplifier. Also take care
mounting an amp onto a board that has been covered in carpet. This can restrict airflow
under the amplifier, limiting the amount of convection cooling that can be achieved and
insulating the amplifier underneath which can build up heat inside the amp. For
installations that are space compromised the installer can add small PC style fans to
circulate air.
When choosing a speaker impedance remember that bridging a pair of output halves the
impedance – So a 4 ohm woofer bridged the amp sees 2 ohms per side. Thus to run a 2
ohm load on a bridged amplifier it must be capable of seeing only 1 ohm per side.

Time to lay on some power. Connect the earth first, then 12V power, then remote. Then
connect in the RCA cables and you can move onto setting up sound controls on the
amplifier. This description covers the principles of operation – for specific instructions refer
to the set up notes for the exact model you are working with.
It's also worth mentioning at this point that running audio into the amp but no speaker
attached can seriously damage your amplifier.
Setting the “Gain” or “level” on the amp is a crucial aspect and needs to be done with care,
otherwise you can easily damage your equipment. Before we move onto this we need to be
sure the crossover settings are right for the application.
Crossover settings
If you have an active crossover elsewhere in your system (such as the head unit) then you
may wish to set the crossover switch on the amp to OFF/FULL RANGE. Otherwise, in most
cases, this must be set to ON and the controls adjusted appropriately.
For subwoofer installation and setup we recommend a LPF of about 100hz initially as an
excellent starting point for most car woofers. Try 80Hz and 120Hz too – you will notice the
sound change. If you are running a 15 inch woofer then you will want to be looking at a
lower crossover frequency (like 80Hz) – if it’s an 8 inch driver then you may want to go up
to 120, 150 or even higher.

For other speakers if you are using a woofer, try to keep the HPF the same as the woofer
LPF. If you are using no woofer then a full range setting might be more appropriate. A
typical six inch driver will play from 100Hz and up. A four inch driver around 200Hz and up.
Once your crossover settings are set up, you can move on to the gain or “Level”. Before
you do anything else, please ensure that any bass boost controls on the head unit or
amplifier are set to 0 / flat / switched off. We also suggest you turn the bass remote level to
a mid setting to allow adjustment later to taste.
Subsonic Filters (Subwoofer only)
Next, for woofers, you need to learn about the subsonic filter. This is a crucial part of the
setup. When the music frequency goes lower than that which the subwoofer system can
reproduce with any guts you are wasting a lot of energy asking the amplifier to create
those parts of the music. Worse still, your woofer will try its best to create them and find
itself moving backwards and forwards at very large levels of excursion and distortion from
the overstretched amplifier. Many bass amplifiers do not have subsonic filters – this is
MADNESS and results in a lot of burned out woofers and amplifiers. Many bass amplifiers
DO have subsonic filters that their owners do not understand – this is MADNESS and results
in a lot of burned out woofers and amplifiers!!!
As a rule of thumb you should set your subsonic filter to about 30Hz – this is a
generalization because obviously different subwoofer setups can play to different low

frequencies. Something like an 8 inch sub in a ported box designed to be very punchy will
struggle to get below 50Hz – in which case inch up the subsonic to that level to improve all
round performance and protect the components. If you have a 15 inch woofer in a well
sized sealed box that is designed to sound low and atmospheric then you may be able to
come down to 20Hz with the filter. As you turn the filter up you will hear it stopping the low
bass from being played – but you will notice that you can play the music louder with less
distortion. You need to set this to optimum balance later.
Gain / Level adjustment
Now it is time to disconnect all other subwoofers or speakers so that you can hear only the
speakers powered by this part of this amplifier. Next, turn the level on the amp all the way
down. Choose some music that you’re not particularly keen on that has a good range of
bass, treble and vocals (helps not to get lost in the music whilst you work on the system.)
Then go to your head unit and gradually turn up the volume until you begin to hear slight
distortion from the driver. This is normally about ¾ the way up the scale. This is the
maximum setting that you will EVER use from now on – make a mental note of it. Next, turn
the head unit down from here by around ¼. This builds in a little bit of “headroom” so
should you have a track that is recorded quieter than the others or is at a lower bit rate,
you can boost the volume without pushing anything into distortion.
Once the volume is set on the head unit, go to the amplifier and slowly start to turn the

“Level” knob up, keep going till it is at a level you are happy with (that isn’t going to deafen
you!) or until your driver(s) are just about to distort. If they do start to distort, turn back
down till they sound perfectly clear.
One thing that you need to learn is how to actually hear a speaker “distort”; you may hear
a cracking, a metallic slapping sound or a rattle as well as just that thrashing distorted
tone. It is CRITICAL that you detect this sound and back the amp off to stop it NOW before
you damage something/everything.
Boost Controls
You will notice that earlier in the text we set the bass boost to off. This is because more
often than not this EQ control is misunderstood and can cause damage. The bass boost
control ramps a range of frequencies in the bass region that will cause more bass to be
created than the signal coming in from the head unit expects. It will also consume more
power and can push a system into distortion if the settings are not made carefully. An
example of a valid use of bass boost might be where your woofer system has an uneven
response – as you turn up the gain the upper region of the output becomes strained and
begins to distort but yet with low frequencies you are able to turn up the bass without
distortion. In this case, you would go back to the beginning of the setup instructions, get
the woofer playing at a modest level and then swing in some bass boost until the distortion
happens at the same volume level, regardless of the music you are playing. Then, you
would set the gain with the bass boost control in THAT position – to take account of that

level of boost. You ABSOLUTELY cannot increase the bass boost once you have already set
the gain level – you’ll overdrive the amplifier and burn something out.
Treat the bass remote with similar caution. It is effectively an overdrive gear – designed to
allow you to fine tune the sound to your preference. It cannot, however, make the system
more powerful than it already is! So yes, as you drive slowly with little tyre noise you might
want to reduce the setting on the cockpit knob to reduce the bass level. And yes, if you are
listening to a track with a low recording level and you fancy a bit more output you might
increase the setting. But it is your responsibility to listen for “dynamic compression” (where
you are turning the system up on the knob and yet the actual volume is not increasing)
since this is an indicator that the limits of the power available have been reached and over-
reached!
Phase Control
The Phase switch on an amplifier is there so you can quickly flip the phase of the connected
driver(s), instead of taking out the wires and changing the + and – around. This can be very
useful if you are trying to get a specific sound or if you have wired your door speakers and
subwoofer out of phase to each other by accident.
Other BASSFACE Amplifier manuals
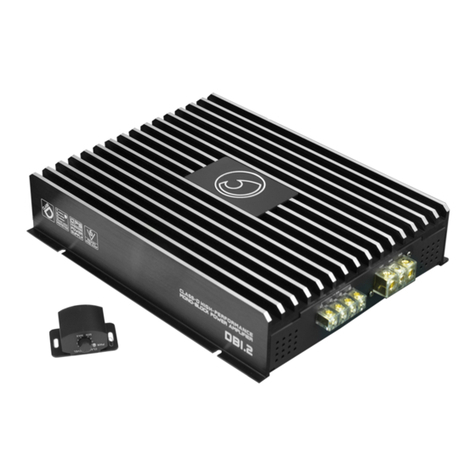
BASSFACE
BASSFACE DB1.2 User manual

BASSFACE
BASSFACE SUPPORT CREW POWER10.1A User manual

BASSFACE
BASSFACE SQ1.1 User manual
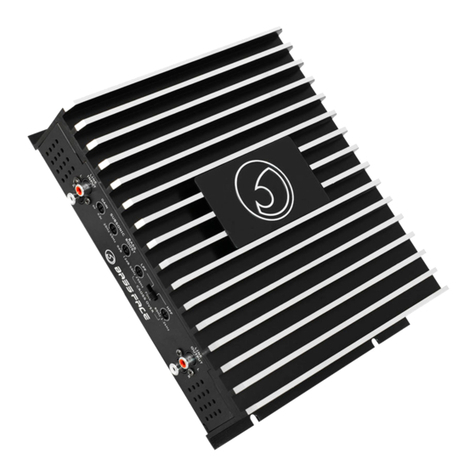
BASSFACE
BASSFACE DB2.1 User manual

BASSFACE
BASSFACE Team 5000/X1DFR User manual
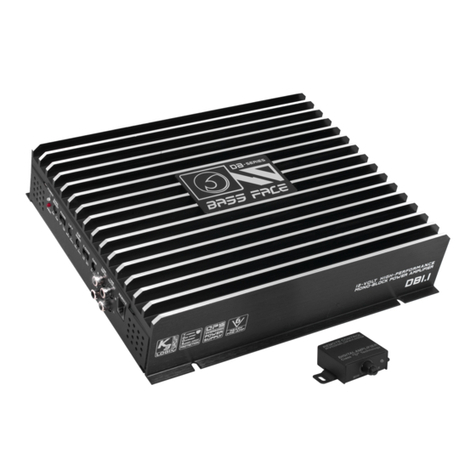
BASSFACE
BASSFACE DB1.1 User manual

BASSFACE
BASSFACE SQ 4.1 User manual

BASSFACE
BASSFACE BlackDB1.1 User manual

BASSFACE
BASSFACE DB4.5 User manual

BASSFACE
BASSFACE DB1.2 User manual
