manuals.online logo
Brands
  1. Home
  2. •
  3. Brands
  4. •
  5. BC Design
  6. •
  7. Indoor Furnishing
  8. •
  9. BC Design SABRE EAK025 User manual

BC Design SABRE EAK025 User manual

GENERAL
zone
2
zone
2
zone
2
225cm
zone
1
60CM
60CM
RADIUS
60CM
The product must be installed with a
minimum distance of 150mm between
the infrared sensor and an adjacent
countertop or obstruction to ensure correct
function of the sensor(see diagram left)
we may place sensors in different positions
depending on product (they are not changeable)
IMPORTANT
Please read these instructions carefully before installation.
Installation should be carried out by a Part P qualified electrician.
IEE Bathroom Zones Diagram
OUTSIDE ZONES
EAK025
EAK030
MIN
MIN
150mm
150mm
Do NOT strike mirror glass with hard or pointed items. It is
recommended that the product is cleaned with a soft, dry,
non abrasive cloth. Do NOT use cleaning agents or abrasive
materials on any type of finished surface. Do NOT allow
moisture to come into contact with the electrical components.
Compliance
This product complies with the following safety standards:
BS EN 60598-1: 2008+A11: 2009, EN60598-2-1: 1989
Wiring
This product is manufactured to class I category and requires
an earth connection
COLOUR CODING:
L - Live = Brown
N
- Neutral = Blue
- Earth = Green & Yellow
REPLACEMENT OF LED STRIPS
WARNING - turn off at consumer unit or fuse board before accessing wiring.
When replacing an LED strip please follow the steps illustrated below.
When working at heights, please use a suitable platform to work from.
Please note: For new installations, check for any electrical cables or pipe
work (gas/water) in the vicinity of the intended mounting point before proceeding
with the installation.
Ensure that the fixing location is able to take the weight of the complete fitting.
Wear suitable eye protection when drilling. Be careful when using power tools near water.
1. 2.
ILLUMINATED CABINET INSTALLATION INSTRUCTIONS
THIS PRODUCT MUST BE EARTHED. IF THERE ARE ONLY TWO WIRES COMING FROM YOUR POWER
SUPPLY IT MEANS THAT THIS FITTING BE WIRED TO AN UNEARTHED CIRCUIT. CONTACT A QUALIFIED
ELECTRICIAN TO INSTALL A SUITABLE EARTH FACILITY.
ENSURE ELECTRICITY IS SWITCHED OFF AT THE MAINS BEFORE INSTALLING OF MAINTAINING ANY
ELECTRICAL PRODUCT.
THIS PRODUCT IS FOR INDOOR USE ONLY.
THIS PRODUCT IS IP44 RATED AND SHOULD BE INSTALLED ONLY IN ZONES 2 & 3 OF THE BATHROOM
AS DEFINED BY THE IEE WIRING REGULATIONS (SEE DIAGRAM BELOW)
REPLACE FAILED LAMPS IMMEDIATELY. ALLOW THE GLASS, LAMP AND FITTING TO COOL BEFORE
REPLACING THE LAMP.
BC Designs Tel: 01206 827100 website@ www.bcdesigns.co.uk email:[email protected]
IN THE EVENT THAT ANY PROBLEMS ARE EXPERIENCED WITH THIS
PRODUCT PLEASE REFER TO YOUR SUPPLIER BEFORE ATTEMPTING ANY
REPAIR. OTHERWISE GUARANTEES & WARRANTIES MAY BE VOID.
●
c/w Wave-on Sensor Switch
SABRE
Installation procedure
1.Open the carton and make sure all the parts listed below are present
FLOOR
FROM
HEIGHT
DESIRED
CHOOSE
DISTANCE A BETWEEN
CENTERS OF BRACKETS
2.Mark a desired height of the mirror and draw a horizontal line on the wall which corresponds with the
height of the cabinet hangers. Drill the required holes and insert the wall plugs. Note: Wall plugs provided
are suitable for Stone or Brick walls. For other wall types use appropriate wall plugs. If in doubt consult an
expert.Then screw the brackets to the all using the screws provided. Please ensure the screws are fully
tight.
3.Make the electrical connections, make sure to turn o ffthe electrical supply at the mains. Connection must be made in
accordance with the latest IEE regulations. This cabinet is manufactured to Class I and requires an earth connection.
4.Hang the cabinet on the wall bracket. The claws on the cabinet hangers must be securely located on the wall brackets. Using
a spirit level to adjust the angle of the cabinet by turning the screw A with a cross head screwdriver.When the angle is properly
adjusted, tighten the screw B on both hangers. Then secure the base of the cabinet to the wall with provided screw and
over-cap.
5.Close and secure the internal top electrical cover with the small screws removed earlier. And switch on the electrical supply at
the mains to test the function of the lamp and the shaver socket.
6.Insert the shelf supports in the desired positions starting with the top shelf. On the double door item, one of the doors should
be removed so the glass shelves can be inserted. Please make sure to tighten the plastic screw at the bottom of the shelf
support to prevent the shelves becoming loose. Rubber plugs provided can be used to cover unused shelf holes.
7.If the doors are out of alignment, please first remove the soft-close buffer (from bottom hinges), then adjust the screws A, B
and C on hinges for 3 directional adjustment, see below diagram.
A
B
C
A
3x
7x
2x 12x1x 1x 8x
7x
1.
2.
3.
4.
ILLUMINATED CABINET INSTALLATION INSTRUCTIONS
BC Designs Tel: 01206 827100 website@ www.bcdesigns.co.uk email:[email protected]
A
Ph2
Ø8 mm

This manual suits for next models

1

Popular Indoor Furnishing manuals by other brands

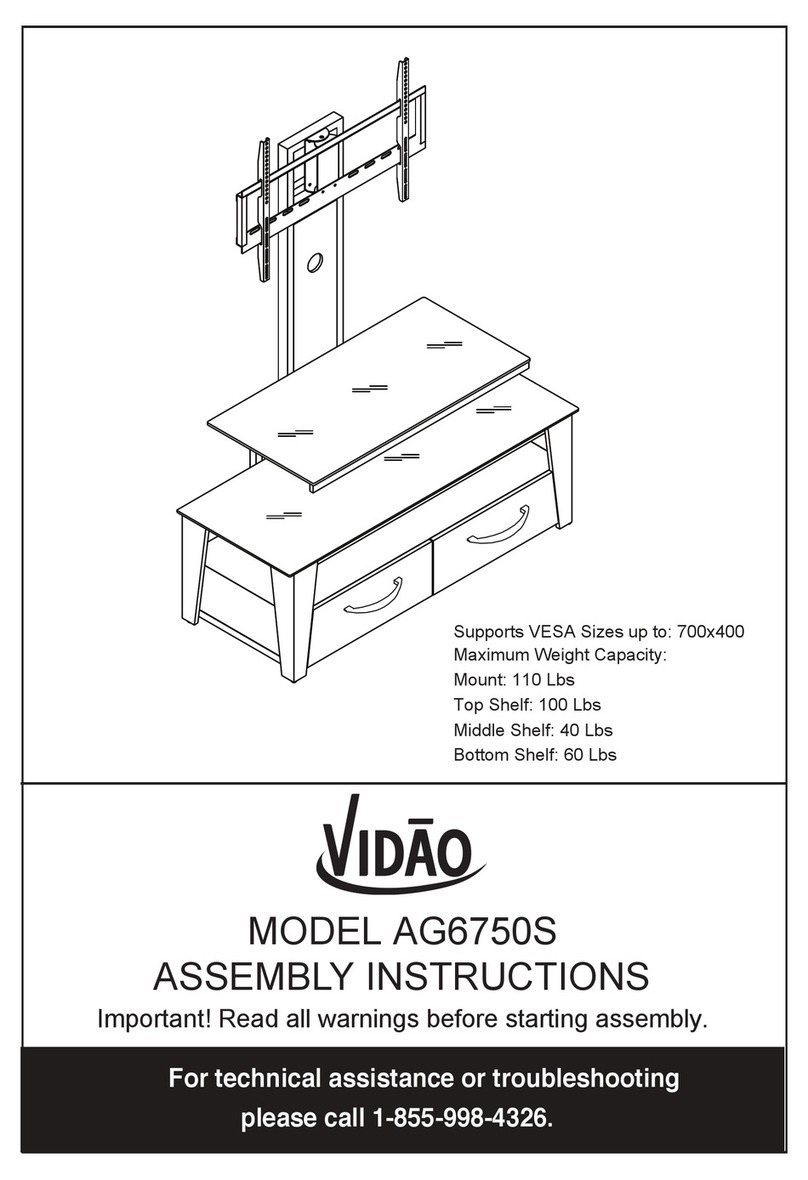
Vidao AG6750S Assembly instructions

Vidao

Vidao AG6750S Assembly instructions

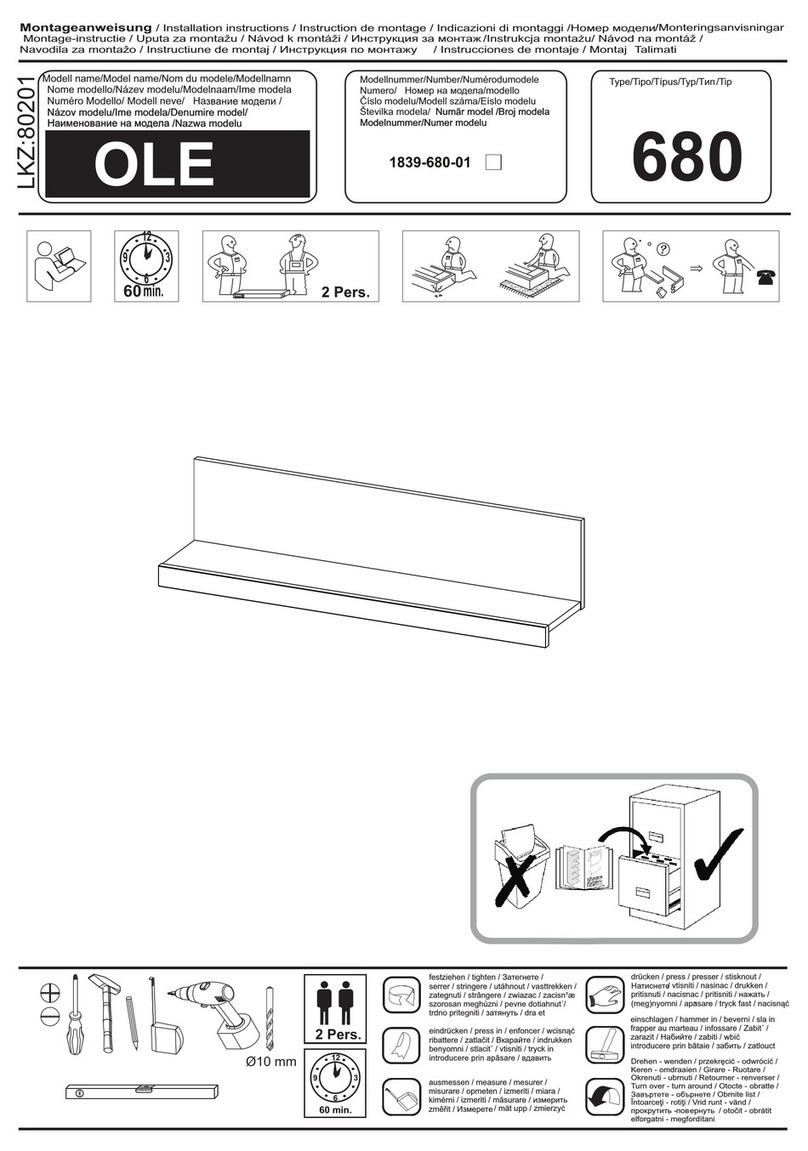
Trendteam OLE 1839-680-01 installation instructions

Trendteam

Trendteam OLE 1839-680-01 installation instructions

Coaster EASTERN KING BED 215681KEB1 Assembly instructions

Coaster

Coaster EASTERN KING BED 215681KEB1 Assembly instructions

Next JEFFERSON T10401 Assembly instructions

Next

Next JEFFERSON T10401 Assembly instructions

modway EEI-6168 Assembly instructions

modway

modway EEI-6168 Assembly instructions

Whittier Wood Furniture McKenzie 1374AFGAC Assembly instructions

Whittier Wood Furniture

Whittier Wood Furniture McKenzie 1374AFGAC Assembly instructions

Steelcase Universal Shelf Assembly instructions

Steelcase

Steelcase Universal Shelf Assembly instructions

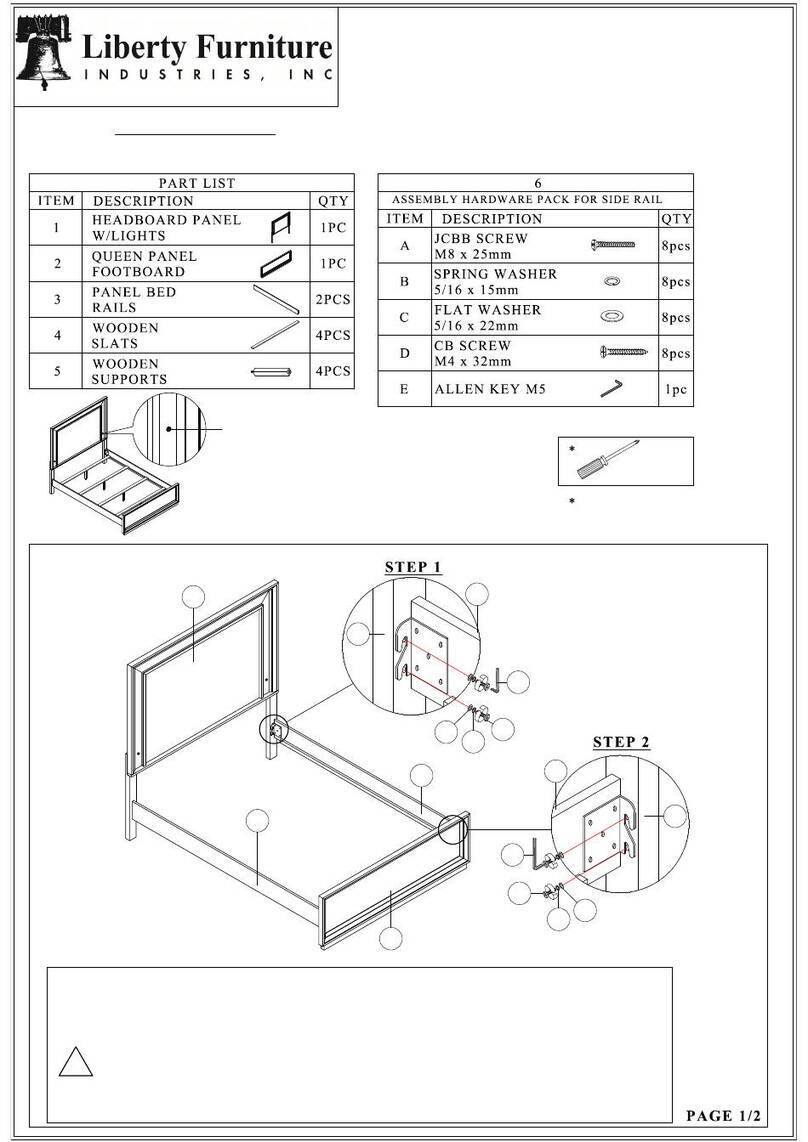
Liberty Furniture 272-BR90 Assembly instruction

Liberty Furniture

Liberty Furniture 272-BR90 Assembly instruction

dynarex DynaRest Airfloat 100 quick start guide

dynarex

dynarex DynaRest Airfloat 100 quick start guide

nardi POP 048 Instruction guide

nardi

nardi POP 048 Instruction guide

Dunelm ADELE 5FT Assembly instructions

Dunelm

Dunelm ADELE 5FT Assembly instructions

HULALA HOME TVSD0725 manual

HULALA HOME

HULALA HOME TVSD0725 manual

Winco 8500 CUSTOMER INSTRUCTIONS

Winco

Winco 8500 CUSTOMER INSTRUCTIONS

Lightolier T-BAR LIVE END Instructions for maintenance reference

Lightolier

Lightolier T-BAR LIVE END Instructions for maintenance reference

BluDot DAILY TASK CHAIR Assembly notes

BluDot

BluDot DAILY TASK CHAIR Assembly notes

OMT-Veyhl OV1024 user guide

OMT-Veyhl

OMT-Veyhl OV1024 user guide

Wren Kitchens BASE UNIT 600 Assembly guide

Wren Kitchens

Wren Kitchens BASE UNIT 600 Assembly guide

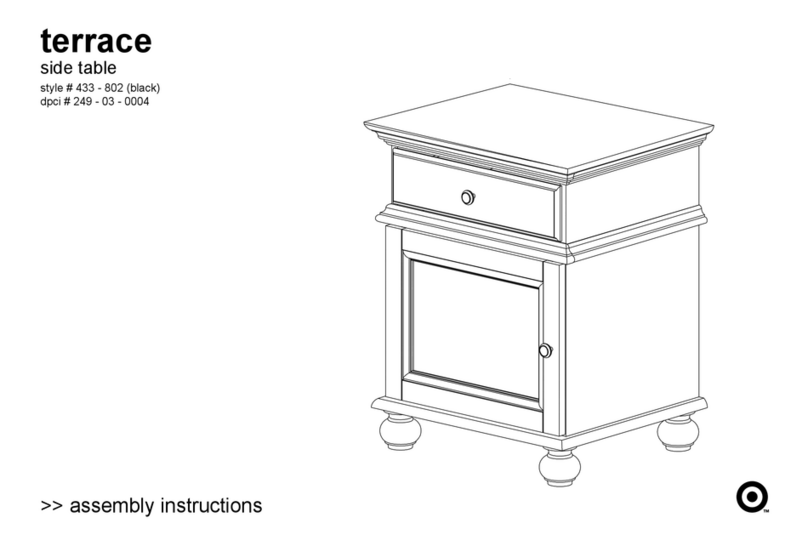
Target Terrace Assembly & instruction manual

Target

Target Terrace Assembly & instruction manual

manuals.online logo
manuals.online logoBrands
  • About & Mission
  • Contact us
  • Privacy Policy
  • Terms and Conditions

Copyright 2025 Manuals.Online. All Rights Reserved.