H/U
H/U
Panel
Panel
Bolts(4)
Clips (2)
Clips (4)
Screws (2 )
Acccase
ACVentPanel
OEMAudioUnit
Bolts(4)
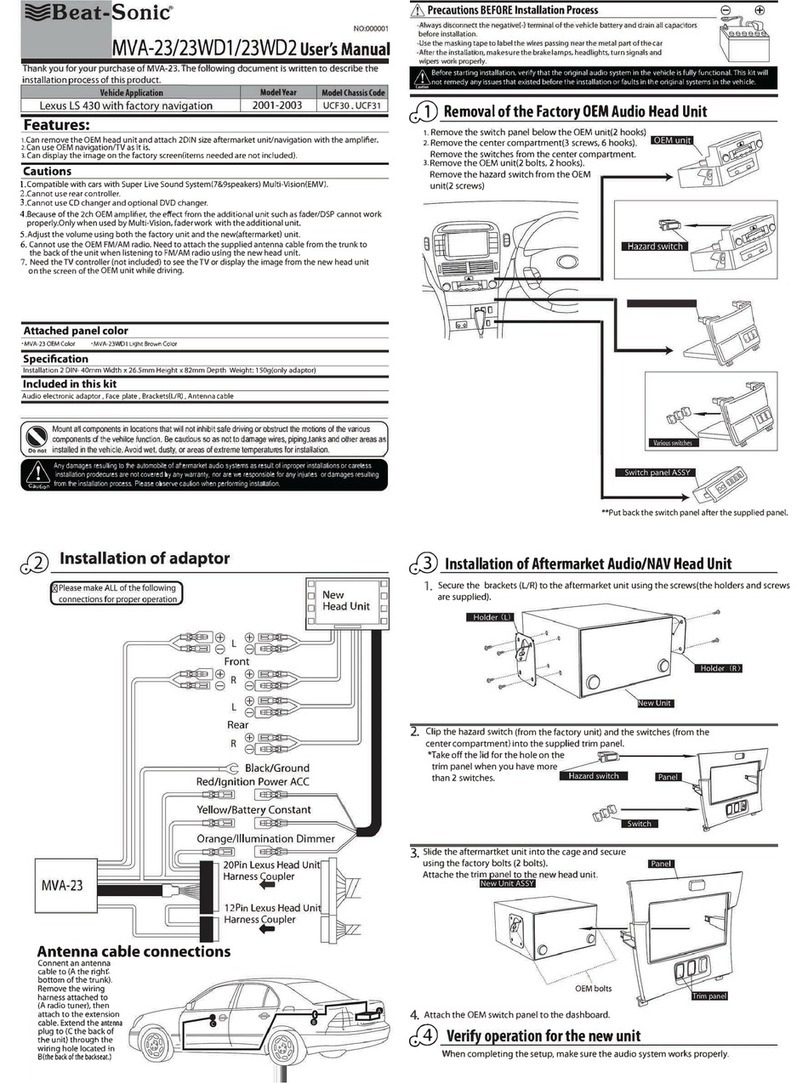
Mount all components in locations that will not inhibit safe driving or obstruct motions of various
components of the vehicle functions. Be cautious not to damage wires, piping, tanks and other
areas as installed in the vehicle. Avoid wet, dusty or areas of extreme temperatures for installation.
Damagesresultingtothevehicleofaftermarketaudiosystemasresultofinproperinstallationsor
carelessinstallationarenotcoveredbyanywarranty,norareweresponsibleforanyinjuriesor
damagesresultingfromtheinstallationprocess.Pleaseobservecautionwhenperforminginstallation.
Make sure that the original audio head unit and sound systems are in working order.
This kit is not designed to resolve issues that existed before installation.
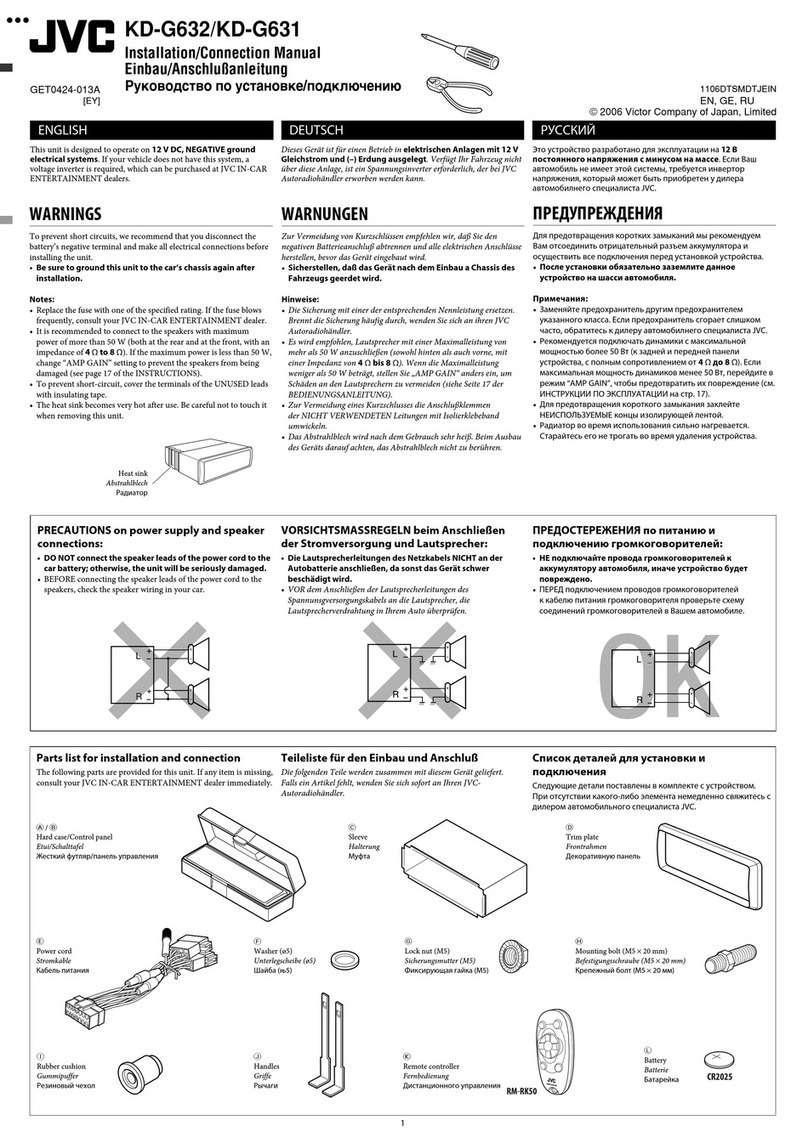
LexusIS300w/PremiumSound
CarModel ModelYear ModelChassisCode
2002-2005
SXE10、GXE10 、JCE15W、JCE10W 、GXE10W
1.Allowplugandplayinstallationofanaftermarketaudiosystem.
1.Fronttorearspeakerfaderwillbedisabled.
2.Someaftermarketsystemsmaysoundaslightpoppingnoiseuponfirstpowering
uptheaudiosystem.
*Always disconnect the negative terminal of the vehicle battery before installation.
*Protect all wires that must be located near sharp metal parts of the vehicle.
*Check after installation that all vital features such as wipers, lights, brake lamps, etc
are in working order in addition to the installed systems.
Installation 2DIN - 40mm Width x 25mm Height x 82mm Depth Weight: 250g Brackets, Dash Pieces and Adapter
OEM Toyota dash panel, SLA-91 adapter, installation manual
RemovetheACventpanel.
Accessorypanelisremoved
OEMAudiounitisremoved。
(4clipsand2screws)
Attachthefactorycarriermainbracketsasshown
using6screwsoneachsidesuppliedbytheaftermarket
headunit.
(2clips)
(4Bolts)
1.
1.
Installtheaftermarketheadunittothe
appropriatelocationasshown
reusingfactory4bolts.
2.
Mountthedashpieceincludedwiththekitasshown.
3.
Doublechecktomakesurethenewdashpieceisconnectedsecurely.
4.
2.
3.
TRC(SNOW)Button
NO:000003
AdditionalNotes
Thedashpanel(includedwiththekit)
ismountedasshownontheright.
Payspecialattentiontothe
mountingpointascircledtotheright. TopView
SLA-91InstallationManual
LexusIS300w/PremiumSound
ThankyouforyourpurchaseofBeat-SonicSoundAdapterSLA-91.
Pleasereadthefollowinginstructionscarefullyduringinstallationandoperation.
・
.1Removaloftheoriginalheadunit
.3Installationofaftermarketaudioheadunit
.2
.4Testingthenewaudiosystem.
Checkthatallcomponentsfunctionaswellasallelectrialfunctionsofthevehicle.
Amplier Remote Wire
Dependingonthe
manufacturerormodelof
theaftermarketradio,the
referenceandnamesofthe
AmplifierRemoteTrigger
Wiremaydiffer.Pleaserefer
totheinstructionsas
providedbytherespective
audiounittobeinstalled.
Features
Precautions
PrecautionsforInstallationProcedures
Dimensions
Package Contents
MakeALLofthefollowing
connectionsforproperoperation.
*If the aftermarket radio does not come with an amplier
remote wire, connect to the acc power.
Bracketー(L)
Bracketー(R)
Includedwiththekit
ネジ(6)
&
TRC
OFF
*If equipped, please installal the appropriate
button as shown.
20 Pin
Connector 20PinOEM
Connector
Black/NegativeGround(-)
FrontspeakerOutputs
Orange/IlluminationDimmer
Blue/AntennaRemote
Yellow/BatteryConstant(+)
Red/IgnitionPowerACC(+)
Blue/White/AmplifierRemoteTrigger(+)
SLA-91
Aftermarket Head Unit
STEREO DASH KITS
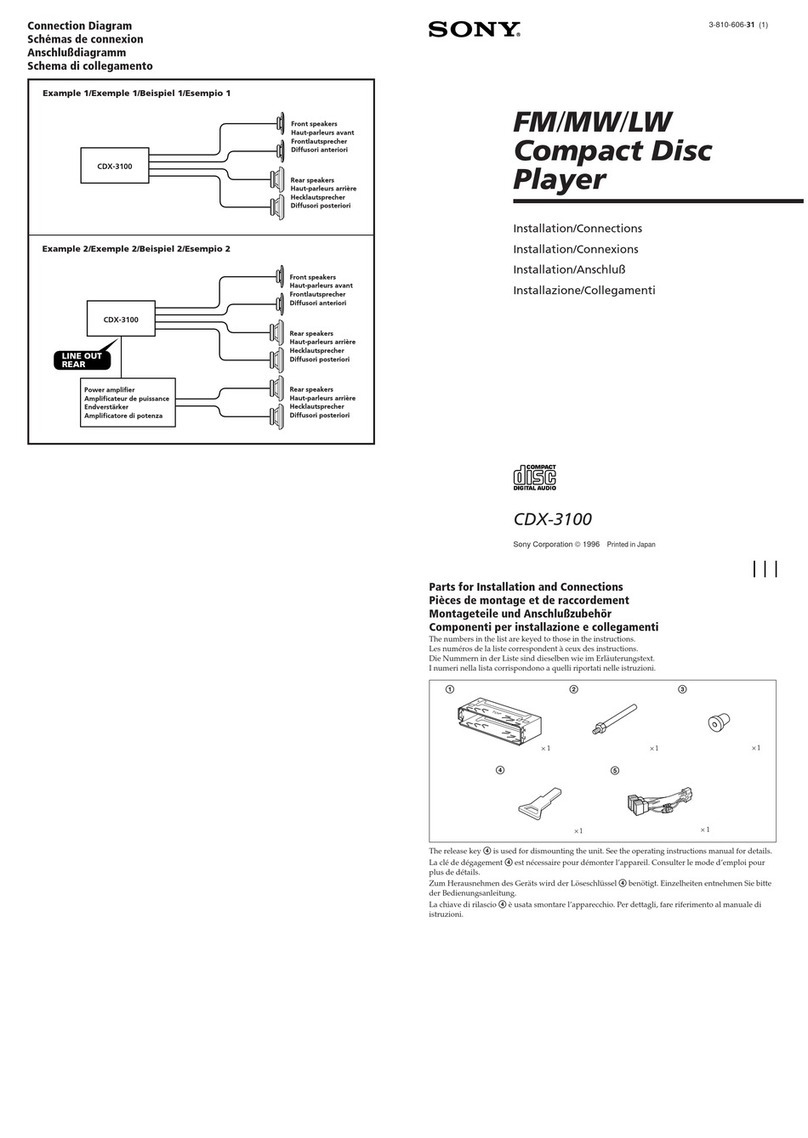
BEAT-SONIC STEREO INSTALLATION COMPONENTS
