Rock Mars DD-6219 User manual

2014
DD-6219

01 14
Touch calibration
If touch calibration error occurs, you can adjust the touch panel coordinates by “Touch calibration”.
Click icon on setup interface, input password [888888] to confirm to access touch calibration interface, as shown in diagram below:
Touching methods
Use touch pen to click the center of “+” icon, and move along with center of “+” icon so as to calibrate the screen. It shall automatically
save data and exit after screen calibration.
Please accurately click all positions on screen, or the accuracy of touch calibration shall be affected.
Trouble shooting
PROBLEM CAUSE CORRECT ACTION
Poor performance of
radio station
Cannot load disk There is a disk inside
After ignition is switch
off, all settings and
information is lost
Reset information and save
Change battery or fuse
Cannot power on
Change fuse same as the old one
Some factors cause MPU wrong operation Press RES button on the panel by
power on
penpoint, then,
Weak signal Move the car to another place, then research
Cannot play disc
Disc is scratched Change disc
Wrong side of disc inserted into the unit Insert disk with label side up
Clean lens by lens clean disc
Cannot switch
language/subtitle There is only one language/subtitle in disc If disc is not with multi-language/subtitle, it cannot
switch language/subtitle
No image Some factors caused MPU wrong operation Press RES button on the panel by penpoint; then
power on
Cannot watch image
during driving It’s not allowed to watch image during driving
Check fuse
Remove disc before inserting another one
Park the car in a safe place, put the car in “ P ”
position, pull up the hand brake, also parking brake
wire must be grounded.
Lens is dirty
CONTENTS
Panel function description 02
Remote control function 03
General setting 12
Video setting 13
Trouble shooting 14
Touch calibration 14
Audio setting 13
Language setting 13
Time setting 12
Disc Function Operation 07
Radio Function Operation 06
U Disc/SD Card function operation 05
Access main interface 05
Turn on/off Host 05
Access setup interface 12
Other Function Operations 11
10
External input operation (Optional)
MUSIC function operation 10
Radio setting 13
11
Steering wheel setting
BT Function Operation 08

13 02
Language setting
During use, you can select your preferred language for displaying menu in language setup.
Click icon on setup interface to access language setting interface, as shown on right side PIC 1:
Click the preselected language option on the language bar, desired to be set so as to switch the
language type, when there are more than 3 languages, direction icon shall pop up, click them to
select your preferred language.
Video setting
Click icon on setup interface to access video setting interface, as shown on right in PIC 3:
At video setting interface, you can adjust brightness, contrast, saturation and hue of the video.
Audio setting
You can turn on or turn off the existing functions on audio setting interface and adjust the rearview
volume.
Click icon on setup interface to access audio setting interface, as shown on right in PIC 2:
PIC 3
PIC 4
Radio setting
Touch preselected radio interface option, icon will popup, click on it to choose radio region.
Click on in setting interface, input password [123456] to enter as shown on right in PIC 4:
Panel function description
1. SRC/VOL button
Press this button to turn on power, during working long press this
button to turn off power, on any mode, shortly press to return to
main menu, rotate this button to adjust volume level.
2. SD slot
Insert SD card to read video, audio and image files of large
volume.
3. AUX slot
To input external audio.
Warning: You can only use either front or rear AUX at a time.
Never connect both front and rear AUX at the same time.
4. RESET
Press this button to revert back to default mode.
5. APS button
In radio mode, short press the button to browse memorized station,
long press to search stored stations automatically.
6. DBAS button
Press this button to turn bass on/off.
7. SEEK+/- button
In radio mode, press the knob to select station upward/backward.
Long press the knob to automatically scan station. In playback
mode, short press the knob to select song upward/backward,
long press it to achieve speed forward/backward function.
8. Eject disc
Press this button to eject the disc.
9. Disk Insert/remove
Insert/remove disc window.
10. DVD button
In any mode, press the button to enter into DVD auto reading
mode.
11. MUTE button
Press the button to close volume output, re-press it to resume
previous volume level.
12. RADIO button
In any mode, press this button to access radio mode.
Note: For certain models, pressing the button in radio mode will
switch band.
13. USB slot
Connect USB device to read video and audio files.
Warning: You can only use either front or rear USB at a time.
Never connect both front and rear USB at the same time!
This could cause the unit to malfunctions.
14. IR
Receiver for infrared signals from the remote control of the unit.
15. MIC
Microphone.

03 12
Access setup interface
Click [Setting] icon on main interface to access setup interface.
General setting
Click icon on setup interface to access general setting interface, as shown in PIC 1 below:
In general setting interface, you can select to turn on or turn off the existing functions. You can set wallpaper and opening picture and
check the version number of DVD/MCU/TFT, click icon to scroll up/down.
Wallpaper selection
Click on pre-selected wallpaper option and the direction arrows shall pop up , click them to select wallpaper.
Opening picture
Click on pre-selected Logo option to select the opening picture, direction arrows shall pop up , click it to select opening picture.
Time setting
Click icon on setup interface to access time setting interface, 12h/24h can interchangeable, as shown below in PIC 2:
Click on the existing hour and Min values to enter new values on the time bar, as shown below in PIC 3:
Click icon beside hour and minute to separately set hour and minute.
Remote control function
1. POWER button
Press once to switch on, press again to switch off.
2. MUTE button
Press once to turn off audio output, press again to resume volume
level.
3. DSP button
Press the button to show the time.
4. SOURCE button
Press this button to choose between audio sources.
5. EQ button
Press this button to choose between POP, ROCK, CLASSIC, EQ off.
6. SEEK+ ( ) / SEEK- ( )button
In normal playback MP3, USB, SD songs, press this button to
select previous song or next song.
7. VOL+ ( ) / VOL- ( )
Press this button to increase or decrease volume level.
8. SEL button
Press this button to choose sound feature.
9. LOUD button
Press this button to enable LOUD function.
10. BAND - P/N button
In radio mode, press this button to choose band.
In VCD, DVD mode, press this button to choose AUTO, PAL or
NTSC system.
11. LOC/RDM button
In radio mode, press this button to switch between local and
direction, In VCD, CD mode, press this key to randomly play.
12. STOP button
Press this button to stop playing.
13. PLAY/PAUSE button
Press this button to switch between play and pause, In stop mode,
press this button to play.
14. ST/PROG button
In radio mode, press this button to choose stereo or mono station.
In audio mode, it can help stop button to programmed play.

04
Other functions
Rearview function
In any running state, the video signal can switch to reverse video state when reversing the car, and the system shall return to its initial
running state after reversing the car.
Warning
Do not rely on CCD system completely, please make
sure your car is safe by your eyes during driving.
Back rearview system only assists in driving. As the
distance range of rearview system is limited,
completely relying on the rearview system during
driving may cause accidents.
Reverse field simulation Rearview backup image
Steering wheel setting
1. Click on the [Steer] icon in the main interface into the steering wheel settings interface.
2. The original vehicle to the control line positive, negative with the machine control line in the
positive and negative connection.
3. Click the steering wheel buttons will appear corresponding operating tips, and fundamental
operation prompts the steering wheel feature set.
4. Set function to save the settings and click the Confirm icon to confirm.
Note: To modify function settings, repeat procedures 3~4.
To reset functions, click Reset icon, all the settings set before shall be cleared, repeat procedures 3~4 for resetting.
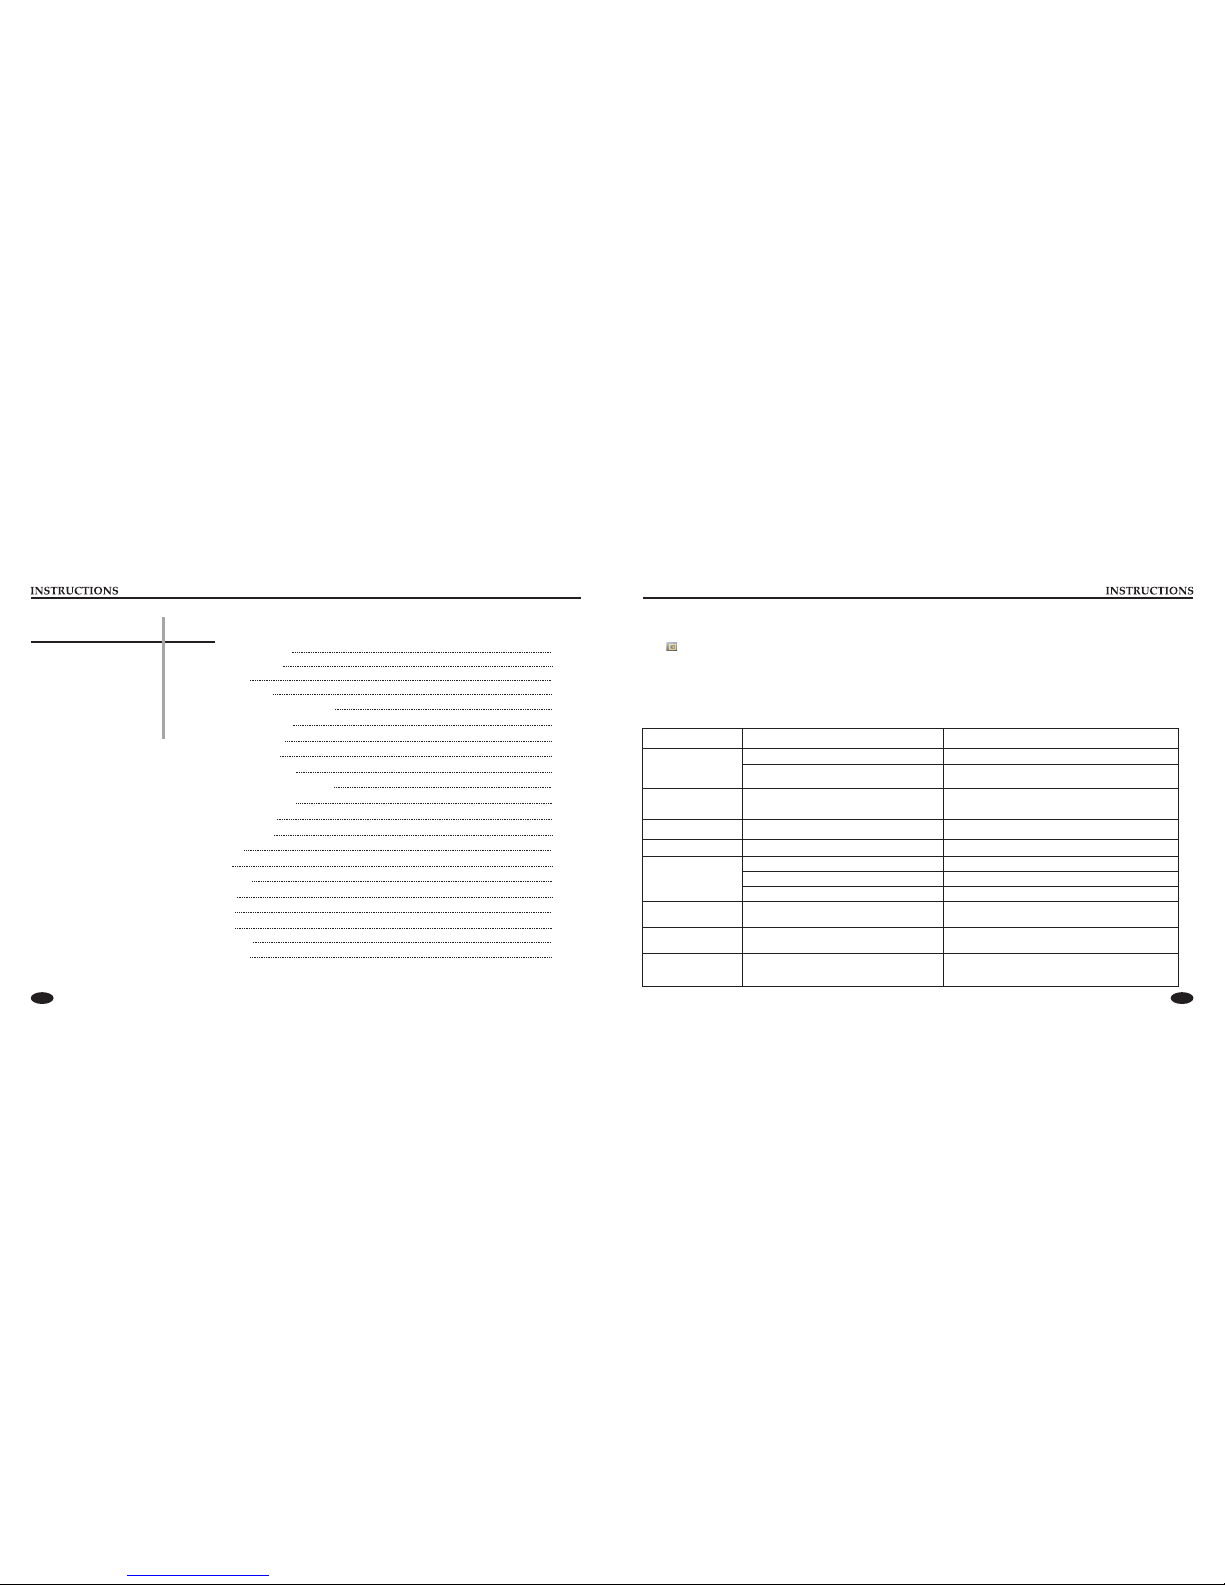
15. 0-10+ button
Press this button to choose desired song, section, preset stations.
For decimal numbers, for example the 19th song, press 10+ and 9
button.
16. AMS/RPT button
In radio mode, press this button to browse stored stations.
In audio mode, press this button to play repeatedly.
17. TITLE button
In DVD mode, press this button to play back to the top menu of
disc.
18. AUDIO button
In DVD mode, press this button to switch language of dialogue.
In VCD mode, press this button to choose left track, right track,
and stereo.
19. GO TO button
In DVD mode, press this button to define playing time.
20. SUB-T button
In DVD mode, press this button to switch language of subtitles.
21. PBC button
In VCD mode, press this button to display all songs menu, work
with number button to choose songs.
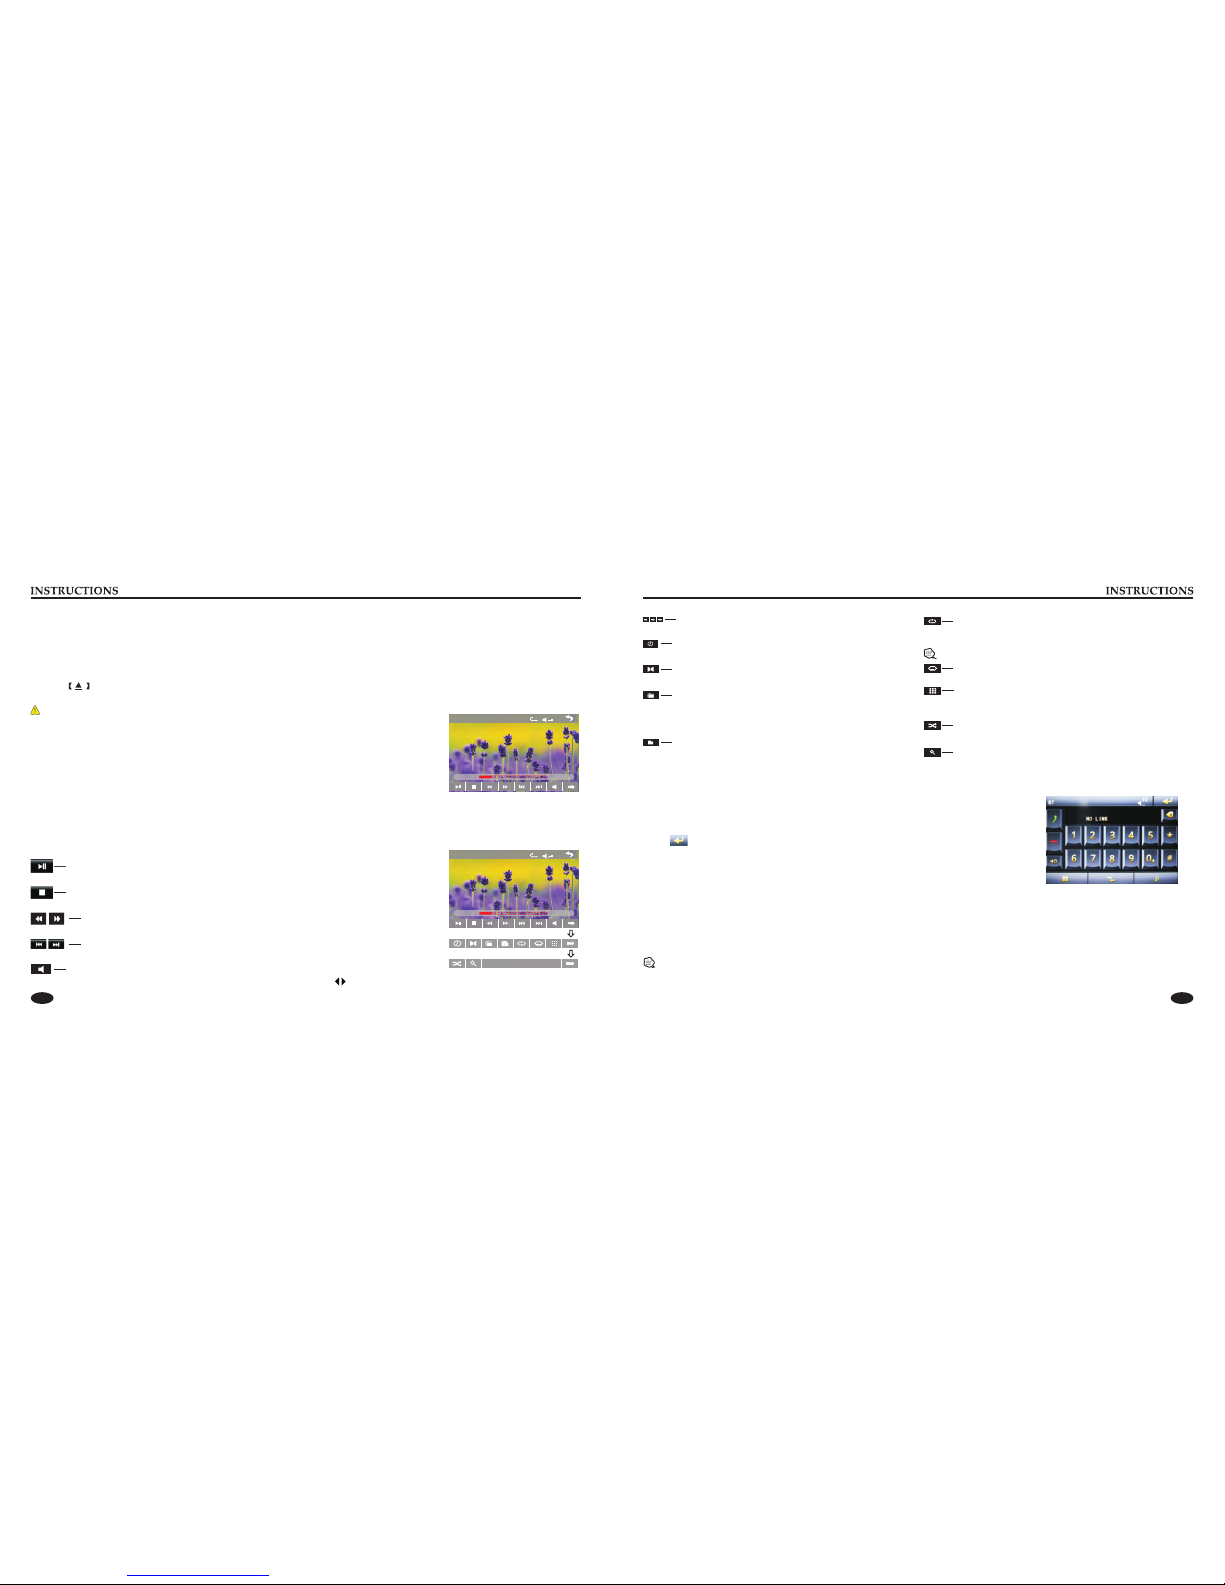
22. UP, DOWN, LEFT, RIGHT, ENTER button
When playing MP3, USB, SD returns to song menu, up, down
selections can be up / " " button or down / " " key to select up
and down, select and press " " key to confirm. The selected
track will be played.
Press the left or right arrow keys " " or " " key, can be used
for the next page function operation.
23. SLOW button
In audio mode, press this button to slow backward or slow
forward.
24. ANGLE button
In DVD mode, press this button to change play angle.
25. SETUP button
In audio mode, press this button to choose different set items.
26. OSD display
Press this button to display the title chapter and remaining time.
27. ZOOM button
In DVD/VCD mode, press this button to ZOOM in/out.
28. MENU button
Press button to go back to the main menu.
BATTERY CHANGE
When control distance of remote control becomes shorter or stops
functioning, please change the battery, please confirm polarity
before changing.
With one hand press stopper, then pull out the battery.
Put the battery into the controller.
Insert battery holder into the controller.
11

05 10
Turn on/off Host
When the ignition switch is put in ACC or ON position, Press [ ] button on the front panel to turn on the unit. After the host starts,
hold [ ] button for 3 seconds to turn off unit.
Access main interface
Turned on, press the return icon to switch to the main interface. As shown below:
When there is a USB device/SD card connected, the unit can play audio/video/image files in the USB device/SD card.
Insert/Eject USB storage device
1. Connect a U disc recorded with media information to the unit by a USB connecting cable.
2. When ejecting the USB device, exit the USB device playback screen first, and then take out the device.
Insert/eject SD card
1. Insert an SD card recorded with media information into the SD card slot in the unit correctly until it is locked.
2. When pulling out the SD card, exit SD card playing state first, then press the SD card and it shall pop up after unlocking.
Enter/exit
Insert a USB storage device or SD card to automatically play data contained in it. If the unit is connected with a USB device or SD
card, touch [USB] icon in the multimedia interface to enter into the external storage playback interface; Touch [SD] icon to enter into
the SD card playback interface. During playback, touch the top center area of the screen to pop up the touch menu, operate touch
menu to perform various playback controls.
Play
After SD card/USB removable device has been read out, the operation methods are similar to disk operation methods.
U Disc/SD Card function operation
Touch the function icons so as to access the corresponding function operations.
Touch the [ ] icon or use the touch pen/finger to gently sliding around the screen to switch the main menu page.
MUSIC function operation
Connect to Music first, touch [Music] icon on main interface to access M interface, as usic shown in diagram below:
Play/Pause
Fast forward play/ Fast backward play
Stop
Volume adjustment knob
Back to the main interface
Previous Song/Next Song
External input operation (Optional)
Connect the video input plug with external video input jack, and connect the audio input plug with external audio input jack.
Touch [AUX] icon on main interface to access external AUX interface.
Audio →You can adjust the volume, bass, pitch for input audio. You can adjust the speaker volume by adjusting the front and back,
left and right column.
Video →You can adjust the brightness, contrast, saturation and hue for input video. You can also choose the video standard mode.

06
09
Radio Function Operation
1.
Touch [Radio] icon on the main interface to enter into the radio interface.
Touch icon to return to main interface, and then touch other function icons so as to exit
radio mode.
2. Band selection
Click icon so as to switch among FM1, FM2, FM3, AM1, AM2 bands.
3. Search/Save radio stations
Short press icon to browse the stored radio stations. FM band can save 18 radio stations (Six stations for FM1/FM2/FM3 each),
AM band can save 12 radio stations (Six stations for AM1/AM2 each).
4. Sound setting
Click icon to access sound setting interface.
5. Turn on/off the Long/Short-range
Click icon to switch the search pattern between local search (LOC) and remote search (DX). LOC feature is turned on only if the
signal is strong enough to listen to those in good condition, and reception of radio stations; DX enabled, you can receive remote weak
radio signals.
Note: This function is available only when FM band is selected.
6. Loudness on/off
Click icon so as to turn on/off loudness function.
7. Stereo on/off
When receiving stereo signals, click icon to turn on/off stereo.
Enter/exit
5. BT music
Click to access BT music interface.
Previous song
Play/Pause
Next song
4. Call records
Click to access call records interface.
Touch this button to check all the phone numbers of missed calls.
Touch this button to check all the phone numbers of received calls.
Touch this button to check all the dialed phone numbers.
3. Dialing
You can dial on mobile phone directly or input phone number through the numeric keypad on the screen, click to delete if there is
input error.
After entering phone number, click to make a call, and click to hang up the phone.
Click during a call so as to switch the voice between car speaker and mobile phone.

07 08
Disc Function Operation
1. Play/eject disc
Play disc
Insert the disc into the disc slot with the printed surface up, system will detect the disc and automatically take it in, to read and play.
Eject disc
(1) Click button on the panel to eject the disc.
(2) If a disc is not taken away within 15 seconds after it is ejected, system will automatically take the disc in, but not play.
Do not insert two discs or more.
Play/pause
Touch the button to pause, retouch it to continue to play.
Stop
Touch the button to enter into pre stop status.
The previous/next song
Touch the button to select the previous/next song respectively.
Fast forward/backward
Consecutively touch either of these button to select the fast-forward/fast-backward speed respectively.
Volume adjustment button
Touch this button and volume adjustment modulation shall pop up, touch button to adjust the volume.
2. DVD/VCD disc playback
During playback of disc, touch the middle lower area of the screen to pop up the touch menu,
operate the touch menu to perform various playback controls. (PIC 1)
3.
After a CD is inserted, system shall enter disk reading state immediately.
When there is a disk in the device, click [Disk] at the main interface so as to enter disk reading state.
After the disk has been read out, system shall automatically play in sequence.
4. MP3/JPEG/MPEG4 disk playing
When the disk contains readable files, such as MP3/JPEG/MPEG4 files, it shall be automatically read out and played after inserting into
DVD player.
During playing, touch the screen area and the touch menu shall pop up. Operate the touch menu for various playing options.
CD Disc Playback
5. Touch Menu Function Description
PIC 1
x
20
TT 1/1 CH 1/48
00 :09:4 3
00:01:44
x
20
TT 1/1 CH 1/48
00:09:4300 :01:44
Repeat play
In playing state, touch this button to start repeat play function:
Chapter repeat → Title repeat →Repeat All → Off.
During VCD playing, this function only works when PBC is off.
Access next menu
Touch to access the next menu interface.
Time setting
Touch this button to access time setting interface.
Stereo on/off
Touch this button to toggle stereo.
Return to root menu
Touch this icon to return to root menu of disk in DVD state and access
PBC menu while playing in VCD state. All chapters in the disk shall be
displayed on the interface, touch the chapter icon directly to play.
Access title menu
Press this button to return to title menu of the disk. Directly click menu
bar at title menu interface to play.
Language selection
Touch this button to select language.
Digit keyboard
Touch this button and digit keyboard shall appear, click number
buttons directly to select tracks for playing.
Switch play order
Touch this button to switch the play order.
Zoom in/Zoom out image
Touch this button to zoom in /zoom out the image.
BT Function Operation
1. Enter/exit
Touch [ BT ] icon in the main interface to enter the BT interface.
Touch icon to exit BT interface.
2. Pair/link
To use BT hand-free function, make connection first, i.e. match the host with the BT mobile phone.
Operation methods:
Set the host to matching state, and open the BT of your mobile phone and use the mobile phone to search device, the mobile phone
shall prompt to match password with the BT when it has searched the BT device.
Input BT password (0000) on the mobile phone and confirm. The mobile phone shall prompt whether to authorize this device, please
select [Yes]. Phone and BT shall automatically connect within 20 seconds. Under any working mode, the host will switch to BT state
if there is an incoming call, and the host will restore to current mode after hanging up.
When the BT device matches with this device, the connection status will display “LINK OK”, otherwise, it will display “NO LINK”.
This manual suits for next models
2
Table of contents
Other Rock Mars Car Receiver manuals