EN
8
3Installation
Transportation
Instructions
1. The appliance should be
transported only in a vertical upright
position. The packing as supplied
must be intact during transportation.
2. If during the course of
transport the appliance has to be
transported horizontally, it must only
be laid on its right hand side when
standing in the front of the appliance.
After bringing it to upright position,it
must not be operated for at least 4
hours to allow the system to settle.
3. Failure to comply with the
above instructions could result in
damage occuring to the appliance.
The manufacturer will not be held
responsible if these instructions are
disregarded.
4. The appliance must be
protected against rain, moisture and
other atmospheric influences.
5. Empty any water in the drain
tray before moving see section
“Defrosting” and “Cleaning & Care” for
further information
Important :Make sure the plastic
evaporating pan at the back of the
product collects water properly.
Important : Care must be taken
whle cleanng / carryng the
applance to avod touchng the
bottom of the condenser metal wres
at the back of theapplance as you
mght njure your fngers and hands
Important : Ths applance s not
desgned for stackng wth any other
applance.When postonng your
applance, take care not to damage
your floorng, ppes,wall coverngs etc.
Do not move the applance by pullng
by the door or handle.Do not attempt
to st or stand on top of your applance
as t s not desgned for such use. You
could njure yourself or damage the
applance.
Important : Make sure that mans
cable s not caught under the
applance durng and after carryng
/ movng the applance, to avod
the mans cable becomng cut or
damaged.”Do not allow chldren to
play wth the applance or tamper
wth the controls.
BEKO declines to accept any liability
should the instructions not be
followed.
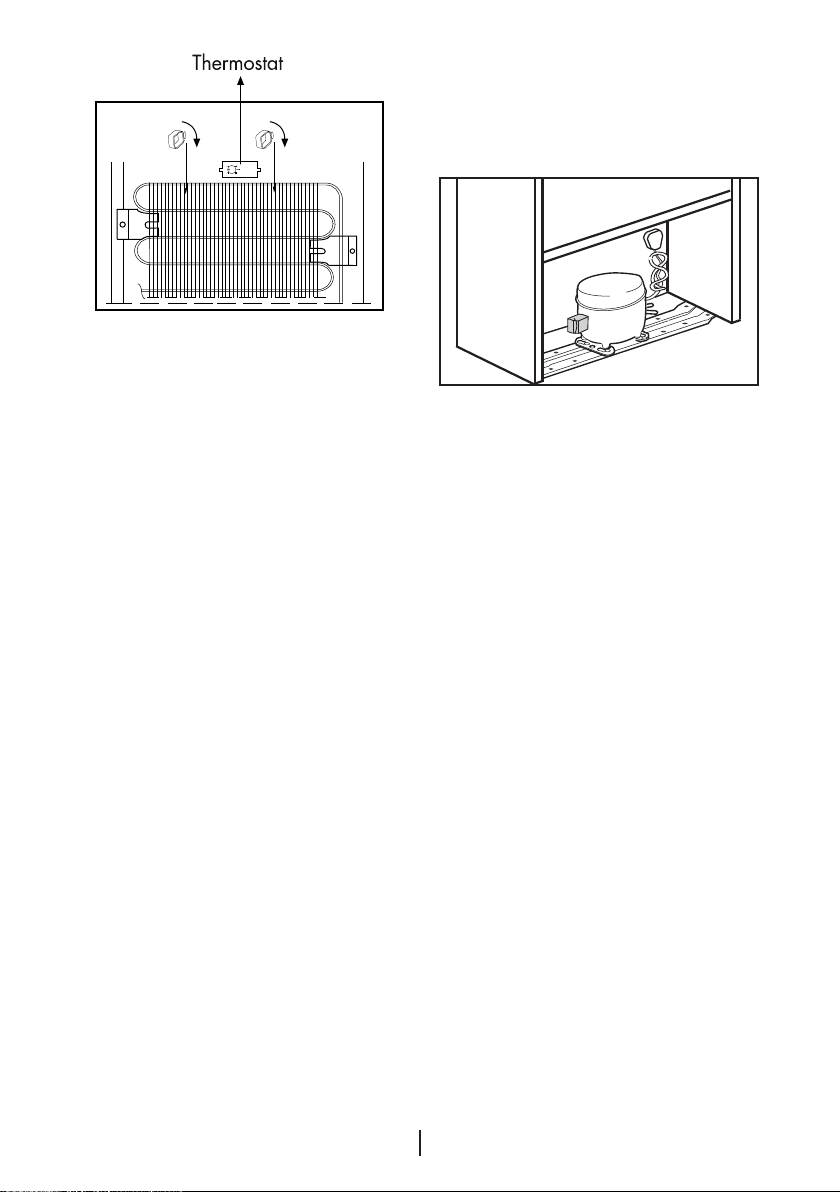
Installation Instructions
1. If possible avoid placing the
appliance near cookers, radiators or in
direct sunlight as this will cause the
compressor to run for long periods. If
installed next to a source of heat or
refrigerator, maintain the following
minimum side clearances:
From Cookers 2” (50 mm)
From Radiators 12” (300 mm)
From Refrigerators or Larder Fridge
1” (25 mm)
2. No gap is required at sides
and top. See item 3 below to ensure
a gap is obtained at the rear of the
appliance. If a gap is available on side
and top, retain it if possible as it would
improve the air circulation around the
appliance.
3. Fit the two plastic wall spacers
supplied with the appliance on to
the condenser at the back of the