10
The following information will help you to
use your appliance in an ecological way,
and to save energy.
TIPS FOR SAVING ENERGY
• Use dark-colored or enamel coated
cookware to improve heat transfer.
• Properly preheat the oven when cooking
instructions suggest to do so.
• Refrain from opening the oven door while
cooking.
• Cook multiple items at the same time or
one right after the other while the oven is
still hot.
• Defrost frozen meals prior to cooking.
• Turn oven off a few minutes before the
cooking time ends. Make sure to keep
the oven door closed to preserve the
heat necessary to finish cooking.
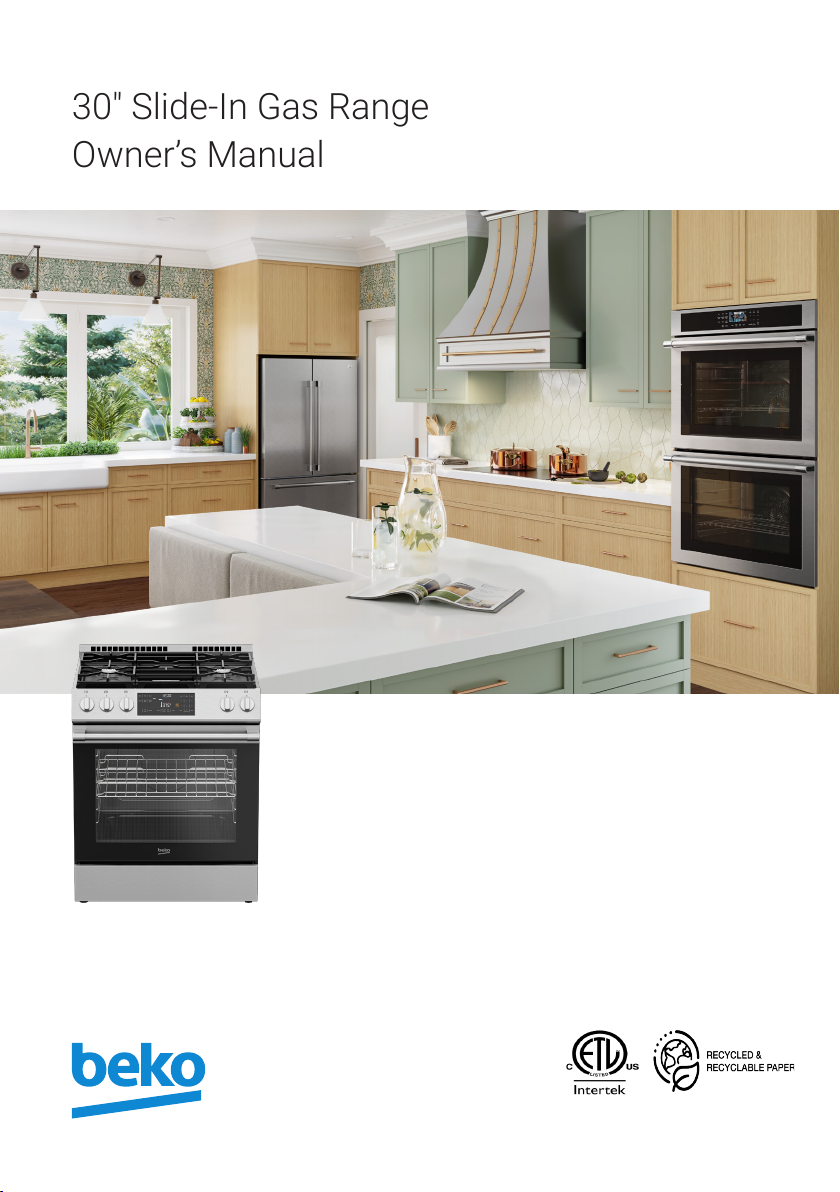
FIRST CLEANING OF THE
APPLIANCE
• Remove all packaging materials.
• Wipe the surfaces of the appliance with
a damp cloth or sponge and dry with a
cloth.
iThe surface might get damaged by
some detergents or cleaning materials.
iDo not use aggressive detergents,
cleaning powders/creams or any sharp
objects during cleaning.
For equipment with a cooling fan
• The cooling fan cools both the built-in
cabinet and the front of the product.
!Caution: The cooling fan continues to
operate for about 20-30 minutes after
the oven is switched off.
INITIAL HEATING
• Heat up the product for about 30
minutes and then switch it off. Thus,
any production residues or layers will be
burnt off and removed.
iSmoke and smell may emit for a couple
of hours during the initial operation.This
is quite normal. Ensure that the room
is well ventilated to remove the smoke
and smell. Avoid directly inhaling the
smoke and the smell that emits.
!Warning: Hot surfaces cause burns!
Product may be hot when it is in use.
Never touch the hot burners. Keep
children away.
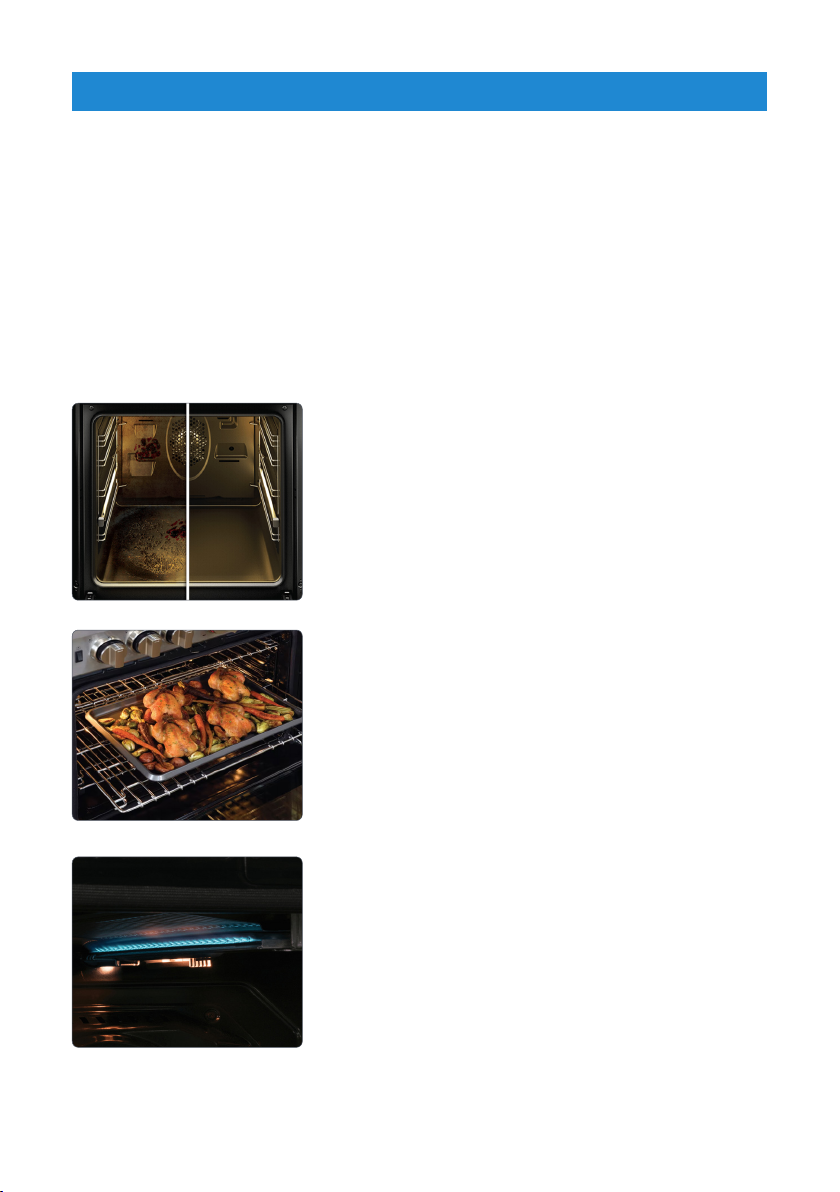
GAS OVEN
1. Take all baking trays and the wire grill
out of the oven.
2. Close the oven door.
3. Select the bake function.
4. Set the temperature 350° F.
5. Operate the oven about 30 minutes.
6. Turn off your oven.
BROIL
1. Take all baking trays and the wire grill
out of the oven.
2. Select the broil function.
3. Set the broil level to ''HI''.
4. Operate the broil about 30 minutes.
5. Turn off your oven.
PREPARATION