manuals.online logo
Brands
  1. Home
  2. •
  3. Brands
  4. •
  5. Belkin
  6. •
  7. Network Card
  8. •
  9. Belkin F6D3000 User manual

Belkin F6D3000 User manual

Other manuals for F6D3000

1

Other Belkin Network Card manuals

Belkin F5U250ea User manual

Belkin

Belkin F5U250ea User manual

Belkin F5U005EPORT Assembly instructions

Belkin

Belkin F5U005EPORT Assembly instructions

Belkin F5D9010uk User manual

Belkin

Belkin F5D9010uk User manual

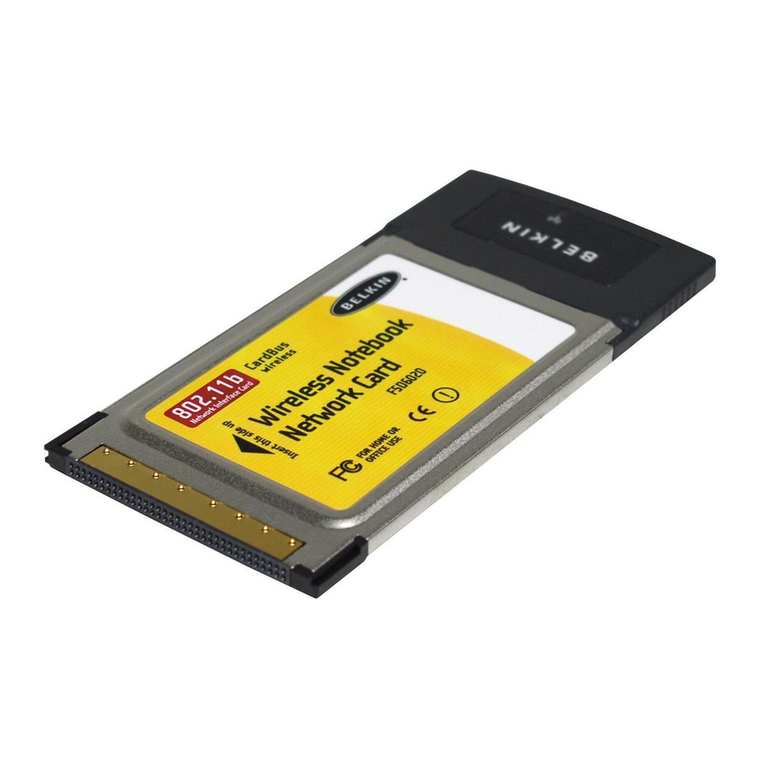
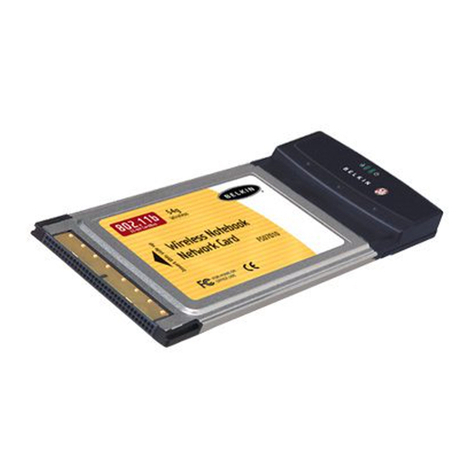
Belkin F5D6020 User manual

Belkin

Belkin F5D6020 User manual

Belkin F5D7051uk User manual

Belkin

Belkin F5D7051uk User manual

Belkin F5D6001 User manual

Belkin

Belkin F5D6001 User manual

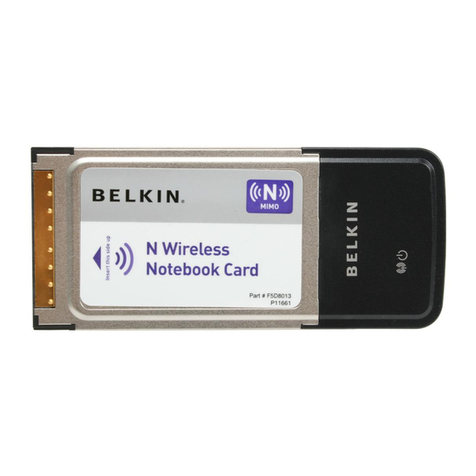
Belkin F5D8013 v3 User manual

Belkin

Belkin F5D8013 v3 User manual

Belkin F5D6020 User manual

Belkin

Belkin F5D6020 User manual

Belkin F5D7000AU User manual

Belkin

Belkin F5D7000AU User manual

Belkin F5D8001 User manual

Belkin

Belkin F5D8001 User manual

Belkin F5D9000 User manual

Belkin

Belkin F5D9000 User manual

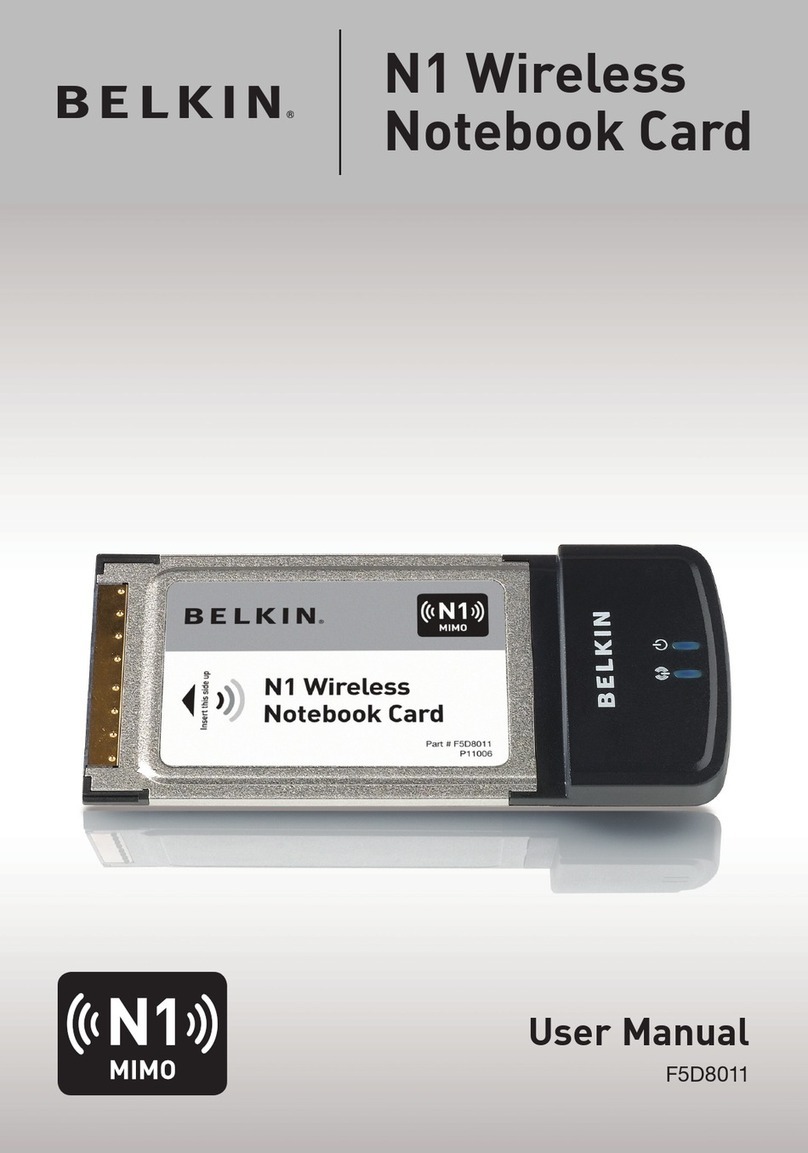
Belkin N1 WIRELESS NOTEBOOK CARD F5D8011 User manual

Belkin

Belkin N1 WIRELESS NOTEBOOK CARD F5D8011 User manual

Belkin F5D6020 User manual

Belkin

Belkin F5D6020 User manual

Belkin F5D5020T User manual

Belkin

Belkin F5D5020T User manual

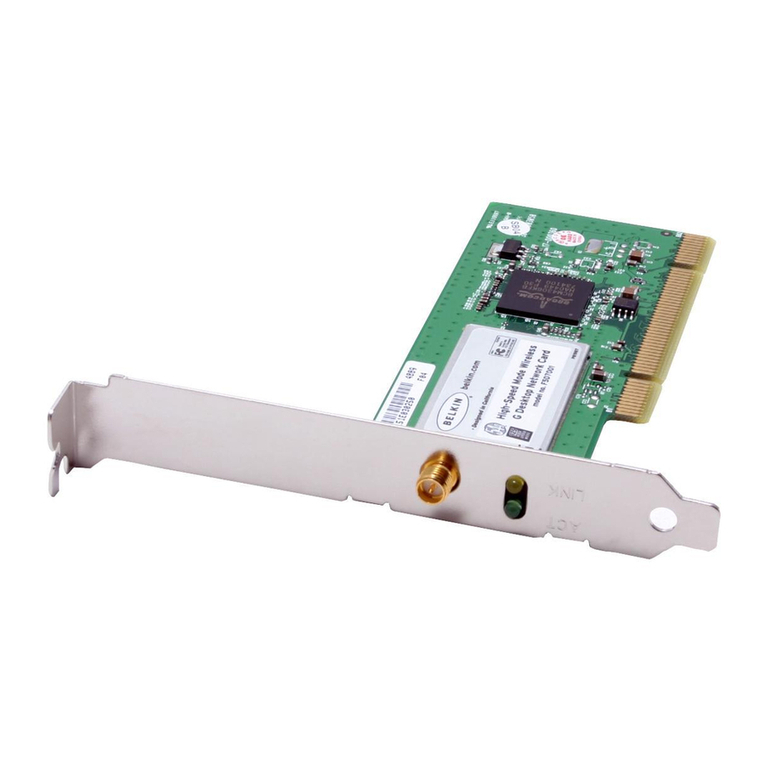
Belkin DESKTOP CARD F5D7001 User manual

Belkin

Belkin DESKTOP CARD F5D7001 User manual

Belkin F5D4085 User manual

Belkin

Belkin F5D4085 User manual

Belkin F5D5010 User manual

Belkin

Belkin F5D5010 User manual

Belkin F6D3010 User manual

Belkin

Belkin F6D3010 User manual

Belkin Gigabit Ethernet ExpressCard F5U250 User manual

Belkin

Belkin Gigabit Ethernet ExpressCard F5U250 User manual

Belkin F5D8011ei User manual

Belkin

Belkin F5D8011ei User manual

Belkin F5U514 User manual

Belkin

Belkin F5U514 User manual

Belkin SURF F5D4077UK User manual

Belkin

Belkin SURF F5D4077UK User manual

Belkin F4U008 User manual

Belkin

Belkin F4U008 User manual

Belkin F6D3000 User manual

Belkin

Belkin F6D3000 User manual

Popular Network Card manuals by other brands

FirstComm OBiWiFi5G Setup guide

FirstComm

FirstComm OBiWiFi5G Setup guide

TRENDnet TU2-ETG user guide

TRENDnet

TRENDnet TU2-ETG user guide

YASKAWA SI-EN3 Technical manual

YASKAWA

YASKAWA SI-EN3 Technical manual

Paradyne BitStorm 2600 IP DSLAM installation guide

Paradyne

Paradyne BitStorm 2600 IP DSLAM installation guide

3Com EtherLink 3C509B quick guide

3Com

3Com EtherLink 3C509B quick guide

TRENDnet TEG-PCITX user guide

TRENDnet

TRENDnet TEG-PCITX user guide

Cisco MC16E installation guide

Cisco

Cisco MC16E installation guide

Delta Electronics Braking Modules VFDB Series instruction sheet

Delta Electronics

Delta Electronics Braking Modules VFDB Series instruction sheet

TwinMOS Booming user manual

TwinMOS

TwinMOS Booming user manual

Dialogic Media Board DM/V1200BTEPEQ installation guide

Dialogic

Dialogic Media Board DM/V1200BTEPEQ installation guide

Buffalo AirStation WLI-PCM-L11GP user manual

Buffalo

Buffalo AirStation WLI-PCM-L11GP user manual

TRENDnet TEG-PCITXR user guide

TRENDnet

TRENDnet TEG-PCITXR user guide

Sun Microsystems Interface Adapter user guide

Sun Microsystems

Sun Microsystems Interface Adapter user guide

D-Link DHP?P309AV Setup guide

D-Link

D-Link DHP?P309AV Setup guide

Extollo LANPlug 2000 Product guide

Extollo

Extollo LANPlug 2000 Product guide

LG-Ericsson PCI-1020 user manual

LG-Ericsson

LG-Ericsson PCI-1020 user manual

V-Chip Microsystems VT-CC1121-433M user guide

V-Chip Microsystems

V-Chip Microsystems VT-CC1121-433M user guide

ActionTec PC-250 user guide

ActionTec

ActionTec PC-250 user guide

manuals.online logo
manuals.online logoBrands
  • About & Mission
  • Contact us
  • Privacy Policy
  • Terms and Conditions

Copyright 2025 Manuals.Online. All Rights Reserved.

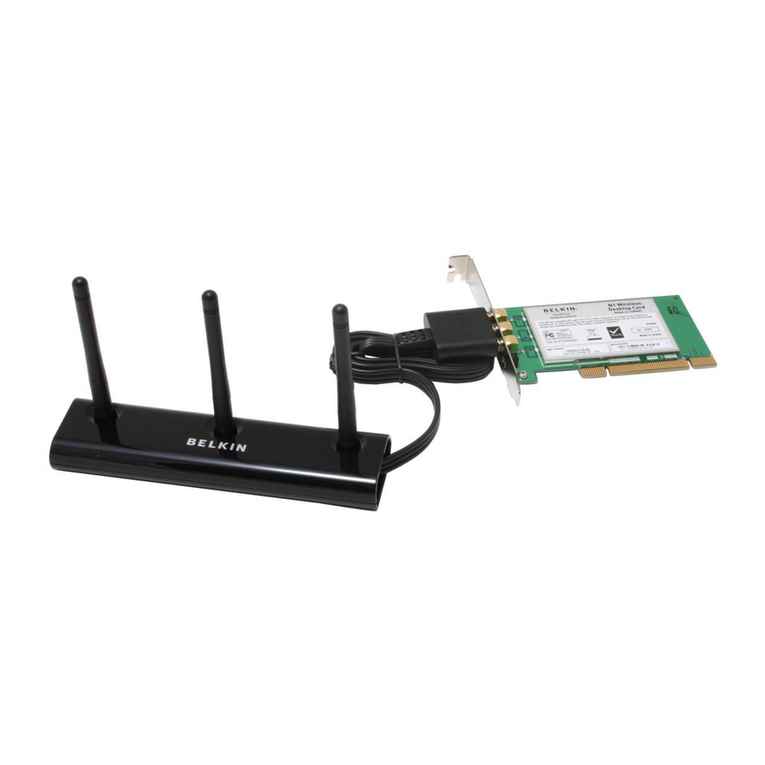
2.1 You will be prompted to remove the CD
and insert your Card. To do so, please
remove the software CD from your CD-ROM
drive, click “OK” and then shut down your
computer and disconnect the power.
2.2 Remove the screws behind your computer
case that secure the computer cover
and remove the cover. Touch any metal
part of the case to discharge static
electricity and avoid damage to the
product or your computer.
IMPORTANT: Install the Software Before Inserting
the Card
Note:
If the Belkin Setup Utility screen does not appear
within 20 seconds, access your CD-ROM by
double-clicking on the “My Computer” icon
and double-click on the CD-ROM drive that the
installation CD has been placed in. Double-click
on the folder named “files”, then double-click on
the icon named “setup.exe”.
Make sure you have
the following:
System Requirements
PC-compatible computer with:
CD-ROM drive
One available PCI slot
Windows® 98SE, Me, 2000, or XP
Start Quick Setup
Make sure you have the following 1
1. Install
2. Insert
Insert the Card into your Computer
1.1 Insert the Installation Software CD into your
CD-ROM drive.
1.2 The Belkin Setup Utility screen will
automatically appear. (This may take
15-20 seconds.) Click “install” to start
the installation.
1.3 Click “Next” to install the software.
Insert 4
Install 3
Install 2
1.4 Choose an installation location, then click
“Next” to accept the default location or
click “Browse” to select a different location
before clicking “Next”.
Next
(click)
OK
(click)
Dual-Band Wireless A+G
Desktop Network Card
Installation
Software CD
2.3 Locate an empty PCI expansion slot. It
is usually white in color. Confirm that
the Card will fit into the slot you have
chosen. Keep in mind that the included
antenna needs to be oriented with the top
pointing up. If there are cables and other
connectors in the way, try to pick the PCI
slot that has the fewest obstructions to the
correct positioning of the antenna.
2.4 Remove the metal bracket cover from the
back of the computer that corresponds
to the PCI slot you selected. If there is
a screw, place it in a safe place, as you
will be using it to attach the Card to the
computer later.
2.5 Push the Card firmly into the PCI slot
that you have chosen. Apply pressure as
needed until the connector is fully seated.
2.6 Now secure the Card with the screw that
you previously placed in a safe place.
Insert 5
Next
(click)
Install
(click)
2.7 Turn the antenna until it is vertical and
pointing up.
2.8 Replace the computer’s cover. Now that
the Card is installed, you can reconnect
the power cord, and turn it back on.
2.9 The Found New Hardware Wizard will
appear. (This may take 15-20 seconds.)
Select “Install the software automatically”
and click “Next” to install the hardware.
Next
(click)
Insert 6
If installing numerous network devices at the
same time, always install your router first
before installing other network components
such as this Wireless Card.
3.1 Double-click on the “Signal Indicator” icon
located in the lower right corner of your
screen (in the system tray) to bring up the
Wireless Network Utility.
If the “Signal Indicator” icon does not
appear, double-click on the Wireless
Network Utility shortcut icon on your
desktop window.
P74737-A
F6D3000
Belkin Ltd.
7 Bowen Crescent
West Gosford, NSW 2250, Australia
+61 (0) 2 4372 8600
+61 (0) 2 4372 8603 fax
Belkin B.V.
Boeing Avenue 333
1119 PH Schiphol-Rijk, The Netherlands
+31 (0) 20 654 7300
+31 (0) 20 654 7349 fax
Belkin Tech Support
US: 877-736-5771
310-898-1100 ext. 2263
Europe: 00 800 223 55 460
Australia: 1800 235 546
New Zealand: 0800 235 546
Singapore: 800 616 1790
Belkin Corporation
501 West Walnut Street
Compton, CA 90220-5221, USA
310-898-1100
310-898-1111 fax
Belkin Ltd.
Express Business Park, Shipton Way
Rushden, NN10 6GL, United Kingdom
+44 (0) 1933 35 2000
+44 (0) 1933 31 2000 fax
© 2005 Belkin Corporation. All rights reserved. All trade names are registered trademarks of
respective manufacturers listed. Quick Installation
Guide
Start Here
Dual-Band Wireless A+G
Desktop Network Card
Technical Support 9Connect 8
Dual-Band Wireless A+G
Desktop Network Card
3. Connect
Connect to a Network Using Wireless
Network Utility
2.
11
The installation is now complete. Click
“Finish” to exit.
Finish
(click)
Connect 7


 



 








3.2 Click on the “Available Networks” tab in
the Utility. Select a network to connect to
and click “Connect”.
3.3 Click to exit the Utility. The color of
the “Signal Indicator” icon reflects the
connection link: green for good, yellow for
weak, and red if the Card is not connected.
Your setup is now complete.
For information on advanced options such as setting the Card for security, please
refer to your User Manual.
If you are unable to install this Card or connect to a network, see the
troubleshooting section in the User Manual. For additional help, please call our
free technical support service.
Technical Support
US: 877-736-5771 or
310-898-1100 ext. 2263
Europe: 00 800 223 55 460
Australia: 1800 235 546
New Zealand: 0800 235 546
Singapore: 800 616 1790
Insert 7
www