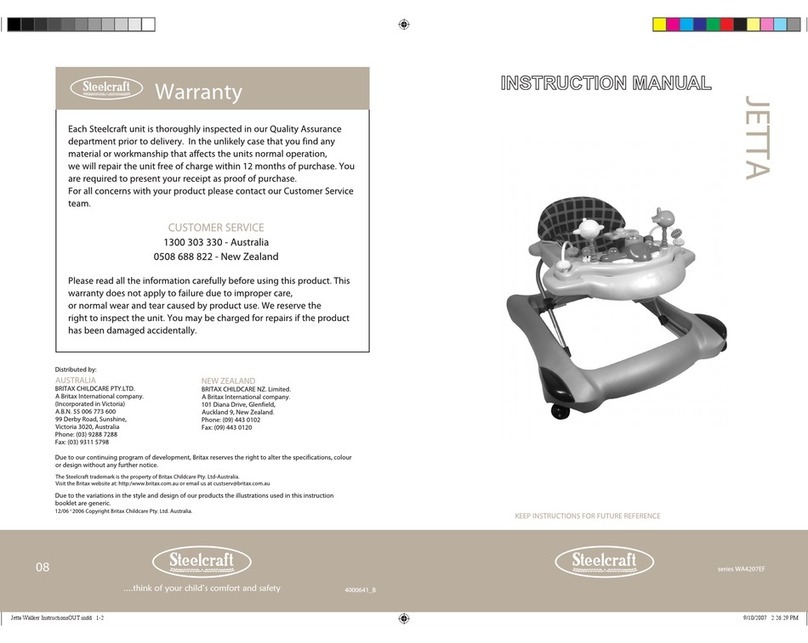
Bellababy BLA-228 User manual

Baby Walker
Model: BLA-228
Read all instructions BEFORE assembling and using the product.
IMPORTANT! KEEP FOR FUTURE REFERENCE.
To register your product and for support, please contact:
Read the instructions carefully before use and keep them for future
reference.
The child may suffer injury or worse if these instructions are not followed.
Before assembly and use, remove and dispose of all plastic bags,
packaging, and other packing items (e.g., fasteners, fixing ties, etc.) and
keep them out of reach of children.
Before assembly, check and confirm the product and all of its
components have not been damaged during transportation. After
assembly, regularly check the product for breakages or damage. If
the product is broken or damaged in any way, keep it out of reach of
children.
The product must only be assembled by an adult. For the correct
assembly procedure, please refer to the following instructions.
STAIRWAY HAZARD: to avoid serious injury or death, ensure all stairways
and flights of steps are securely blocked before using the walker.
Do not use the baby walking frame if any components are broken or
missing.
It should be used only for short periods of time (e.g., 20 minutes or so).
It is intended to be used only by children who can sit unaided (i.e., aged
approximately 7 months and over), and is not intended for children
weighing more than 33 lbs/15 kg.
Do not use replacement parts other than those approved by the
manufacturer or distributor.
Clean all moving and braking components regularly to ensure effective
long-term stopping performance.
Use only on flat surfaces free of objects which could cause the walker
to tip over.
Never leave the child unattended and always keep them in view while
in they are in the walker.
Note that the child will be able to reach further and move more rapidly

when in the walking frame.
Prevent access to stairs, steps, uneven surfaces, slopes, or unstable
floors, as well as swimming pools and other sources of water.
To avoid burns, keep the child away from hot liquids, cooking
appliances, radiators, space heaters, fireplaces, etc.
Prevent collisions with glass (e.g., in doors, windows, and furniture etc.).
1. Top tray
2. Padded seat
3. Musical play tray
4. Walker base
Packing List

5. Flywheel
6. Legs (x 2)
7. Step brakes (x 2)
8. Universal wheels (x 4)
9. Bumper
10. Screws (x 16)
11. Screwdriver
(Note: Please confirm that the accessories are complete
before installation. If there is any omission, please
contact us via service-us2@bellababy-med.com in time.)

1. Top tray Assembly Instruction
Parts required: 1. Top tray; 2. Padded seat; 6. Legs (x 2); 10.
Screws (x 8); and 11. Screwdriver
Steps:
1. Prepare the padded seat by
unscrewing the red cap found on
the back (do not discard).
2. Insert the seat into the slot in
the top tray.
3. Insert the two nuts on the pad
into the two corresponding
holes in the top tray.
4. On the back, reattach and
tighten the red screw cap.
5. Fasten the screws on both
sides of the pad into their
respective holes.
6. Insert the outermost button
into the large hole then drag it
backwards into the smaller hole
to lock it in place.
Assembly Instructions

7. Unscrew the long bolt under the
top tray.
8. Insert the strap at the front of
the pad into the screw slot, then
push the bolt through the hole in
the strap. (Note: there are 5 holes
in the padded straps, so this can
be adjusted based on the child’s
needs).
9. Screw the bolt back in and
tighten to hold the strap in
place at the preferred length.
10. Keeping the back of the top
tray facing up, align the legs with
the semi-circular slots on either
side of the top tray, and insert.
11.Place screws in each of the
four holes on the inner side of
each leg and affix using a
screwdriver.
12. Ensure all attached
components are firmly secured.
2. Base Assembly Instructions:
Parts required: 3. Musical play tray; 4. Walker base; 5. Flywheel; 7.
Step brakes (x 2); 8. Universal wheels (x 4); 9. Bumper; 10. Screws (x
8); and 11. Screwdriver

Steps:
1. Prepare the base, 6 screws, and
two flywheels, and turn the base
upside-down.
2. Insert the flywheels into the end
hole on the base (keeping the hole
of the black insert part facing
upwards). Note the unsecured
end panel.
3. Lift the end panel up.
4. Place screws in the holes on
both sides of the black shaft
and tighten with a screwdriver.
5. Lower the end cover, place
one screw and tighten it with a
screwdriver, and secure the
end cover. Repeat this process
(from (b)) to attach the flywheel
on the other side.
6. Insert the four universal
wheels into the holes on the
base as indicated.
7. Placement of the wheels.
8. Insert the 2 step brakes into the
rectangular slots at the front of the
base as indicated.

9. Placement of the step brakes.
10. After the installation is
complete, as shown in the figure.
11. Turn the base over and insert
the bumper strip into the two
holes at the end of the base.
12. Place the fully assembled
top tray into the slots on the
base, and press the button on
the inside of each leg so they
can be depressed as far as
required. Note the leg is
equipped with 3 height settings,
so the height can be adjusted to
best suit the child.
13. The button (set at the
highest level) and the 3 height
settings on the inner side of the
base.
14. Remove the cover from the
battery compartment at the
bottom of the music tray, insert
two 1.5V AA batteries, with
positive and negative terminals
properly aligned, and reattach
the cover with the screw.
15. The music panel can be
conveniently placed on the
dinner tray and removed when
necessary.

3. Converting the Baby Walker into a push walker
1. 1. Remove the bumper strip.
2. 2. Push the buttons on each sides
of the top tray to adjust its angle.
3. 3. There are three angles to choose
from, and once adjusted to the
required setting the walker mode is
ready for use.
Please check and maintain your walker regularly to
protect your child from unexpected injuries:
1. When cleaning the cloth cover, avoid scrubbing it
in water, instead use a household implement
such as a brush or sponge to gently wipe away
any stains.
2. Avoid using or storing the walker in a damp (wet),
cold, or hot environment for extended periods of
time.
3. When not in use, please pay attention to
maintenance and care, and keep it in a safe place.
4. Check regularly for loose or damaged parts or
broken wires, and replace damaged parts if
necessary.
Maintenance tips

Product name: Baby Walker
Product model: BLA-228
Target age: 7-15 months
Batch number: 230301
Product material: PP / Polyester
Manufacturer: Bellababy Medical Devices Inc
Address of Manufacturer:30 N Gould St Ste R Sheridan, WY 82801
USA
lmporter: Bellababy Medical Devices Inc
Address of lmporter:30 N Gould St Ste R Sheridan, WY 82801 USA
SW BABY LIMITED
111 GREAT PORTLAND STREET LONDON UNITED KINGDOM
W1W 6QQ
Tel:+44 845 257 6082
MADE IN CHINA
Product Informations
Table of contents
