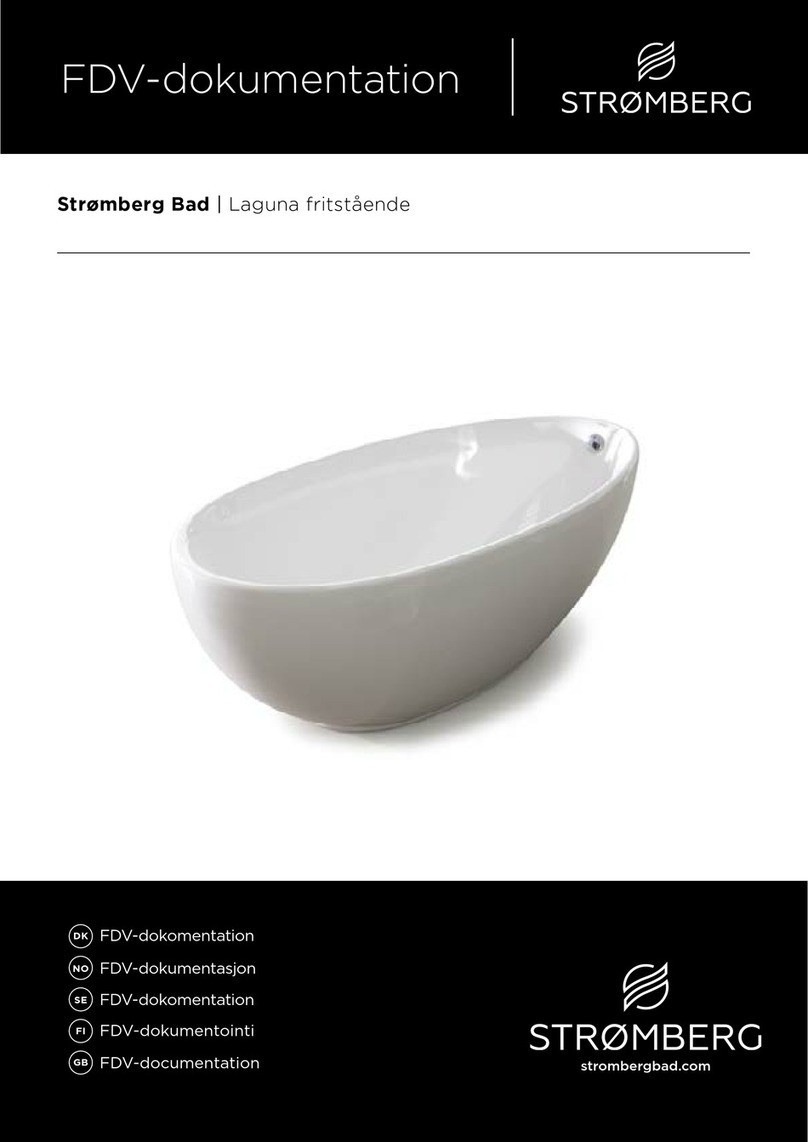
Bellagio Luxury MT-RT1802 User manual

Instructions of installation and usage
Instructions of Installation and Use
MT-RT1802
Massage Bathtub
Cleaning&Maintenance
1. During the transportation or installation, do not pull the pipe or hold to avoid the
water leakage. ,
2. After long time use, if there are some dirt on product s surface, wipe it off gently by a soft
towel stained with mild detergent; for the metal parts, polish it with some car wax by a towel,
which brings out a refreshing appearance.
3. Scale deposit can be wiped off with warm citric acid or vinegar by a soft cloth.
,
4. Don t clean the tub and with hard or coarse material to avoid any scratches.
,
5. Don t clean the tub and with gasoline to avoid any damages.
6. It is not recommended to leave water in the tub for a long time or use this tub for washing
purpose. Pls drain off the water after the bath and dissconnect the power supply.
7. There should be sufficient power supply and wires should be safely grounded.
8. For your safty, a professional technician is necessary to ensure earthing wire be well grounded
and a RCCB fitted during installation.
accessories
accessories
accessories

Thread sealing tape
Tape measure
Accessory box 2:
Shower head 1pcs
Drain cover 1pcs
Please make sure all accessories are in the package
(Bathtub 1set Accessory box 2pcs Pillow 2pcs)
Accessory box 1:
Faucet 1 pcs
Open spanner
Gradient
Installation Tools:(no included)
Pillow
Adjustable spanner
CONTENTS:
Page2
Page4
Page8
Page1 Page2
Preparations
Instruction of Using Our Products
Dear Customer,
Thank you for choosing our product. For your safe concern, please
take a few minutes to read this manual before installation and use.
WARNING
1. For a person who has heart trouble, high blood pressure & sugar diabetes should
not take a steam shower or bath when feeling sick. (The kid is suggested to be
accompanied by an adult when taking a bath)
,
2. Don t take a bath alone after drinking wine with alcohol or excess sports.
3. The water temeperature should be below 45 during shower and the
recommended temperature is 30 -38 .
,
4. Don t take a bath for a long time. Recommended time: 15-21 .
5. All the information in this instruction are subject to change without prior notice.
6. Settings, configurations and details of the products are subject to be changed
or upgraded without prior notice.
7. For the maintenance, please contact the technicians appointed by the dealer
,
and don t disassemble and fix by yourself, or the supplier will be free from any
conquences that may occur.
minutes

Page3 Page4
MODEL: MT-RT1802
SIZE: 1800mmX900mmX650mm
1
10
11
12
13
14 987
231Volume Control
2Big Water Jets
3Drainer Switch
4Control Panel
5Light
6Pillow
7Hot Water Handle
8Cold Water Handle
9Switch Handle
10 Air Jets
11 Water Circulation
12
Drainer
13 Faucet
14 Shower Head
Drain hole
450mm
900mm
Cold
Hot
800mm
300mm
400mm
1800mm
650mm
600mm
1. Open the accessory box 1 as pic.
shows 2. Remove the screw of inlet faucet
3. Put the inlet faucet into the
hole of the bathtub 4. Put the rubber from below, and
use spanner to screw it
5. Distinguish the water pipes of faucet 6. Use spanner to screw the tie in.
Installation Process
Install 2 water supply holes (one for cold
and another for hot), 1 electrical outlet, 1
drain hole (diameter 5cm) in advance.
Do as the pic. shows:
Preparations
4
6
5

Page5 Page6
1. Open the accessory box 2 as pic.
shows 2. Put the shower head into the bathtub
in right position as pic. shows
3. Distinguish water inlet pipe 4. Screw it
5. Side up the bathtub, then install
downcomer 6. Use thread sealing tape to wrap
around the drain hole
7. Make the thread sealing tape smooth 8. Fasten the drain tube
9. Put downcomer into the drain hole on
the ground
11. Put plugs into the drain hole
10. Drain sewage of the tube, then
connect the cold and hot water
pipe separately
12. Install pillow
Installation ProcessInstallation Process

Page7 Page8
Installation Process
1. The creepage protector will
automatically cut off the circuit if the
current is too high.
2. Stereo speaker
3. Volume control 4. Waste water free piping system
Unique Point:
13. Seal the barthtub edge by silicon glue as follows SYSTEM INSTALLATION SKETCH
EXTERIOR DESCRIPTION: (CONTROL PANEL2)
MAIN CONTROL BOX
LEAKAGE
PROTECTOR
GND
HEATER WATER
PUMP
WIND
PUMP
HM M
O3SENEOR
ANT
PANEL
CTRL LINE
SKIRT LAMP
SPEAKER
WATER DETECT
Power
Switch
RADIO
Switch
Air Pump
Switch
Channel Selecting
Switch
MEMORY/TAKE
Programs Switch
Ozonizer
Switch Water Light
Switch
Water Pump
Switch
Heater
Switch
Frequency Display ScreenTemperature Display Screen
RADIO VolumeRADIO Volume
Instruction of Using Our Products

Page9 Page10
Instruction of Using Our Products Precautions
1. The installation should be carried out by a qualified technician and creepage protector
should be installed in the place easily to be controlled.
2. The electronic parts should be well grounded, otherwise, the manufacturer will not be
liable for any loss or consequences occurred.
3. The load capability of the power supply should be considered during installation, or it
affects the normal operation of the product or may lead to accident!
4. For any functions can not be activated through the ways mentioned above, please
contact a certified technicians or local dealer.
5. If you don't use the product for a long time, please disconnect the main power supply.
6. Parts containing live parts, except parts supplied with safety extra-low voltage not
exceeding 12V, must be inaccessible to a person in the bath.
7. Earthed appliances must be permanently connected to fixed wiring.
8. Parts incorporating electrical components, except remote control devices, must be
located or fixed so that they cannot fall into the bath.
9. The appliance should be supplied through a residual current device (RCD) having a
rated residual operating current not exceeding 30mA.
10. Make sure that the wire is laid correctly.
11. Make sure that the equipotential connection is done correctly.
12. The means having a contact at least 3.0mm separation in all poles that provide full
disconnection must be incorporated in the fixed wiring in accordance with the wiring rules.
13. If the supply cord is damaged,it must be replaced by the manufacturer, its service agent
or similarly qualified persons in order to avoid a hazard.
Earthing Marking Equipotential Switch Marking
RUN CONDITION
OPERATION MANUAL
1. ( )Power on/off key, Other function can be used only when power is on.
3
2. ( )O on/off key 3
Other key will be no action except for the power key when the O is on.
33
O will be stopped in 15 minutes when O is on.
3
O key will be no action when other function key is pressed.
3
O key can be action only when the power key is off and then is on .
3. ( )Heater control
The heater can be work normally only when the water pump is open.
( )Temperature can be set when the heater key is on .
Temperature can be adjusted from 10 to 50 .
Temperature display window will flash when the temperature is set.
And will display current water temperature in five seconds.
4. ( )FM Radio on/off key
( )Radio volume up and down key.
They can select mem channel when mem key is on the select station state or on the
mem store state.
( )They can turn the radio step by step when they are pressed on short time.
They can search the station when they are pressed on long time.
( )It can select mem channel when it is pressed on short time.
It can be the storing station state when, it is pressed on long time.
And it can store station when it is pressed again.
5. ( )Air pump on/off key
Air pump can be opened only when the water level is at the set position.
And will be automatically closed when the water level is low.
6. ( )Water pump on/off key
Water pump can be opened only when the water level is at the set position.
And will be automatically closed when the water level is low.
7. ( )Underwater lamp on/off key
8. Outlet valve control, it will outlet water for 3 minutes after 10 minutes.
When it detects the anhydrous state from the having water state.
1. Power: AC110V/220V
2. Underwater Lamp: AC12V
3. Water Pump: AC110V/220V
4. Heater: AC110V/220V
5. Air Pump: AC110V/220V
Table of contents
Other Bellagio Luxury Bathtub manuals

