manuals.online logo
Brands
  1. Home
  2. •
  3. Brands
  4. •
  5. BELLATERRA HOME
  6. •
  7. Plumbing Product
  8. •
  9. BELLATERRA HOME S8228-8 User manual

BELLATERRA HOME S8228-8 User manual

1
8" Two handle widesperad lavatory faucet with pop-up drain
Model Number: S8228-8
Tools you will need:
Adjustable Wrench Screwdriver Teflon Tape Silicone Sealant
Bucket
Safety Goggles
Silicone Sealant
Prior to Installation:
•Turn off the hot and cold water supply at the angle stops
and turn on the old faucet to release any built up pressure.
Remove existing faucet. Clean sink or countertop to remove
any debris, plumber’s putty , or silicone.
• Place bucket under angle stops. Turn on to ˜ush any debris
prior to installing new plumbing. Shut o° angle stops.
• Pre-drilled hole size requirement: 1-3/8” (min) – 1-1/2” (max)
• Max countertop thickness: 1-3/8”
10
9
11
12 13
Hexagon Nut
Hot
Water
Cold
Water
2 3
1
45
7
6
8
11
Close
Open Left
Hot Water
Push
25° 90°
12
13
1/16”(1 mm) min.
1-3/8”(35 mm) max.
1-3/8” (35 mm) min.
/1-1/2” (38 mm) max.
B
BELLATERRA HOME, LLC
Thank you for selcting our product for your home.
We hope that you are completely satisÿed with your purchase.Please read below instructions carefully before installing new faucet.
Care & Maintenance:
* To keep the product clean & shining, follow the steps below:
• 1. Rinse with clean water & dry with a soft cloth.
• 2. Do not clean with soaps, acid, polish, abrasives, or harsh cleaners.
• 3. Do not use cloth with a coarse surface.
• 4. Unscrew the aerator and clean when necessary.
* This installation manual is subject to change without further notice.
* Please read your care and maintenance documentation to determine the limits of proper use.
* This product has been manufactured and tested to the highest quality standards .We o° er our customers thoughtfully
crafted ÿxtures & accessories, engineered for enduring performance over years of use.
2
1
1.Place the spout into center hole(The hole diameter
should be 1-3/8”) of the sink.Under sink,secure ÿrmly
to sink with rubber washer(17),metal washer(16) and
nut(15).
2.Insert the valve body assembly with the hot supply
label is on the left (hot) side.Hold the body in the proper
position.Assemble metal washer(10) and mounting nut(11)
onto body underside of sink,tighten it with the locking
screws.
Faucet Installation
12
3.Align the blocks (1,2,3) and tabs (A,B,C) on the quick
connects (K).Push the quick connects (K) ÿrmly upward
and snap onto the blocks (1,2,3).Pull down moderately
to ensure each connection has been made.If it is
necessary to remove the X-over hose,press on the
tabs (A,B,C) and pull the quick connects (K) .
4A.Stainess steel braided faucet supply tubes:
This the simplest of all installations.If you are using
stainless steel braided faucet supply tubes,this faucet
requires one end of the supply tube to have a 1/2” female
IPS connection.The other end of this supply tube must
match the thread on the water supply ÿttings or shut o°
valve under your sink.Once you have identiÿed the
required tube,carefully follow the manufacturer's
installations instructions for each tube.
4B.Ball Nose Flexible Supplies: If you are using ball-nose
˜exible supplies to connect the faucet to water supply lines;
Slip coupling nut behind ball-nose of ˜exible supply tube.
Ball nose coupling will go partially into IPS shank or ÿtting.
Tighten coupling nut (Do Not Overtighten).
lnstall opposite end according to manufacturer's instructions
for both tubes.
3 4A
4B
17
16
15
10
11
Hot
Hot
Cold
A
12
3
B
C
K
3
Pop-up Drain Installation
5A:Pop up Drain Installation:
a.Remove ˜ange(01),rubber wahser(02),from the
pop-up assembly.
b.Put the pipe body(04) into the sink hole,install the
rubber wahser(02) and the ˜ange(01),tighten the
mounting nut(03) use wrench.
5B:Unscrew the nut(08) from the pipe body(04),retain the
white washer(06), then take o° the spring clip(09) from the
ball rod(07).insert the stopper(05),insert the ball rod into the
side hole of drain,slide the nut on and tighten securely.
5A
5C:Install the spring clip(09) on the ball rod,simultaneity,
insert the linker(10).
5C5B
5D.a: Insert lift rod into sink hole,through the linker hole,
Tighten the lock nut(11).
b:Move the linker along the ball rod,pull the lift rod
knob up and down,move the linker at proper
location. sink.
5D
05
06
07
08
09
04
09
10
11
lift rod
a b
6.Loosen aerator with wrench or coin. Remove aerator(19).
Turn water on for 1 minute to remove any debris.
Reassemble aerator(19) .
6
01
02
03
04
OR:Insert body into sink. If you wish to use silicone as
a seal, remove the top gasket and apply silicone to
underside of drain body.
Silicone Sealant
OR
Hot
Cold
19
Exploded Drawing
RP(Replacement Parts)
4
Trouble-Shooting
If you have followed the instructions carefully and your faucet still does not work properly,take the following corrective steps:
PROBLEM CAUSE ACTION
Aerator drips or has inconsistent
water ˜ow pattern
Aerator may be dirty or not
seated properly
Unscrew aerator with aerator
key and clean out debris
Drain is leaking Washers may be compromised
or installed incorrectly
Check washers to make sure
they are installed correctly
and not cracked
This installation manual is subject to change without further notice.
NO. DESCRIPTION
1Handles
2Handles screws
3Screws
4Inverter H&C
5Bonnet
6Ceramic cartridge
7 Inner ˜ange
8Flange screws
9 Flange
10 Metal washer
11 Mounting nut
12 Body assembly
13 X-Over hose
14 O-Ring
15 Nut
16 Metal washer
17 Rubber washer
18
Aerator
19
Lift rod assembly
20
Pop-up drain
21
Spout
17
18
15
16
7
13
14
12
11
10
9
6
5
1
2
3
4
8
19
20
21

Other BELLATERRA HOME Plumbing Product manuals

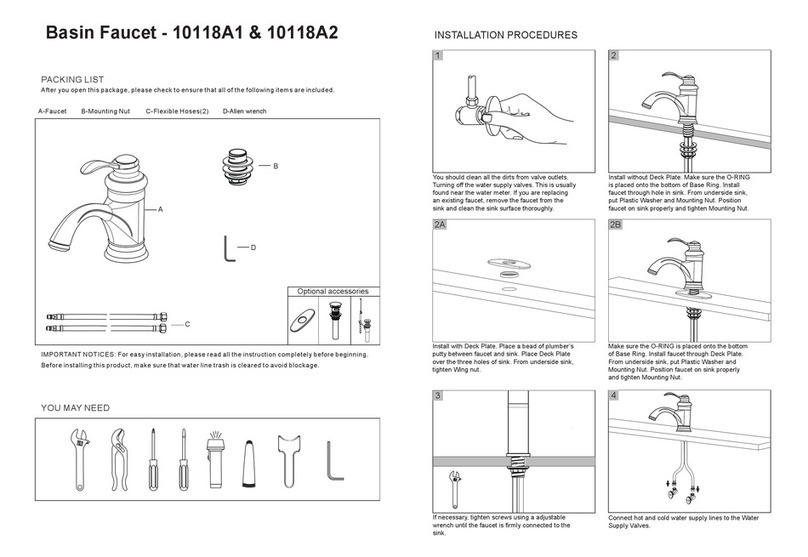
BELLATERRA HOME 10118A1 User manual

BELLATERRA HOME

BELLATERRA HOME 10118A1 User manual

BELLATERRA HOME 12119B3 User manual

BELLATERRA HOME

BELLATERRA HOME 12119B3 User manual

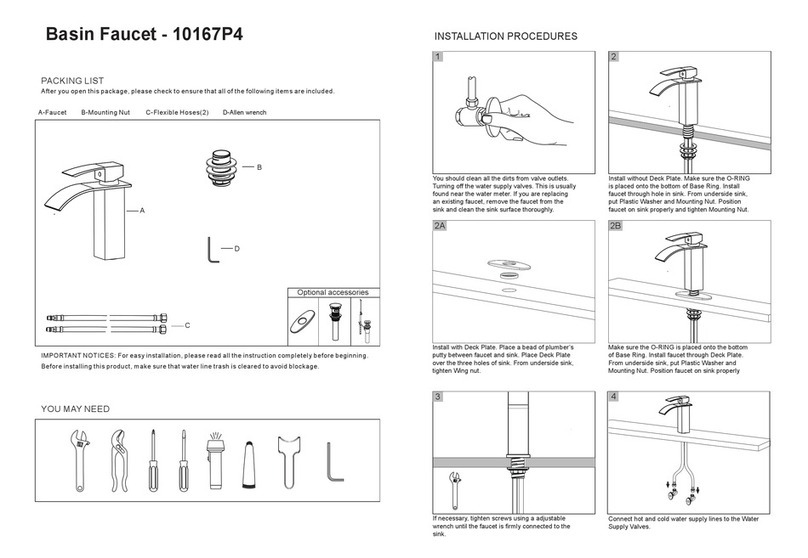
BELLATERRA HOME 10167P4 Reference guide

BELLATERRA HOME

BELLATERRA HOME 10167P4 Reference guide

Popular Plumbing Product manuals by other brands

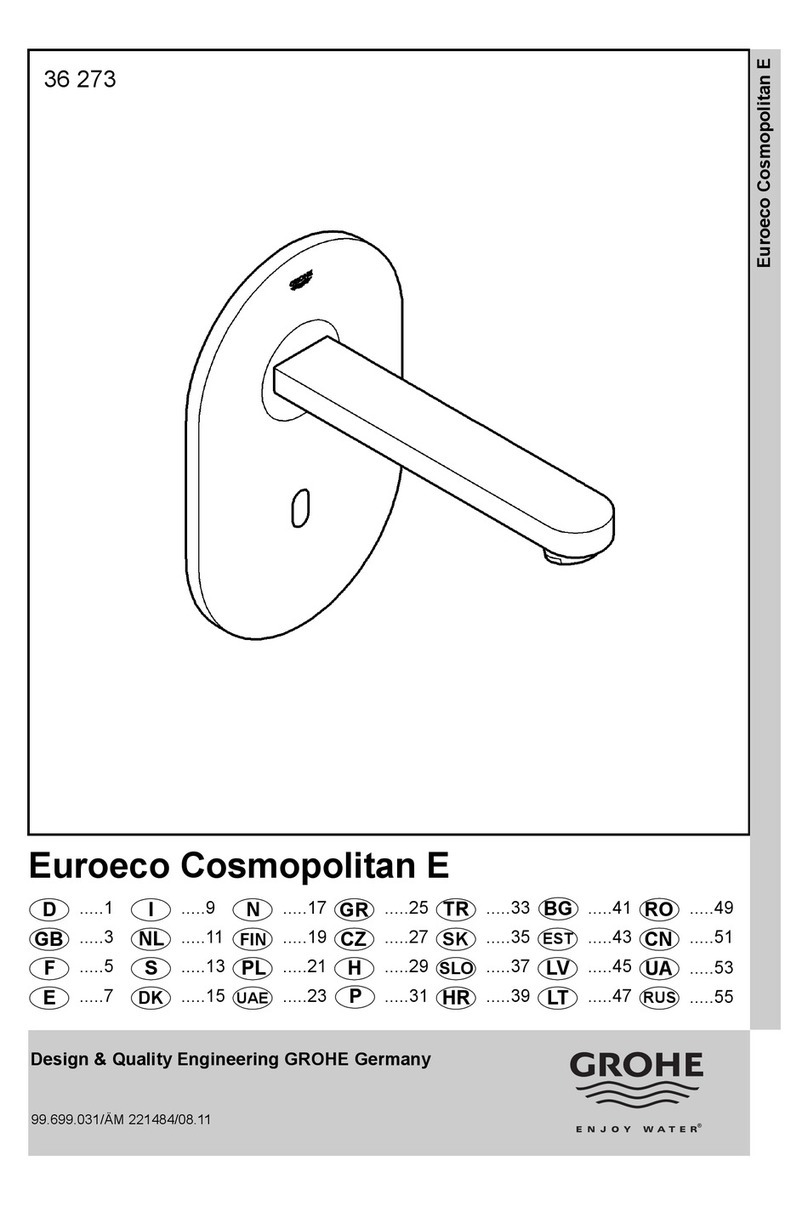
Grohe EUROECO COSMOPOLITAN E 36 273 manual

Grohe

Grohe EUROECO COSMOPOLITAN E 36 273 manual

Kraus KBU10 installation guide

Kraus

Kraus KBU10 installation guide

ProFlo PFSH309GCP quick start guide

ProFlo

ProFlo PFSH309GCP quick start guide

DXV Keefe D35104900 installation instructions

DXV

DXV Keefe D35104900 installation instructions

Moen T6205 Series manual

Moen

Moen T6205 Series manual

Gentec SMARTEC STS1000 installation manual

Gentec

Gentec SMARTEC STS1000 installation manual

American Standard Fixture-Mounted Bidet Fitting 2581 parts list

American Standard

American Standard Fixture-Mounted Bidet Fitting 2581 parts list

KWC F5 Installation and operating instructions

KWC

KWC F5 Installation and operating instructions

Pfister Vorena 8P8-VO Quick installation guide

Pfister

Pfister Vorena 8P8-VO Quick installation guide

Scarabeo 8105 quick start guide

Scarabeo

Scarabeo 8105 quick start guide

Franke 7612982131844 Installation and operating instructions

Franke

Franke 7612982131844 Installation and operating instructions

KWC DOMO 10.061.013 Specification sheet

KWC

KWC DOMO 10.061.013 Specification sheet

Geberit DuoFresh user manual

Geberit

Geberit DuoFresh user manual

ProFlo POGO Series installation instructions

ProFlo

ProFlo POGO Series installation instructions

DXV Fitzgerald D35160802 installation instructions

DXV

DXV Fitzgerald D35160802 installation instructions

Kraus Artec Pro KPF-1603 instruction manual

Kraus

Kraus Artec Pro KPF-1603 instruction manual

Moen MAGNETIX 186117 installation guide

Moen

Moen MAGNETIX 186117 installation guide

Omnires Omnires S29 Installation and Maintenance

Omnires

Omnires Omnires S29 Installation and Maintenance

manuals.online logo
manuals.online logoBrands
  • About & Mission
  • Contact us
  • Privacy Policy
  • Terms and Conditions

Copyright 2025 Manuals.Online. All Rights Reserved.