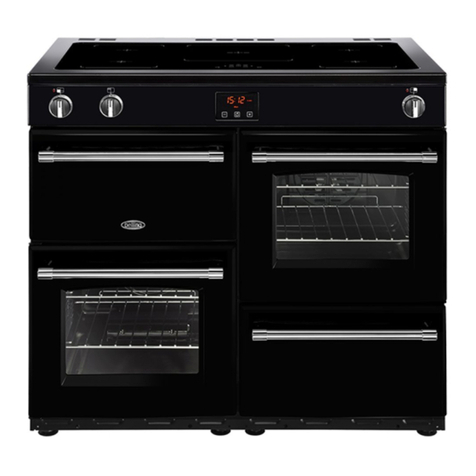
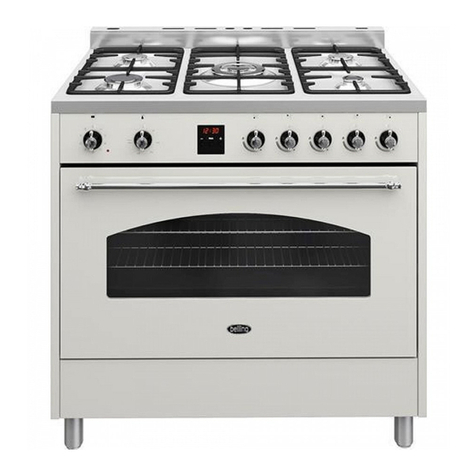
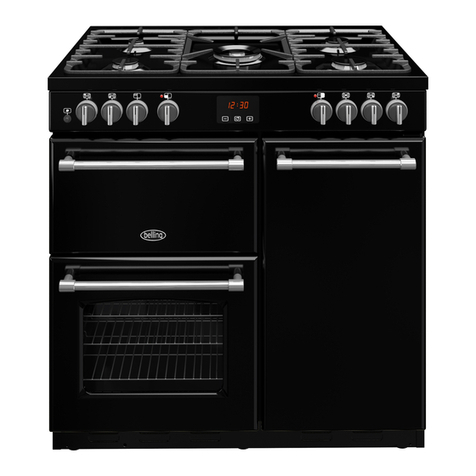
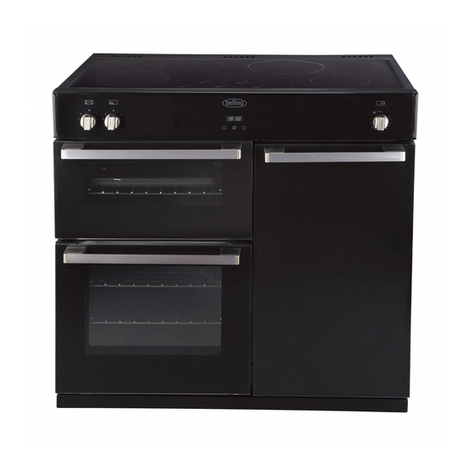
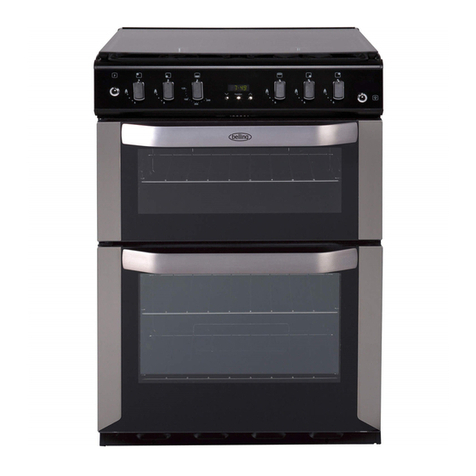
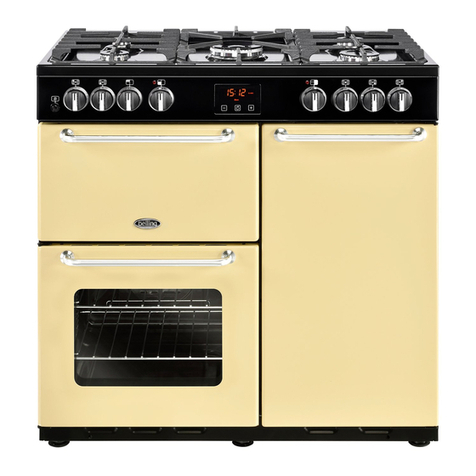
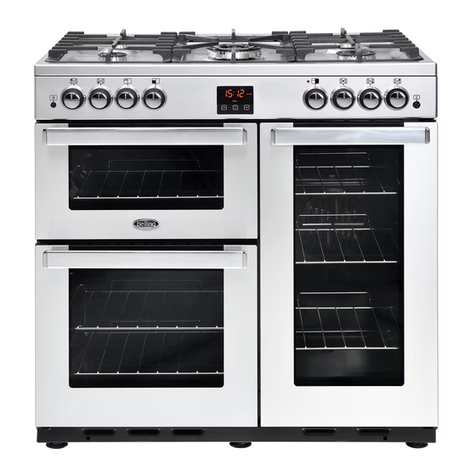
Belling BRD900DF User manual

USER
GUIDE
A commitment to:
Belling Rangecooker Deluxe - DF & GTG Date: 03/08/2021

To contact Belling about your appliance, please call:
Customer Care Helpline
AU - 1 800 444 357
NZ - 09 274 8265
To register your appliance by mail:
Please complete the warranty card
and return to the address supplied
To register your appliance online:
AU - www.belling.com.au
NZ - www.belling.co.nz
To contact us by email:
To purchase additional spare parts and accessories visit our website on www.belling.com.au
Calls are charged at the basic rate, please check with your telephone service provider for exact charges
During the 5 year guarantee period, your appliance, as specified on your warranty registration card,
your appliance is protected against electrical and mechanical breakdown. To register your
appliance, please call the number shown above, register online or complete the registration card
included.
Please ensure that you have available your appliance model number and serial number. For full
terms & conditions of the manufacturer’s guarantee, refer to the website.
Our policy is one of constant development and improvement, therefore we cannot guarantee the
strict accuracy of all of our illustrations and specications. Changes may have been made
subsequent to publishing.
AU - Glen Dimplex Australia PTY LTD, 8 Lakeview Drive, Scoresby VIC 3179
NZ - Glen Dimplex New Zealand Ltd, 38 Harris Road, East Tamaki, Auckland, New Zealand
GB - Great Britain
IE - Ireland
DE - Germany
ES - Spain
FR - France
IT - Italy
PL - Poland
NL - Netherlands
SE - Sweden
CN - China
NZ - New Zealand þ
AU - Australia þ
Countries of destination:

Thank you for buying this British-built appliance from us.
This user guide book is designed to help you through each step of owning your new product.
Please read it carefully before you start using your appliance, as we have endeavored to answer as
many questions as possible, and provide you with as much support as we can.
General information and User Guides are available from our website.
If you should nd something missing from your product or have any questions that are not covered in
this user guide, please contact us (see contact information inside the front cover).
This unit must be installed by a competent electrician / qualied technician. In regions where applicable,
please retain your Certicate of Compliance.
Disposal of Packaging Material
The packaging materials used with this appliance can be recycled. Please dispose of the packaging
materials in the correct manner.
GAS WARNING:
If you smell gas, Do not try to light any appliance. Do not touch any electrical switch.
Call the gas emergency helpline
INTRODUCTION

CONTENTS
SAFETY PG 5
USING YOUR APPLIANCE PG 9
USING THE GRILL PG 17
USING THE TOP OVEN PG 19
USING THE MAIN OVEN - ELECTRIC PG 21
USING THE OVEN/GRILL - MULTIFUNCTION PG 27
USING THE OVEN - SLOW COOK PG 36
USING THE SPLITTER - 90CM DELUXE ONLY PG 39
INSTALLATION INSTRUCTIONS PG 54
REGULATION STANDARDS PG 55
BEFORE INSTALLATION PG 56
DIMENSIONS AND CLEARANCES PG 58
CONNECT TO THE ELECTRICITY AND GAS SUPPLY PG 60
COMMISSIONING PG 63
USING YOUR APPLIANCE PG 64
TECHNICAL DATA PG 68

SAFETY
WARNING
•During use the appliance becomes hot. Care should be taken to
avoid touching heating elements.
•This appliance is not intended for use by persons (including
children) with reduced physical, sensory or mental capabilities, or
lack of experience and knowledge, unless they have been given
supervision or instruction concerning use of the appliance by a
person responsible for their safety. Young children should be
supervised to ensure that they do not play with the appliance.
•Do not use harsh abrasive cleaners or sharp metal scrapers to
clean the oven door glass or the hob, since they can scratch the
surface, which may result in shattering of the glass.
•Do not use a steam cleaner on any cooking range, hob or oven
appliance.
• If you appliance is fitted with a lid, any spillage should be removed
from the lid before opening. The hob surface should be allowed to
cool before closing the lid (if fitted).
•Metallic objects such as knives, forks, spoons and lids should not
be placed on the hob surface since they can get hot.
•To avoid electric shock, ensure that the appliance is switched o
before replacing the lamp.
•The appliance is not intended to be operated by means of an
external timer or separate control system.
•Unattended cooking on a hob with fat or oil can be dangerous and
may result in fire.
• NEVER try to extinguish a fire with water, but switch off the
appliance and then cover the flame with a lid or damp cloth.
• Danger of fire: Do not store items on the cooking surfaces.
•Only use hob guards designed by the manufacturer of the cooking
appliance or indicated by the manufacturer of the appliance in the
instructions for use as suitable or hob guards incorporated in the
appliance. The use of inappropriate hob guards can cause
accidents.
•If the cooker is placed on a base, measures have to be taken to
prevent the appliance slipping from the base.
SAFETY
• If the hob surface is cracked, broken or shattered, switch off the
appliance to avoid the possibility of electric shock and call for a
service engineer’s visit.
•Never put items directly on the base of the oven or cover the oven
with foil, as this can cause the base element to overheat.
•Accessible parts may become hot when the grill is in use. Children
should be kept away.
• Do not store or use flammable liquids or items in the vicinity of this
appliance.
•DO NOT USE OR STORE FLAMMABLE MATERIALS IN OR
NEAR THIS APPLIANCE.
•DO NOT SPRAYAEROSOLS IN THE VICINITY OF THIS
APPLIANCE WHILE ITIS IN OPERATION.
•DO NOT MODIFY THIS APPLIANCE.
•D
ONOT PLACE ARTICLES ON ORAGAINST THE APPLIANCE.
•Servicing shall be carried out only by authorised personnel.
•Do not use this appliance as a room or space heater.
•Where this appliance is installed in marine craft or in caravans, it
shall not be used as a space heater.
• Always switch off your appliance and allow it to cool down before
you clean any part of it.
•The switch in the fixed wiring must be installed in accordance with
the wiring rules.
•Although every care has been taken to ensure this appliance has
no sharp edges, we recommend that you wear protective gloves
when installing and moving this appliance. This will prevent injury.
• This appliance must be fitted to a switch providing all pole
disconnection with a minimum contact separation of 3mm.
• Connection should be made with a suitable flexible cable with a
minimum temperature of 70oC.
CAUTION
•This appliance must not be installed behind a decorative door in
order to avoid overheating.
•The cooking process has to be supervised. A short term cooking
process has to be supervised continuously.
•The use of a gas cooking appliance results in the production of

SAFETY
heat, moisture and products of combustion in the room in which
it is installed. Ensure that the kitchen is well ventilated especially
when the appliance is in use: keep natural ventilation holes open
or install a mechanical ventilation device (mechanical extractor
hood). Prolonged intensive use of the appliance may call for
additional ventilation, for example opening of a window, or more
eective ventilation, for example increasing the level of mechanical
ventilation where present.
•This appliance is for cooking purposes only. It must not be used for
other purposes, for example room heating.
•(Gas through glass models only) In case of hotplate glass
breakage, shut immediately o all burners and any electrical
heating element and isolate the appliance from the power supply,
do not touch the appliance surface, do not use the appliance.
•Ensure shelving is correctly installed. See the sections on the shelf
runners and shelf location within this book.
•Fire Safety Advice
If you do have a re in the kitchen, don’t take any risks - get
everyone out of your home and call the Fire Brigade.
Ifyouhaveanelectricalreinthekitchen:
• Pull the plug out, or switch o the power at the fuse box - this may
be enough to stop the re immediately
• Smother the re with a re blanket, or use a dry powder or carbon
dioxide extinguisher
• Remember: never use water on an electrical or cooking oil re.
•Other Safety Advice
•Servicing should be carried out only by authorised personnel.
•Do not operate the appliance without the glass panel correctly
tted.
•There is a risk of electric shock, so always make sure you have
turned o and unplugged your appliance. Always allow the product
to cool down before you change the bulb.
•Do not modify the outer panels of this appliance in any way.

SAFETY
•This appliance must be earthed.
•The appliance must never be disconnected from the mains supply
during use, as this will seriously affect the safety and performance,
particularly in relation to surface temperatures becoming hot and
gas operated parts not working efficiently. The cooling fan (if fitted)
is designed to run on after the control knob has been switched off.
•GAS WARNING! - If you smell gas: Do not try to light any
appliance, Do not touch any electrical switch. Contact your local
gas supplier immediately.
• If the supply cord is damaged, it must be replaced by the
manufacturer, its service agent or similarly qualified persons in
order to avoid a hazard.

Getting to know your product
Note: Your appliance layout may dier depending on the model.
Note: All numbers refer to the nominal power rating in Kilowatts (kW)
Dual Fuel Hob 90cm Gas-Through-Glass Hob 90cm
Dual Fuel Hob 100/110cm Gas-Through-Glass Hob 100/110cm
Fascia Fascia
90cm Deluxe 100/110cm Deluxe
Top Oven
Multifunction
Oven
Fanned
Oven with
Splitter
Top Oven
Multifunction
Oven
Fanned
Oven
Slow
Cook
Note: Please refer to the shaded cavity diagrams throughout this book on it’s use.
1
2
4
2
3
1
2
2
4
USING YOUR APPLIANCE
Wok
Wok 3
12
5
5
5
2
2
3
1
2
23
1
Wok
Wok Wok

Control Panel 90cm Dual Fuel Deluxe
Control Panel 90cm Gas-Through-Glass Deluxe
Control Panel 100/110cm Dual Fuel Deluxe
USING YOUR APPLIANCE
Cook zones Cook zones
Oven
Oven Selector Control
Top Oven
Clock/Programmer
Grill Oven
Thermostat indicator
Slow Cook
Hob and Oven controls Hob and Oven controls
Thermostat indicator Thermostat indicator
Cook zones
Cook zone
Oven
Top Oven/Grill
Split Cavity
Hob and Oven controls Hob and Oven controls
Clock/Programmer
Oven
Top Oven/Grill Oven Selector Control
Thermostat indicator Thermostat indicator
Thermostat indicator
Oven
Grill Cook zones
Cook zones Oven Top Oven
Oven Selector Control
Hob and Oven controls Hob and Oven controls
Clock/Programmer
Thermostat indicator
Thermostat indicator Thermostat indicator

Control Panel 100/110cm Dual Fuel Gas-Through-Glass Deluxe
USING YOUR APPLIANCE
Clock/Programmer
Cook zonesCook zones OvenGrill
Thermostat indicator
Top Oven
Oven
Slow Cook
Hob and Oven controls Hob and Oven controls
Oven Selector Control
Thermostat indicator Thermostat
indicator
Thermostat indicator

Appliance functions
Note: Your oven may not have all of the functions shown here. We recommend for best cooking results,
please preheat your oven for 15 minutes and 3-5 minutes for grilling.
Only slow cook using the dedicated function. When using the multifunction oven, rstly select the
fanned oven feature.
Intense Baking Defrost
Base Heat with Fan Conventional Oven
SSlow Cook Fanned Oven
Fanned Grill Low Grill
Oven Selector Control Single Grill
Conventional Grill Dual Grill
Top Heat Base Heat
Lights Only Pizza Function
Bread Proving Keep Warm
Oven Selector Control Electric oven Hob
OFF
OFF
S
120
140
160
180
200
220
240
260
OFF

USING YOUR APPLIANCE
Ovens and Grill
Choose required setting
When using the top oven or main oven, the thermostat indicator light will come on until the selected
temperature is reached.
When the Top oven/grill or grill is switched on, the cooling fans come on to keep the fascia and control
knobs cool during cooking/grilling. The cooling fans may operate when the main ovens are in use,
depending on the temperature setting. The fans may continue to operate for a period after the oven/grill
has been switched o. During use the fan may cycle on and o, this is normal.
Important: Never put items directly on top the base of the oven, or cover the oven base with foil, as
this may cause the element to overheat. Always position items on the shelf.
The left hand main oven will not operate if the programmer is set to Auto, see clock/programmer
section.
Top Oven - Grill
THE DOOR MUST BE OPEN WHEN THE GRILL IS USED.
Main Oven - Grill
THEDOOR MUST BE CLOSED WHENTHE GRILLISUSED FOR FANNEDANDCONVENTIONAL
GRILLING.
Tall Oven - Grill (90cm only)
THE DOOR MUST BE OPEN WHEN THE GRILL IS USED.

USING YOUR APPLIANCE
Grill pan and trivet
The grill trivet (inside the grill pan) can be inverted to give a high or low position, or it may be removed.
The speed of grilling can be controlled by selecting a higher or lower shelf position, or adjusting the grill
setting.
Inverted
Hob
• Press the control knob to ignite the gas for up to 15 seconds then release. For the wok, please allow
the burner to warm up for a few minutes.
• Once lit, turn the control knob to the required setting.
If the burner fails to ignite within this time, release the control knob and wait 1 minute before attempting
to re-ignite.

USING YOUR APPLIANCE
Fitting burner caps and heads
angled
parallel
burner cap
burner head
burner cap not central
Pan placement
Always make sure that your pans are placed centrally and do not allow the ame to extend over the
base of the pan. Do not place pans directly onto the burners.
Pan sizes required
Dual Fuel
Hob Cook Zones Minimum Pan Sizes (mm) Maximum Pan Sizes (mm)
Rapid & Wok 100 260
All other cook zones 250

USING YOUR APPLIANCE
90cm Gas-Through-Glass
Cook Zones Minimum Pan Sizes (mm) Maximum Pan Sizes (mm)
Wok 100 300
All other cook zones 220
110cm Gas-Through-Glass
Cook Zones Minimum Pan Sizes (mm) Maximum Pan Sizes (mm)
Wok 100 280
All other cook zones 220
Warning: Do not allow cooking vessels to overlap cooking zones
Note: GTG - Ensure when locating the GTG pan supports, they securely locate onto the pins on the
hotplate
Using the Dual Wok
90cm Wok 110cm Wok
OFF
OFF
To ignite the outer burner of the wok, turn the control knob to the ignition and ame symbol (1). Hold for
15 seconds until the ame takes hold. Then turn the control knob to the desired power.
To activate the outer and inner wok rings together, turn the control knob to the dual ame symbol (2). To
reduce the power of both wok rings, turn the control knob to (3).
Please note, it may be necessary to apply increased pressure when pressing in the control knob when
lighting the wok burners. This is to ensure operation of the safety system for these burners.
3
22
11
3

USING THE GRILL
Warning: Accessible parts may
become hot when the grill is in
use. Children should be kept away
BEFORE YOU START GRILLING. . . .
Before you use the grill, make sure you
have placed the grill shelf in the posi-
tion you need as once the grill is on you
may injure yourself if you try to move the
shelf.
• Do not close the door while the grill
is in use.
• Turn the top oven control knob to the
required grill setting.
• Turnthegrillcontrolknob(iftted)
to the heat setting you require.
• Toswitcho,returnthecontrol
knob(s)tothe‘o’position.
• The cooling fan will come on during
use, and may continue to run for
some time afterwards.
• To adjust your results, you can turn
the grid over, or remove it altogether.
• The dual grill uses all of the top ele-
ment and is ideal for grilling large
quantities of food.
• The single grill uses part of the ele-
ment only, and is better suited to grill
smaller amounts of food.
The grill pan
This appliance comes with a grill pan and
trivet.
Shelf & Trivet adjustments
Speed of grilling can be adjusted by
changing the shelf position or the turning
the trivet.
• High: For thin foods and toasting.
• Low: For thicker meat pieces.
Types of grill
Dual grill: has two grill elements which
can be used together, or as a single
grill.
For best results:
Pre-heat the single grill for 5
minutes and the dual grill for 3
minutes.
i
i
Aluminium Foil
Never cover the grill pan or grill trivet
with foil, or allow fat to build up in the
grillpan,asthiscreatesarehazard.

USING THE GRILL
Food Type Time Approx
(mins)
Bacon 8-15
Sausages 12 - 15
Chops
•Lamb
•Pork
10 - 15
15 - 25
Toast
•2rounds
•4rounds
1-2(perside)
1-2(perside)
Bread products
•Buns
•Teacakes
1-2(perside)
1-2(perside)
Cheese on toast
•2rounds
•4rounds
4-5
4-5
Fish
•llets
10 - 15
Chicken
•llets
20 - 30
Beef Steaks
•rare
•medium
•welldone
Gammon Steaks
7 - 10
10 - 15
15 - 20
12 - 15
As with any cooking guide, all
times are approximate and can
be adjusted to suit personal
taste.
i

USING THE TOP OVEN
When you are cooking keep children
away from the vicinity of the oven.
Caution: The top element gets
extremely hot when in use, so
take extra care to avoid touch-
ing it.
The top oven is a conventional oven.
Note: The top oven is not controlled by
the programmer.
To turn on the top oven
Turn the temperature control knob until
the required temperature is selected.
The white thermostat indicator will come
on until the selected temperature is
reached,andthengoo.Itwillturnon
andoperiodicallyasthethermostat
operates to maintain the selected tem-
perature.
Toswitcho,returnthetopovencontrol
knobtotheoposition.
Important: Never put items directly on
the base of the oven, or cover the oven
base with foil, as this may cause the ele-
ment to overheat. Always position items
on the shelf.
The cooling fan
When the top oven is switched on, you
will hear the cooling fan come on - this
keeps the fascia and control knobs of the
appliance cool during cooking. The fan
may continue to operate for a period after
theovencontrolhasbeenswitchedo.
Preheating
The oven must be preheated when cook-
ingfrozenorchilledfoods,andwerec-
ommend preheating for yeast mixtures,
batters,soués,andwhiskedsponges.
Preheat the oven until the indicator light
switchesoforthersttime,thiswill
take up to 15 minutes depending on the
temperature selected.
If you are not preheating the oven, the
cooking times in the following guide may
need to be extended, as they are based
on a preheated oven.
Shelf positions
Whencookingfrozenorchilledfood,use
the highest possible shelf position, while
allowing some clearance between the
food and the top element.
The oven shelf must be positioned with
the up-stand at the rear of the oven and
facing up. Position baking trays and roast-
ing tins on the middle of the shelves, and
leave one clear shelf position between
shelves, to allow for circulation of heat.
When using the top oven
As part of the cooking process, hot air is
expelled through a vent at the top of the
oven(s).Whenopeningtheovendoor,
care should be taken to avoid any possible
contact with potentially hot air, since this
may cause discomfort to people with sen-
sitive skin. We recommend that you hold
the underneath of the oven door handle.

USING THE TOP OVEN
TOP OVEN BAKING GUIDE
Cooking times
These times are based on cooking in a
preheated oven.
These cooking times are approximate,
duetothesizeandtypeofcookingdish
and personal preferences.
Shelf positions
Asageneralguide,whencookingfrozen
or chilled food, use the highest pos-
sible shelf position, while allowing some
clearance between the food and the top
element. Follow the instructions given on
packaging.
Item Temperature
(°C)
Shelf
Position
Approximate cooking time
Small cakes
Victoria sandwich
(2x180mm/7”)
Swiss roll
Semi rich fruit cake
(180mmx7”)
Scones
Meringues
180
160
200
140
215
90 - 100
1
1
1
1
1
1
15 - 20 mins
20 - 25 mins
8 - 12 mins
2¼ - 2¾ hours
10 - 15 mins
2 - 3 hours
Shortcrust pastry
Pu/akypastry
Choux pasrty
200 - 210
200 - 210
200 - 210
1
1
1
Dependsonsize&typeofcook-
ingdish&alsothelling
Biscuits
Sponge pudding
Milk pudding
160 - 200
150
140
2
1
1
10 - 20 mins
30 - 45 mins
2 - 2½ hours
Cooking temperatures
The temperature settings and time given
in the Baking Guides are based on dishes
made with block margarine. If soft tub
margarine is used, it may be necessary
to reduce the temperature setting. If a
recipegivesadierenttemperatureset-
ting to that shown in the guide, the recipe
instruction should be followed.
Because the top oven is more compact,
it may be necessary to reduce cooking
temperaturesspeciedinrecipesbyupto
20°C.
Use the baking guide as a reference for
determining which temperatures to use.
Table of contents
Other Belling Range manuals

Belling
Belling Farmhouse 110G User manual

Belling
Belling Gas Range User manual

Belling
Belling 90E User manual

Belling
Belling Farmhouse 90DFT User manual

Belling
Belling Belling Firmware update

Belling
Belling KENSINGTON User manual

Belling
Belling GOURMET User manual

Belling
Belling BE444444690 User manual

Belling
Belling SANDRINGHAM User manual

Belling
Belling BELLING RICHMOND 900 DF User manual
Popular Range manuals by other brands

GE
GE Profile P2B912SEMSS Dimensions and installation information

Inglis
Inglis KERI201PBL4 Use & care guide

Frigidaire
Frigidaire FFGF3052TW use & care

American Range
American Range CUISINE ARR-636 use and care manual

Frigidaire
Frigidaire FEF356CHTC Wiring diagram

GE
GE XL44TM Use and care & installation guide