manuals.online logo
Brands
  1. Home
  2. •
  3. Brands
  4. •
  5. Bellman & Symfon
  6. •
  7. Alarm Clock
  8. •
  9. Bellman & Symfon Visit BE1580 User manual

Bellman & Symfon Visit BE1580 User manual

Visit_001ART010-EN
In the box
BE1580 Visit alarm clock
BE1270 Bed shaker
Power supply
41.2 V AAA NiMH batteries
Power and battery
Mains power
7.5 V DC / 1.5 A
External power supply unit
Backup batteries
41.2 V AAA NiMH rechargeable
batteries
Battery backup operating time
~ 24 h when fully charged
Battery backup charging time
~ 10 h from fully depleted
Output signals
Sound
100 dB @ 10 cm, 950 Hz – 3 kHz
Four high-intensity ashing LEDs
Bed shaker power: 2.0 – 4.0 VDC
Frequency and coverage
Frequency: 315 MHz, 433.92 MHz or
868.3 MHz, depending on region
Coverage by region:
315 MHz: Up to 50 m (164 ft)
433 MHz: 30 – 80 m (98 - 260 ft)
868 MHz: 50 – 250 m (55 - 273 yd)
Coverage is depending on the radio
frequency, building’s characteristics
and the combination of transmitters
and receivers.
Accessories
See page 61
Dimensions and weight
Height: 108 mm, 4.3"
Width: 121 mm, 4.8"
Depth: 92 mm, 3.6"
Weight: 390 g, 13.7 oz. incl. batteries
Visit LEDs
The Visit LEDs normally indicate
the following:
Orange LED, pacier symbol
The baby monitor is activated
Green LED, door symbol
The door transmitter is activated
Yellow LED, telephone symbol
The phone transmitter is activated
Red LED, re symbol
The smoke alarm is activated
Orange and Red LEDs blink alternately
The CO alarm is activated
Technical specications
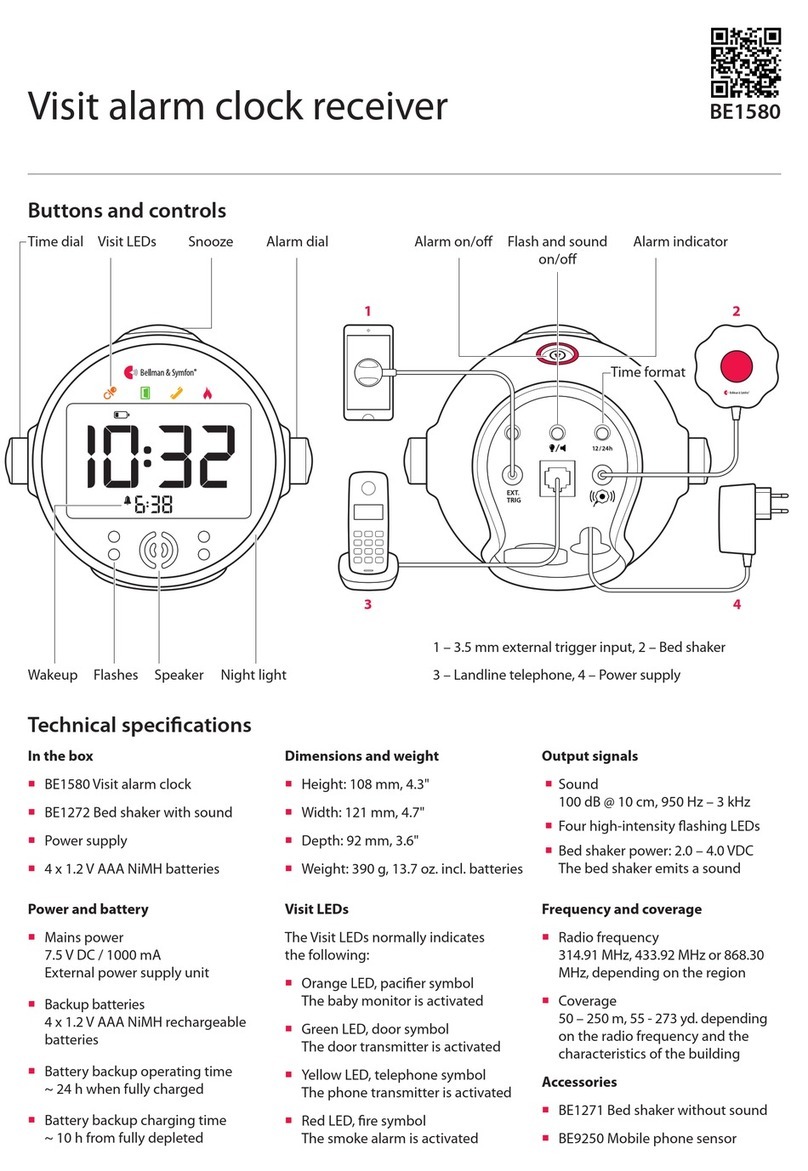
Visit alarm clock receiver
Time dial Flash and sound
on/o
Alarm indicatorVisit LEDs Alarm on/o
Buttons and controls
Alarm dialSnooze
Wakeup Flashes Night lightSpeaker
2
34
Time format
1 – 3.5 mm external trigger input, 2 – Bed shaker
3 – Landline telephone, 4 – Power supply
1
BE1580
Visit_001ART010-EN
Visit alarm clock receiver
1 2 3
Getting started
1Pull the battery tab and connect the power supply to the alarm clock and the mains outlet.
Connect the bed shaker, tuck it under the pillow or mattress, and place the alarm clock on the bedside table.
2To test the radio link you need a Visit transmitter. Press the test button/s on the transmitter.
3The alarm clock lights up a Visit LED and starts to sound and ash. The bed shaker emits a sound and vibrates.
If nothing happens, see Troubleshooting.
Default signal pattern
When a transmitter is activated, the alarm clock lights up an LED, sounds, ashes and the bed shaker starts to vibrate with a
certain pace. This is called signal pattern. The transmitters determine the pattern, and the default is as follows:
Transmitter Alarm clock Bed shaker
Activated source Visit LED Sound Flash Vibration
Door transmitter / push button transmitter Green Door chime Yes Slow
Telephone transmitter / connected telephone Yellow Ring signal Yes Medium
Baby monitor Orange Baby melody Yes Fast
Smoke alarm Red Fire horn Yes Long
Changing the signal pattern
The signal pattern can only be changed on the transmitters. See Changing the signal pattern for the relevant transmitter.
Settings
Flash and sound on/o
Press the ash and sound on/o button marked with on the back of the alarm clock repeatedly to toggle between
the options. A icon will appear on the clock face when the ash is turned o and a icon when the sound is muted.
Display backlight
Press the button marked with repeatedly to adjust the intensity in 4 steps. Step 5 results in permanent backlight.
Time format
Press the time format button marked with 12/24h on the back of the alarm clock to toggle between a 24h and a 12h setting.
Visit_001ART010-EN
Visit alarm clock receiver
Setting the time
Press the left dial and turn it to set hours.
To set minutes, press and turn the dial again.
Press once again to save your settings.
Setting the alarm
Press the right dial and turn it to set hours.
To set minutes, press and turn the dial again.
Press once again to save your settings.
Activating the alarm
Press the alarm on/o button to activate the alarm.
The alarm indicator lights up in red. To turn o the
alarm, press the button again.
Using the snooze and night light
Press the snooze button briey to snooze the alarm
(re alarms cannot be snoozed for security reasons).
Press and hold the snooze button for 3 seconds to turn
on the night light. Press the button again to turn it o.
Alarm clock accessories
The alarm clock can be complemented with the following accessories:
BE1270 Bed shaker
Connect it to the ext. trig. input and place it under the pillow
to wake up with vibrations if the alarm clock is activated.
BE9105 Telephone cord
Use it to connect the landline telephone to the alarm clock
RJ11 input and be alerted when the telephone rings.
BE9250 Mobile phone sensor
Connect it to the ext. trig. input and place it on the
display to be alerted by incoming calls or messages.
BE9026 Contact mat
Connect it to the ext. trig. input to be alerted when
your partner leaves the bed.
Visit_001ART010-EN
Changing the radio key
If your Visit system is activated for no reason, there is probably a nearby system that triggers yours. In order to avoid radio
interference, you need to change the radio key on all units. The radio key switches are located on the transmitters.
Here is how you change the radio key:
1Open the transmitter cover and move any radio key switch to the up (on position) to change
the radio key. See Changing the radio key for the relevant transmitter.
2Press and hold the snooze button on the alarm clock until the green and yellow Visit LEDs
blink alternately. Release the button.
3Press the test button/s on the transmitter within 30 seconds to send the new radio key.
4All Visit LEDs on the alarm clock blink 5 times to show that the radio key has been changed. It then returns to normal mode.
Note: All Visit units must be set to the same radio key in order to operate as a group.
1 2 3 4
5
On
O
Troubleshooting
If Try this
The alarm clock seems to be turned o Check that the power supply is connected correctly.
Charge the backup batteries for a couple of hours.
The symbol on the clock face
starts to blink
The power supply is disconnected and the backup batteries are nearly depleted.
Connect the power supply and charge the backup batteries for a couple of hours.
A symbol appears on the clock face The receiver detects no backup batteries. Pull the battery tab, see Getting started.
The alarm clock does not respond
when a transmitter is activated
Check the transmitter batteries and connections.
Move the alarm clock closer to the transmitter to make sure it’s within radio range.
Check that the alarm clock is set to the same radio key as the other units in the
Visit system, see Changing the radio key.
The alarm clock is activated for no
apparent reason
There is probably another Visit system installed nearby that triggers your system.
Change the radio key on all units, see Changing the radio key.
The alarm volume is too low The volume increases gradually and reaches over 100 dB.
Visit alarm clock receiver

Other manuals for Visit BE1580

1

This manual suits for next models

1

Other Bellman & Symfon Alarm Clock manuals
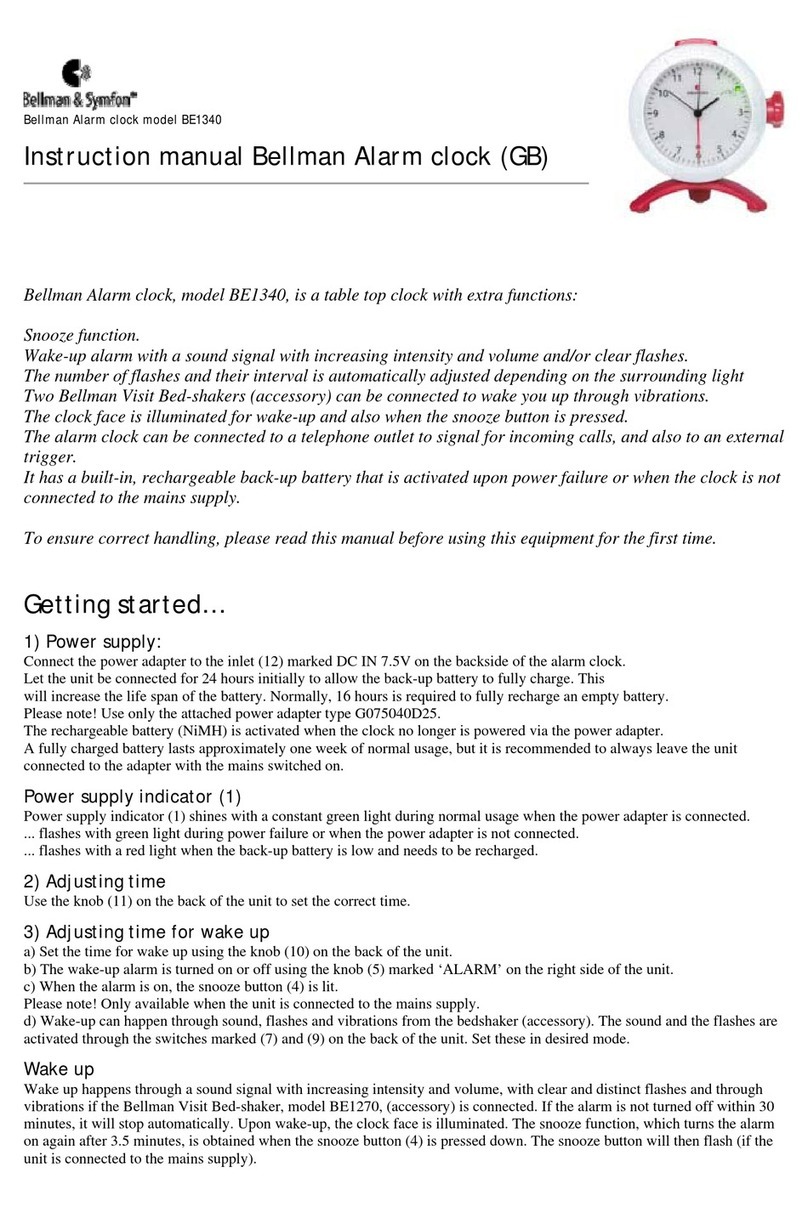
Bellman & Symfon BE1350 Classic User manual

Bellman & Symfon

Bellman & Symfon BE1350 Classic User manual

Bellman & Symfon BE1340 User manual

Bellman & Symfon

Bellman & Symfon BE1340 User manual
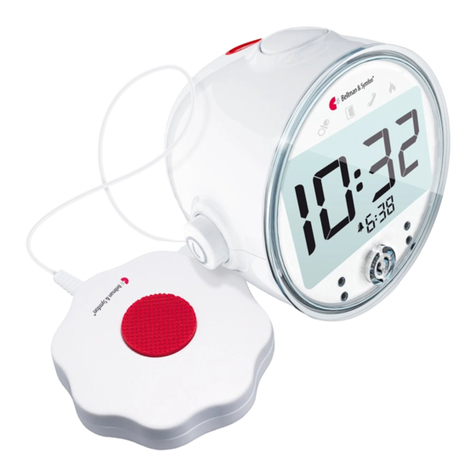
Bellman & Symfon Classic User manual

Bellman & Symfon

Bellman & Symfon Classic User manual

Bellman & Symfon Safe User manual

Bellman & Symfon

Bellman & Symfon Safe User manual

Bellman & Symfon Visit User manual

Bellman & Symfon

Bellman & Symfon Visit User manual

Bellman & Symfon BE1270 User manual

Bellman & Symfon

Bellman & Symfon BE1270 User manual
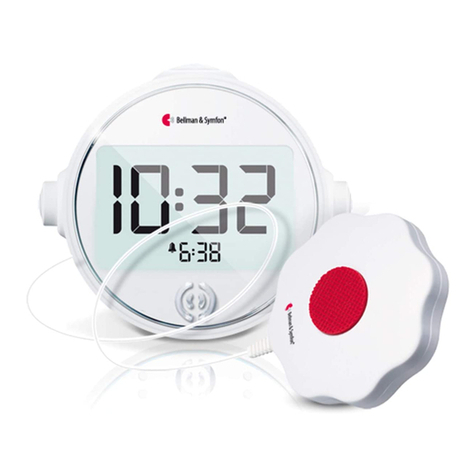
Bellman & Symfon Visit 868 BE1500 User manual

Bellman & Symfon

Bellman & Symfon Visit 868 BE1500 User manual

Bellman & Symfon Pro User manual

Bellman & Symfon

Bellman & Symfon Pro User manual

Bellman & Symfon Visit BE1580 User manual

Bellman & Symfon

Bellman & Symfon Visit BE1580 User manual

Bellman & Symfon BE1520 User manual

Bellman & Symfon

Bellman & Symfon BE1520 User manual

Bellman & Symfon Alarm clock Pro plus BE8049 User manual

Bellman & Symfon

Bellman & Symfon Alarm clock Pro plus BE8049 User manual

Bellman & Symfon BE1370 Pro User manual

Bellman & Symfon

Bellman & Symfon BE1370 Pro User manual

Bellman & Symfon Pro Application guide

Bellman & Symfon

Bellman & Symfon Pro Application guide

Bellman & Symfon BE1220 User manual

Bellman & Symfon

Bellman & Symfon BE1220 User manual

Bellman & Symfon Classic User manual

Bellman & Symfon

Bellman & Symfon Classic User manual
Bellman & Symfon Classic User manual

Bellman & Symfon

Bellman & Symfon Classic User manual
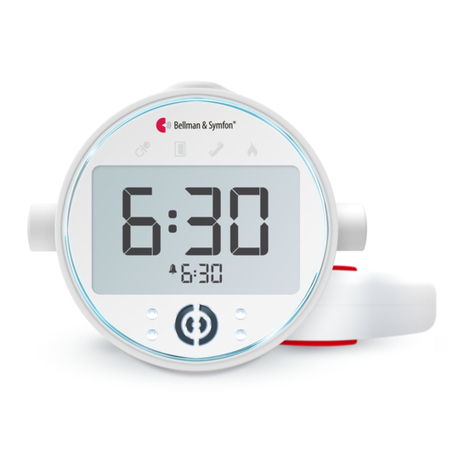
Popular Alarm Clock manuals by other brands

REIZEN Braille Quartz Clock user manual

REIZEN

REIZEN Braille Quartz Clock user manual

nedis CLAR005BK user manual

nedis

nedis CLAR005BK user manual

aidapt VM312 manual

aidapt

aidapt VM312 manual

Hama RCR 110 operating instructions

Hama

Hama RCR 110 operating instructions

Eurochron EFW 2000 operating instructions

Eurochron

Eurochron EFW 2000 operating instructions

Clas Ohlson C-8172ADB instruction manual

Clas Ohlson

Clas Ohlson C-8172ADB instruction manual

Lumie Bodyclock user guide

Lumie

Lumie Bodyclock user guide

Datexx DF-606 owner's manual

Datexx

Datexx DF-606 owner's manual

Adler Europe AD 1196 user manual

Adler Europe

Adler Europe AD 1196 user manual

Clas Ohlson RC123 instruction manual

Clas Ohlson

Clas Ohlson RC123 instruction manual

HoMedics HMDX QUAD HX-B050 Instruction manual and  warranty information

HoMedics

HoMedics HMDX QUAD HX-B050 Instruction manual and warranty information

TFA 60.4510.01 instruction manual

TFA

TFA 60.4510.01 instruction manual

Mebus W171G1 owner's manual

Mebus

Mebus W171G1 owner's manual

Oregon Scientific RMB383A user manual

Oregon Scientific

Oregon Scientific RMB383A user manual

philippi TEMPUS Assembly instructions

philippi

philippi TEMPUS Assembly instructions

Hama Wave operating instructions

Hama

Hama Wave operating instructions

Harbor Freight Tools 98855 Instructions and precautions

Harbor Freight Tools

Harbor Freight Tools 98855 Instructions and precautions

Hama Elegance Duo operating instructions

Hama

Hama Elegance Duo operating instructions

manuals.online logo
manuals.online logoBrands
  • About & Mission
  • Contact us
  • Privacy Policy
  • Terms and Conditions

Copyright 2025 Manuals.Online. All Rights Reserved.