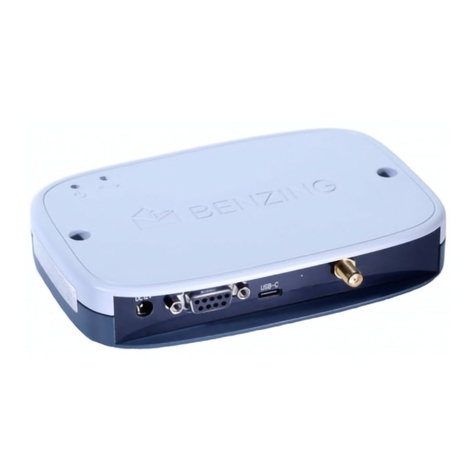
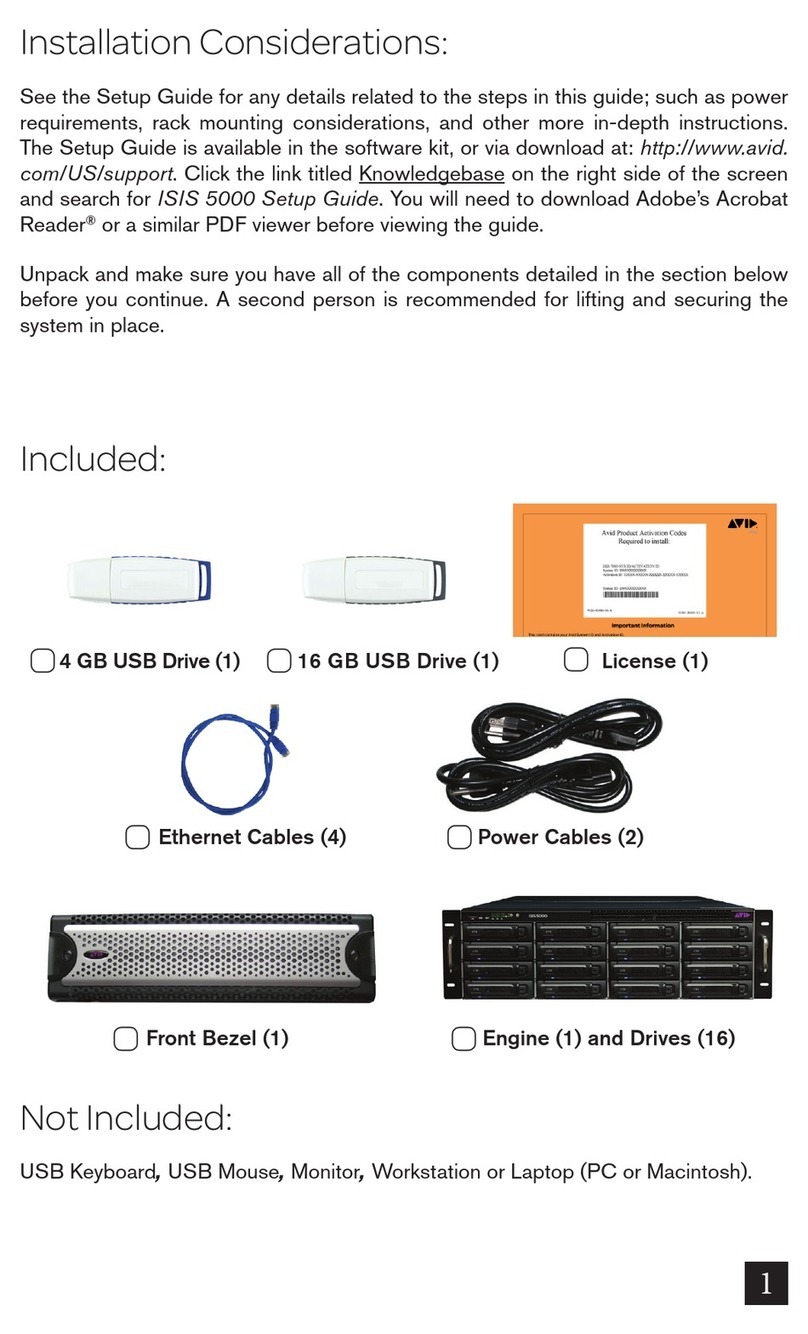
BENZING Live SMART HUB User manual

Continuous Clocking
The BENZING Live SMART Hub is a network
node that is also equipped with its own internal
memory. If the BENZING clock is separated from
the BENZING Live SMART Hub, the BENZING
Live SMART Hub will switch to the continuous
clocking function and begin to register the arrival
of pigeons. This takes about 15 seconds to
activate and will store the arrivals up to 6 hours
from when the BENZING Clock was disconnected.
There are different LED status to show the state
of the BENZING Live SMART Hub.
Continous clocking is active
System is ok
System is not ok
If a pigeon arrives, the LED
blinks very fast for 3 ashes
ashing
+
+
LED lights status
EN
BENZING Live SMART Hub
Version | Version 1.0 – 08/2020
English l Deutsch
Quick Start Guide
Kurzanleitung
www.benzing.cc
SMART HUB
Live!
BENZING
SMART HUB
Live!
BENZING
SMART HUB
Live!
BENZING
In the System Info screen you can see if the
continuous clocking function (BENZING INN) is
available on your device. The continues clocking
function requires that the latest rmware version
of the BENZING Live SMART HUB as well as the
BENZING M3.
Please check the main screen if the continues
clocking function (BENZING INN) is available on
your device. The continues clocking function
requires that the latest rmware version of the
BENZING Live SMART HUB as well as the
BENZING M1 is installed.
Please check on the main screen if the continuous
clocking function (BENZING INN) is available on
your device. The continuous clocking function
requires the latest rmware version of the
BENZING Live SMART HUB and the
BENZING Express G2 is installed.
00300
John F. 15:28:12
003 19.08 12:30:05 1
DE 5512 18 1420 F
I L
002 935142 12:30:04
001 52143 12:30:03
BENZING M1 INN Info Menu
In the BENZING INN info menu you can also check
if the continues clocking function (BENZING INN) is
available on your device.
BENZING
Continuous Clocking with BENZING M3
Continuous Clocking with BENZING M1
Continuous Clocking with BENZING Express G2

EN
How to connect BENZING Live SMART Hub
How to install
Update your devices to the minimum required software versions mentioned above.
Plug in the 15-pin connector of the adapter cable into the BENZING Live SMART Hub! (highlighted green in drawing).
BENZING M3: Plug in the matching 9-pin plug of the adapter cable into the BENZING M3 fancier cable.
BENZING M1: Plug in the matching 9-pin plug of the adapter cable into the BENZING M1 fancier cable.
Express G2: Plug in the matching 9-pin plug of the adapter cable into the BENZING Express G2 fancier cable.
Connect the other 9-pin plug of the adapter cable into the antenna cable.
The included GPS receiver + GSM Antenna has two cable connection plugs:
Connect the cable with the RED mark „GPS“ to the red marked SMA jack on the BENZING Live SMART HUB device.
Connect the cable with the BLUE mark „Cellular” to the blue marked SMA jack on the BENZING Live SMART HUB device.
Make sure that the GPS receiver is placed outside the loft. This will ensure correct functionality.
Connect the round plug of the power supply into the round power jack with the mark „DC 12V“ of the
BENZING Live SMART HUB device.
8. Plug in the power supply to your power socket.
BENZING M1
Adapter cable
GPS-Glonass receiver
Mobile network antenna (Cellular)
LED = Green:
LED = Red:
LED = Blue:
“Communication“
“GPS signal“
“Powered on“
BENZING G2
Antenna cable
Antenna PLB
BENZING Live
SMART HUB
BENZING
BENZING M1
M1 Fancier cable
BENZING
Power supply
BENZING M3
EN
Open keyboard
Please press on the button
to open your keyboard
How to enter the LIVE ID with BENZING M3
Home Screen:
Open the Main menu and click on
System
System:
Choose the System Info Tab.You will
notice that the BENZING Live is not
activated yet.
System:
Choose the Settings Tab and select
the BENZING Live option. Note:
If
there is no Live ID or Password
entered, it will show a Login Data Error
4
BENZING M3 with BENZING Live SMART HUB
Start BENZING Live:
After all devices are connected to each other and
the power is connected, the BENZING Live SMART
HUB and the BENZING M3 will start. See here the
most important information about the connections:
1 2
NOTICE
Minimum required software:
BENZING M3 V 1.4 or higher
BENZING M1 V 4.21 or higher
BENZING Express G2 V 4.21 or higher
BENZING Live SMART HUB V 4.2 or higher
We recommend to use always the lastest available version.
1
2
3
4
5
6
7
8
Enter LIVE ID
Please enter your LIVE ID which
which was delivered with the
BENZING Live SMART Hub and
conrm with the green button.
Check LIVE ID
Enter your password and conrm.
Your LIVE ID and Password is
displayed. Please press the Save
button to store your details.
BENZING Live connected:
Once your LIVE ID and Password is
stored correctly, the BENZING Live
will be displayed without without any
notication.
BENZING Live Website Online
Register and login on the website www.benzing.live
You can log in to the website using your Live ID and password (see the BENZING Live ID card supplied with
BENZING Live ). Click on „Login“ and enter the live ID and password.
If you have not registered yet, click on „Register“.
Enter your data in the window below and click on „Register“. You will receive an e-mail with the conrmation.
In this email, click the Verify Email button to conrm the registration. After logging in, you will be taken to your
personal dashboard.
1
2
GSM Status: Good connectivity
GSM Status: No connectivity
GPS Signal
1
2
Status BENZING Live Explanation

EN
BENZING M1 with BENZING Live SMART HUB
Connecting with LIVE ID:
After you entered your LIVE ID and
password press the “OK” button to
store your login data. The BENZING
Live SMART HUB and the BENZING
M1 will now be ready for transiting
data over the GSM network.
Check Settings:
When you press the “INFO” button
in the BENZING Live menu you will
see all the system information from
the BENZING Live.
Explanation Settings:
There are several different „States“ that can occur:
SIM: SIM card not inserted or defective
INIT: The BENZING Live is in Initial/Startup state
OK: Everything is OK
COM ERR: Communication problem
1 or X: 1 = user details correct
x = user details not correct
NOK:
No GPS signal / GPS receiver not connected
The symbol and the percentage shows you the quality of the signal.
Start BENZING Live:
Once all devices are connected to
each other, connect the power to the
system. The BENZING Live and the
BENZING M1 will start up.
General:
Please choose the MENU button
settings and then select BENZING
Live to be able to enter the LIVE ID.
LIVE ID:
In order to have the GSM network
and transfer the arrival data, you
need to enter a user ID and
password. To enter the login data,
select the “LIVE ID” button.
Settings
EN
BENZING G2 with BENZING Live SMART HUB
Explanation Settings:
The System screen displays various information about the system, including
the status of the BENZING Live SMART Hub. The last line of the status
screen shows the the GPS and GSM connection status.
GPS: OK GPS is OK, position could be determined
GPS: -- GPS not OK, GPS not recognized
Live: OK Everything is ok
Live: ID Problem with LIVE ID or password
Live: COM Communication error with BENZING Live
Live: BUSY BENZING Live is transmitting data
Live: NOK General error
Live: SIM Problem with the SIM Card
Live: PIN Problem with the PIN Code
Live: GSM Problem with the GSM network
Live: DATA Problem with the data network
Live: INIT BENZING Live is in Initial/Start up state
0001
John F. 14:32:15
No Race / Training
I L
Start BENZING Live:
Once all the devices are connected to
each other, connect the power to the
system. The BENZING Live and the
BENZING Express G2 start up.
Main Menu:
The Main Menu of the BENZING G2
Express
Activate the Main Menu:
Push and hold the red and green buttons of the
BENZING Express G2 for appropriately 3 seconds.
Connecting with LIVE ID:
To transmit data via the GSM network, you will need
to enter a User ID and Password. To enter the login
data, use the two middle buttons to scroll to System
menu option - System Icon
Enter the settings menu:
Select the green button to enter the settings menu.
The system settings will be displayed.
Settings
Status BENZING Live Explanation
L: Connection to the BENZING Live server is OK
L-I: Login error. BENZING Live could not login at the server
L-G: GPS not OK, GPS not recognized
L-M: Modem error. Mobile network not detected
L-C: Communication error
System
You will need to enter the LIVE ID
and the password which was
included on the LIVE ID card.You will
nd this card in the BENZING Live
packaging.
Once the LIVE ID and Password
have been stored in the BENZING
Express G2, the BENZING Live and
the BENZING Express G2 are ready
for use.
Notice:
With [ ] or [ ] you can select the
desired characters and numbers.
With [ ] or [ ] you can move the
cursor to the left and to the right.
[OK] (green button) saves the
entered data.
If there is no cellular connection or a
connection is interrupted, all data will
be sent as soon as the connection is
reestablished.
Status BENZING Live Explanation
L Connected with BENZING Live SMART Hub
L! BENZING Live server is transmitting data
L (ashing L) GPS or GSM connection is lost
Enter LIVE ID:
Please enter the Live ID and the
password which was included on the
Live ID card.
LIVE ID Overview
This screen shows the overview
about the software version and
LIVE status. This can be used to
troubleshoot any connection issues if
needed. See the various „States“ below.
1
1
1
1
Other BENZING Switch manuals
