BestWhip Soda Plus User manual
~estWhip1nc.
6727
NW16th
Terrace
Fort
Lauderdale,
FL
33309
Operating Instructions
for Soda Plus
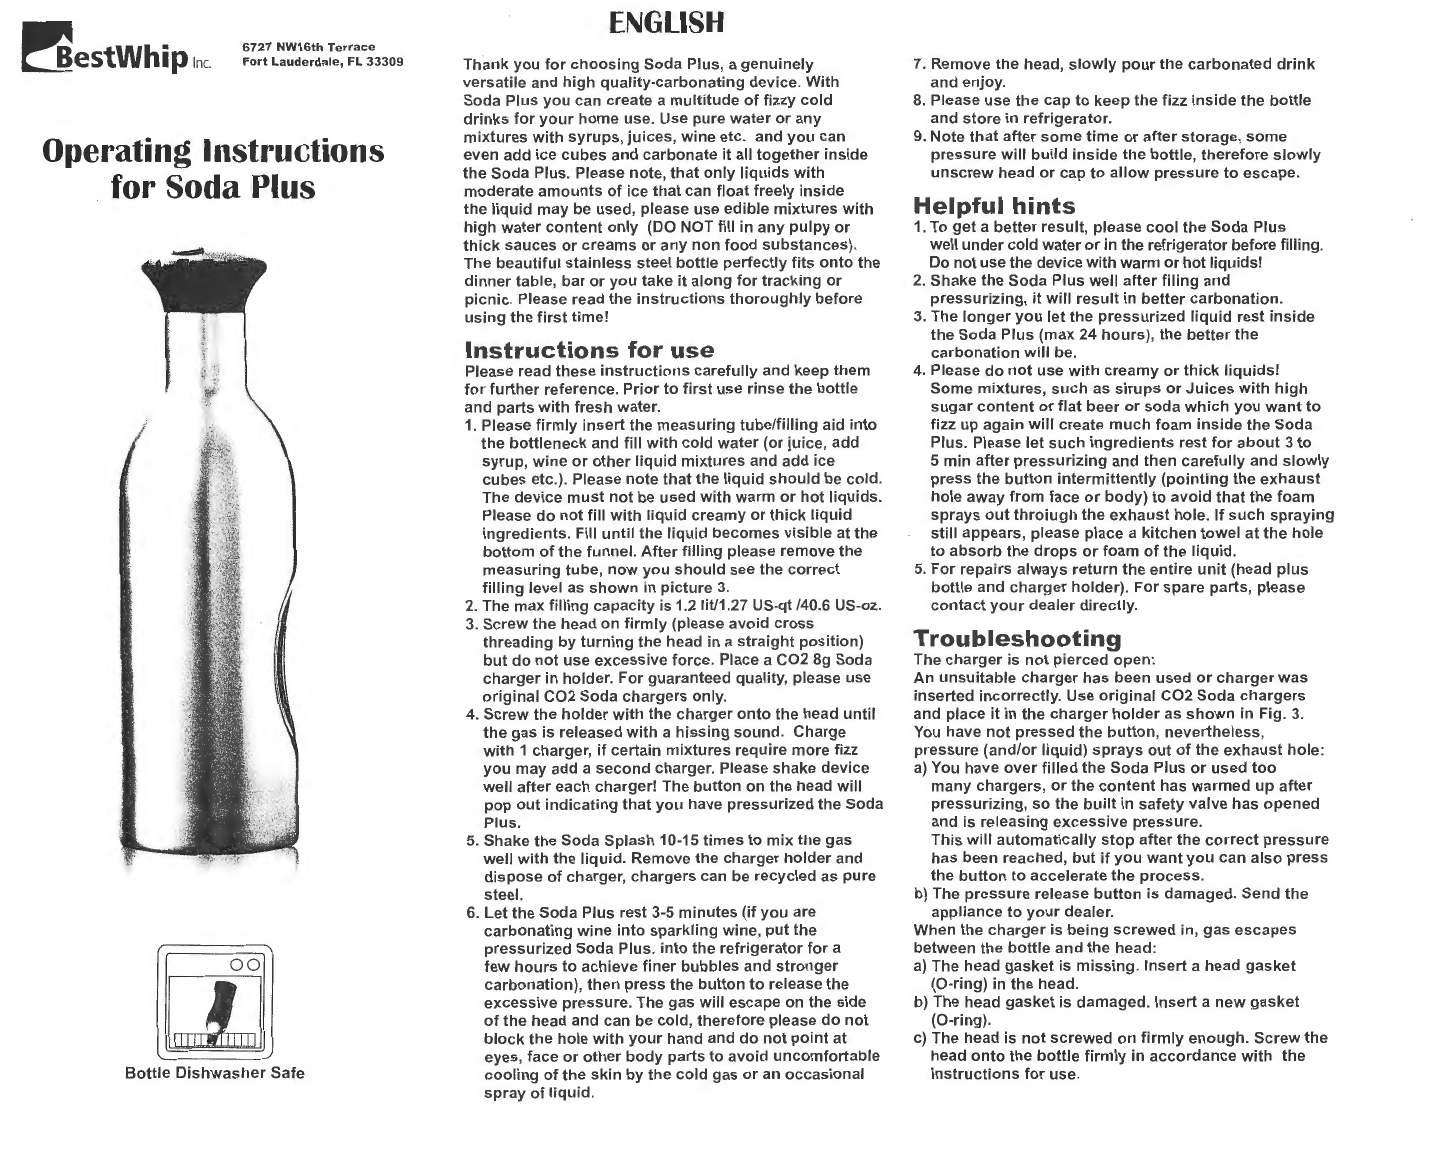
lW
Bottle
Dishwasher
Safe
ENGLISH
Thank
you
for
choosing
Soda
Plus,
a
genuinely
versatile
and
high
quality-carbonating
device
.
With
Soda
Plus
you
can
create
a
multitude
of
fizzy
cold
drinks
for
your
home
use
.
Use
pure
water
or
any
mixtures
with
syrups
,
juices
,
wine
etc.
and
you
can
even
add
ice
cubes
and
carbonate
it
all
together
inside
the
Soda
Plus.
Please
note,
that
only
liquids
with
moderate
amounts
of
ice
that
can
float
freely
inside
the
liquid
may
be
used,
please
use
edible
mixtures
with
high
water
content
only
(DO NOT
fill
in
any
pulpy
or
thick
sauces
or
creams
or
any
non
food
substances)
.
The
beautiful
stainless
steel
bottle
perfectly
fits
onto
the
dinner
table,
bar
or
you
take
it
along
for
tracking
or
picnic.
Please read
the
instructions
thoroughly
before
using
the
first
time!
Instructions
for
use
Please
read
these
instructions
carefully
and
keep
them
for
further
reference.
Prior
to
first
use
rinse
the
bottle
and
parts
with
fresh
water
.
1.
Please
firmly
insert
the
measuring
tube/filling
aid
into
the
bottleneck
and
fill
with
cold
water
(or
juice,
add
syrup,
wine
or
other
liquid
mixtures
and
add
ice
cubes
etc.).
Please
note
that
the
liquid
should
be
cold
.
The
device
must
not
be
used
with
warm
or
hot
liquids.
Please
do
not
fill
with
liquid
creamy
or
thick
liquid
ingredients.
Fill
until
the
liquid
becomes
visible
at
the
bottom
of
the
funnel.
After
filling
please
remove
the
measuring
tube,
now
you
should
see
the
correct
filling
level
as
shown
in
picture
3.
2. The
max
filling
capacity
is
1.2 lit/1.27 US-qt /40.6 US-oz.
3.
Screw
the
head
on
firmly
(please
avoid
cross
threading
by
turning
the
head
in
a
straight
position)
but
do
not
use
excessive
force
. Place a
C02
8g
Soda
charger
in
holder
.
For
guaranteed
quality,
please
use
original
C02
Soda
chargers
only.
4.
Screw
the
holder
with
the
charger
onto
the
head
until
the
gas
is
released
with
a
hissing
sound
.
Charge
with
1
charger,
if
certain
mixtures
require
more
fizz
you
may
add
a
second
charger
. Please
shake
device
well
after
each
charger!
The
button
on
the
head
will
pop
out
indicating
that
you
have
pressurized
the
Soda
Plus.
5.
Shake
the
Soda
Splash
10-15
times
to
mix
the
gas
well
with
the
liquid.
Remove
the
charger
holder
and
dispose
of
charger,
chargers
can be
recycled
as
pure
steel.
6.
Let
the
Soda
Plus
rest
3-5
minutes
(if
you
are
carbonating
wine
into
sparkling
wine,
put
the
pressurized
Soda
Plus.
into
the
refrigerator
for
a
few
hours
to
achieve
finer
bubbles
and
stronger
carbonation),
then
press
the
button
to
release
the
excessive
pressure.
The
gas
will
escape
on
the
side
of
the
head
and
can
be
cold,
therefore
please
do
not
block
the
hole
with
your
hand
and
do
not
point
at
eyes, face
or
other
body
parts
to
avoid
uncomfortable
cooling
of
the
skin
by
the
cold
gas
or
an
occasional
spray
of
liquid
.
7.
Remove
the
head,
slowly
pour
the
carbonated
drink
and
enjoy
.
8.
Please
use
the
cap
to
keep
the
fizz
inside
the
bottle
and
store
in
refrigerator.
9.
Note
that
after
some
time
or
after
storage,
some
pressure
will
build
inside
the
bottle,
therefore
slowly
unscrew
head
or
cap
to
allow
pressure
to
escape.
Helpful
hints
1.
To
get
a
better
result
,
please
cool
the
Soda
Plus
well
under
cold
water
or
in
the
refrigerator before filling.
Do
not
use
the
device
with
warm
or
hot
liquids!
2.
Shake
the
Soda
Plus
well
after
filing
and
pressurizing,
it
will
result
in
better
carbonation.
3. The
longer
you
let
the
pressurized
liquid
rest
inside
the
Soda
Plus
(max
24
hours),
the
better
the
carbonation
will
be.
4. Please
do
not
use
with
creamy
or
thick
liquids!
Some
mixtures,
such
as
sirups
or
Juices
with
high
sugar
content
or
flat
beer
or
soda
which
you
want
to
fizz
up
again
will
create
much
foam
inside
the
Soda
Plus.
Please
let
such
ingredients
rest
for
about
3
to
5
min
after
pressurizing
and
then
carefully
and
slowly
press
the
button
intermittently
(pointing
the
exhaust
hole
away
from
face
or
body)
to
avoid
that
the
foam
sprays
out
throiugh
the
exhaust
hole.
If
such
spraying
still
appears,
please
place
a
kitchen
towel
at
the
hole
to
absorb
the
drops
or
foam
of
the
liquid
.
5.
For
repairs
always
return
the
entire
unit
(head
plus
bottle
and
charger
holder).
For
spare
parts,
please
contact
your
dealer
directly.
Troubleshooting
The
charger
is
not
pierced
open:
An
unsuitable
charger
has
been
used
or
charger
was
inserted
incorrectly.
Use
original
C02
Soda
chargers
and
place
it
in
the
charger
holder
as
shown
in
Fig. 3.
You
have
not
pressed
the
button,
nevertheless
,
pressure
(and/or
liquid)
sprays
out
of
the
exhaust
hole
:
a)
You
have
over
filled
the
Soda
Plus
or
used
too
many
chargers,
or
the
content
has
warmed
up
after
pressurizing,
so
the
built
in
safety
valve
has
opened
and
is
releasing
excessive
pressure.
This
will
automatically
stop
after
the
correct
pressure
has
been
reached,
but
if
you
want
you
can
also
press
the
button
to
accelerate
the
process.
b) The
pressure
release
button
is
damaged
.
Send
the
appliance
to
your
dealer.
When
the
charger
is
being
screwed
in
,
gas
escapes
between
the
bottle
and
the
head:
a)
The
head
gasket
is
missing.
Insert
a
head
gasket
(0-ring)
in
the
head
.
b) The
head
gasket
is
damaged
.
Insert
a
new
gasket
(0-ring).
c) The
head
is
not
screwed
on
firmly
enough.
Screw
the
head
onto
the
bottle
firmly
in
accordance
with
the
instructions
for
use.

d)
The
upper
edge
of
the
bottleneck,
or
the
head
is
damaged.
Send
appliance
to
your
dealer.
Content
is
not
fizzy
after
carbonation
:
a)
The
Soda
Plus
was
not
shaken
firmly
or
often
enough.
Carbonize
again
and
shake
firmly.
b)
The
Soda
Plus
was
overfilled
.
Always
observe
that
there
is
enough
space
left
above
the
filling
level,
it
is
needed
to
allow
the
C02
gas
to
go
into
the
bottle
and
to
mix
well
with
the
liquid
when
you
shake
it
.
c) The
content
requires
more
chargers
than
one
.
Use
a
second
charger
to
get
a
stronger
fizz. Please
remember
to
shake
well
after
EACH
charger,
do
not
use
2
chargers
in
a
row
without
shaking
in
between!
Safety
Instructions
1.
Please
keep
this
instruction
booklet
for
later
reference
to
avoid
any
improper
handling
or
operating.
This
Soda
Plus
is
designed
exclusively
for
the
purposes
specified
in
this
manual.
Only
use
for
normally
drinkable
liquids
and
maybe
add
small
amounts
of
ice. The
device
must
not
be
used
with
warm
or
hot
liquids.
Please
use
edible
liquids
only
.
Do
not
fill
with
any
solid,
pulpy,
creamy
or
thick
liquid
ingredients.
This
unit
is
designed
for
commonly
used
carbonated
drinks
with
high
water
content,
and
is
for
home
use
only!
2. The
Soda
Plus
and
the
charger
are
pressure
containers
which
require
increased
attention
and
care.
3.
Please
note
the
safety
instructions
for
chargers
on
the
charger
packaging.
4.
Keep
original
C02
Soda
chargers
and
the
Soda
Plus
out
of
the
reach
of
children.
5.
For
safety
reasons,
do
not
bend
or
lean
over
the
Soda
Plus
when
screwing
in
the
charger
with
the
charger
holder.
6.
The
Soda
Plus
head
screws
easily
onto
the
bottle
in
an
up
right
(straight)
position.
Do
not
cross-thread
by
tilting
the
head
which
could
cause
great
danger.
7.
All
Soda
Plus
parts
can
be
assembled
easily;
therefore
never
use
force.
8.
Never
use
the
Soda
Plus
if
damaged.
If
the
Soda
Plus
has
been
dropped,
it
should
be
checked
by
your
dealer
or
an
authorized
service
center
.
9.
Only
unscrew
the
Soda
Plus
head
when
gas
has
completely
escaped.
Press
the
release
button
until
the
hissing
sound
stops.
10. Do
not
expose
original
C02
Soda
chargers
or
the
Soda
Plus
to
heat
(stove,
sunlight,
oven,
microwave,
etc.).Do
not
store
the
Soda
Plus
or
any
of
its
parts
in
the
freezer.
Always
store
inside
the
refrigerator!
11
.
Please
be
advised
that
tampering
with
the
Soda
Plus
and/or
its
components
automatically
voids
any
and
all
warranties/guarantees
of
the
manufacturer/supplier.
12.
When
pressing
the
release
button,
please
be
careful
not
to
point
the
exhaust
hole
in
the
direction
of
your
or
others
eyes
or
bodyparts,
because
gas
or
liquid
might
spray
out
with
force
and
cause
irritation,
injury
or
damage.
13.
After
charging
and
taking
of
the
charger
holder,
be
aware
that
the
charger
might
be
very
cold,
therefore
do
not
touch
it
with
bare
fingers
or
body
parts.
14.
Before
unscrewing
the
head
of
the
Soda
Plus,
always
press
the
release
button
to
depressurize
the
bottle.
After
time
or
storage
with
the
head
or
the
cap
screwed
onto
the
bottle,
there
will
always
build
up
some
pressure
from
C02
that
is
released
from
the
liquid
content,
therefore
slowly
unscrew
head
or
cap
to
allow
pressure
to
escape
via
the
threads,
just
like
you
do
with
other
soda
bottles.
15. Do
not
attempt
to
disassemble
the
release
button
or
gas
inlet
valve,
these
parts
are NOT
for
disassembly!
The
only
removable
parts
are
the
head,
the
cap
the
measuring
tube
and
the
charger
holder
.
Cleaning
Before
opening,
allow
remaining
pressure
to
escape
by
pressing
the
release
button
or
slowly
unscrewing
cap,
until
no
more
gas
is
discharged.
Follow
steps
1, 2
and
3
to
clean
your
Soda
Plus
1.
Unscrew
the
head
then
rinse
it
under
lukewarm
water
.
If
some
spraying
has
previously
occurred
with
liquids
other
than
water,
press
the
release
button
while
rinsing
the
inside
of
the
head
well.
If
necessary
add a
mild
detergent
and
use
a
soft
brush
to
clean
the
thread
and
the
head.
2.
Thoroughly
clean
the
bottle,
especially
the
thread
inside
the
neck,
if
you
wish
you
may
put
the
stainless
steel
bottle
(BUT NEVER THE HEAD)
inside
the
dishwasher
.
3.
For
storage,
allow
all
parts
to
dry
well
and
reassemble
them
only
if
they
are
completely
dry!
4. Do
not
use
any
sharp
objects,
abrasive
materials
or
temperatures
above
50°C
or
120°
F,
when
cleaning
the
Soda
Splash
or
any
of
it's
parts.
Warranty
Defective
Soda
Plus
(faulty
materials
or
bad
workmanship)
will
be
repaired
without
charge
(freight
prepaid!)
within
one
year
of
date
of
purchase
per
valid
invoice.
This
warranty
does
not
cover
any
liability
for
malfunction
caused
by
improper
use,
use
of
damaged/wear
parts,
or
any
consequential
damage.
In
order
to
assure
the
proper
functioning
of
your
Soda
Plus
only
use
original
Soda
Plus
parts
. In
particular,
we
shall
not
satisfy
any
warranty
or
liability
claims
for
malfunction,
damage,
and
consequential
damage
resulting
from
any
failure
of
complying
with
and/or
failure
to
read
this
manual
and
the
safety
instructions
contained
therein.
SAFETY
PRECAUTIONS:
1. The
Soda
Plus
and
the
C02
(Soda)
chargers
are
pressurized
containers
and
should
always
be
handled
with
care
and
attention.
2.
Use
only
original
or
authorized
parts.
Never
substitute
parts
or
products
that
are
not
authorized
replacement
parts
.
3.
Do
not
attempt
to
make
any
modifications
to
the
Soda
Plus
yourself.
4.
Any
attempt
to
repair
the
Soda
Plus
yourself
or
any
improper
manipulaton
of
the
Soda
Plus
will
terminate
all
warranties
and
liablilities.
5.
If
the
Soda
Plus
is
damaged,
do
not
use
it
again.
When
the
Soda
Plus
is
dropped
and/or
damaged
with
a
dent,
please
call
your
distributor
to
return
it
to
the
factory
for
safety
check
.
6.
For
spare
parts,
please
contact
your
dealer
.
7.
Please
keep
the
instruciton
booklet.
8.
Only
use
original
C02
chargers.
9.
Keep
Soda
Plus
and
chargers
out
of
reach
of
small
children.
10.
Before
unscrewing
head
always
press
pressure
release
button
until
you
hear
no
sound
and
no
gas
is
released.
11.
All
parts
can
be
assembled
in
an
easy
way. Do
not
use
force.
12.
For
safety
reasons
,
do
not
bend
over
the
Soda
Plus
while
charging.
13. Do
not
expose
the
Soda
Plus
to
heat
(stove,
sun,
oven,
microwave
, etc.)
Do
not
put
the
Soda
Plus
in
the
fridge
or
freezer
.
14
.
Only
remove
parts
in
fig
. 1
when
cleaning
the
Soda
Plus.
15
. Do
not
use
any
sharp
objects
or
abrasive
materials
to
clean
the
Soda
Plus.
16.
Do
not
use
sharp
detergents
or
chemicals
for
cleaning,
do
not
clean
the
head
or
any
plastic
part
in
the
dishwasher.
Popular Other manuals by other brands

HESHBON
HESHBON HO-250A Installation, operation & maintenance manual

Absco
Absco J23151GECOK Assembly instructions

ReelCraft
ReelCraft TW84000 OLPT operating instructions

Hendrickson
Hendrickson AR2 series Service instructions

PORT Technology
PORT Technology PCR-TWN4 manual

Cascade
Cascade TFC 6859795 installation instructions


