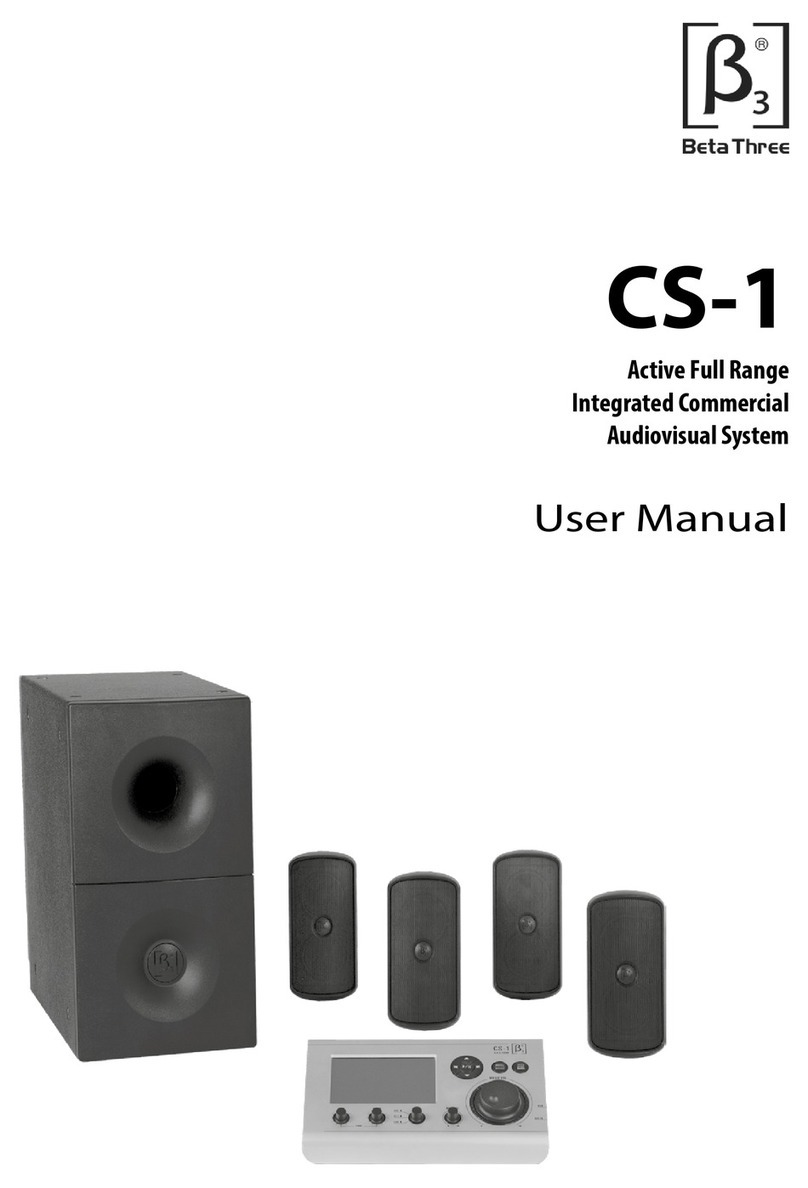
Beta Three CS-1 User manual

CS-1
Active Full Range
Integrated Commercial
Audiovisual System
Operation Manual

2
CS-1
Active Full Range Integrated Commercial Audiovisual System
CREATING THE NEW NORMAL | Beta3 CS-1 Operation Manual www.elderaudio.com
CONTENT
1.0 Introduction 3
2.0 Controller 3
2.1 Controller Top Panel 3
2.2 Controller Back Panel 4
2.3 Controller Right Side Panel 4
3.0 Main Screen 5
4.0 Video Screen 6
4.1 Choosing a Video Clip 6
4.2 Video Play Screen 7
4.3 Video Settings 8
5.0 Music Screen 9
5.1 Music Standby Screen 9
5.2 Path Selection for Music Play 9
5.3 Music Catalog 10
5.4 Music Play Screen 10
6.0 Picture Screen 12
6.1 Picture Selection Screen 12
6.2 Picture Viewing Screen 13
6.3 Manual Play Mode Screen 13
6.4 Timed Play Mode Screen 14
7.0 File Management Screen 15
7.1 File Manager Standby Screen 15
7.2 Master Operation Screen 16
7.3 Toolbox Screen 17
7.4 Process Info Screen 18
7.5 Process Options Screen 18
7.6 File Setting Screen 19
8.0 Settings Screen 20
8.1 Settings Standby Screen 20

3
CS-1
Active Full Range Integrated Commercial Audiovisual System
www.elderaudio.com Beta3 CS-1 Operation Manual | CREATING THE NEW NORMAL
1.0 INTRODUCTION
Congratulations on your purchase of the Beta3 CS-1 Active Full Range Integrated Commercial Audiovisual System (CS-1).
This system has been designed to provide a great audiovisual solution for your installation.
With just a few key components linked together you have a powerful system that will not only provide full clean sound to
your listening environment, but also the means to store and supply visual presentations.
The CS-1 is a versatile solution for many possible scenarios. It is ideal for a whole range of installations, including
Restaurants, Conference rooms, Board rooms, Retail outlets, Multi-function hall, Meeting rooms etc.
Please note that, with any of the screens, a 4 second or more press of the MENU button will result in the system shutting
down. By pressing the MENU button again you can abort the shut down.
Please ensure that before turning the system on you have followed all the instructions in the User Manual.
2.0 CONTROLLER
2.1 Controller Top Panel
All the necessary control functions are available on the top panel of the Controller. You can either use the touchscreen, the
control knobs or a combination of both.
The Touchscreen (9) allows you to navigate the various functions of the CS-1. You can connect an external display to the
HDMI socket (1) on the back panel.
Next to the screen you will nd a Navigation Control (10). These buttons allow you to select (left, right, up, down), conrm,
play and pause.
Back Panel
Side PanelTop Panel
1. HDMI output
2. VIDEO output
3. Left AUDIO output
4. Right AUDIO output
5. Port to connect Controller to Sub
6. Left AUDIO input
7. Right AUDIO input
8. Microphone input
9. Touchscreen
10. Navigation control: select, conrm, play and pause
11. MENU and POWER key
12. BACK key - return function
13. BASS gain
14. TREBLE gain
15. INPUT mode selection
AUX: input via 3.5mm (18)
CS-1: input from internal SD card, and USB card via
socket (19)
LINE: input via 2 x RCA sockets (6) & (7)
16. Microphone volume
17. Master volume
18. 3.5mm AUX input
19. USB port

4
CS-1
Active Full Range Integrated Commercial Audiovisual System
CREATING THE NEW NORMAL | Beta3 CS-1 Operation Manual www.elderaudio.com
A short push of the MENU/POWER button (11) activates a series of Menus depending on which screen is currently being
displayed. If you press and hold this button you can power down the CS-1. If the CS-1 has been turned o with the MENU/
POWER button it can be turned on by pressing and holding this button for 4 seconds.
The BACK button (12) functions as a return key, allowing you to step back through a sequence of screens until you reach
the Main Screen display.
The TONE controls can be found on the bottom left of the top panel. These allow you to alter the BASS (13) and TREBLE (14)
of the audio being reproduced by the CS-1.
The INPUT selection switch (15) enables you to determine which audio source is selected for reproduction by the CS-1.
There are 3 options that you can select from:
- AUX - the audio input from the 3.5mm socket (18) on the side panel of the Controller
- CS-1 - the audio either stored on the SD Card of the CS-1 or a USB card inserted into the side panel (19)
- LINE - the audio connected via the RCA sockets on the back panel (6) and (7).
The MIC VOL (16) allows you to control the volume of a dynamic microphone connected to the XLR socket (8) on the back
panel. This control is independent of the MUSIC VOL (17).
The large MUSIC VOL (17) allows you to control the replay sources volume of the CS-1.
2.2 Controller Back Panel
On the back panel of the Controller you will nd a number of sockets which allow other devices to be connected:
• The HDMI socket (1) allows you to connect an external display device which will show the same image as that on the
Controller screen (9).
• The VIDEO RCA socket (2) will allow you to connect an external display device which will show the same image as that
on the Controller screen (9).
• These 2 AUDIO RCA sockets (3) and (4) will allow you to connect the audio feed of the CS-1 to another device such as a
recorder.
• This TO AMP RJ45 socket (5) is used to connect the Controller to the Bass module. The cable carries power and control
signals to activate the various functions of the CS-1 System.
• These 2 AUDIO RCA sockets (6) and (7) allow you to connect another audio device to the CS-1 such as a CD/DVD player,
radio, etc. You select this source via the INPUT (15) control on the top panel.
• This MIC INPUT 3 pin balanced XLR input socket (8) allows you to connect a dynamic microphone to the CS-1, if you
want to make announcements or make a presentation. Volume for this input can be controlled via the MIC VOL (16) on
the top panel.
2.3 Controller Side Panel
On the right hand side of the Controller you will nd 2 input ports: 3.5mm (18) and USB (19).
The 3.5mm socket will allow you to connect external audio devices such as MP3 players to the CS-1. This can be routed via
the INPUT selection switch (15) on the top panel of the Controller.
The USB socket (19) allows you to add video, music and picture les to the CS-1. Once you have securely connected the
USB card to the Controller it will automatically search the card for usable les. It does not matter if the various les are
inside other folders on the USB card, the Controller will still locate the‘playable’les.

5
CS-1
Active Full Range Integrated Commercial Audiovisual System
www.elderaudio.com Beta3 CS-1 Operation Manual | CREATING THE NEW NORMAL
3.0 MAIN SCREEN
When you have connected the system you can turn it on by activating the POWER switch on the back of the Base Module.
This will also turn on the Controller.
Once the CS-1 is turned on the 3 blue INPUT LED’s on the top panel will ash. Next you will see the Beta3 logo and the
label CS-1 ash on the screen, followed by the Beta3 logo appearing again in the middle of the screen. Once the system
has fully loaded you will see the following screen.
There are two ways that you can control the CS-1; either by using the touchscreen or the navigation controls.
Once you select one of the ve options from the main screen a blue background is shown. You can now either press the
icon again to open the folder, or use the navigation controls (10) to scroll through the options, and then press the
(Play/Pause) button to select your choice.
Please note that you can step back through your selections, by pressing the BACK button (12) at any time, until you reach
the Main Screen.

6
CS-1
Active Full Range Integrated Commercial Audiovisual System
CREATING THE NEW NORMAL | Beta3 CS-1 Operation Manual www.elderaudio.com
4.0 VIDEO SCREEN
4.1 Choosing a Video Clip
To select the Video folder you need to press the Video icon on the Main Screen.
Once you enter the Video folder you will see another folder containing video clips. To select this folder press the image on
screen, or by press the (Play/Pause) button (10).
If a USB card containing a video clip is inserted then a second Video folder will be shown. If there are more than one video
clips on the USB, selecting the second folder will reveal the other available clips.
If you have more than 1 video a folder will automatically be created. To open the folder just double click. Once the Video
folder is open you will then see a selection of video clips that can be played. Select a video by pressing the thumbnail
image on the screen, or by using the navigation control to select and the (Play/Pause) (10) to commence playback.
Once a video is being played you can jump forward to the next clip by pressing the forward button , or go back to the
previous video clip by pressing the back button .
Other manuals for CS-1
1
Table of contents
Other Beta Three Stereo System manuals
