BETHLEHEM Swift Lock Ready Shape Tree User manual

Indoor Use Only
Made in China H205412INST022015
1
9’ Swift Lock Ready Shape Tree (Patent Pending) Instructions
IMPORTANT SAFETY INSTRUCTIONS
When using electrical products, basic precautions should always be followed including the following:
READ AND FOLLOW ALL SAFETY INSTRUCTIONS
SAVE THESE INSTRUCTIONS
•Do not use seasonal products outdoors unless marked suitable for indoor and outdoor use. When products are used in
outdoor applications, connect the product to a Ground Fault Circuit Interrupting (GFCI) outlet. If one is not provided, contact
a qualified electrician for proper installation.
•This seasonal use product is not intended for permanent installation or use.
•Do not mount or place near gas or electric heaters, fireplaces, candles or other similar sources of heat.
•Do not secure the wiring of the product with staples or nails, or place on sharp hooks or nails.
•Do not let lamps rest on the supply cord or on any wire.
•Unplug the product when leaving the house, when retiring for the night, or if left unattended.
•Disconnect the product from the outlet when not in use.
•This is an electric product - not a toy! To avoid risk of fire, burns, personal injury and electric shock it should not be played
with or placed where small children can reach it.
•Do not use this product for other than its intended use.
•Do not hang ornaments or other objects from cord, wire, or light string.
•Do not close doors or windows on the product or extension cords as this may damage the wire insulation.
•Do not cover the product with cloth, paper or any material not part of the product when in use.
•This product has a polarized plug (one blade is wider than the other) as a feature to reduce the risk of electric shock. This
plug will fit in a polarized outlet only one way. If the plug does not fit fully in the outlet, reverse the plug. If it still does not fit,
contact a qualified electrician. Do not use with an extension cord unless plug can be fully inserted. Do not alter or replace the
plug.
•This product is equipped with push-in type lamps. Do not twist lamps.
•Read and follow all instructions that are on the product or provided with the product.
•Do not attempt to connect other lighting strings or decorative products to this tree. NO OTHER PRODUCTS SHOULD BE
WIRED OR PLUGGED INTO THE TREE.
•This product employs overload protection (fuse). A blown fuse indicates an overload or short-circuit situation. If the fuse
blows, unplug the product from the outlet. Replace the fuse as per the user servicing instructions (follow product marking
for proper fuse rating) and check the product. If the replacement fuse blows, a short-circuit may be present and the product
should be discarded.
CAUTION
•Risk of fire. This product contains lamp shunts, which allow the product to operate if one lamp burns out. Do not replace
lamps with other than the spare lamps provided with this product. Replace fuses only with correct fuses listed below
(provided with product).
•Do not replace attachment plug. It contains a safety device (fuse) that should not be removed. Discard tree if attachment
plug is damaged.
•CAUTION - To reduce the risk of electric shock, use only with the power-supply cord provided.
•Do not use a cracked, frayed, or damaged cord. Inspect the cord periodically.
•Do not abuse cord - Do not carry product by the cord or yank or pull it to disconnect from the outlet.
•Replace any burned out bulbs as soon as possible to prevent overheating and reduced bulb life.
•Before using or reusing product, inspect carefully. Discard any product that has cut, damaged, or frayed wire insulation or
cords, cracks in the lamp holders or enclosures, loose connections or exposed copper wire.
•Never change fuses, bulbs or assemble/disassemble tree with the power cord plugged into the wall outlet.
•Replace with GKI/Bethlehem lights only.
•Avoid touching electrical parts with sharp or heavy objects.
•This product has a polarized plug (one blade is wider than the other) as a feature to reduce the risk of electric shock. This
plug will fit in a polarized outlet only one way. If the plug does not fit fully in the outlet, reverse the plug. If it still does not fit,
contact a qualified electrician. Do not use with an extension cord unless plug can be fully inserted. Do not alter or replace
the plug.

Indoor Use Only
Made in China H205412INST022015
2
Note: Because our trees use high grade materials to ensure a long lifetime of beauty, wearing long sleeves and gloves
is recommended to protect your arms and hands from foliage while shaping the branches.
Specifications:
Input: 110VAC 5A 600 Watts Max
Bulbs: 2.2V Miniature 200ma w/Shunt
Fuse: Power Cord -5 Amp, 125 Volt
Fuse Bulb: Light Strings – 2.2V Miniature
200ma Shuntless
Included Parts:
Pre-light Tree Top (section D)( 7lbs)
Upper Middle Section of Pre-light Tree (section C)(15 lbs)
Lower Middle Section of Pre-light Tree (section B)(19 lbs.)
Bottom Section of Pre-light Tree (section A)(23lbs)
Collapsible Tree Stand with 3 screws
Replacement bulbs and fuses
Corded Remote attached to section A (10’ cord)
Setup Instructions:
Step 1: Position and Set-Up Tree Stand
Note: For easier assembly, the white straps around each section should NOT be removed until each section is
assembled. Cut the strap after each section is assembled.
A. Place tree stand in desired location.
B. Unfold tree stand until the legs are perpendicular and the screw holes are aligned.
C. Insert the tree screws into the screw holes and turn 3 – 4 rotations only (if the screws are inserted too far you
will not be able to fully insert the tree pole).
Step 2: Insert the Bottom Section (A) into the Tree Stand
A. Remove and discard the red plastic cap at the bottom of the metal tree pole.
B. Release the power cord and corded remote from the lower tree branch by releasing the red twist ties. (NOTE:
DO NOT REMOVE THE RECTANGULAR BOX THAT IS ZIP TIED TO THE BOTTOM TREE BRANCH.)
C. Insert the bottom tree section into the stand (bottom section is marked with “A”) ensuring it is standing
straight.
D. Secure the bottom tree section in the stand by tightening the screws evenly. TIP: partially tighten each screw
then check to make sure the bottom tree section is still straight in the stand. Adjust as needed before fully
tightening each screw. If bottom section is not tightened into stand properly it could result in remaining
sections not locking into place properly causing a portion of lights to be out.
E. Remove white section ties to free hinged branches. Adjust the branch tips for desired appearance (branches
may need to be loosened from each other before adjusting the foliage tips. To aid in this process GENTLY pull
down and separate individual branches from other branches).

Indoor Use Only
Made in China H205412INST022015
3
Step 3: Insert the Lower Middle Tree Section (B) into the Bottom Tree Section (A)
A. Remove and discard the red plastic cap at the bottom of the metal tree pole.
B. Place the lower middle section pole onto the bottom section (lower middle section is marked with “B”). Align
the arrows BEFORE beginning to turn the tree section. See picture (1).
C. Grasp branches with each hand just above the Swift Lock connector. Turn the entire section clockwise. The
section will screw onto the lower section and the top arrow will align with the stop sign symbol. Once a
“click/lock” is heard the section is seated correctly. See picture (2).
D. Remove white section ties to free hinged branches. Adjust the branch tips for desired appearance (branches
may need to be loosened from each other before adjusting the foliage tips. To aid in this process GENTLY pull
down and separate individual branches from other branches).
Step 4: Insert the Upper Middle Section (C) into the Lower Middle Section (B)
A. Remove and discard the red plastic cap at the bottom of the metal tree pole.
B. Attach the upper middle section onto the lower middle section (upper middle section is marked with “C”) by
repeating step 3.
Step 5: Insert the Tree Top (D) into the Upper Middle Section (C)
A. Attach treetop onto the upper middle section (tree top is marked with “D”) similarly to section B.
Step 6: Turn Tree On and Activate Functions
A. Plug the tree into an extension cord or wall outlet.
B. Press ON/OFF button. Red LED above button should turn on and tree
should light. NOTE: If only the bottom section lights check to make
sure that the sections are locked into place properly by aligning the
top arrow of each connector with the stop sign symbol and making
sure the connecter has “clicked/locked”.
C. To adjust lighting effect, press LIGHT OPTION button. It will cycle
through Constant On, Twinkle and Glisten.
(2) Top section
has been
rotated
clockwise and
connector has
clicked/locked
into place.
Sections are
properly
connected.
(1) Arrows
on tree
section
connectors
are aligned
to begin the
next step.

Indoor Use Only
Made in China H205412INST022015
4
D. If a timer is desired, press the 4, 6 or 8 HR TIMER button. To deselect the timer option, press the timer
button again. Timer cycle will start when timer button is pressed. The lights will stay lit for 4, 6, or 8 hours
and then switch off for the remainder of 24 hours. The lights will turn on every day at the same time as
originally set and stay on for 4, 6, or 8 hours each time.
For example: If you want the lights to turn on every day at 5pm and stay lit for 4 hours, you need to press the
4 HR TIMER button at 5pm. The tree lights will turn on every day at 5pm and stay lit until 9pm.
E. Use the attachment on the right hand side to hang corded remote if desired.
Step 7: Shape tree branches as desired, make final adjustments to tree tips and decorate
Tree Storage:
Step 1: Unplug power cord.
Step 2: Remove decorations.
Step 3: Separate the tree sections (starting at the top).
•Fold branches up to avoid crushing the tips. Hint: Tie branches up to make the sections easier to handle and
set up in future years.
•Grasp branches with each hand just above the Swift Lock connector. Unscrew the section counter clockwise
and lift up. The section should lift off easily once unscrewed (about ½ turn).
Step 4: Repeat step 3 for all upper sections.
Step 5: Unscrew tree stand to release the bottom section. Lift out bottom section from stand.
Step 6: Tie power cord and controller + cord to a lower tree branch.
Step 7: Fold stand and tighten screws back into stand to prevent losing the screws.
Step 8: Store in cool dry area protected from sunlight. (If storing in the original box, or a box of similar size, it is
recommended that the bottom section is placed in the box first, followed by the middle and top sections for
the best fit. Package tree carefully as to not bend or break off branches. DO NOT FORCE TREE INTO STORAGE
BOX).
Trouble Shooting:
•If the entire tree does not light, check the following:
1.Check to see that the tree is plugged into the wall and that there is power to the outlet.
2.If issue remains please take off the non-lit section (B, C or D) and try reconnecting. Sometimes a loose
connection is made on first attempt. Ensure that a firm “spin” is made to securely connect the sections
together and all the lights should illuminate. Helpful hint: If a section is partially lit or one strand is not lit, it
could be due to section not being rotated in place completely. Firmly rotate section with partially lit lights
clockwise to ensure all connectors are engaged at the pole. Check if all lights are lit. If that does not help,
check for missing bulb.
3.Check to see if the controller will light up when ON/OFF button is pressed. If any of the LEDs are lit, there is
power to the Controller and the tree.
4.If the controller still fails to light, check the fuse at the main power cord (plug that goes directly into wall
socket) – use only 125 volt fuse, 5 amp maximum. See instructions below.
•If a section or partial section will not light:
1.Check to make sure that the sections are locked into place properly by aligning the top arrow of each
connector with the stop sign symbol and making sure the connecter has “clicked”.

Indoor Use Only
Made in China H205412INST022015
5
2.Check that all the light strings and umbilical cords are all plugged into the main wiring harness for that
section. Each light string should be plugged into the main wiring harness receptacle.
3.Check the fuse bulbs in the light strings. There are 3 in each string. See instructions below.
•If a light or the entire string still fails to light after checking if plugged in and fuses are intact, look for damaged,
missing, or burnt-out bulbs. Replace with included replacement bulbs. See instructions below.
•If the tree is leaning:
1.Check that the screws in the tree stand securing the bottom tree section are tightened evenly.
2. Check to see if the bottom section is inserted into the stand straight. Loosen screws SLIGHTLY and adjust
bottom section as needed to straighten. Tighten each screw evenly again to secure.
3. Ensure the stand is placed on a smooth flat surface.
Fuse Replacement for Outlet Plug:
A. Unplug power cord from receptacle or other outlet device. Do not pull on
cord.
B. Slide open fuse access cover on top of plug.
C. Turn fuse holder over and remove fuse.
D. Risk of fire. Replace fuses only with correct fuses listed above (provided
with product).
E. Turn holder face up and place new fuse(s) into previous fuse location.
F. Slide fuse access cover closed.
Fuse Replacement for Light String:
A. Unplug power cord from receptacle or other outlet device. Do not pull on
cord.
B. Locate the burned out fuse bulb on the light string (brown base with
white tip). Unlatch the bulb holder and remove bulb.
C. Replace fuse bulb with new. Make sure to use a fuse bulb as replacement
(brown base with white tip). Close fuse latch.
Main wiring harness receptacle
Light string plug (into Main Wire Harness)
Lock to Lock umbilical cord

Indoor Use Only
Made in China H205412INST022015
6
Perm-O-Snap Lights
•The lights on this tree have a patented internal lamp lock system that securely holds bulbs in sockets.
•The included red tool, shown below, will help safely remove bulbs from sockets. Please be sure to use this
tool instead of grasping and pulling the bulb up which could result in the bulb breaking.
•ALWAYS unplug power supply cord when replacing bulbs and fuses.
Insert the tool between the bulb and housing (1) until it is fully inserted (2) and bulb begins to separate (3):
Using the tool, gently pull the bulb straight out of the socket using a slight rocking motion:
SAVE THESE INSTRUCTIONS
FCC Information:
This device complies with Part 15 of the FCC Rules. Operation is subject to the following two conditions:
(1) This device may not cause harmful interference, and (2) this device must accept any interference received, including
interference that may cause undesired operation.
NOTE: This equipment has been tested and found to comply with the limits for a Class B digital device, pursuant to Part 15 of the
FCC Rules. These limits are designed to provide reasonable protection against harmful interference in a residential installation.
This equipment generates uses and can radiate radio frequency energy and, if not installed and used in accordance with the
instructions, may cause harmful interference to radio communications. However, there is no guarantee that interference will not
occur in a particular installation. If this equipment does cause harmful interference to radio or television reception, which can be
determined by turning the equipment off and on, the user is encouraged to try to correct the interference by one or more of the
following measures:
▪Reorient or relocate the receiving antenna.
▪Increase the separation between the equipment and receiver.
▪Connect the equipment into an outlet on a circuit different from that to which the receiver is connected.
▪Consult the dealer or an experienced radio/TV technician for help.
1
2
3
This manual suits for next models
1
Table of contents
Other BETHLEHEM Artificial Pine Tree manuals
Popular Artificial Pine Tree manuals by other brands

Polygroup
Polygroup C21 Assembly instructions
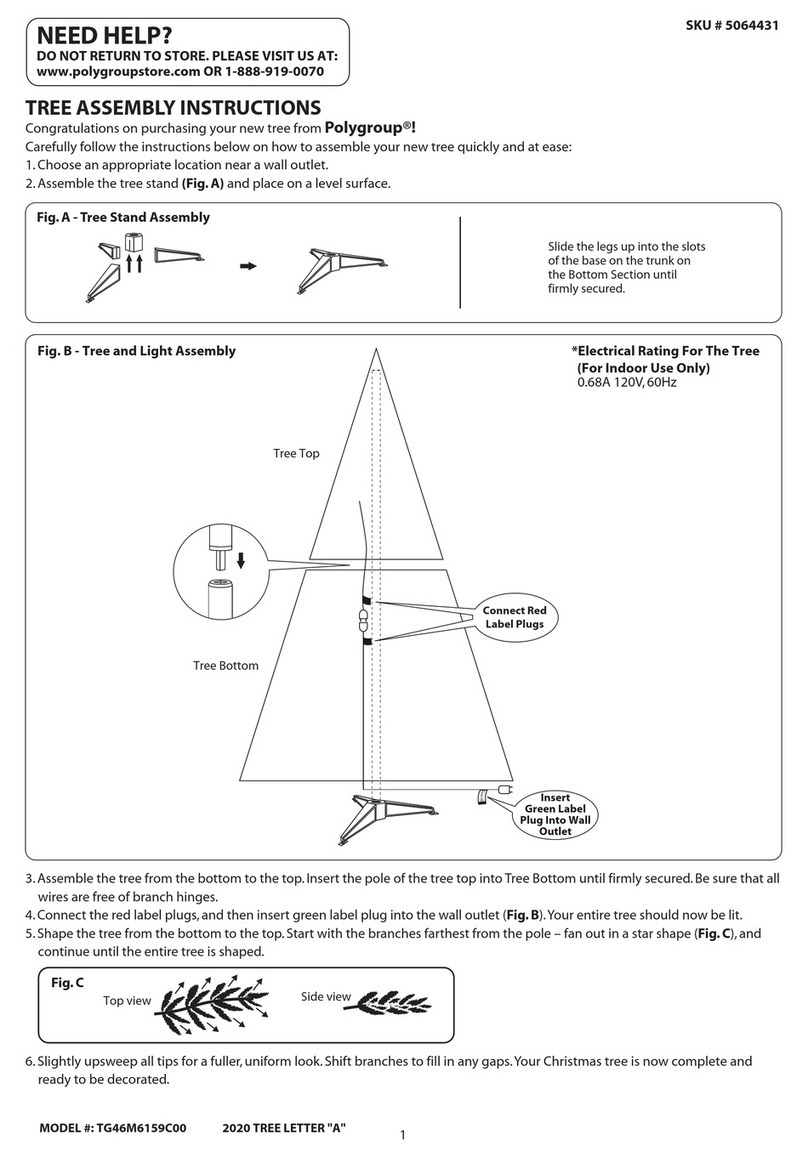
Polygroup
Polygroup TG46M6159C00 Assembly instructions
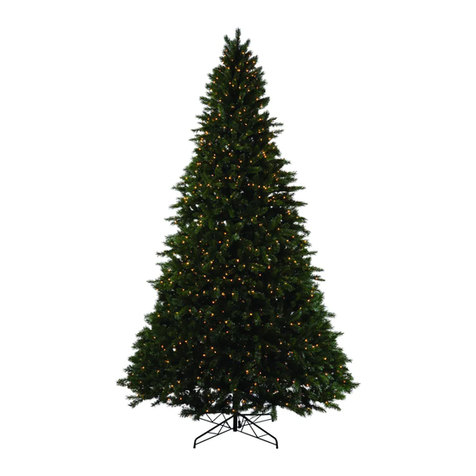
NOMA
NOMA 151-7190-4 instruction manual
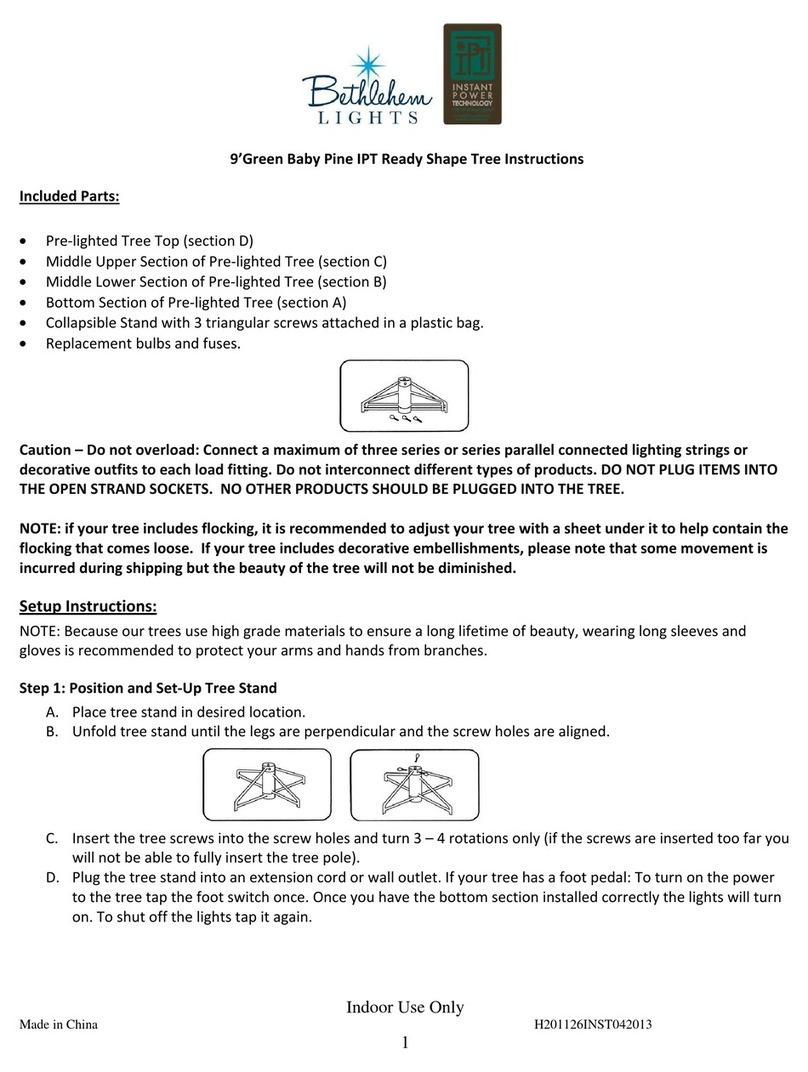
Bethlehem Lights
Bethlehem Lights 9'Green Baby Pine IPT Ready Shape Tree Setup instructions

Martha Stewart
Martha Stewart TG76M5311L01 manual
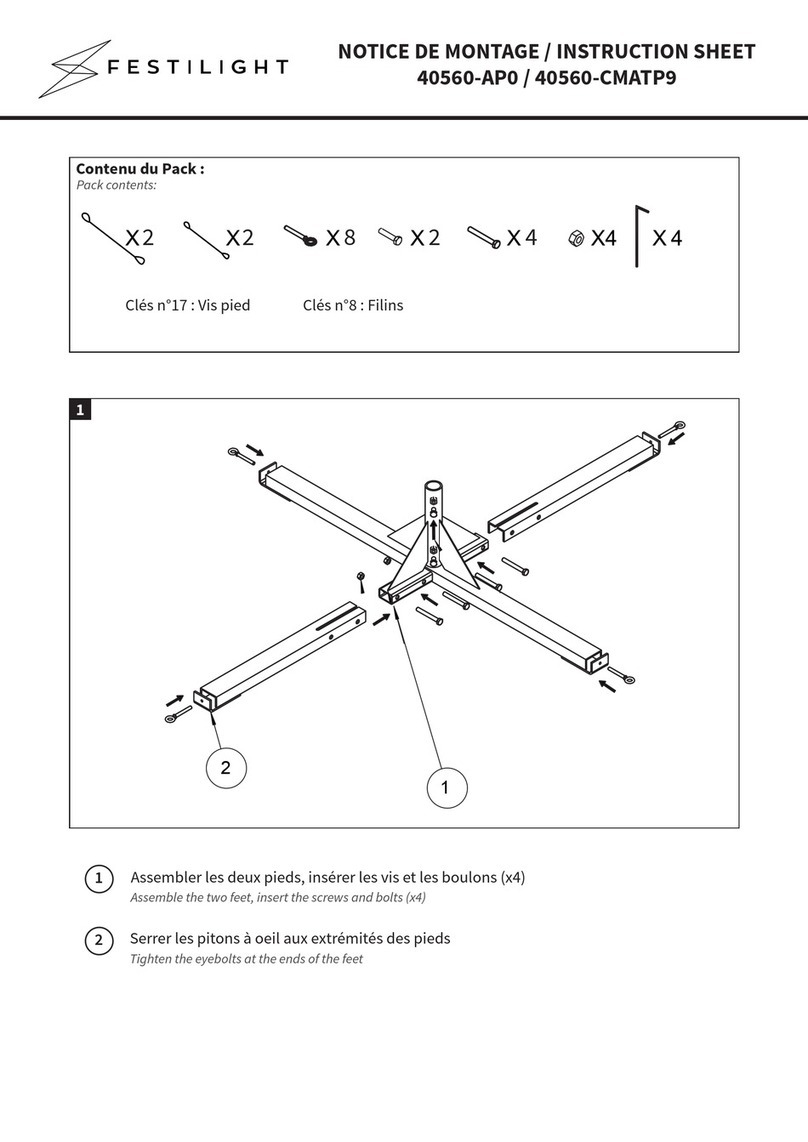
festilight
festilight 40560-AP0 instruction sheet
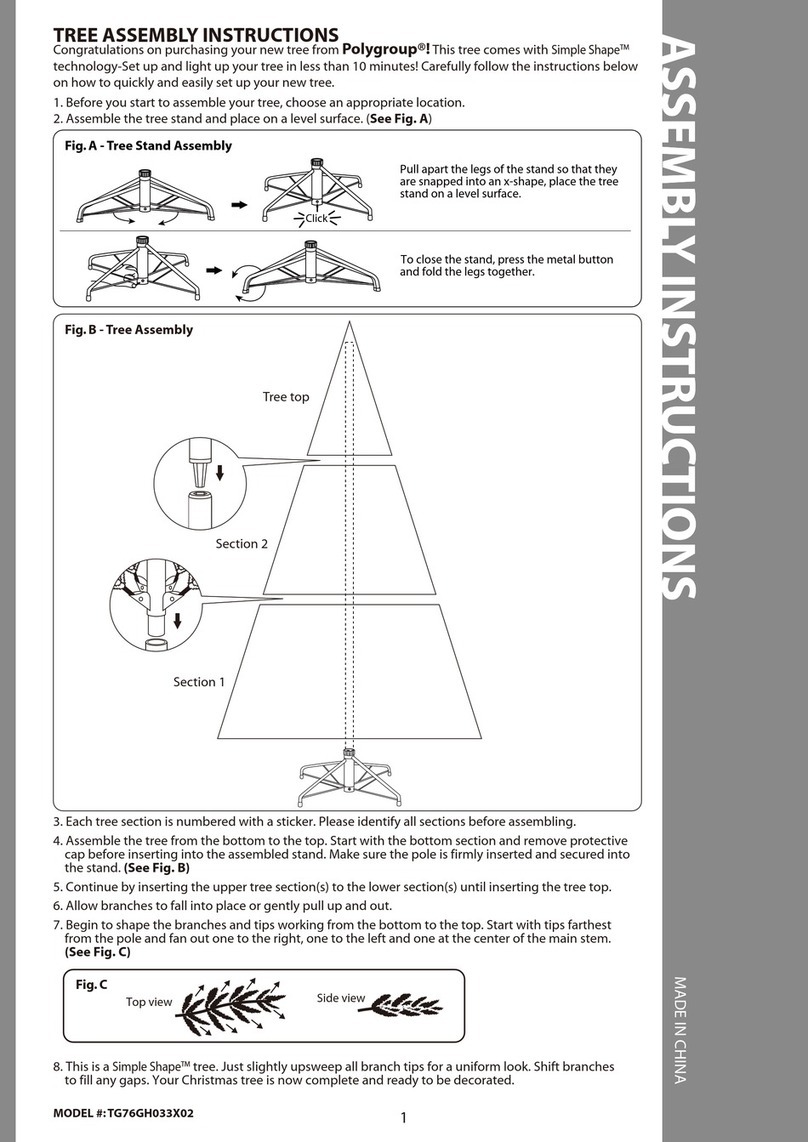
Polygroup
Polygroup TG76GH033X02 Assembly instructions

Polygroup
Polygroup TV50P2819L01 Assembly instructions

Celebrations Home
Celebrations Home 9043893 quick start guide
Frontgate
Frontgate Holiday Series manual

Home Accents Holiday
Home Accents Holiday 1004339551 quick start guide

CASARIA
CASARIA CAMT35 instructions


