SAFETY INSTRUCTIONS
1. Read Instructions: All the safety and operation
instructions should be read before this Better Music
Builder product is operated.
2. Retain Instructions: The safety and operating
instructions should be kept for future reference.
3. Warnings: All warnings on this product’s operating
instructions should be followed.
4. Water and Moisture: This product should not be
used near water, for example, near a bathtub,
washbowl, kitchen sink, laundry tub, in a wet
basement, near a swimming pool, swamp, etc.
6. Cleaning: Clean only with a dry cloth.
7. Ventilation: This product should be situated so that
its location or position does not interfere with its proper
ventilation. For example, the Component should not be
situated on a bed, sofa, rug, or similar surface that
may block any ventilation openings, or placed in a
built-in installation such as a bookcase or cabinet that
may impede the flow of air through ventilation
openings.
8. Heat: This product should be stayed away from
heat sources such as radiators, or other devices
producing heat. Always keep from direct sunlight.
9. Power Sources: This product should be connected
to a power supply only of the type described in this
operation instructions or as marked on the unit itself.
10. Power Cord Safety: Power supply cords should be
routed so that they are not likely to be walked upon or
pinched by items placed upon or against them. Please
pay particular attention to cords plugs, convenience
receptacles, and the point where they exit this product.
Power cords should be kept away from children.
11. Repair Service: This product should be serviced
only by qualified service personnel when:
A. The power-supply cord or the plug has been
damaged; or
B. Objects have fallen on, or liquid has spilled into
this product; or
C. This product has been exposed to rain; or
D. This product does not appear to operate
normally or exhibits a marked change in
performance; or
E. This product has been dropped, or its chassis
damaged.
12. Do not use this polarized plug with an extension
cord, receptacle or other outlet unless the blades can
be fully inserted to prevent electric shock.
13. Grounding or Polarization: Precautions should be
taken so that the grounding or polarization means of
this product is not defeated.
14. Power Precaution: Unplug this product during
lightning storms or when unused for long periods of
time. Note that this product is not completely
disconnected from the AC power, even if the power
switch is in the OFF position.
15. This apparatus does not exceed the Class
A/Class B (whichever is applicable) limits for radio
noise emissions from digital apparatus as set out in the
radio interference regulations of the US Department of
Communications.
16. Exposure to extremely high noise levels may cause
permanent hearing loss. Individuals vary considerably
in susceptibility to noise-induced hearing loss, but
nearly everyone will loss some hearing if exposed to
sufficiently intense noise for a period of time. The U.S.
Government's Occupational Safety and Health
Administration (OSHA) have specified the permissible
noise level exposures shown in the following chart.
According to OSHA, any exposure in excess of
these permissible limits could result in some hearing
loss. To ensure against potentially dangerous exposure
to high sound pressure levels, it is recommended that
all persons exposed to equipment capable of
producing high sound pressure levels use hearing
protectors while the equipment is in operation. Ear
plugs or protectors in the ear canals or over the ears
must be worn when operating the equipment in order
to prevent a permanent hearing loss if exposure is in
excess of the limits set forth here.
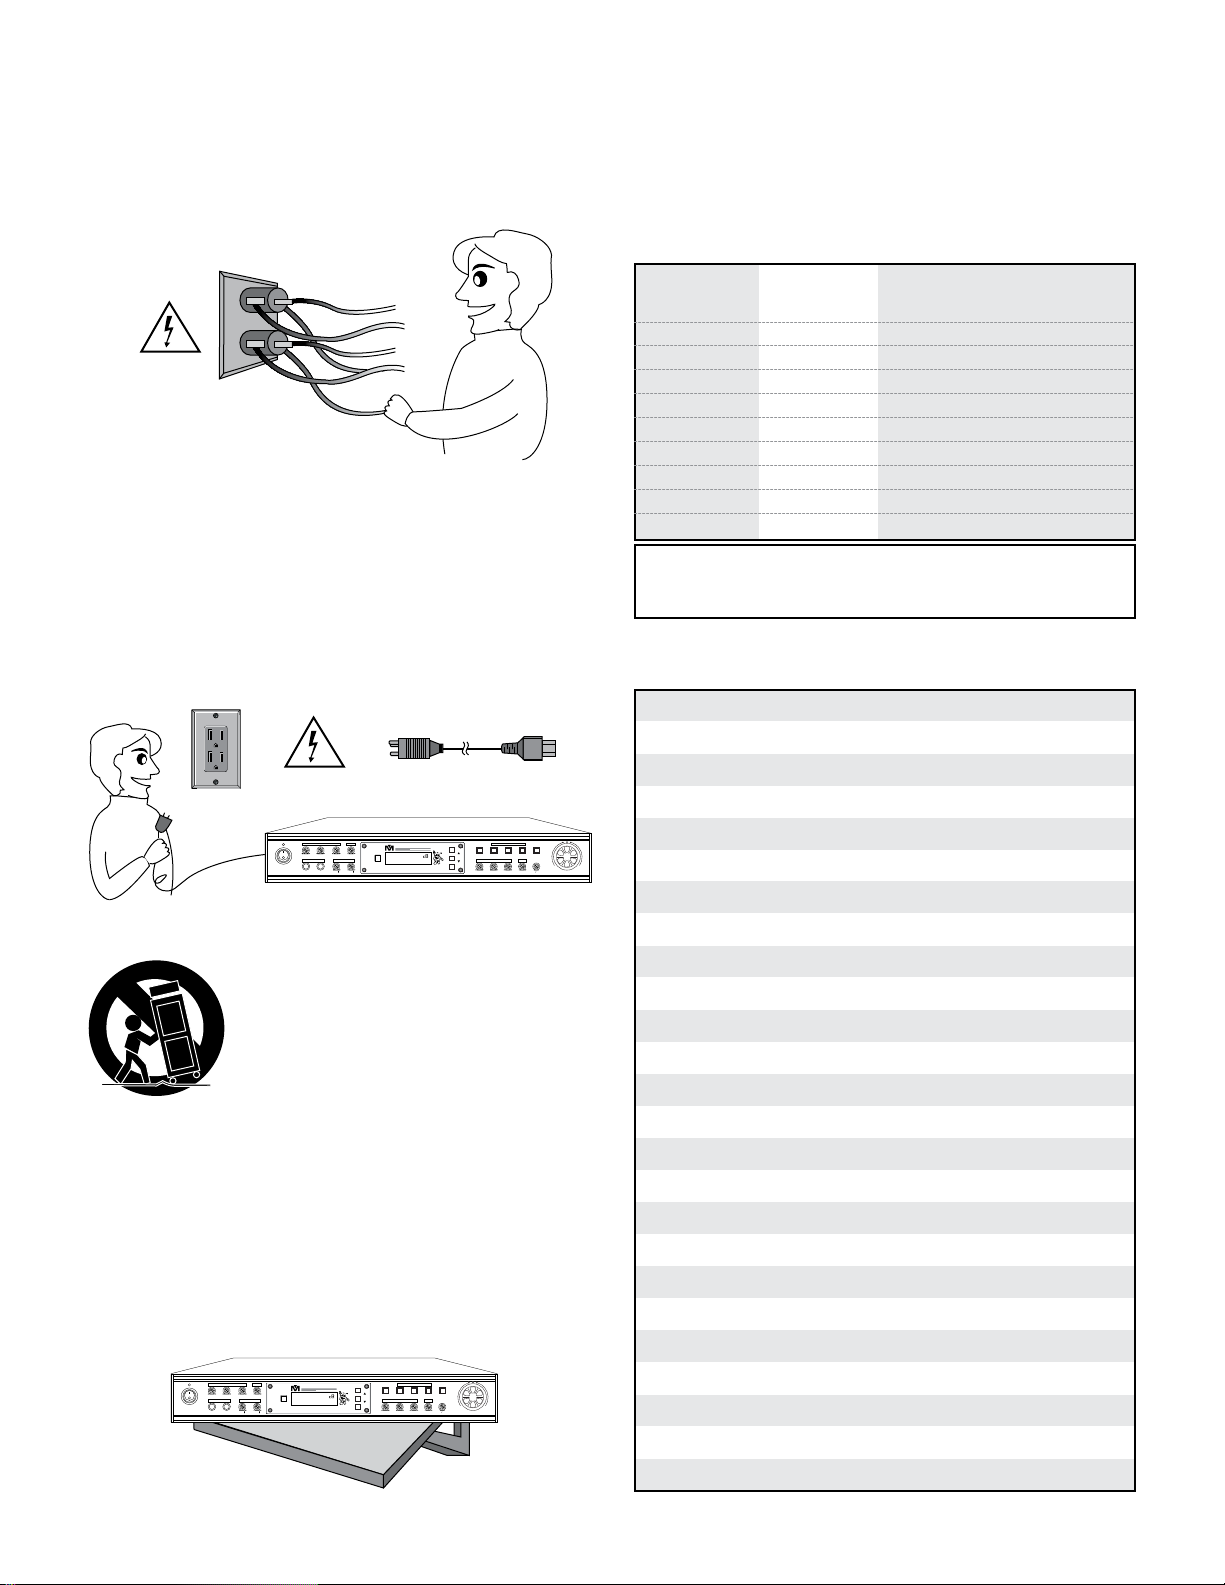
Overloading
Do not overload wall outlets, extension cords or
convenience receptacles beyond their capacity, since
this can result in fire or electric shock.
AC-Power Sources
This set should be operated only from the type of
power source indicated on the marking label. If you
are not sure of the type of electrical power supplied to
your home, consult your dealer or local power
company. For those sets designed to operate from
battery power, or other sources, refer to the operating
instructions.
An appliance and cart combination
should be moved with care. Quick
stops, excessive force and uneven
surfaces may cause the appliance
and cart combination to overturn.
Safety Cautions
Do not place this product on an unstable cart, stand,
tripod, bracket, or table. The set may fall, causing
serious injury to a child or an adult, and serious
damage to the product. Use only a cart stand tripod,
bracket, or table recommended by the manufacturer.
RISK OF ELECTRIC SHOCK
DO NOT OPEN
CAUTION: TO REDUCE THE RISK OF ELECTRIC SHOCK
DO NOT REMOVE COVER (OR BACK) NO
USER-SERVICEABLE PARTS INSIDE REFER SERVICING TO
QUALIFIED PERSONNEL
2 3
WARNING- To reduce the risk of fire or electric shock, do not expose
this appliance to rain or moisture.
Duration Per Day
In Hours
8
6
4
3
2
1.5
1
0.5
0.25 or less
Sound Level dBA,
Slow Response
90
92
95
97
100
102
105
110
115
Typical
Example
Duo in small club
Subway Train
Very loud classical music
Patrice screaming at Ron about deadlines
Loudest parts at a rock concert
110V AC-POWER
110V AC-POWER AC-POWER CORD INCLUDED
Three-wire grounding type ac plug:
This plug will only fit into a grounding-type power
outlet. This is a safety feature. If you are unable to
insert the plug into the outlet, contact your electrician to
have a suitable outlet installed. Do not try to install by
yourself.
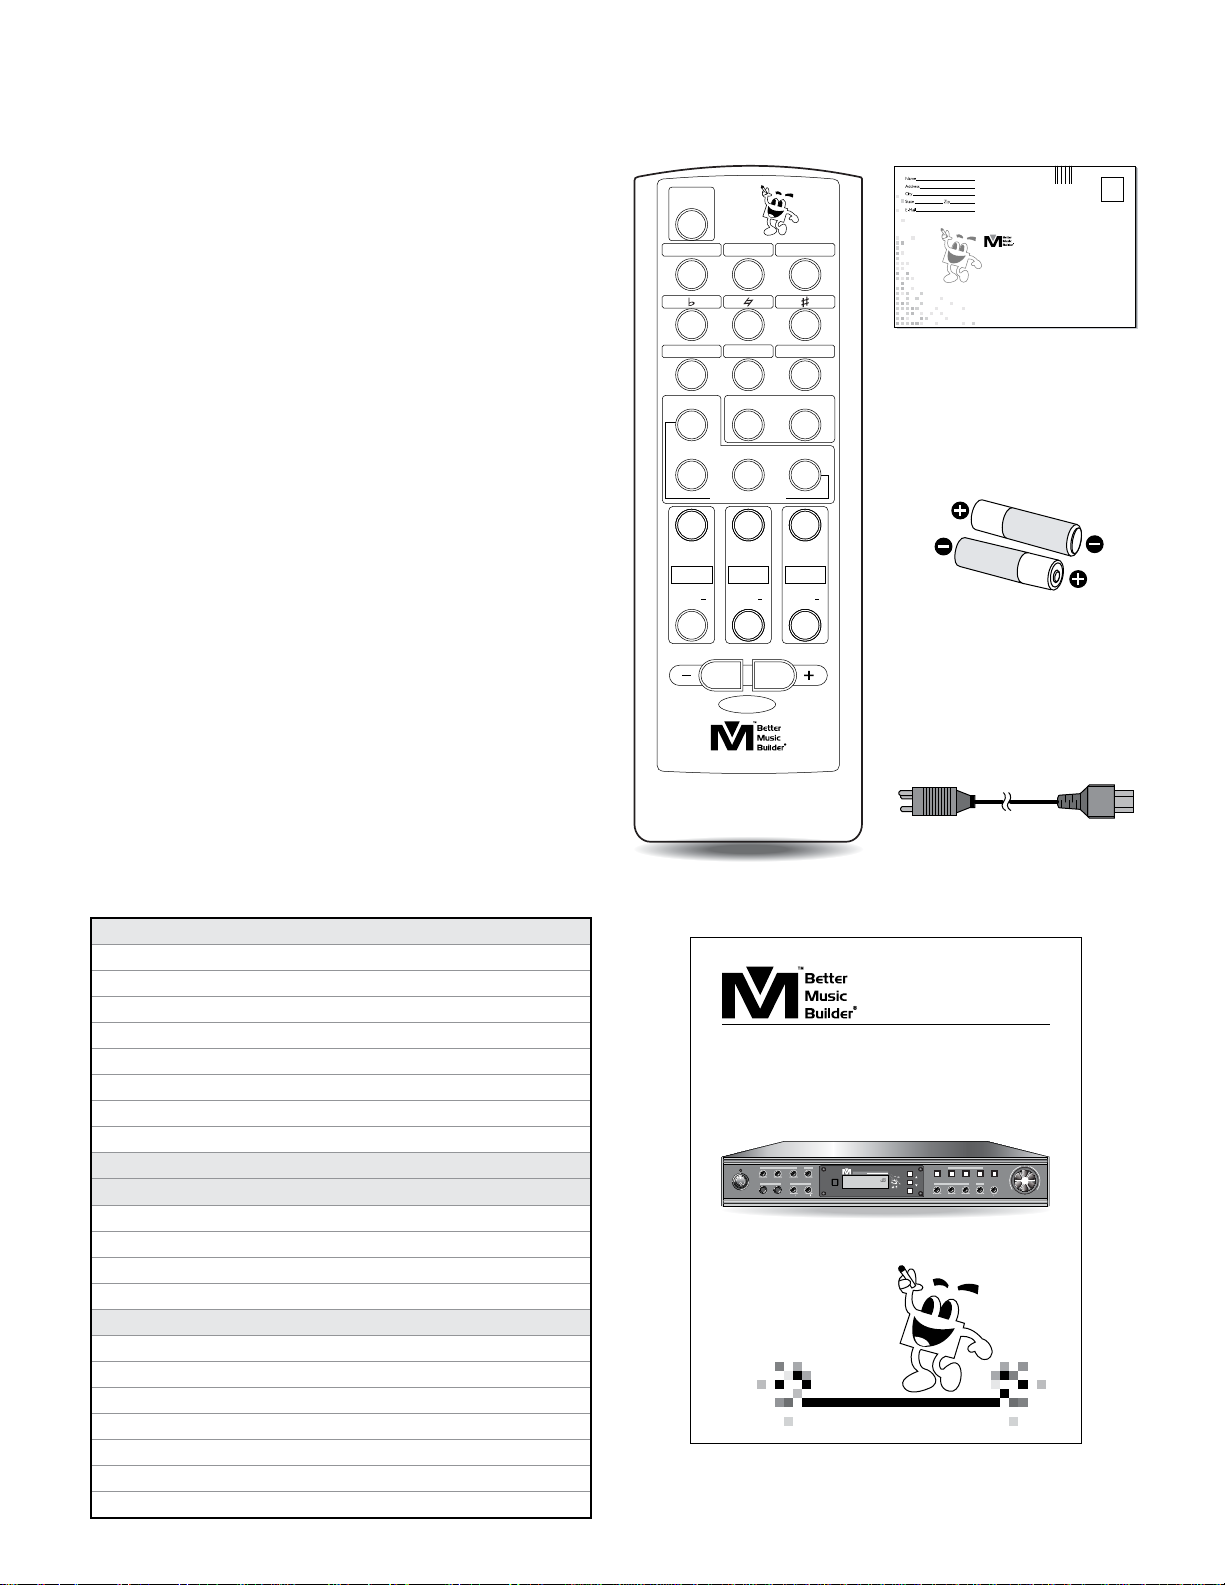
CONTENTS
Safety Instructions.........................................2~3
Introduction.....................................................4
Safety precautions............................................5
Specifications..................................................5
Package accessories.........................................5
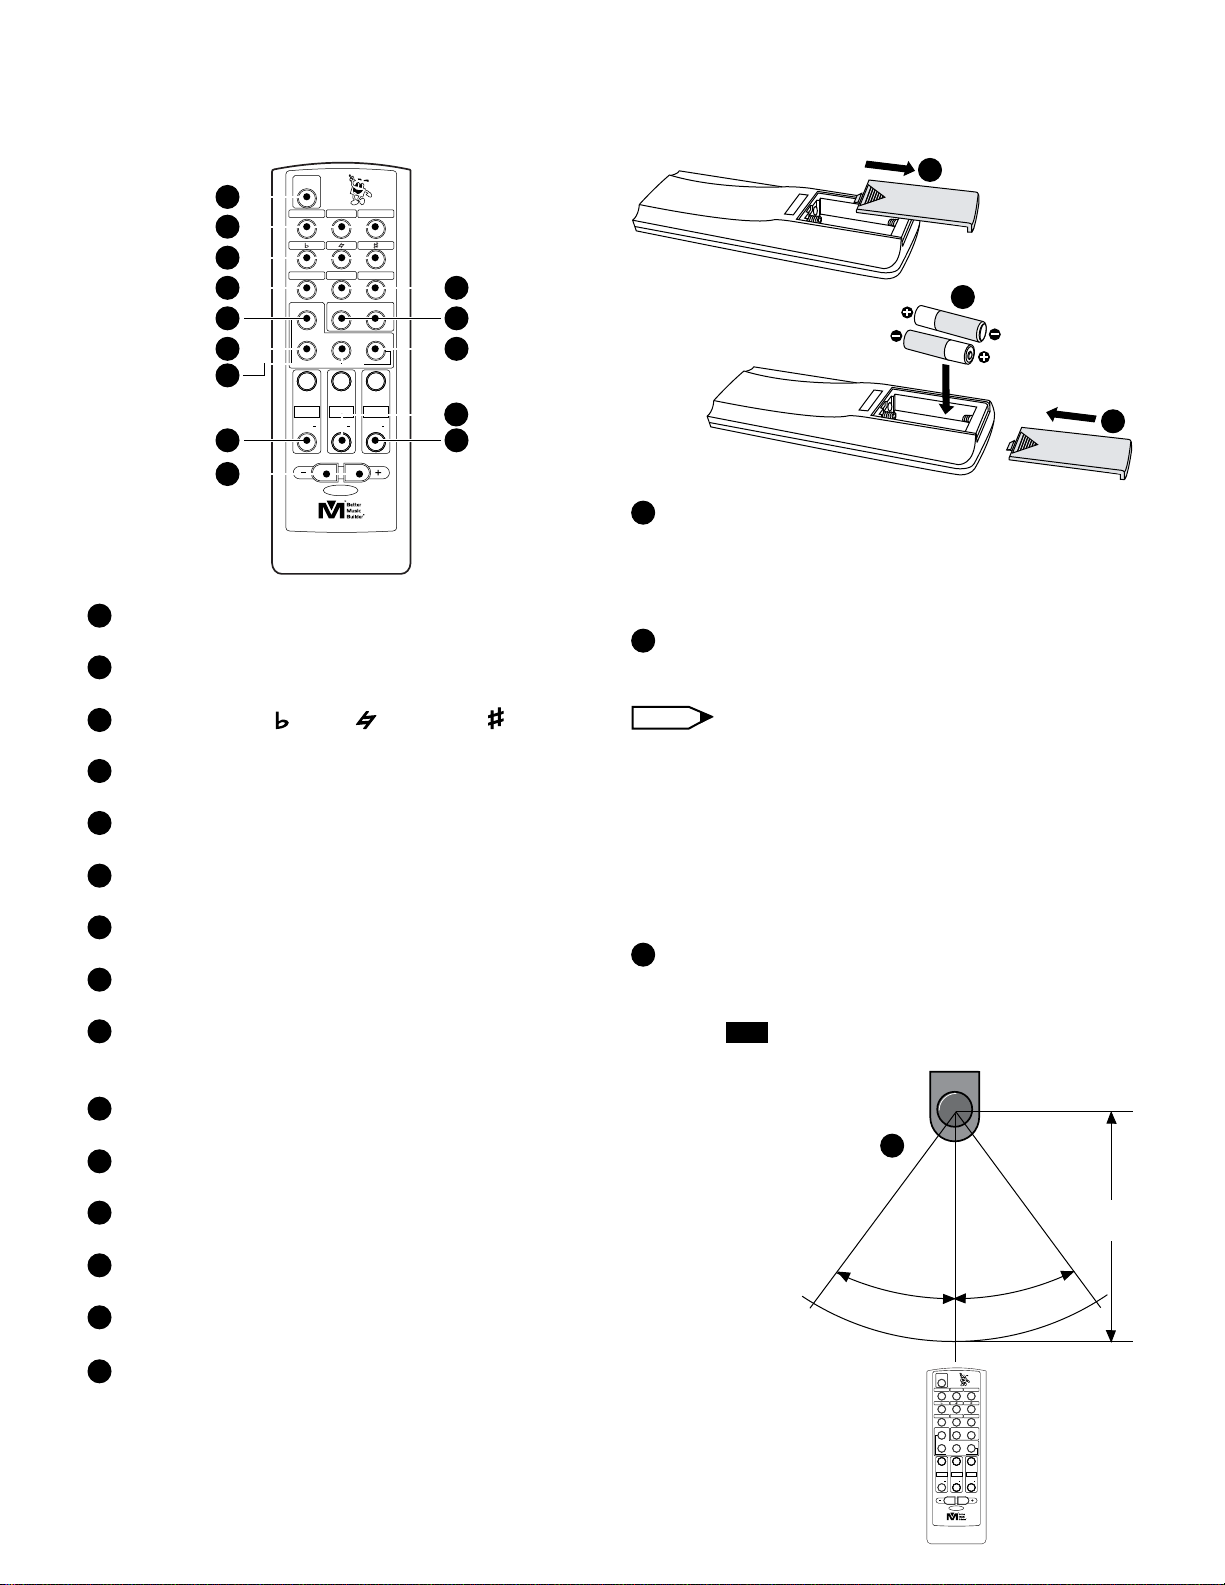
Name and functions of remote controller...............6
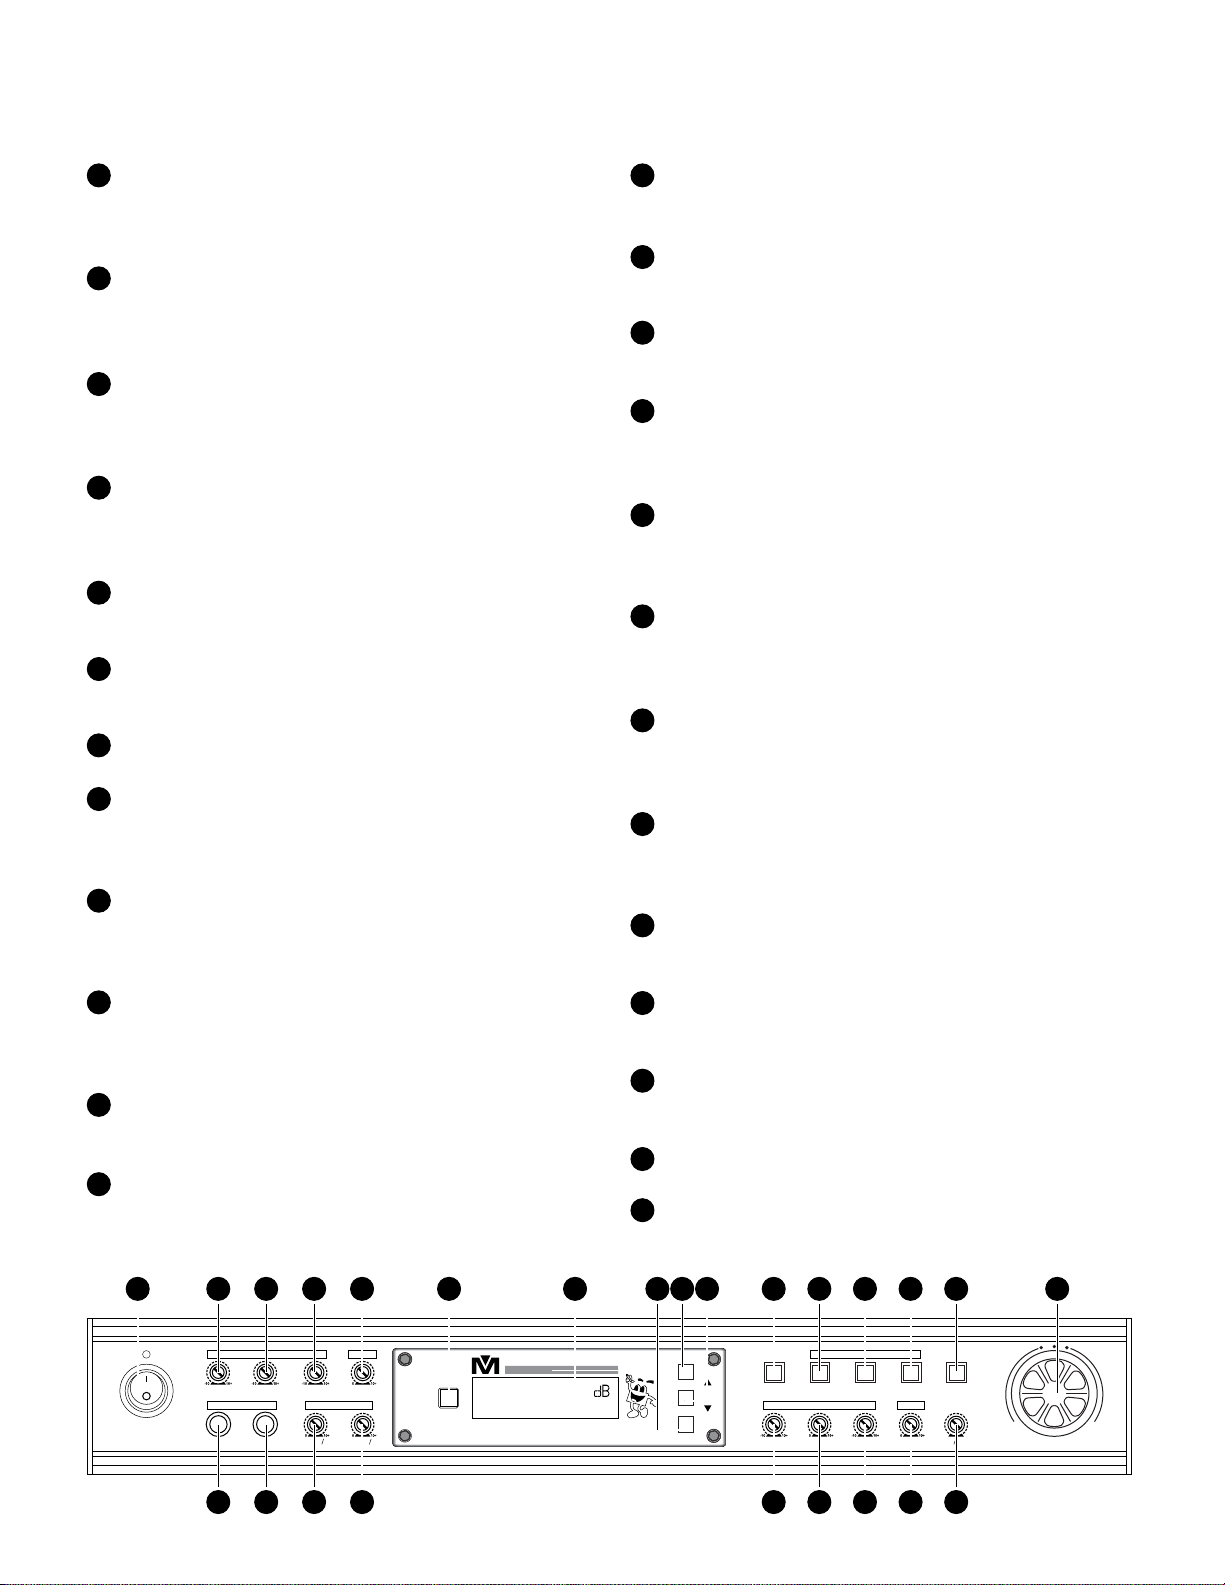
Features and functions of the amplifier..............7~8
Operating instructions..................................9~12
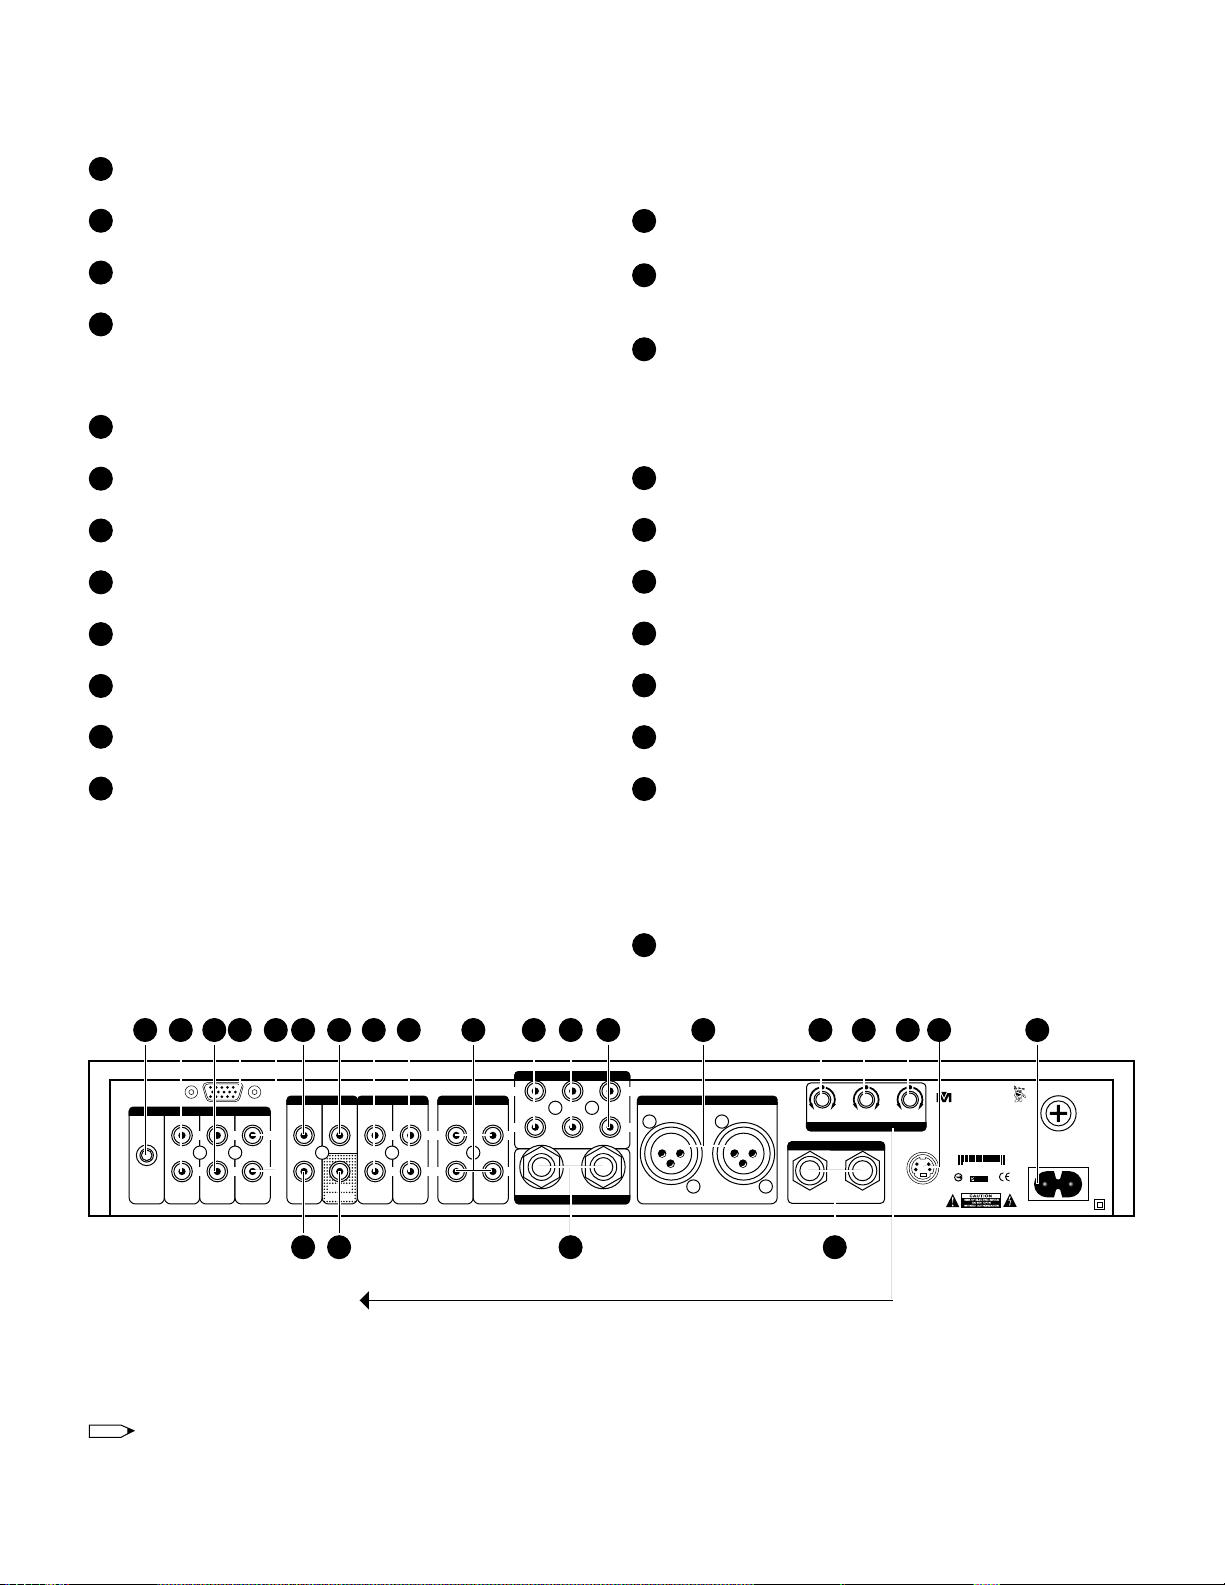
5-Channel connection diagram.........................13
5-Channel CPU processor................................14
2-Channel stereo CPU processor connection....... 14
Portable....................................................... 15
How to connect recorder & subwoofer...............16
How to connect music A.V. source & video monitor..16
Y-Video adapter.............................................16
How to connect amplifier for 2-Channel stereo.... 17
How to connect amplifier for 5-Channel............. 17
How to connect microphone effect.................... 17
Connector information.....................................18
Physical........................................................18
How to connect microphone ........................... 19
Troubleshooting............................................. 20
Professional audio..........................................21
DX-5000 Processor console..............................22
Applications..................................................23
MIC. VOLUME
VOLMICROPHONE TONE
MIC. INPUT
MIC 1 MIC 2
EXCITER
VOLHIGH SUB FREQ
Hz
MIC 13 MIC2 4 LOW REAR
TREBLE MID BASS
MOD E ADJU STABL E
CENTER
MUSIC VOL
20 240
VOL
EXCITER MIC AUDIO SUB INPUT
SR
UP
DOWN
MEMORY
5 CHANNEL AUDIO VIDEO EFFECTS PROCESSOR
MUSIC VOL 10
CDG DVD VOD
TM
Better Music Builder
®
DX-5000
POWER