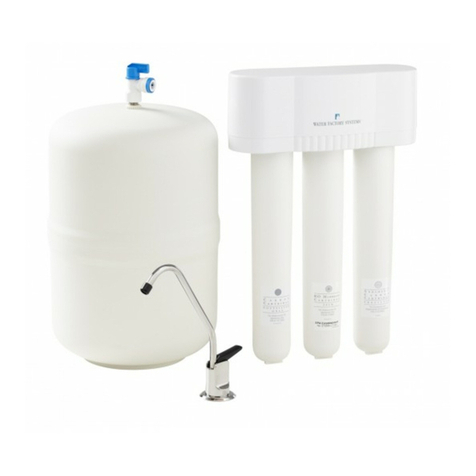
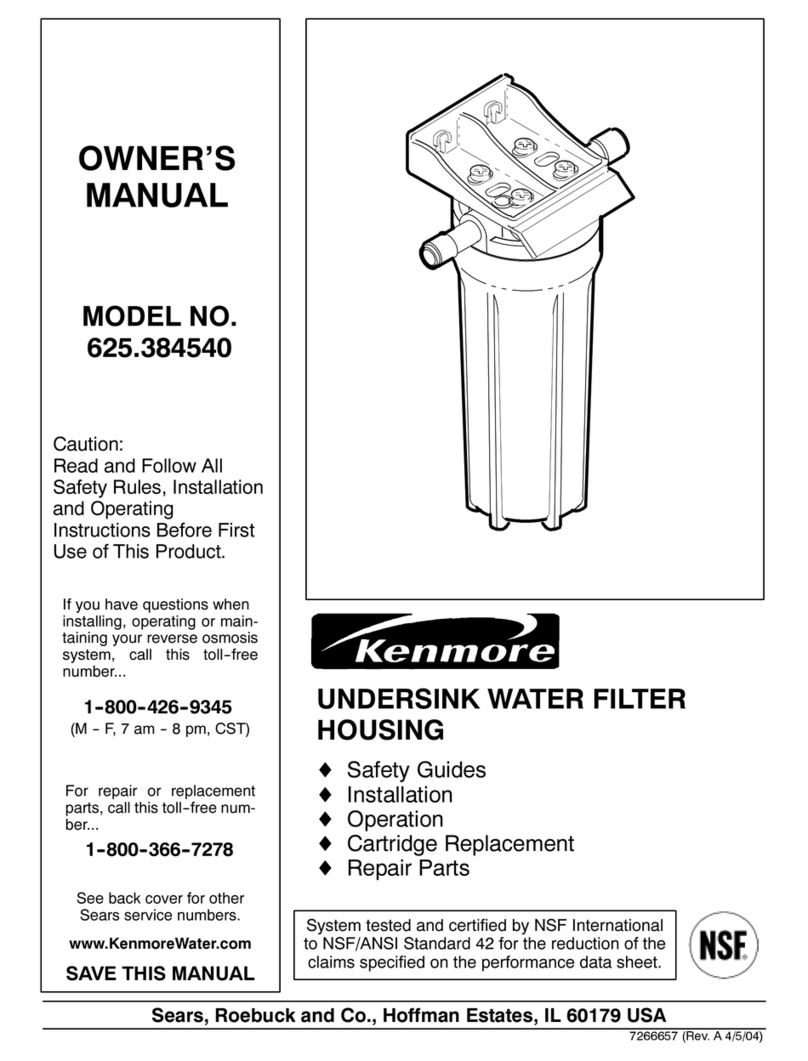
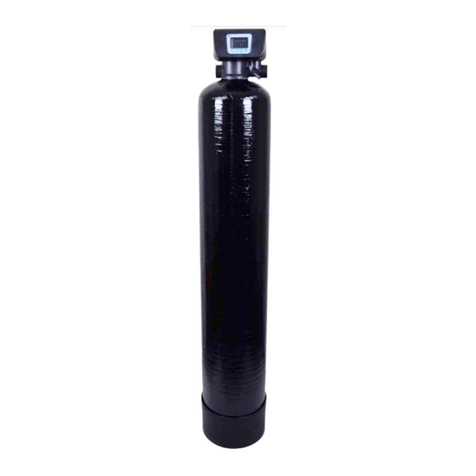
better waters XL7000 User manual

Installation Instructions for
XL7000 Filtration System
SAFETY INFORMATION
Always follow these safety precautions when installing and operating the water filtration systems. Neither 3M
Purification Inc. nor BETTER WATERS shall be liable for system failures due to improper installation and maintenance.
The XL7000 Filtration System is intended for use in filtering potable water and has not been evaluated for other uses.
The system is typically installed at the point of use, and must be installed as specified in the installation instructions by
a qualified professional.
EXPLANATION OF SIGNAL WORD CONSEQUENCES
WARNING Indicates a potentially hazardous situation, which, if not avoided, could result in death or serious
injury and/or property damage.
CAUTION Indicates a potentially hazardous situation, which, if not avoided, may result in property damage.
WARNING
To reduce the risk associated with choking:
• Do not allow children under 3 years of age to have access to small parts during the installation of this product.
To reduce the risk associated with the ingestion of contaminants:
• Do not use with water that is microbiologically unsafe or of unknown quality without adequate disinfection before or after
the system. Systems certified for cyst reduction may be used on disinfected water that may contain filterable cysts. EPA
Establishment #070595-CT-001.
To reduce the risk associated with hazardous voltage due to an installer drilling through existing electric wiring or water pipes in
the area of installation:
• Do not install near electric wiring or piping which may be in path of a drilling tool when selecting the position to mount the
system bracket.
CAUTION
To reduce the risk associated with property damage due to water leakage:
• Read and follow Use Instructions before installation and use of this system.
• Installation and use MUST comply with all state and local plumbing codes. This system is rated for 2.5 gpm (9.46 lpm) flow rate.
• Protect from freezing, remove filter cartridge when temperatures are expected to drop below 40° F (4.4° C).
• Do not install systems in areas where ambient temperatures may go above 110° F (43.3° C).
• Do not install on hot water supply lines. Install only on cold water line. The maximum operating water temperature of this
system is 100°F (38°C).
• Do not install if water pressure exceeds 125 psi (862 kPa). If your water pressure exceeds 80 psi (552 kPa), you must install a
pressure limiting valve. Contact a plumbing professional if you are uncertain how to check your water pressure.
• Do not install where water hammer conditions may occur. If water hammer conditions exist you must install a water hammer
arrester. Contact a plumbing professional if you are uncertain how to check for this condition.
• Where a backflow prevention device is installed on a water system, a device for controlling pressure due to thermal expansion
must be installed.
• Do not use a torch or other high temperature sources near system, cartridges, plastic fittings or plastic plumbing.
• On plastic fittings, never use pipe sealant or pipe dope. Use PTFE thread tape only, pipe dope properties may deteriorate plastic.
• Take care when using pliers or pipe wrenches to tighten plastic fittings, as damage may occur if overtightening occurs.
• Do not install in direct sunlight or outdoors.
• Do not install near water pipes which will be in path of a drilling tool when selecting the position to mount the bracket.
• Mount system in such a position as to prevent it from being struck by other items used in the area of installation.
• Ensure that the location and fasteners will support the weight of the system when installed and full of water.
• Ensure all tubing and fittings are secure and free of leaks.
• The disposable filter cartridge MUST be replaced every 6 months, at the rated capacity or sooner if a noticeable reduction in
flow rate occurs.
All Metric conversions are approximate.

STEP 1
Remove system from packaging.
STEP 2
Select the installation location. Allow a minimum 3
inches (7.62 cm) of space below the suspended cartridge
for changeouts.
STEP 3
Select fasteners (two wood screws included) and tools
appropriate for the installation location (wood beam,
concrete, etc.).
CAUTION
To reduce the risk associated with property damage due
to water leakage:
• Mount system in such a position as to prevent it
from being struck by other items used in the area of
installation.
• Ensure that the location and fasteners will support
the weight of the system when installed and full of
water.
STEP 4
Draw a line using a level on the mounting surface.
STEP 5
Mark the locations for the fasteners either by measuring
the distance between the bracket holes or using the
bracket itself.
STEP 6
Drill holes for the fasteners.
STEP 7
Allow 1/4” - 3/8” (6-10 mm) of each fastener to protrude
from the surface.
3 in. (7.62 cm)
minimum
2
1

STEP 8
Install the head and bracket onto fasteners.
STEP 9
Tighten fasteners.
STEP 10
Wrap male threads on nipple with PTFE tape (not
included) and install into the inlet side of head (left).
Install shut-off valve to nipple.
IMPORTANT NOTE: Hexagonal sockets on the head do
not rotate.
STEP 11
Install inlet (left) and outlet (right) piping. Be sure to use
PTFE tape.
IMPORTANT NOTE: Hexagonal sockets on the head do
not rotate. Do not overtighten.
STEP 12
Remove sanitary cap from cartridge. aligning downward
arrow on head assembly with upward arrow at top
of cartridge label. a quarter turn to the right until
cartridge comes to a complete stop.
STEP 13
Slowly turn on inlet water supply. Be sure shut-off
valve is in the “ON” position. Flush 10 gallons of water
through system before use (approximately 5 minutes).
IMPORTANT NOTE: Check system for leaks.
2
1
2
2
2

FILTER REPLACEMENT INSTRUCTIONS
1. Place towel under filter to collect any residual water
during replacement filter change-out.
2. Grasp filter and turn to the left (counterclockwise) until
filter comes to a complete stop (water automatically turns
off). Water may leak momentarily from vent tube. This is
normal. Gently pull filter downward to remove.
3. Remove sanitary protective cap from new replacement
filter.
4. Ensure both o-rings are present on the replacement filter
and are seated into grooves; moisten o-rings with water.
DO NOT use any petroleum products to lubricate the
o-rings.
5. Insert replacement filter into filter head assembly aligning
downward arrow on head assembly with upward arrow
at top of cartridge label. Turn replacement filter one
quarter turn to the right (clockwise) until it stops. When
fully engaged, the top surface of the filter will be flush
with the bottom of the filter head assembly.
6. Open faucet and run water for a minimum of 10 gallons (approximately 5 minutes). While system is flushing,
check for leaks. Repair any leaks as needed before continuing.
7. Close filter system faucet. System is now under pressure and can be inspected for leaks. Repair any leaks as
needed before continuing.
The system is now ready for use.
LIMITED ONE YEAR WARRANTY
BETTER WATERS warrants this Product consisting of one (1) head assembly and one (1) replaceable filtration cartridge,
manufactured by 3M Purification Inc., to be free from defects in material and workmanship for one (1) year from
the date of purchase. The warranty does not apply to actual useful life of the filtration cartridge. Neither BETTER
WATERS nor 3M Purification Inc. shall be liable for system failure(s) due to improper maintenance. This warranty
does not cover failures resulting from abuse, misuse, alteration or damage not caused by BETTER WATERS or 3M
Purification Inc. or failure to follow installation and use instructions. If the Product is defective BETTER WATERS will
replace the Product or refund your Product purchase price. Neither BETTER WATERS nor 3M Purification Inc. will be
liable for any indirect, special, incidental, or consequential damages arising from the use of this Product. Some states
do not allow the exclusion or limitation of incidental or consequential damages, so the above limitation may not
apply to you. To obtain warranty service, email your request to [email protected], or mail to BETTER
WATERS, PO Box 8545, JAF Station, New York, NY 10116. Do not ship product(s) unless instructed and with address
provided depending on the nature of the claim. Proof of purchase (original sales receipt or documentation of web
transaction) must accompany the warranty claim, along with identification of the Product and model number, and a
complete description of the alleged defect. This warranty gives you specific legal rights and you may have other rights
which vary from state to state, or country to country. Please visit www.betterwaters.com, for details.
Manufactured by:
3M Purification Inc.
400 Research Parkway
Meriden, CT 06450, U.S.A.
Tel
(866) 990-3869
(203) 237-5541
Fax (203) 238-8701
www.3Mpurification.com
Please recycle. Printed in U.S.A.
© 2010 3M Company. All rights reserved.
INSTR7114 0710
1
2
Remove Existing
Cartridge
1
2
Insert New Cartridge
This manual suits for next models
1
Table of contents
