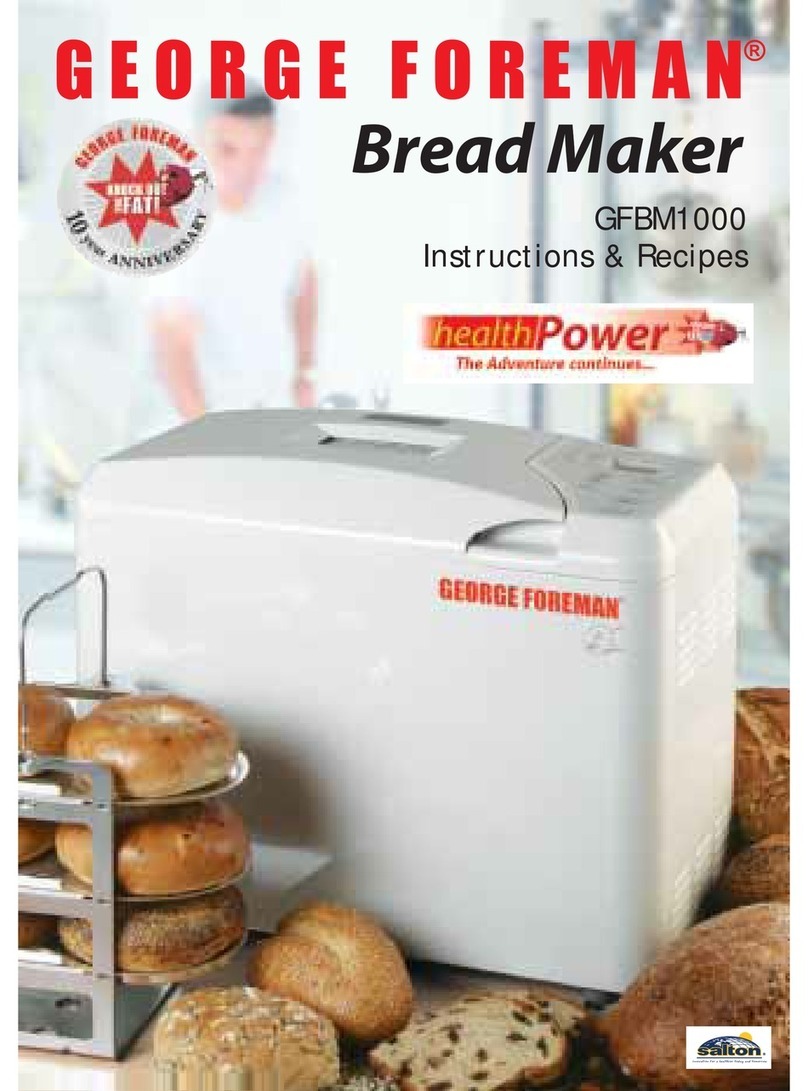
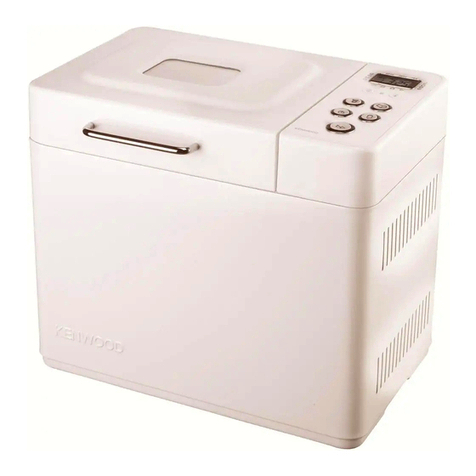
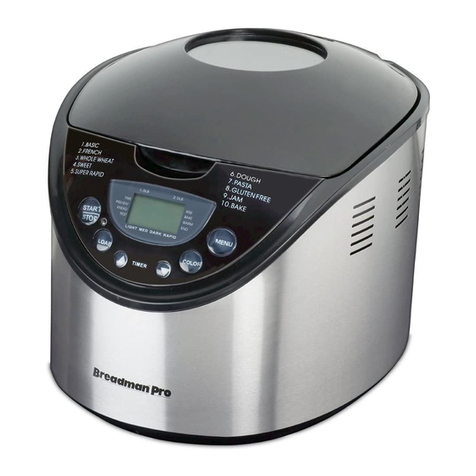
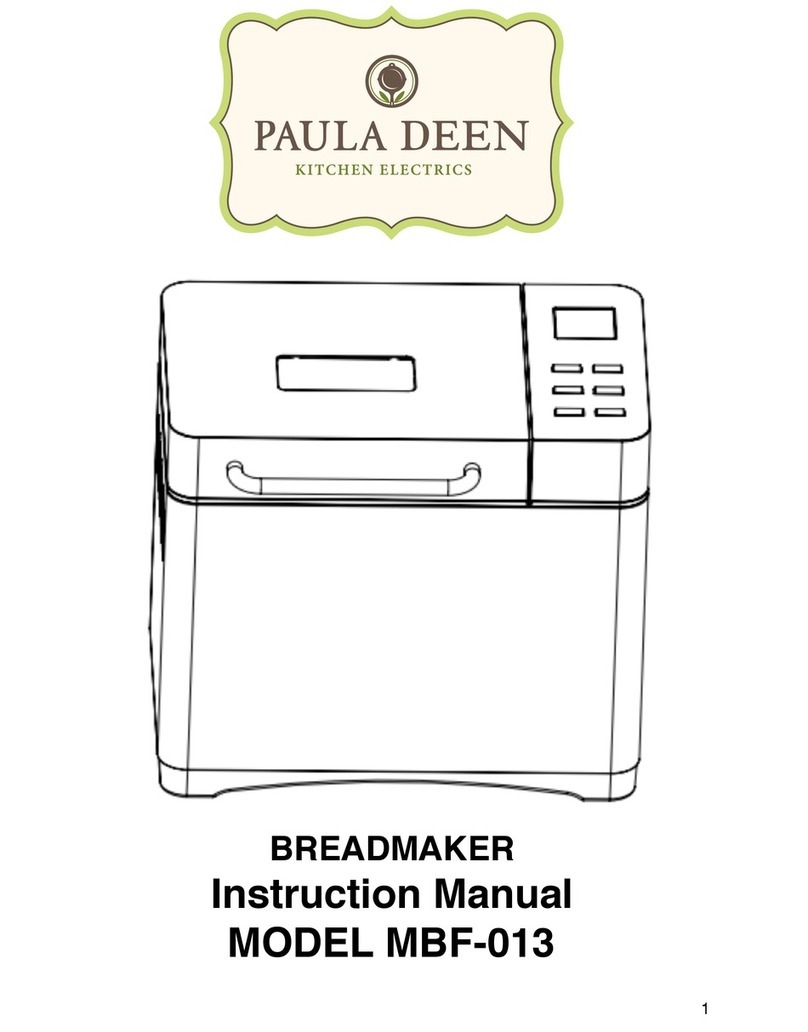
BETTY CROCKER BCF 1690 User manual

BREAD MACHINE
MÁQUINA DE PAN
HOUSEHOLD USE ONLY
PARA USO DOMÉSTICO SOLAMENTEModel BCF1690
Modelo BCF1690


Thank you for purchasing your new Betty Crocker Bread
Machine. Home economists in the Betty Crocker Kitchens
have tested this product and recommend it as a sensible
value that will make your time in the kitchen efficient and
enjoyable.
For over 80 years, Betty Crocker has been bringing you
quality products that you can trust. This tradition continues
with the fine line of Betty Crocker kitchen appliances now
available to you.
We feel that you will be thoroughly satisfied with your new
Betty Crocker Bread Machine.
Thank you,
®

Table of Contents
Important Safeguards······························1 - 2
Technical Information································2
Introduction·····································3
Know the Parts of Your Bread Machine·······················3
Control Panel··································4 - 6
Description of Control Panel Display and Keys
Description of Available Programs
Sound and Visual Signals······························7
Operation····································7 - 9
Cleaning Your Bread Machine ··························10
Tips for Baking Bread at Home ························11 - 12
Adjusting Bread Recipes for Weather and Altitude··············12 - 13
Ingredient Substitutions and Helpful Hints·····················14
Recipe Conversions································15
Display Messages ·································16
Before Calling for Service·····························16
Recipes····································17- 28
French Bread Loaf·····························17
Cornbread with Chiles···························17
Double-Berry Jam······························18
Bread Machine Cake with Chocolate Frosting···············18
Dinner Rolls·································19
Honey-Whole Wheat Bread·························20
Cottage Dill Loaf······························21
Classic White Bread····························22
Easy Apple Coffee Cake··························23
Crusty Mustard Focaccia··························24
Raisin-Cinnamon Bread··························25
Two-Cheese Pizza·····························26
Snackin’ Cake in the Bread Machine····················27
Ultra-Fast Italian Bread···························28
Limited Warranty One Year····························29
Appendix: Cycle Settings and Operating Times ················30 - 31

IMPORTANT SAFEGUARDS
When using electrical appliances, basic safety precautions should be followed,
including the following:
1.READ ALL INSTRUCTIONS.
2.To protect against electrical hazards, do not immerse cord, plug or appliance in
water or other liquids.
3.Do not touch hot surfaces. Use handles or knobs. Always use pot holders or
oven mitts when handling hot bread pan or hot bread.
4.Close supervision is necessary when any appliance is used by or near children.
5.Unplug from outlet when not in use and before cleaning. Allow to cool before
putting on or taking off parts.
6.Avoid touching moving parts.
7.Do not operate with a damaged cord or plug, or after appliance malfunctions or
has been damaged in any manner. Return appliance to nearest authorized
service facility for examination, repair or adjustment.
8.The use of accessory attachments not recommended by the appliance
manufacturer may cause fire, electrical shock or injury.
9.Do not use appliance outdoors.
10.Do not let cord hang over edge of table or counter, or touch hot surfaces.
11.Do not place appliance on or near a hot gas or electric burner, in a hot oven, or
near easily flammable materials.
12.To disconnect, turn appliance OFF, then grip plug and pull from wall outlet.
Never pull on the cord.
13.Do not use appliance for other than its intended household use.
14.This product is intended for household use only.
SAVE THESE INSTRUCTIONS
1

Polarized Plug
To reduce the hazard of potential shock, this item has a polarized plug (one prong is
wider than the other), which will fit only one way in a polarized outlet. If the plug
does not fit the outlet properly, turn the plug the other way; if it still does not fit,
contact a qualified electrician for assistance. Never use this plug with an extension
cord unless it fits properly. Do not attempt to defeat this safety feature.
Power Cord
A short cord is provided to reduce the hazards resulting from entanglement or
tripping over a longer cord. An extension cord may be used with care. Be sure the
marked electrical wattage rating is equal to or greater than the electrical rating
stamped on the base of the appliance.If an extension cord is used, it should be
arranged so that it will not drape over the counter or tabletop where it can be
reached by children or tripped over. The electrical rating of this appliance is listed
on the bottom panel of the unit.
Technical Information
Model:BCF1690
Electrical Input:120 VAC ~ 60 Hz
Power Consumption:600 W
2

Introduction
Congratulations on having purchased the Model BCF1690 Betty Crocker Bread
Machine!
žThis machine offers 12 pre-installed programs with various setting options.
žSome programs installed in this machine provide two different levels for the
baking of large or small quantities of bread.
žYou can schedule a time delay into a bread-baking cycle so that it can be
programmed up to 13 hours in advance.
The appliance is completely automatic and extremely user-friendly. It kneads the
dough in two different directions, thus providing excellent mixing. You will find a
variety of recipes in this manual, each specially tested in the Betty Crocker Kitchens.
Know the Parts of Your Bread Machine
3
Baking compartment coverHandle
VentViewing window
Measuring
cup and
spoon
Kneading
paddle
Bread
pan
Bread Machine
BCF1690
Control panel
(see next page)

Control Panel
1. LCD displayShows Program Number,
time remaining, and
chosen browning level
and bread weight
(indicated by arrows)
2. COLOR ke ySets the desired level of
browning
3. LOAF SIZE
keySets desired weight of
loaf (1½ or 2 pounds)
4. START/STOP
keyStarts and stops the
program
Description of Control Panel Display and Keys
LCD Display
The normal reading of the LCD display indicates when the appliance is ready for
use. “ 13:00” appears on the display. The “1” specifies which of the 12 available
programs has been chosen and the “ 3:00” is the length of the program. The
positions of the two arrows provide information on the selected browning level
4
1
2
3
4
5
8
7
6
5. Power-On LEDIndicates that the bread
machine is operating
6. MENU keySelects any of the 12
programs described on
the page 6
7. TIME keysSet the preprogramming
time
8. Program ListA convenient listing of the
12 available programs

and the loaf weight. The normal setting after turning on the bread machine is
“medium browning level” and “2 pounds”. During operation, the progress of the
program can be read on the display. As the program proceeds, the digits of the
set time will decrease progressively.
START/STOP key
As soon as the START/STOP key is pressed, the colon ( :) of the time setting on
the display starts to blink. Use the START/STOP key to stop the program at any
time. Just hold the key down until you hear a beep. The normal reading for the
previously mentioned starting program appears on the display. If you want a
different setting, select it with the MENU key.
TIME keys
All programs except #6, Ultra Fast-I, and #7, Ultra Fast-II, can be set to have a
delayed start . Press the sTIMEortTIME key to set the timer for delayed
baking for up to 13 hours. Each time you press the sTIME key you advance the
time setting by 10 minutes. Each time you press the tTIME key you decrease
the setting by 10 minutes. You will hear a short confirmation beep each time
either button is pressed.
Example:It is 8:30 p.m. and you would like the bread to be ready the next
morning by 7:00 a.m., that is, in 10 hours and 30 minutes. Press the TIME key
until 10:30appears. This represents the time between now (8:30 p.m.) and
when you want the bread to be ready.
Caution:When working with the time delay function, never use perishable
ingredients like milk, eggs, fruit, yogurt, vegetable purees, etc. These foods
could spoil. Always add ingredients following the sequence listed in the recipe:
liquids, salt, shortening, dry ingredients and yeast last.
COLOR key
The desired loaf browning level is set with this key: LIGHT – MEDIUM – DARK.
As you push the key, you will see the arrow on the display moving to one of the
positions. Not all Programs allow choice of browning level.
LOAF SIZE key
Choose either 1½ pounds or 2 pounds according to the recipe you are using.
The loaf size is indicated by an arrow on the display. Not all Programs allow
choice of loaf size.
5

MENU key
Use this key to select one of the 12 available programs described below. The
number of the program will appear on the left side of the display.
Description of Available Programs
1. BASICFor white, raisin and rye breads. This program is
the most commonly used.
2. FRENCHFor the preparation of particularly light white breads
with a hearty crust. Ideal for French or Italian breads.
3. WHOLE WHEATThis offers longer rising cycles to accommodate the
slower rising action for bread containing more than
50% whole wheat flour.
4. QUICKFor breads using baking powder or baking soda as
the leavening ingredient.
5. SWEETFor breads containing high amounts of sugar, fats or
protein (cheese, eggs, etc.), all of which increase
browning.
6. ULTRA FAST-IBakes a 1½ pound loaf faster than other cycles.
7. ULTRA FAST-IIBakes a 2 pound loaf faster than other cycles.
8. DOUGHTo prepare dough for rolls, specialty breads, pizza,
etc., that are shaped by hand, allowed to rise a final
time and then baked or cooked conventionally. When
the cycle is complete, remove the dough and proceed
with hand-shaping, etc., as described in the recipes.
9. JAMFor making jams and marmalades.
10. CAKEFor cakes with baking powder.
11. BREADMIXFor use with packaged bread mixes. Follow
instructions on the package.
12. BAKEFor baking prepared cake batter.
6

Sound and Visual Signals
Beeping
You will hear beep signals
žWhen you press the control panel keys
žDuring the second kneading cycle of the BASIC, FRENCH, SWEET,
BREADMIX, and CAKE programs to signal that fruits, nuts and other
ingredients can be added
žAt the end of the program.
During the Cool Down cycle at the end of the baking procedure, the beep signal will
sound periodically to remind you that the finished loaf is ready to be removed from
the bread pan.
H:HH Message on Display
If the temperature of the bread machine is too high (over 104°F) to start a new
program after a previous use, H:HHwill appear on the display when you attempt to
start the new program, an a beep signal will also be heard. If this happens, continue
to press the START/STOP key until the H:HH message is deleted and the basic
setting (13:00) appears on the display. Remove the bread pan and wait until the
appliance has cooled down.
Operation
Before operating your bread machine for the first time, be certain to clean it
thoroughly, as described on page 10.
To bake a loaf of bread using one of the standard programs, follow these
instructions:
1.Open the baking compartment cover. Remove the bread pan by grasping it on
both sides and turning it counter-clockwise slightly until it releases, then pull up.
2.Check that the drive shaft at the bottom of the
bread pan is clean, then place the kneading
paddle onto the shaft as shown. Be sure the
paddle slides all the way down. (If it is not
positioned securely, the ingredients will not be
mixed or kneaded properly.)
7

3.All ingredients should be at room temperature (70-80°F). Be sure to measure
ingredients into the bread pan in the same order listed in the recipe.
a. Add water and other liquids first, except where otherwise indicated.
b. Next, add sugar, salt, shortening, flour and other dry ingredients, except yeast.
c. Add yeast last to keep it dry and away from the salt when using the time delay
function. Do not mix. See illustrations below.
Note:If room temperature is lower than 65°F, use lukewarm water (approximately
100-110°F) to aid the fermentation of the yeast.
4.Wipe water or other spills from the outside of the nonstick bread pan. Insert the
pan into the baking compartment. The pan must be inserted at a slight counter-
clockwise angle until it seats itself on the bottom of the baking compartment.
Then turn the pan firmly clockwise until it snaps into position.
5.Close the cover.
6.Plug the bread machine into a 120-volt AC wall outlet. The display will show
13:00, indicating the setting for Basic Bread (Program 1, with a total cycle time
of 3hours and 00minutes). (Keep in mind that no program will actually begin
until the START/STOP key is pressed.)
7. To choose a different program, press the MENU key until the number of the
desired program appears on the left side of the display.
8.Press the LOAF SIZE key to choose either a 1½ pound or 2 pound loaf,
according to the recipe you are following.
9.The bread machine is automatically preset to bake bread with a medium-color
crust. To choose a darker or lighter crust, press the COLOR key until the
desired crust color is indicated on the display.
10.If you wish, use the TIME keys to preprogram the time you want the loaf to be
finished. (See “TIME keys”, page 5.)
11.Press the START/STOP key. You will hear a beep; the colon :on the display
will begin flashing, and the timer will start counting down the minutes from the
8

total time shown for the mode you have selected. When the entire operation is
finished, the display will show 0:00 with the colon flashing, and you will hear a
series of beeps.
Caution:When you open the oven door, steam will escape. To avoid a
burn, use a pot holder or oven mitt to open the door at the end of the baking
cycle.
12.At the end of the baking cycle, press and hold the Start/Stop key until you hear
a beep to cancel the Keep Warm period. The colon :in the display will stop
flashing. Carefully open the oven door. Use pot holders or oven mitts to remove
the bread pan. Turn the pan counter-clockwise, then lift it up and out. Place the
hot pan on a heat-proof surface.
Note:If you do not press the Start/Stop key at the end of the baking cycle, the
controlled Cool Down period will operate for up to an hour, beeping
periodically to remind you that the loaf is still in the machine. It is best to
remove the loaf soon as the baking cycle is completed.
13.Remove the loaf from the bread pan as soon as
possible after baking. Use pot holders or oven mitts to
hold the bread pan upside down; gently shake it to
remove the loaf. Hold the pan firmly, since its surface
is slippery.
If the bread cannot be removed easily, use a potholder
to turn the drive shaft on the bottom of the pan in both directions to loosen the
loaf. Remember: the drive shaft will be hot.
If the kneading blade comes out with the bread, remove it using a plastic or
wooden utensil to avoid scratching its nonstick surface. (Don’t use your bare
hands; the blade will be hot!)Allow the bread to cool on a wire rack before
slicing.
14.Before you remove the plug from the wall outlet, be sure
the colon on the display is not flashing. Grasp the plug
itself and do not pull on the cord.
Note:You may notice that during the operation of your bread machine, there are
periods of activity followed by periods of no apparent activity. This is normal,
as the machine follows its cycle of kneading, rising, second kneading, etc. For
a complete listing of the operating times of the various portions of each cycle,
see the Appendix on pages 30-31.
9

Cleaning Your Bread Machine
Before using the appliance for the first time, wash the bread pan and kneading blade
with warm soapy water. Never dip the base of the bread pan into water because this
might result in a malfunction of the drive shaft.
Important:!Unplug the bread machine and allow to cool before cleaning.
!NEVER use scouring powder, steel wool, or other abrasive materials.
!NEVER use chemicals such as alcohol, benzine or paint thinner.
!NEVER immerse the bread machine in water.
Clean your bread machine, inside and out, by wiping it with a soft cloth and warm
soapy water.
After each use, check the baking compartment and use a damp cloth to remove
crumbs and flour that may have spilled.
Always clean your cooled-off bread machine before storing it.
Bread Pan and Kneading Blade
DO NOT USE METAL UTENSILS TO CLEAN THE BREAD PAN. The inside of the
bread pan is coated with a nonstick material. As with any of your nonstick cooking
utensils, treat the bread pan gently. Do not use metal objects or steel wool to clean it.
Wash the kneading blade and the inside of the bread pan with warm, soapy water;
rinse and dry thoroughly. Do not immerse the base of the bread pan in water since
this could affect the operation of the drive shaft.
If the kneading blade is stuck to the drive shaft, pour warm water into the pan and let
it stand for 15-20 minutes. This should loosen the blade. Do not use excessive force.
If the hole of the kneading blade is filled with dough, you can clean it with a wooden
toothpick or small brush.
Note:It is possible that the coating inside the bread pan will change color with
repeated use. This is caused by heat, moisture and steam, and will not affect
the performance of the unit or the release properties of the pan.
10

Tips for Baking Bread at Home
Successful bread making is the result of precise measurements of ingredients: bread
flour, yeast, water, sugar, salt, etc. These ingredients work off one another in a
specific way. Using the wrong ingredients or mismeasuring can throw off that critical
balance needed in machine bread making.
žUse only fresh, high-quality ingredients.
žYeast is the leavening agent that makes the bread rise. Yeast is very
sensitive; too much heat will kill it, and cold will stunt its growth. Always
check the expiration date of the yeast you are using. In the bread machine,
yeast does not need “proofing” or preliminary fermentation. After each use,
always close the container of yeast tightly and store it in a cool, dry place or
refrigerate.
žMeasure ingredients exactly:
žSpoon ingredients into a standard dry measuring cup and level off
with a straight-edged spatula or knife.
žFirmly press brown sugar or shortening into a standard dry measuring
cup or measuring spoon. Level off with a straight-edged spatula or
knife.
žMeasure baking powder, baking soda, salt, spices, and dry milk with
a standard measuring spoon. Level off with a straight-edged spatula
or knife.
žMeasure liquid ingredients with a standard liquid measuring cup (8 or
16 fluid ounces) on a level surface. Fill to the specified mark and
check the measurement at eye level. The top of the liquid should be
even with the indicator line on the cup. Use standard measuring
spoons for small amounts of liquid.
žUse room temperature water when baking. Cold water won’t activate the
yeast, or will slowdown its action. Hot water will speed it too much, and very
hot water will kill it.
žFor best results, allow bread to cool before slicing. To slice warm bread, use
a sharp, serrated-edge knife or electric knife.
11

žHomemade bread is best eaten the same day it is baked, but it will keep for
two or three days at room temperature.
žAfter cooling bread completely, store it immediately in a tightly sealed plastic
bag, plastic wrap or covered container. Do not store in the refrigerator. For
longer storage, wrap tightly and freeze.
Adjusting Bread Recipes for Weather and Altitude
Several factors can influence the size, shape or texture of the bread you bake, such
as weather conditions, the quality and temperature of ingredients and the
preciseness of measuring ingredients. Once you recognize the cause, you can
make adjustments to compensate for the variables.
Approximately 5 minutes after you press the START/STOP key, check the contents
of the bread pan. The ingredients should be mixing and starting to form a ball, which
should have a smooth consistency. If not, you may have to make an adjustment.
When making bread by hand, the old-fashioned way, the amount of flour is the
control for adjusting. For example, most conventional bread recipes read “6 to 7
cups flour.” That difference of 1 cup is the allowance to adjust the dough to the
correct consistency. In your Betty Crocker Bread Machine, the flour adjustment can
be made while the bread machine is still mixing and kneading. Make the
adjustment, one tablespoon at a time, during the first knead cycle, while the machine
is still kneading. If the adjusted ingredient didn’t completely mix into the dough,
press and hold the START/STOP key till you hear a beep. To restart, press the
MENU key until the desired program is selected, then press the START/STOP key
again. If the baked loaf falls while baking, too much liquid was used. Next time,
reduce the liquid by one or two tablespoons. If the loaf is small, heavy or has a
dense, moist texture, the dough was too dry. Next time, increase the liquid.
Not all recipes will produce the same size loaf. When using whole grain flours,
wheats and grains, the loaf will not be as tall as with bread flour.
If the bread maker begins to “knock” while kneading, the dough may be too dry.
This may happen at high altitudes or during cold months. Just add water,one
teaspoon at a time, until the dough looks soft and smooth.
12

A dough that is dry will remain in a dense, irregularly-shaped ball, instead of a soft
ball. When baked, dry doughs will have an uneven or irregular top, possibly cracked,
and the finished loaf will not be as tall as normal.
At the end of the kneading, the dough should be soft enough to very slowly relax
toward the corners of the bread pan. As the dough rises, it fills in the corners.
When using the Dough program (#8), the dough can be a little drier in the machine.
Because it will be removed and shaped by hand, the dough should be manageable,
not sticky.
At altitudes over 3,500 feet, flour tends to be drier and absorbs less liquid. You may
have to add slightly more liquid or less flour.
Dough rises faster at higher altitudes. You should slightly reduce the amount of
either sugar or yeast to prevent over-rising. Start by reducing the amount of yeast
by ¼ teaspoon; if the loaf is still too high, reduce the yeast more the next time.
Because every recipe is different, you may have to do some experimenting before
achieving the desired result.
13

Ingredient Substitutions and Helpful Hints
žFats such as shortening, margarine, butter and oil tenderize baked goods,
help bind ingredients, and add flavor. But not all fats bake the same. If using
a vegetable oil spread, be sure it contains at least 65 percent fat. Do not use
whipped or tub products in the bread machine.
žMilk and water are interchangeable in most recipes. Milk gives bread a
velvety texture and adds nutrients. Breads made with water have a crisper
crust.
žButtermilk can be used instead of water or milk. It results in a light, high-
rising, tender bread with a tangy flavor. To offset the slight acidity, for every
cup of buttermilk, add about 14teaspoon baking soda with the dry
ingredients.
žOther liquids, such as room temperature fruit juice, purees, beer or wine can
be used as liquid in the dough.
žAny ingredient that becomes soft or melts in the dough will add liquid,
including cheese, sour cream, cream cheese and yogurt. Ingredients that
have been soaked before being added to the dough will add liquid, including
raisins, dried fruit or dried mushrooms.
žSweeteners like sugar, honey and molasses provide food for the yeast to
grow. They also add flavor and help the crust to brown. Sweeteners vary
intensely in flavor so it is important to use the sweetener called for in the
recipe.
žAdd spices and herbs after flour, away from liquids to avoid altering the
liquid/flour action.
žThere are several bread mixes available that can also be used in your bread
machine. Follow the package instructions to make one loaf, and prepare
using the BreadMix program (#11).
žWe recommend using table salt for bread making. We don’t recommend
using low-sodium salt because it results in a poorer-quality baked product.
14

Recipe Conversions
Most of your old favorites as well as your new bread recipes can be prepared in the
Betty Crocker BCF1690 Bread Machine. Here are some tips for recipe conversion:
žIf your recipe yields two conventional loaves, cut the recipe in half to make
one loaf. The bread maker makes only one loaf at a time.
žDo not exceed a total of 5 cups of flour. Use the recipes in this book as your
guide when converting other recipes.
žAll-purpose flour can be used when baking bread, but you will get better
results with bread flour in the bread machine.
žAlways measure and add water or other liquids first, followed by the salt.
Then add ingredients such as liquid sweetener, shortening, eggs, etc.
Finally, measure the dry ingredients into the bread pan in the order listed.
Carefully place active dry yeast on top of the dry ingredients, avoiding
contact with the liquid and salt.
žTo substitute dry milk for fresh, use approximately 2 tablespoons dry milk
plus 1 cup water for every cup of milk.
Caution:Fresh milk, cream, eggs, sour cream, etc., should not be used if
using the TIME keys on your bread machine for delayed baking.
15

Display Messages
While using your Betty Crocker BCF1690 Bread Machine, you may notice certain
coded messages on the control panel display. Use the chart below to interpret these
messages:
MessageReasonSolution
H:HHBaking compartment is
too warmOpen cover, remove bread pan
and allow oven to cool with
cover open.
0:00with colon flashingCycle completePress START/STOP key for
2 seconds, then unplug
bread machine.
Display blankUnit needs to be activatedUnplug unit and plug back into
outlet.
For best results, always use the bread machine in a room that is free of drafts and is
at least 55°, but not warmer than 90°F. Do not use the bread machine in an
unheated garage, outdoors, near a heat vent, or in direct sunlight.
Before Calling for Service
Here are some problems that you may be able to solve yourself without calling for
service:
ProblemPossible Reasons
The unit does not operate after pushing
the START/STOP keyUnit is unplugged
The bread rose too high or didn’t rise
high enoughToo much yeast, flour or moisture
If you find that you still need assistance, or wish to order replacement parts, call our
toll-free Customer Help line at 1-866-819-4335 .
16
Table of contents
Languages:
