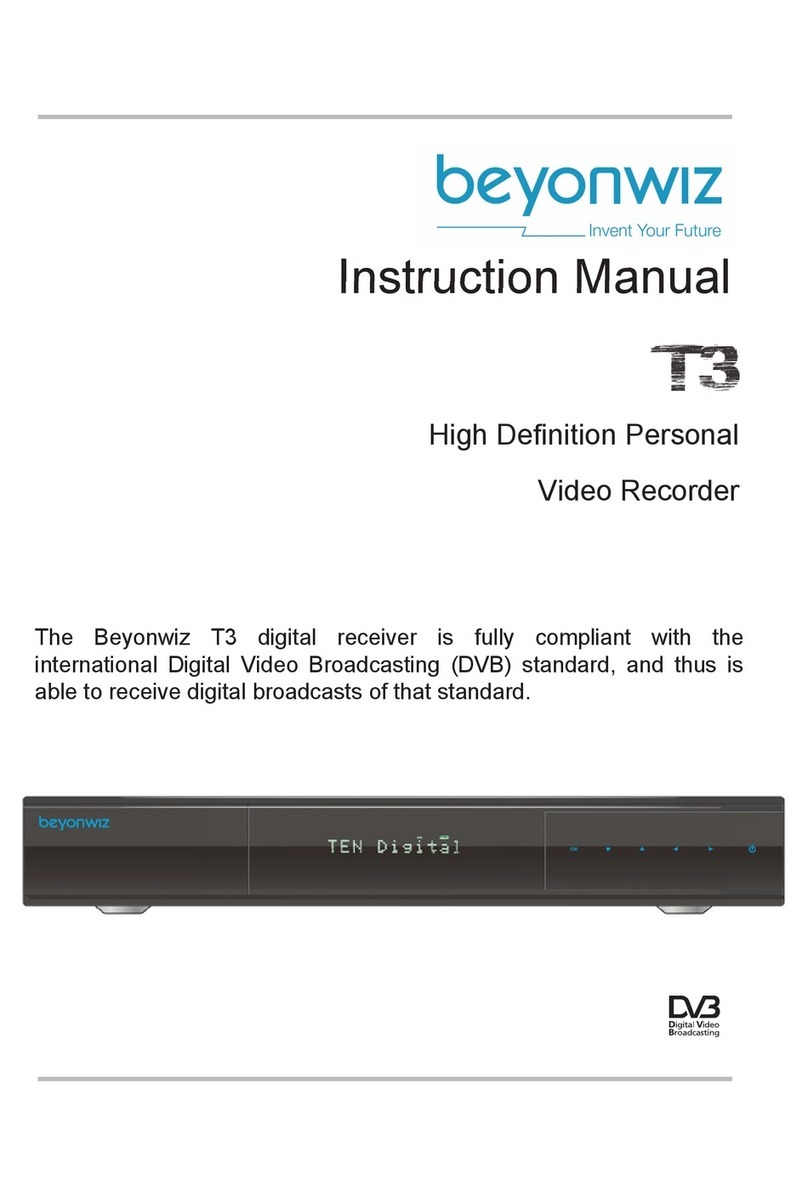
Beyonwiz V2 User manual

Instruction Manual
Ultra High Definition
Personal Video Recorder
Instruction Manual
Instruction Manual
Instruction Manual
Instruction Manual
Instruction Manual
The Beyonwiz V2 digital receiver is fully compliant with
the international Digital Video Broadcasting (DVB) standard, and
thus is able to receive digital broadcasts of that standard.
V2

Frequently Asked Questions
www.beyonwiz.com.au/faqs
How to Videos
www.beyonwiz.com.au/tv
User Forum
www.beyonwiz.com.au/forum
Support and Warranty Requests
www.support.beyonwiz.com.au
Tech Support and Warranty claims.
If you have a problem with your V2 or need some help finding please follow these steps, if
you don't find the solution in the first step move to the next.
1) Check our FAQs and how to Videos
2) Search our user forum for the answer
3) Join our user forum and post your question
4) Open a Support Request
Located on the bottom right hand corner of the V2 remote control is the HELP button.
You can press this button when there is a HELP button hint on the bottom right of the
screen, the feature is also available while watching Live TV, while in timeshift mode,
while browsing the EPG and while playing back recordings/media. In addition when in
the help screen, pressing HELP gives instructions on how to use the help system.
When you press the HELP button you will get an onscreen interactive menu that
explains what each buttons function is in that particular menu or function.
EPG HELP screen

Safety Instructions ii
Safety Precautions
This product has been manufactured to act in accordance with the international safety
standards. Please read through the safety instructions carefully before using this product as the
manufacturer takes no responsibility for any damages due to the consumer’s misuse of the
product.
1. Power Supply
•Use this product with the type of power supply that is indicated on the marking label. The V2
uses a 12V - 2.0A AC/DC adapter with an operating range is AC 90V~250V and 50/60Hz.
•Use an outlet that has surge suppression or ground fault protection.
•Do not overload a wall outlet, extension cord or adapter as this may result in electric fire or
shock.
•Do not alter, bend, or twist the power cord or plug.
•Be sure to route the power supply cords so that they won’t be walked on or pinched by items
around it.
•Keep the power cord away from any heating appliances to avoid melting the cover vinyl.
•If the cord is damaged, do not plug in the product and be sure to get the cord replaced.
•When unplugging, grip the power plug, not the cord.
•If any of the following occur, unplug the product from the outlet and contact authorized
service personnel:
oThe power cord or supply is damaged
oLiquids of any kind have been exposed to the product
oThe product has been dropped or the casing has been damaged
oThe product is not performing as it should
•If the product won’t be used for a long period of time, unplug it

iii Safety Instructions
2. Exposure and Placement
•Only operate the product in moderate temperatures.
•Place the product indoors to avoid exposing it to lightning, rain or direct sunlight.
•Do not expose any liquids or sources of open flame (such as candle flame) to the
product.
•Do not place the product near any heat emitting appliances. This may cause impairment
in cooling.
•Do not place the product on any unstable surface because it may fall and cause serious
personal injuries and/or damage the product.
•Always make sure the product has enough space around it for ample ventilation and
heat transfer.
•Do not place the product in a closed space (such as a cabinet) without suitable
ventilation.
•Be sure to place the product approximately 10 cm away from any appliances that are
exposed to electromagnetic influences, such as a TV or a VCR.
•Do not use any attachments or accessories that are not recommended by the
manufacturer. This may cause hazards to the product, and may void the warranty..
3. Installation and Maintenance
•Before connecting or disconnecting the antenna cable to the product, be sure that the
product is unplugged. Failure to do so may cause damage to the antenna.
•Before connecting or disconnecting the cable from the TV, be sure that the product is
unplugged. Failure to do so may cause damage to the TV.
•Before cleaning the product, be sure that the product is unplugged.
•Use a damp cloth (do not use any solvents) to clean the exterior of the product.

Safety Instructions iv
4. Warnings
•Do not use this product near any flammable or explosive gases as this increases the risk
of explosions.
•Do not use the product if any liquids or foreign objects come in contact with it.
oTurn the product off, disconnect the power cord, and contact your dealer.
oDo not use the product since this could cause a fire or electric shock.
•Do not operate this product or hold the power cord with wet hands as the risk of getting
electronic shock is very high.
•Unplug the product and disconnect the Antenna cable during a thunderstorm or when
left unattended and unused for long periods of time. This will prevent damage to the
product due to lightning and power-surges.
•Do not use this product when it is out of order. Continued use when defective can cause
serious damage to it and you.
•Do not put any alien items into or block the slots or ventilation openings of the product.
This can cause damage to the product and reduce the life span.
5. Warranty
Be aware that any adjustments or handling (such as, but not limited to opening the casing)
other than what is specified here may void your warranty. Attempting to modify the product
may result in fire, injury, electric shock, or other severe damage to you or the product.
Do not remove the cover, as there is risk of electric shock.
oIf it is absolutely necessary, please contact a trained professional.
Do not try to modify the product as this may cause fires, injuries, electronic shocks or
other severe damage to you or the product.
For full warranty info our Terms & Conditions Page
https://beyonwiz.com.au/terms-conditions/
Privacy Policy
https://beyonwiz.com.au/privacy-policy/

1 Contents
Contents
1 Introduction ....................................................................................................................... 4
1.1 Main Features ........................................................................................................... 4
1.2 Product Descriptions ................................................................................................ 5
1.3 Remote Controller .................................................................................................... 7
1.4 Notes ........................................................................................................................ 8
1.5 Technical Specifications ........................................................................................... 9
2 Installation of Beyonwiz V2 ............................................................................................. 11
2.1 Connecting Antenna Cable ..................................................................................... 11
2.2 Connecting the TV .................................................................................................. 12
2.3 Connecting Power .................................................................................................. 15
2.4 Power On/Off .......................................................................................................... 16
3 First Time Installation ..................................................................................................... 17
4 Basic Operations ............................................................................................................ 20
4.1 Channel List ............................................................................................................ 20
4.2 Switching Channel .................................................................................................. 21
4.3 Program Information ............................................................................................... 22
4.4 Volume Control ....................................................................................................... 23

Contents 2
4.5 Selecting Audio Track ............................................................................................. 23
4.6 Subtitle .................................................................................................................... 24
4.7 Sleep Timer ............................................................................................................. 25
4.8 Electronic Program Guide ...................................................................................... 26
4.9 Timeshift ................................................................................................................. 27
4.10 Recording ............................................................................................................... 28
4.11 Recording Playback ................................................................................................ 30
4.12 PiP & Interactive Media .......................................................................................... 31
5 System Configuration ..................................................................................................... 32
5.1 Main Menu .............................................................................................................. 23
Menu Structure ...................................................................................................... 33
5.2 System Setup ..................................................................................................... 34
Recording Settings ....................................... ............................................... 34
Subtitle Settings ........................................................................................... 35
Initialize / Format Hard Disk ...................................................................... 36
Network Setup ............................................................................................. 36
Skin Setup .................................................................................................. 39
Channel Scanning ...................................................................................... 40
Parental Control .......................................................................................... 41
Backing up & Restoring Settings ................................................................. 42

3 Contents
Factory Settings ........................................................................................... 42
Checking Software version & Information ................................................. 43
7 Troubleshooting .............................................................................................................. 45
Upgrading the V2 Firmware .......................................................................... 44

Chapter 1. Introduction 4
Chapter 1.
Introduction
The Beyonwiz V2 digital receiver is fully compliant with the international Digital
Video Broad-casting (DVB) standard, and thus is able to receive digital
broadcasts of that standard.
For its operation you need an antenna, which must be installed appropriately.
1.1 Main Features
●Quad Core 64Bit (4 x 1.6GHz)
●Linux Operating System
●
Media Player
●
Downloadable Plug-ins supported
●
●
●
●2 x DVB-T2 Tuners - Expandable up to 4
tuners via USB (Sold Separately)
●7 Segment Front Display
●8GB NAND Flash
●1GB DDR SDRAM
●Gigabit 10/100/1000MB Ethernet Interface
●
●
●
●EPG supported
●
●
●
HDMI Output
MPEG2 / H.264 / H.265 Hardware Decoding
4K H.265
1 x USB 3.0 / 1x USB 2.0
Remote control
S/PDIF for digital bit stream out (optical)
Automatic & Manual Service Scan
supported
h.265 transcoding support
Skin change supported

5 Introduction
1.2 Product Descriptions
Front Panel
①
②
7 SEGMENT DISPLAY: Displays clock, Boot Status, Upgrade Status.
Power Button: Power on/off also used for USB upgrades.
_______
①
②
____

Chapter 1. Introduction 6
Rear Panel
②
③
④
⑤
⑥
⑦
⑧
⑨
⑩
① Tuner A/B (Dual) : Single input dual DVBT Tuner. Connect main antenna to ANT IN
Tuner Loop Out : Loop Antenna signal to additional USB Tuners or to TV
RS232 : For Service and Software Development. (Cable available from Beyonwiz Shop)
USB 3.0 : High Speed USB Port, connect Hard Drive here.
S/PDIF : Connects to a digital audio system using S/PDIF cable.
AV Output : Connect to older TVs via AV Ports (Cable Available from Beyonwiz Shop)
HDMI Out : Connect HDMI Cable from TV
Ethernet : Connect LAN cable from your router or home network wall plate.
USB 2.0: Best port for connection USB Tuners or Wifi Dongles
Micro SD Slot: Insert Micro-SD Card to Expand storage
Optional USB Tuner (Sold Separately)
①②③
①
②
③
Loop Cable connects at one end to Loop Out Out and the other end to USB Tuner
USB Tuner connects at one end to Loop Cable and other end to USB Extension Cable
USB Extension Cable Connects at one end to USB Tuner and other end to USB 2.0 port
Please make sure V2 power switch is off when connecting USB Tuner.
Recovery: Recover to factory settings if menu inaccessible
12V DC Input: Connect 12V power cable here.
Power Switch: Switch Power On/Off.

7 Introduction
1.3 Remote Control
No. Name Description
1
2
3
4
5
6
7
8
9
10
11
12
13
14
15
16
17
18
19
20
21
22
23
24
25
26
27
28
29
30
31
Power
Mute
TV/Radio
Timer
Favourites
EPG / Guide
Volume
Channel
Information
Back
Stop
Media
Play/Pause
Exit
Menu
Navigation / OK
Coloured Nav
Numbers / Keyboard
Previous
Next
Record
Slow Motion
Rewind
Fast Forward
Sleep
Plugin
Subtitle
Help
Audio
Text
TV-Out
Switch between standby / On. Long press for power options menu.
Switch between TV and Radio Services
Change Video output mode - 567i - 576p - 720p - 1080i - 1080p - 2160p
Opens the Timer List menu
Opens your favouriteschannel list
Launches the Electronic Program Guide (TV Guide) - Long press Options
Mute / Unmutes Sound
Volume controls UP/DOWN
Channel changing controls UP/DOWN
List current program information - Long-press for more options
Go back to previous viewed channels
Stops recordings / Returns to Live TV when in Timeshift
Pause Live TV and Recordings and press Play to resume
Exits to previous Menus
Enters the Main Menu
Brings up Info Bar in Live TV and Recordings - Used to Select menu items
These buttons are utilized in the EPG and Menus for options
Zap to channel directly - Enter Keyboard text when required
Previous page / Zap history. Previous program in timeshift mode
Press record in Live TV to start instant recordings - Press in EPG for options
Enters slow motions mode
Rewind live TV or recordings - Press again for next speed
Fats Forward Live TV or recordings press again for next speed
Open Sleep menu
Launches Plugins menu
Toggle Subtitles / Closed Captions On / Off
Next page / Zap history. Next program in timeshift mode
Launches Your Recordings
Launches Help Screens
Toggles Audio format (e.g. AC3, Stereo). Long press for more options
Launches onscreen Keyboard in text entry screens

8 Notes

Chapter 1. Introduction 9
1.5 Technical Specifications
Front Panel
Display:
Power Button:
Rear Panel
7 Segment display can display time, Recording Status,
Boot Progress & Firmware Update Info.
Standby On/Off & Start USB Upgrade
Power
Mains voltage:
Power consumption:
240 - 12V 2.0A
Power Adapter 65/40/<1 Watts
(Max./typ. operation/stand-by)
Power Switch:
Terrestrial-RF input/output:
Video/Audio output (digital):
Audio output (digital):
USB:
Ethernet:
AV Output (Analogue)
SD Card
Rear switch
1 input / 1 loop outputs
HDMI
S/PDIF Optical
1 x USB 3.0 / 1 x USB 2.0
1 x 10/100/1000 GIGA LAN
Adapter Required (Sold separately in Beyonwiz online shop.
Micro SD Expansion Slot

10 Introduction
RF
RF range: 177.5 ~ 816.5 MHz
Modulation, FEC, de-multiplexer: DVB-T/DVB-T2 standard
Video
Video resolution:
Video decoding:
Input data rate:
S/N:
3840x2160 interlaced, progressive
2160p,1080p@60,1080i and other size
H.265, H.264, MPEG-2, MPEG-4
compatible 2~45 MSymb/s
> 53 dB
Audio
Decoding: AC3, MPEG-4(AAC-HE), MPEG-1 Layer1, 2 and 3
Sampling rate: 32 / 4.1 / 48 KHz
S/N: > 65 dB
General
Dimensions (W x H x D):
Weight (without HDD):
220 x 40 x 125 mm
Approx. 1KG

Chapter 2. Installation 11
Chapter 2 .
Installation of Beyonwiz V2
This chapter will guide you through the whole installation process of Beyonwiz V2.
Please read each section carefully to make sure that the system runs properly.
2.1
Beyonwiz V2 is integrated with 1 DUAL digital DVBT2 tuner and works best when
connected to an external Digital TV Antenna mounted on the outside of your home or
apartment. You have the option of purchasing either a Single or Dual USB tuner
separately that will transform your V2 into a Triple or Quad tuner PVR. If you do not
use a USB tuner you can loop the antenna signal through to your TV or other
receivers or you can simply leave the loop out disconnected, it is not required for the
V2 to work.
Connecting Antenna Cable

12 Installation
2.2 Connecting the TV (and VCR)
Beyonwiz V2 provides a variety of audio/video connection
methods.
A. Connecting TV via HDMI Cable
Most HDTVs have HDMI connectors to ensure the highest picture quality. In the
rear panel of Beyonwiz V2 one HDMI connector is available for this purpose.
Connect your TV to Beyonwiz V2 using a HDMI cable as follows.
B. Connecting TV via Composite AV Cable (Adapter cable sold separately for $12.95)
Connecting via composite AV is not recommended and only should be used if
you do not have the option of connecting via HDMI

Chapter 2. Installation 13
C. Connecting S/PDIF Optical Cable
When you have an A/V receiver with S/PDIF digital audio input, this connection is
recommended to enjoy the best audio quality, especially for the Dolby Digital
sound.

14 Installation

Chapter 2. Installation 15
2.3 Connecting Power
A 12V power adapter and cable is provided as one of the basic accessories of the Beyonwiz V2.
●Connect the power cord to the 12V power adapter and connect to the
rear panel of Beyonwiz V2.
●Connect the power cord to a power outlet and switch on.
●Turn on the power switch at the rear panel of the V2.
NOTE: AC input condition
●Nominal Voltage Range: 100~240 VAC
●Maximum Voltage Range: 90~264 VAC
●Nominal Frequency: 50/60 Hz
●Maximum Frequency Range: 47~63 Hz
Table of contents
Other Beyonwiz DVR manuals
