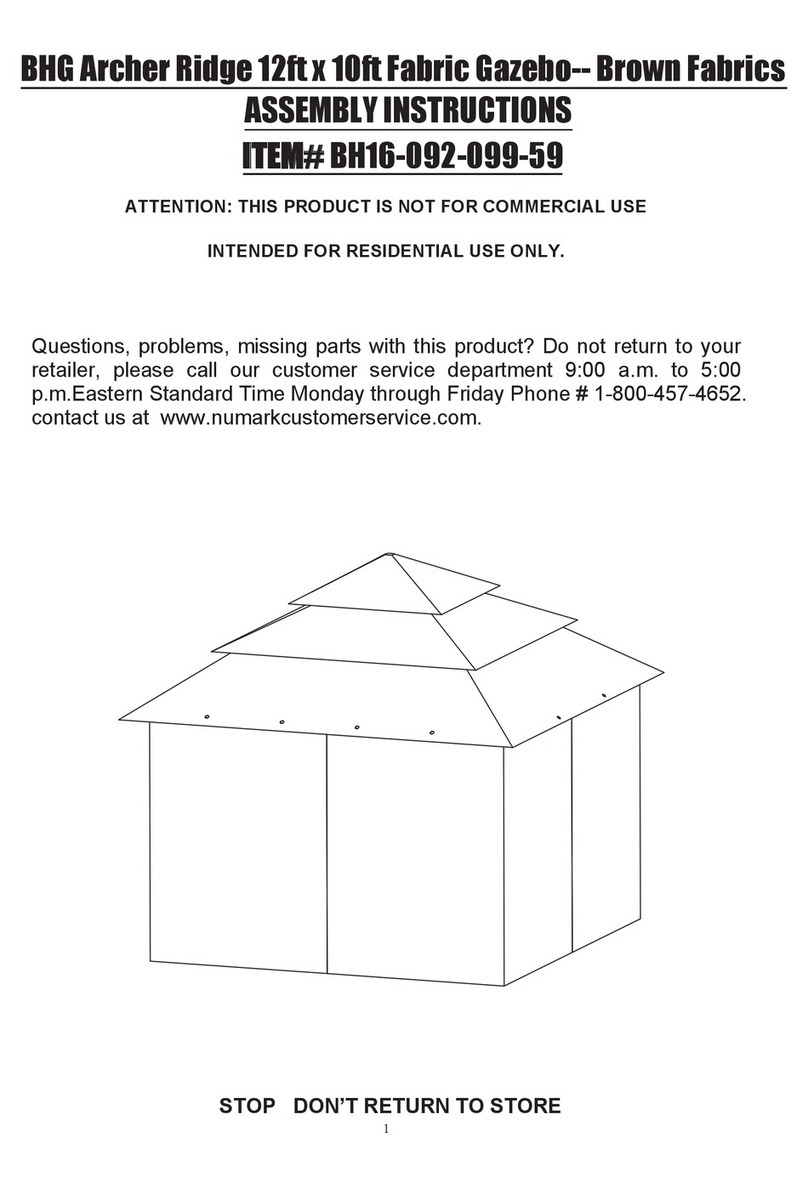
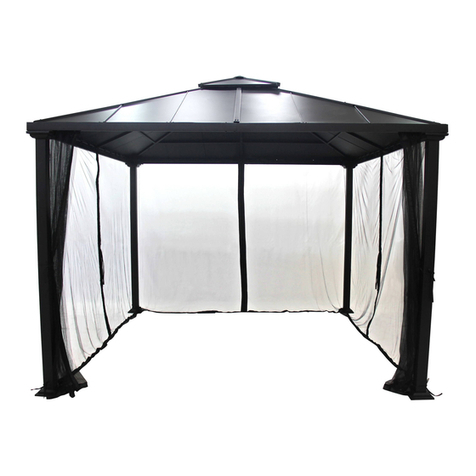
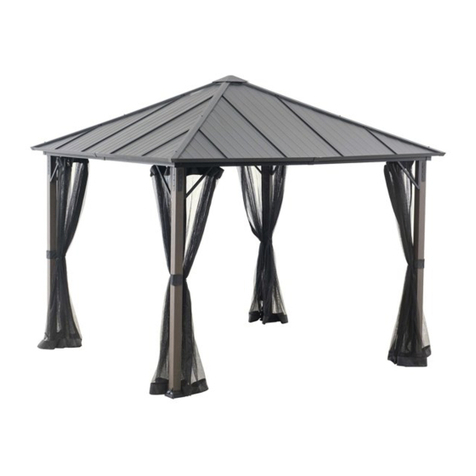
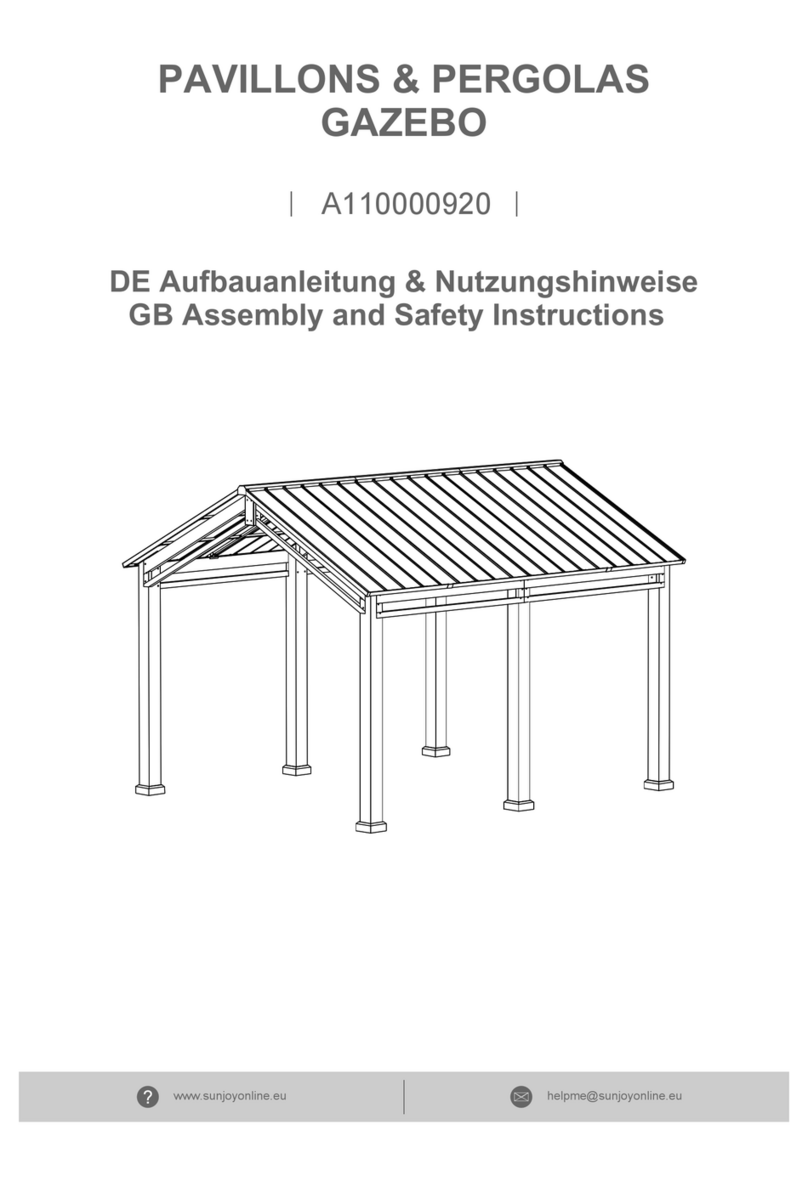
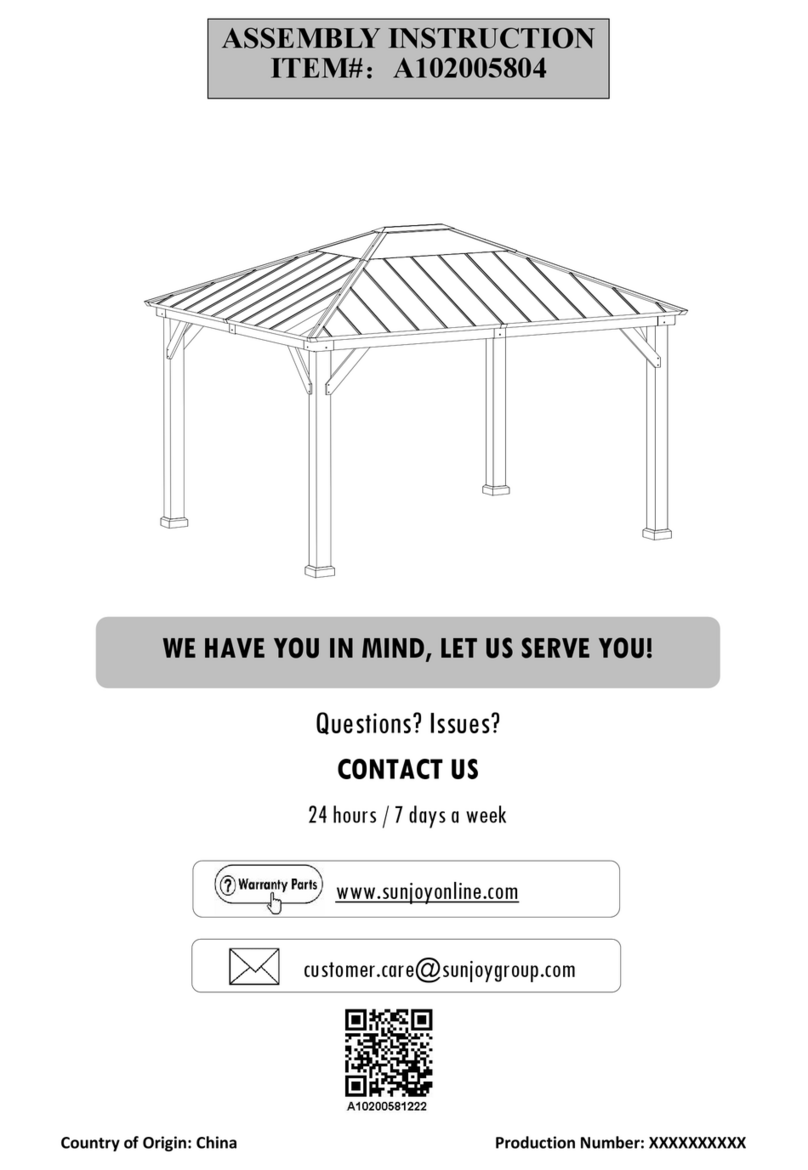
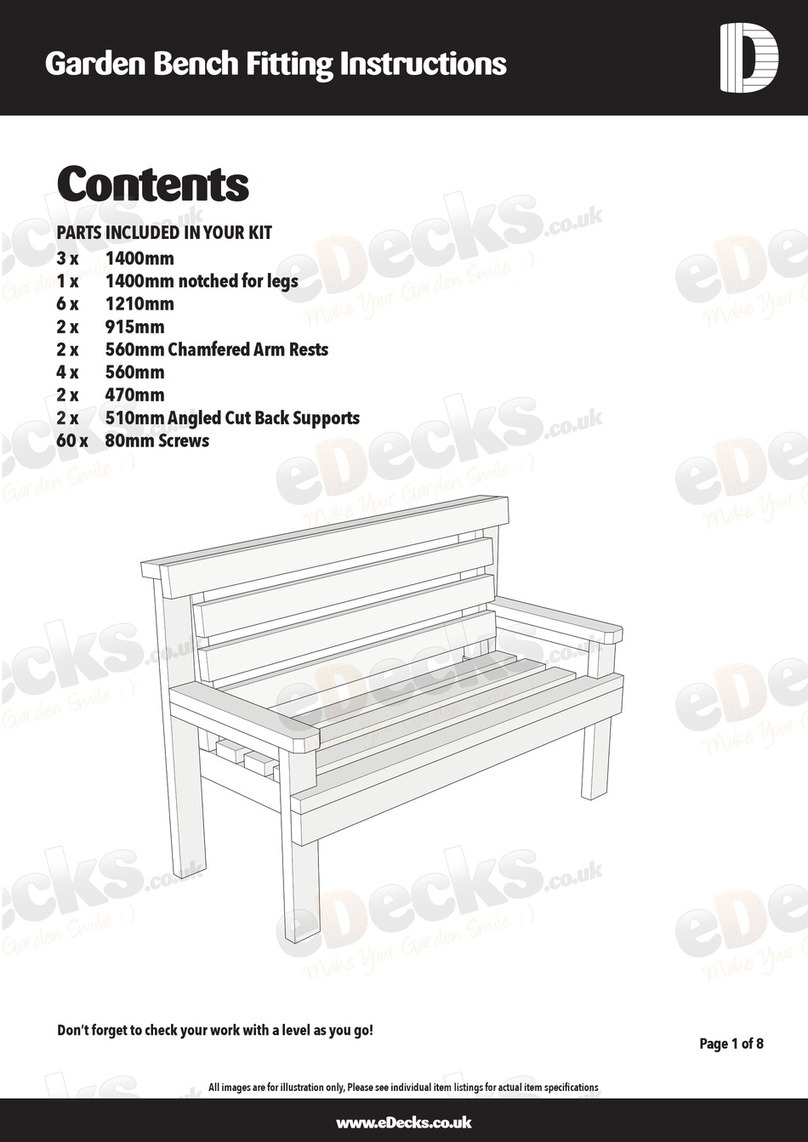
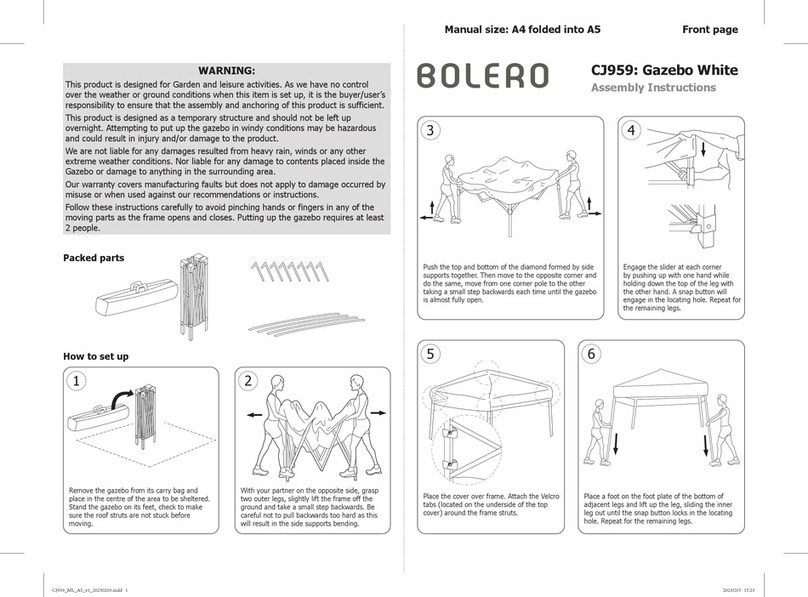
BHG BH17-092-097-23 User manual

1
BHG Sullivan Ridge 10' x 10' steel hard top gazebo with net,
steel without E-coat
ASSEMBLY INSTRUCTIONS
ITEM# BH17-092-097-23
ATTENTION: THIS PRODUCT IS NOT FOR COMMERCIAL USE
INTENDED FOR RESIDENTIAL USE ONLY.
DON’T RETURN TO STORE
Questions, problems, missing parts with this product? Do not return to your
retailer,please call our customer service department 9:00 a.m. to 5:00 p.m.
Eastern Standard Time Monday through Friday Phone # 1-800-457-4652
contact us at www.numarkcustomerservice.com
or

WARNINGS AND CAUTIONS
*It is essential to place the gazebo on level ground and not less than 6 feet
from any obstruction such as fences, garages, the house, overhanging
branches, laundry lines, or electrical wires.
*
*Oil all metallic moving parts during usage season.
*Always remove the canopy in heavy wind conditions, otherwise the canopy
may tip over and may cause damage to its parts.
*The user of this gazebo should always inspect it before each use.
*Do not discard any of the packaging until you have checked that you have
all the parts and pack of fittings.
*Keep children away during assembly.This item contains small parts which
can be swallowed by children.Children should always be under direct adult
supervision while using the product.
*The manufacturer will not accept responsibly for unauthorized repair of
modifications to the gazebo.
*Retain the assembly instructions for future reference.
CLEANING AND MAINTENANCE
Wash frame parts and fabric with mild soap and water, rinse thoroughly.
Dry frame completely and allow the fabric to drip dry.
Do not use bleach, acid, or other solvents on the fabric or frame parts.
Please inspect and tighten all bolts or fasteners on a regular basis to
ensure proper performance and safety of your gazebo.
Assembly by at least eight adults is recommended.
Keep all flame and heat sources away from canopy fabric.
The canopy is made with flame-resistant fabric which meets CPAI-84 specifications.
It is not fireproof. The canopy fabric will burn if left in continuous contact with
flame source. The application of any foreign substance to the canopy fabric may
render the flame-resistant properties ineffective.
2
DON’T RETURN TO STORE
*
*
*
*

Remove all components from the polybag and unwrap all package materials. Please
count the components, there are:
NO.
Part
Description
Quantity
A1
4
Top Beam
Top Beam
A2 4
B 4
C
D
E1
E2
E3
E4
4
1
4
4
4
4
Connection Ring
Long Canopy
Frame Bar
Long Connect Bar
Short Connect Bar
Short Canopy
Frame Bar
Long Connect Bar
F1
Small Canopy
Frame
G
H
4
Small Canopy
Cover Slat
Small Canopy
Bar
4
4
ISmall Upper
Roof Cover
3
DON’T RETURN TO STORE
Short Connect Bar

4
4
4
J
K1
K2
K3
K4
K5
K6
L1
1
4
4
4
4
4
Large Upper Roof
Cover
Large Upper Roof
Cover
Short Large Canopy
Cover Slat
Large Upper Roof
Cover
Large Upper Roof
Cover
Bowl-shaped Cover
Large Upper Roof
Cover
Large Upper Roof
Cover
NO.
Part
Description
Quantity
4
4
L2
MLeg Post
DON’T RETURN TO STORE
N
O
4
4
Net
Base Plate
4
4
P
QL-shaped
Plate
Post Base
Long Large Canopy
Cover Slat

DON’T RETURN TO STORE
5
K1 K2 K3 K4 K5 K6
J
H
H
H
H
I
I
I
G
F
G
L2
L2
L2
L1
L1 L1
L1
L2
K1 K2 K3 K4 K5 K6
D
E1
E2
E3
E4
E3
E4
E1
E2
B
B
B
C
C
C
BE1
E2
E3
E4
C
E1
E3
E4
E2
A1
A2
A1
A1
A1
N
A2
MQ
M
O
P
M
N
N
Q
A2
M
O
P
N
O
P
O
P
M
Q
A2
Q

Re
M6x50L Bolt
16+1 Spare
Rg
176
Rh
16+1 Spare
Ri
8+1 Spare
Rj
8+1 Spare
Rk
16
Small Metal Washer
M6 Nut
Lawn Stake
Lock Washer
M6x12 Countersink
Screw
NO.
Part
Description
Quantity
8
2
Rn
1
Ro
2
Rp
1
Rl
Rm
Allen Wrench
Open Hex Wrench
Assembly
Instruction Sheet
M6 Large Metal
Washer
Long Allen Wrench
Rf
M8x45L Bolt
1
Ra
96+3 Spare
Rb
24+1 Spare
Rc
M6x30L Bolt
8+1 Spare
Rd
M6x36L Bolt
24+1 Spare
M6x20L Bolt
M6x15L Bolt
ACCESSERY
DON’T RETURN TO STORE
6

Step 1
Ra x 12Rg x 12
M6x15L Bolt Small Metal Washer
Step 2
DON’T RETURN TO STORE
7
Repeat procedure for the other 3 small canopy bars.
Don’t tighten completely.
Repeat procedure for the other 3 top beams.
Don’t secure bolt into this hole at this step
A1
1
A2
A1
Ra
Rg
Rg
Ra
A1
A2
A2 2
F
G
G
F
3

Step 3
Step 4
Ra x 4Rg x4
M6 x 15 Bolt Small Metal Washer
Rb x 8Rg x 16
Re x 4Rh x 4
DON’T RETURN TO STORE
8
Don’t tighten completely.
Repeat procedure for the other 3 holes. Tighten all bolts of above steps.
M6 x 20 Bolt M6 x 50 Bolt Small Metal Washer Nut
Don’t tighten completely.
Repeat procedure for the other 3 long canopy bars.
D
G
Ra
Rg
D4
A1
A2
A2
A1
C
C
C
C
D
6
5
Rh
Rg
Rg
Re
C
D
C
A1
A2
Rg
Rg
Rb Rb

Step 5
Step 6
DON’T RETURN TO STORE
9
Don’t tighten completely.
Repeat procedure for remaining 3 canopy frame bars.
Don’t tighten completely.
Repeat procedure for other 3 connect bars. Tighten all bolts of above steps.
A1
A2
A1
A2
B
D
B
D
B
Rh
Rg
Rg
Re
8
7
Rg Rb
A2
A1 B
B
C
Rg
Rh
E4
E2
E3
E1
B
B
E2
E1
BE4
E2
E3
E1
E4 E3
Rg
Rg
Re
Re
Rg
Rh
E1
E2
E4
E3
E4
E2
E1
E3
C
C
9
10
11
Rb x 8Rg x 16
Re x 4Rh x 4
M6 x 20 Bolt M6 x 50 Bolt Small Metal Washer Nut
Rg x 16
Re x 8Rh x 8
M6 x 50 Bolt Small Metal Washer Nut

Rc x 8
Step 7
Rf x 1
Step 8
M8x45L Bolt
M6x30L Bolt
DON’T RETURN TO STORE
10
Rg x 8
NOTE: Top label facing upside.
Don’t tighten completely. Repeat procedure for other small
upper roof covers and small canopy cover slat. Tighten all bolts of this step.
NOTE: Top label facing upside.
Securely tighten all bolts of this step.
TOP
TOP
TOP
Rc
Rg
H
II
I
I
12 13
H
I
F
I
TOP
TOP
TOP
F
J
Rf
14
Small Metal Washer

Step 9
Ra x 20 Rg x 16
M6x15L Bolt Small Metal Washer
Step 10
Rl x 4
Large Metal Washer
DON’T RETURN TO STORE
11
NOTE: Top label facing upside. Don’t tighten completely.
Repeat procedure for other large upper roof covers(K1& K6).
NOTE: Top label facing upside. Don’t tighten completely.
Repeat procedure for other large upper roof covers(K2&K5).
TOP
TOP
TOP TOP
TOP
TOP
TOP
K6 K1
K6
K1
K1
K6
K6
K1
A1
A1
Ra
Rg
A1
A2
A2
Rg
Ra
Ra
Rg
TOP
15-1
Ra
Rl
15-2
A2
TOP TOP
TOP
TOP
TOP
TOP
A2
K5
K2
A1
K2
K2
K2
K5
K5
K5
Ra
Rl
A1
A2
Ra
Rg
Ra
Rg
A1
A1
16
17
18
K6 K1
Ra x 20 Rg x 16
M6x15L Bolt Small Metal Washer
Rl x 4
Large Metal Washer

Step 12
Step 11
Ra x 16 Rg x 16
M6x15L Bolt Small Metal Washer
DON’T RETURN TO STORE
12
NOTE: Top label facing upside. Don’t tighten completely.
Repeat procedure for other large upper roof covers(K3&K4).
Tighten all bolts of above steps.
Rd x 12 Rg x 12
Don’t tighten completely.
Repeat procedure for other 3 long large canopy cover slats.
K6
A2
A1
Ra
Rg
Ra
Rg
Ra
Rg
K5
K4
K3
K2
TOP TOP TOP TOP TOP
TOP
K1
19
20
Rd
Rg
L2 K1 K2 K3 K4
K5
K6
21
M6 x 36 Bolt Small Metal Washer

Step 13
Rg x 12
Rd x 12
M6x36L Bolt Small Metal Washer
Ri x 8
Step 14
M6x12L Bolt
DON’T RETURN TO STORE
13
Don’t tighten completely.
Repeat procedure for other short large canopy cover slats.
Securely tighten all bolts for all above steps.
M
MO
P
Ri
Ri
24
Securely tighten all bolts.
Repeat procedure for the remaining three leg posts.
L1
Rg
Rd
Rd
Rg L1
L1
L1
22 23

Step 15 Rg x 8
Rb x 8
Small Metal Washer
M6x 20L Bolt
Step 16
DON’T RETURN TO STORE
14
A2 A1
M
M
A1
A2
Rb
Rg
Rj
Rj
Rb
Rg
25
Ra x 16
Rg x 16
Don’t tighten completely.
Repeat procedure for the remaining three leg posts.
Repeat procedure for the remaining three leg posts.
Securely tighten all bolts for Step 15&16.
M
A1
A2
26
Rg Ra
M
A1
A2
Rj x 8
Locker Washer
M6 x 15 Bolt
Small Metal Washer

DON’T RETURN TO STORE
15
M
M
27
Ra
Ra
Rg
Rg
A2 A1
Q
Securely tighten all bolts.
Repeat procedure for the remaining 3 “L” shaped plates.
Rk
OM
28
Step 17 Rg x 8
Ra x 8
Small Metal Washer
M6x 15L Bolt
Step 18
Rk x 16
Lawn Stake

Printed in China
Step 19
DON’T RETURN TO STORE
16
Your gazebo with net is now ready for use.
N
A2
29
30
Table of contents
Other BHG Outdoor Furnishing manuals
Popular Outdoor Furnishing manuals by other brands
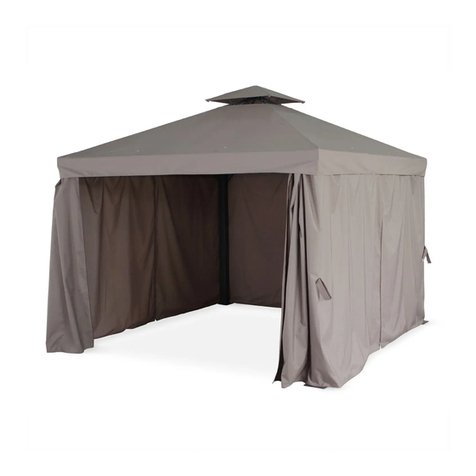
Alice's Garden
Alice's Garden DIVODORUM manual
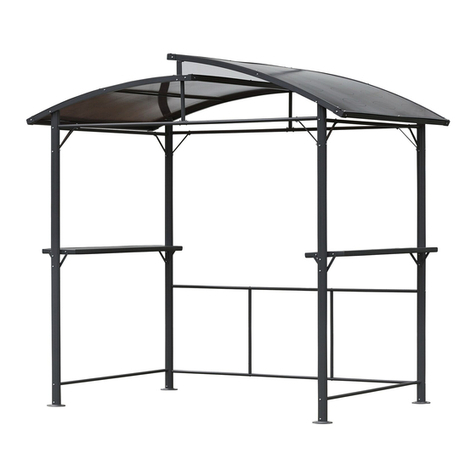
leco
leco Profi XXL manual
Garden Winds
Garden Winds D-GZ105PST-A Assembly instructions
Eagle Peak
Eagle Peak 10 ft x 12 ft Wooden Gazebo instruction manual
ManoMano
ManoMano 519878 Assembly instructions
Amart Furniture
Amart Furniture GERALDTON 62259 Assembly instruction
