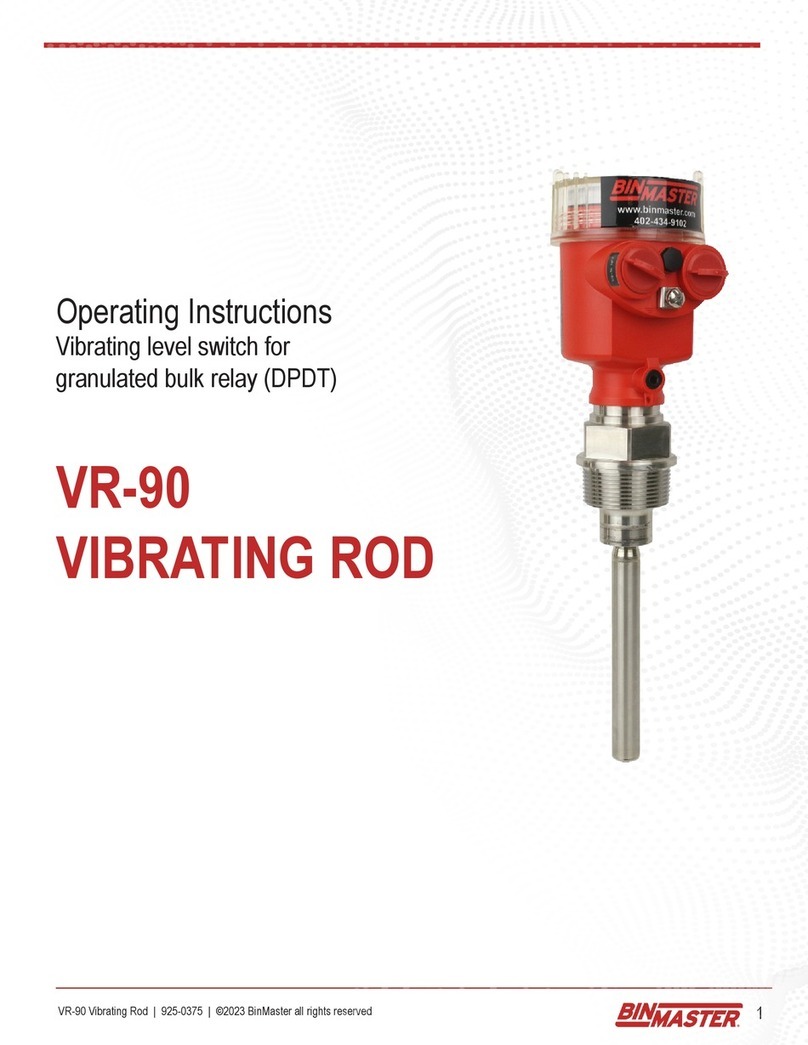
Bin Master VR-21 User manual

925-0289 Rev D
VR-21 & VR-41
VIBRATING ROD
OPERATING INSTRUCTIONS
PLEASE READ CAREFULLY
Division of Garner Industries
7201 North 98th Street
Lincoln, NE 68507-9741
(402) 434-9102

925-0289 Rev D 2
TABLE OF CONTENTS
GENERAL SPECIFICATIONS .................................................................................................... 3
SAFETY SUMMARY................................................................................................................... 4
1.0 INTRODUCTION.................................................................................................................. 5
2.0 APPLICATIONS ................................................................................................................... 5
3.0 VERSIONS........................................................................................................................... 5
4.0 INSTALLATION .................................................................................................................... 6
4.1 Location and Mounting ............................................................................................ 6
Figure 1 Location Diagram ........................................................................................... 7
4.2 Input Power and Field Wiring .................................................................................. 8
5.0 FAIL-SAFE SELECTION ...................................................................................................... 9
5.1 Description .............................................................................................................. 9
5.2 Fail-Safe High.......................................................................................................... 9
5.3 Fail-Safe Low .......................................................................................................... 9
6.0 SENSIVITY SELECTION ..................................................................................................... 10
7.0 LED ..................................................................................................................................... 10
8.0 REMOTE ELECTRONICS INSTALLATION ........................................................................ 10
9.0 WARRANTY AND CUSTOMER SERVICE ........................................................................ 11
10.0 DISPOSAL......................................................................................................................... 11
FIGURE 3 VR-21 ........................................................................................................................ 12
FIGURE 4 VR-41 ........................................................................................................................ 13
FIGURE 5 VR REMOTE ELECTRONICS MOUNTING AND WIRING....................................... 14
DECLARATION OF CONFORMITY ........................................................................................... 15

925-0289 Rev D 3
VR-21 & VR-41
GENERAL SPECIFICATIONS
Power Supply: 20 to 250 V AC/DC
Power Consumption: 3VA
Ambient Temperature: (Electronics) -4F to +140F (-20C to +60C)
Process Temperature: (Probe) -F to +176F (-20C to +80C)
Enclosure: Type 4X, 5, & 12
Hazardous Locations Class II, Groups E, F & G
Relay Output: DPDT contacts; 5 Amps 250 VAC
Fail-Safe: Selectable "High" or "Low" level modes
Mounting: VR-21 & VR-41 = 1 1/2" NPT
Conduit Entries: 3/4" NPT
Minimum Material Density: 1.9 lbs / cu. ft (30 g/ liter)

925-0289 Rev D
SAFETY SUMMARY
Review the following safety precautions to avoid injury and prevent damage to the equipment.
The product should be installed, commissioned, and maintained by qualified and authorized personnel
only.
Install according to installation instructions and comply with all National and Local codes.
Use electrical wire that is sized and rated for the maximum voltage and current of the application.
Properly ground the enclosure to an adequate earth ground.
Observe all terminal and relay contact ratings as called out on the nameplate and in the installation
manual.
Insure that the enclosure cover is in place and secured tightly during normal operation.
If this product is used in a manner not specified by the manufacturer the safety protection could be
compromised.
Safety Terms and Symbols
WARNING: Warning statements identify conditions or practices that could result in injury or loss of life.
Risk of electrical shock.
CAUTION: Caution statements identify conditions or practices that could result in damage to this product
or other property.

925-0289 Rev D 5
1.0 INTRODUCTION
The BinMaster VR Vibrating Rods are point level controls used to detect the presence or absence of gran-
ular or powdered material. The Vibrating Rod operates by exciting the blade of unit to causing it to vibrate
at its mechanical resonance frequency of about 290 Hz. When material covers the blade of the probe, the
vibration stops. This is sensed by the electronic circuitry causing the relay contacts to change states.
When the blade becomes uncovered, the vibration will restart and the relay contacts will change back.
Since only the end of the vibrating blade is sensitive and not the base, build-up on the container wall has
no influence on the sensor. The shape of the blade and its vibration have a self cleaning effect.
2.0 APPLICATIONS
The BinMaster VR Vibrating Rod can be used in bins, silos, and hoppers to detect many different granular
or powdered materials. The following list shows some of these materials:
Animal feed Powdered cellulose
Beans Powdered clay
Chalk Powdered milk
Coffee beans Salt
Coffee freeze-dried Soda
Coffee ground Soot dry pellets
Flour Spices
Foundry sand Stearine chips
Frozen potato chips Sugar
Glass finely ground Sweets
Granular plastics Styrofoam
Gravel Tea (leaf)
Peanuts Tobacco
Polystyrene powder Wood shavings
3.0 VERSIONS
The BinMaster VR is available in 2 different versions:
•VR-21 - 1 1/2 in. NPT Mount, Standard Insertion Length 7.5 in. (190mm)
•VR-41 - 1 1/2 in. NPT Mount, Insertion Length extended from 14in. to 13 feet by a tube which is
screwed between the vibrating probe and the mounting socket.
3.1 SPECIAL SEDIMENT MODEL
Application: The BinMaster VR-SED is a special configuration of the VR-21 / VR-41 level control
instrument. It is designed to detect the level of solid material that has settled in water. A typical application
is the detection of sand in front of pumping systems.

925-0289 Rev D 6
Function: A piezo system brings rod to vibrate at its resonant frequency. The vibrating system is
tuned to work in water. If solid material covers the rod, it damps the vibration. An electronics circuit
switches a binary output signal. When the rod gets uncovered, it starts vibrating again and the output
switches back.
SPECIAL INSTRUCTIONS FOR SEDIMENT MODEL VIBRATING ROD
General: This special sediment model vibrating rod is tuned to work (vibrate) in water. This means
that it may not vibrate in air which would result in a covered indication. To test the sediment model vibrat-
ing rod, you have to put the vibrating blade into water. The sediment model is not usable for detecting liq-
uids or solids in air. The blade of the BinMaster VR-SED must have a distance of at least 4 inches
(100mm) to the container wall. If the blade gets closer than this to the container wall, then the vibration
could be damped by reflections of the container wall.
Sensitivity: For the sediment model vibrating rod, only the sensitivity settings B or C can be used.
This setting depends on the weight of the settled material and the water/material mixture.
B Higher sensitivity: The vibration gets damped earlier than on position C. Depending on
the density of the material, the relay will switch when the water/material mixture on top of the settlement
just reaches the vibrating blade.
C Lower sensitivity: The vibration gets damped later than on position B when the vibrating
blade gets fully covered by the settled material.
4.0 INSTALLATION
4.1 Location and Mounting
Figure 1 shows the typical installation possibilities of the BinMaster VR units.
The BinMaster VR is installed by screwing the male mounting threads into a 1 1/2” NPT coupling or mount-
ing flange. Use a 2 inch (50mm) wrench to tighten the unit into the mounting socket. If side mounting the
VR, it must be turned until the blade is vertically oriented, so that material can flow freely over the blade
and does not rest on it causing false alarms. Use the round indention on the 2 in. hex collar to identify the
blade orientation. When the indention in up the blade is oriented correctly. Refer to Figure 1 for a view of
blade orientation
WARNING: Do not screw in by turning the enclosure housing!

925-0289 Rev D 7
Protective shield
Fill Stream
WRONG !
Do not locate in Fill Stream !
Blade should be vertical, not horizontal !
VR41
VR21 VR21
VR41
VR21
Figure 1
BinMaster VR series
Mounting Locations
CORRECT !
Blade is mounted vertical.
WRONG !
Blade is mounted horizontal.

925-0289 Rev D 8
The conduit entries must always point downwards to prevent moisture from seeping inside the housing. If
the housing is not in the correct position after the probe has been firmly screwed into the bin wall, proceed
as follows:
•Remove the cover of the housing.
•Unscrew and remove the 3 mounting screws for the upper pc board.
•Remove the upper pc board. Be careful not to bend the interconnect pins on the bottom of the pc
board.
•Unscrew and remove the 3 hex standoffs that secure the lower pc board.
•Remove the lower pc board. The wires from the probe do not need to be removed from the pc
board, but care should be taken not to damage the pc board or wires.
•Use a 10mm wrench or socket to loosen and remove the nut that secures the housing to the
vibrating rod assembly.
•Lift off the housing from the vibrating rod assembly. Take care not to damage the wires or the pc
board.
•The housing can to rotated in 90steps to achieve and orientation that has the conduit entries
pointing downward.
•Place the housing back on the vibrating rod assembly so that the tube for the wires is in one of the
4 notches in the housing.
•Replace the flat retaining washer and flat washer and screw the nut back on the stud from the
vibrating rod assembly. Firmly tighten the nut.
•Replace the lower pc board and secure it with the 3 standoffs.
•Replace the upper pc board. Be sure to align all of the interconnecting pins on the bottom of the
upper pc board and plug the 2 boards together.
•Secure the upper pc board with the 3 mounting screws.
4.2 Input Power and Field Wiring
The BinMaster VR units have a wide voltage range power capable of being powered from any voltage from
20 volts to 250 volts AC or DC.The terminals on the pc board for the power supply and the relay contacts
allows for a maximum conductor size of 12 AWG. An equipment grounding connection (earth ground)
should be supplied to the unit for safety. See the diagram below for terminal and component identification.
Field wiring should conform to all national and local electrical codes and any other agency or authority hav-
ing jurisdiction over the installation.
Power Input
20 to 250 V AC/DC
Ground
Line
Neutral Relay Contacts
H
L
NC COM NO
A
B
C
NO COMNC
LN
Sensitivity Jumper
Fail Safe Jumper
LED
Figure 2
Wiring terminal &
Component Identification

925-0289 Rev D 9
5.0 FAIL-SAFE SELECTION
5.1 Description
A Fail-Safe condition means that the relay contact positions are set up so that in the event of a power fail-
ure the relay will be de-energized and the contacts will indicate a condition that is deemed safe for the
application. (Refer to Figure 2 for the location of the Fail-Safe selection switch.)
5.2 Fail-Safe High
Fail-Safe High means that the relay will be energized when the probe is uncovered and will de-energize
when the probe is covered. In this mode, a power failure will cause the relay contacts to indicate that the
probe is covered whether it is or not.
5.3 Fail-Safe Low
Fail-Safe Low means that the relay will be de-energized when the probe is uncovered and will energize
when the probe is covered. In this mode, a power failure will cause the relay contacts to indicate that the
probe is uncovered whether it is or not.
COM NC COMNO
NO NC NOCOM NCNC COMNO
UNCOVERED COVERED
FAIL SAFE "HIGH" RELAY CONTACT POSITION
COM
NC COMNO NO NCNOCOM NC NC COM NO
UNCOVERED COVERED
FAIL SAFE "LOW" RELAY CONTACT POSITION

925-0289 Rev D 10
6.0 Sensitivity Selection
Sensitivity Setting (typical) Material Characteristics
Pos. A: Use this setting only for very light material with densities
down to 1.25 lb./cu. ft., (20g/l) The sensitivity is very high at
this setting.
Pos. B: Standard setting, sufficient for most materials.
Pos. C: For heavy materials with high densities which may form a
deposit on the vibrating blade. As the sensitivity of the
instrument is low at position C, very light material such as
expanded styrofoam cannot be detected at this setting.
For special model SEDIMENT VR only B or C must be used, see special instructions for SEDI-
MENT!
7.0 LED
The LED on the pcb is a visual indication of the status of the vibrating rod relay. The LED will be
flashing when the relay is de-energized and will be ON solid when the relay is energized. The Fail
Safe jumper position will determine when the relay is energized.
8.0 REMOTE ELECTRONICS INSTALLATION
In some applications such as excessive vibration or ambient temperatures above +140F, it may
be necessary to locate the electronic circuit board away from the vibrating rod. In these applica-
tions, a separate remote enclosure is used to mount the circuit board, and a special cable with
individually shielded conductors is used to interconnect the circuit board to the vibrating rod unit.
The remote electronics option is available for the VR-21 and VR-41 vibrating rods.
Figure 5 shows the mounting hole locations for the remote electronics enclosure. The intercon-
necting cable connections are also shown in Figure 5. The input power is supplied to the remote
electronics and an the special individually shielded conductor cable is routed between the remote
electronics and the vibrating rod. The interconnect cable will have a wire connecting terminal “T”
on the remote board to terminal “T” in the vibrating rod; terminal “R” on the remote board to termi-
nal “R” in the vibrating rod; and signal ground on the remote board to signal ground in the vibrating
rod.
Fail Safe Setting V Rod Status LED Status Relay Status
LUNCOVERED FLASHING DE-ENERGIZED (COM CONNECTED TO NC)
LCOVERED ON SOLID ENERGIZED (COM CONNECTED TO NO)
HUNCOVERED ON SOLID ENERGIZED (COM CONNECTED TO NO)
HCOVERED FLASHING DE-ENERGIZED (COM CONNECTED TO NC)

925-0289 Rev D 11
9.0 WARRANTY AND CUSTOMER SERVICE
9.1 Limited Warranty
The manufacturer warrants this equipment for two (2) years according to the following terms:
1.)This warranty extends to the original purchaser only and commences on the date of
original purchase. The original purchaser must mail to the manufacturer the "Warranty
Registration" card to confirm the equipment purchase. Failure to do so may void the war-
ranty.
2.)The manufacturer will repair or replace any part of this equipment found to be defective,
provided such part is delivered prepaid, to the factory. Manufacturer's obligation is limited
to the cost of material and labor to repair or replace and does not include transportation
expenses.
3.)This warranty shall not apply to any product that has, in our judgment, been tampered
with, altered, subject to misuse, neglect or accident. In addition, the warranty does not
extend to repairs made necessary by normal wear.
4.)This warranty is in lieu of all other warranties, expressed or implied.
9.2 Custom Service
Bin Master offers a toll-free Customer Service phone number 1-800-278-4241. You may call the
Customer Service Department for technical and application assistance Monday through Friday
from 8:00AM to 5:00 PM Central Time. International customers call us at (402) 434-9102 or reach
us via fax at (402) 434-9133.
10.0 DISPOSAL
This product consists of materials that can be recycled by specialized recycling companies. It
uses recyclable materials and the electronics is designed to be easily separated. Consult local
authorities for proper disposal locations.

925-0289 Rev D 12
4.66"
118mm
2.88"
73mm
4.00"
102mm
PROBE
BLADE
0.17"
4mm
2.00"
51mm
3/4 - 14 NPT CONDUIT THREADS
(2) PLACES
HEX FOR 2.00" WRENCH SIZE
1 1/2" NPT THREADS
0.73"
37mm
7.42"
188mm
4.00"
102mm
15.54"
395mm
3.25"
83mm
0.61"
15mm
Figure 3
VR-21

925-0289 Rev D 13
Figure 4 VR-41
4.66"
118mm
2.88"
73mm
2.00"
50mm
2.31"
59mm
1.67"
42mm
0.17"
4mm
7.20"
183mm
12.50"
317mm
4.00"
102mm
0.61"
15mm
CUSTOMER REQUIRED LENGTH
HEX FOR 2.00" WRENCH SIZE
1 1/2" NPT MOUNTING THREADS
3/4" NPT CONDUIT THREADS
(2) PLACES
14" to 13'
AS REQUESTED
.400 THREAD ENGAGEMENT BOTH ENDS
10

925-0289 Rev D 14
T R
T R
Power Input
20 to 250 V AC/DC
Ground
Line Neutral
H
L
NC COM NO
C
NO COMNC
LN
R
T
Figure 5
VR Remote Mounting Dimensions and Wiring

925-0289 Rev D
Declaration of Conformity
BinMaster Level Controls
7201 North 98th Street
Lincoln, NE 68507-9741
Phone: 402-434-9100, Fax: 402-434-9133
BinMaster declares that the VR series Vibrating Rod level control devices as listed below
comply with the following directives and harmonized standards. This product if installed,
operated and maintained as described in this manual will provide a safe and reliable point
level control device for bulk solid materials.
Low Voltage Directive 73/23/EEC
Standard IEC 61010-1:2001
Product: Vibrating Rod point level control device.
Models: VR 21 and VR 41
All test reports and documentation are held and can be obtained from BinMaster.
Manufacturing Location: Lincoln, Nebraska, USA
Scott McLain
President
5/20/2011

925-0289 Rev D
Mounting Instructions
Always Mount Unit With
Conduit opening down
When installing this level indicator in environments where it is possible for
moisture or moist air to enter the enclosure through the electrical conduit, the
conduit opening should be sealed with a duct seal compound or putty
appropriate for the purpose.
Division of Garner Industries
7201 No. 98th Street
Lincoln, NE 68507
Conduit Seal
This manual suits for next models
1
Table of contents
Other Bin Master Switch manuals
Popular Switch manuals by other brands
Alcatel-Lucent
Alcatel-Lucent OmniSwitch 6850-48 Brochure & specs
Phoenix Contact
Phoenix Contact FL SWITCH SMCS 8TX Installation notes for electricians
Ruijie
Ruijie RG-S6120 Series Hardware installation and reference guide
ALFAtron
ALFAtron ALF-WU4K HUB manual
Cisco
Cisco Nexus 9396PX Hardware installation guide

Command Communications
Command Communications SS900 Operator's guide

